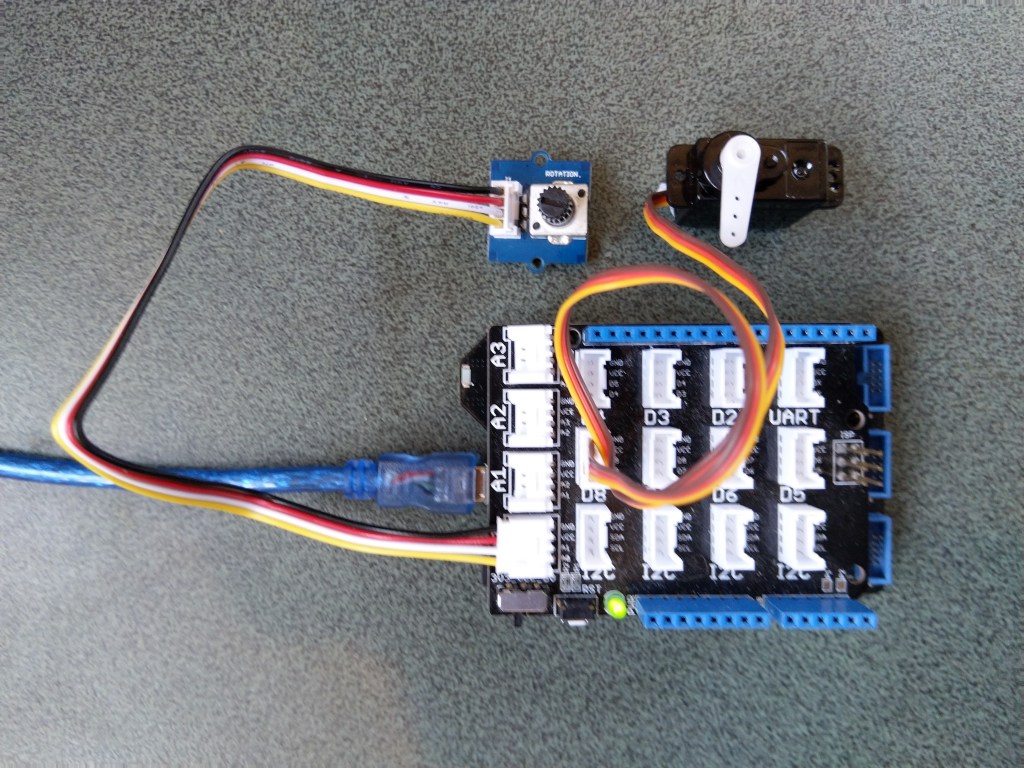
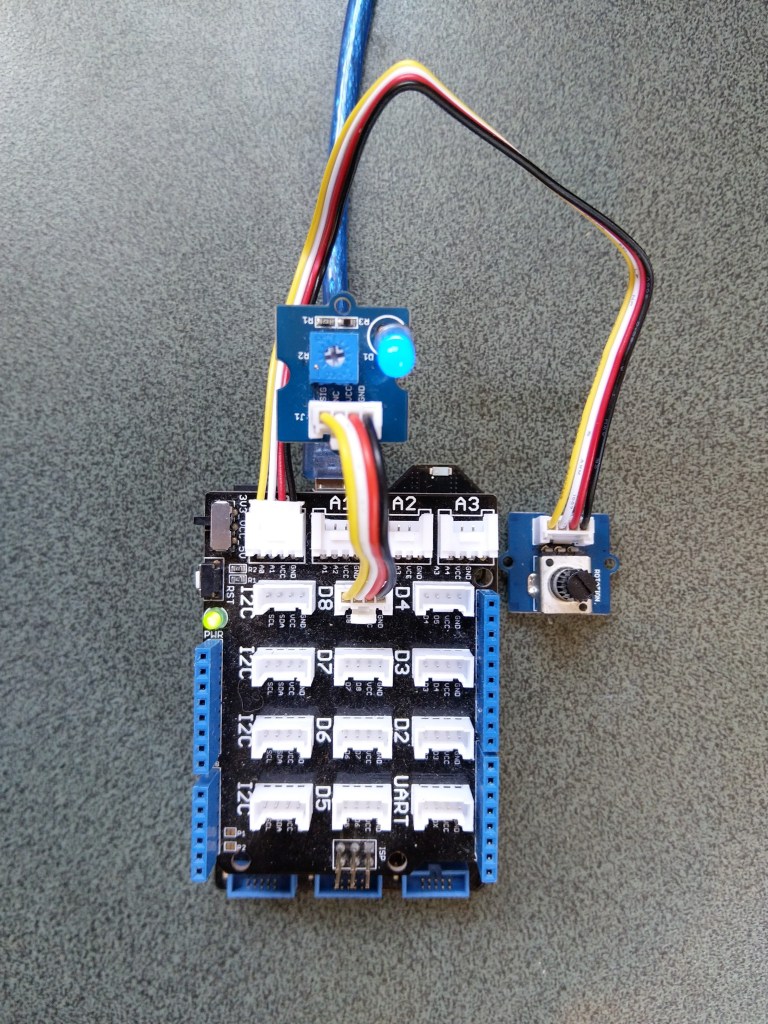
Over the weekend I ported my Windows 10 IoT Core library for Seeedstudio Grove Base Hat for RPI Zero and Grove Base Hat for Raspberry Pi to .NET Core 5.

I have included sample application to show how to use the library
namespace devMobile.IoT.NetCore.GroveBaseHat
{
	using System;
	using System.Device.I2c;
	using System.Threading;

	class Program
	{
		static void Main(string[] args)
		{
			// bus id on the raspberry pi 3
			const int busId = 1;

			I2cConnectionSettings i2cConnectionSettings = new(busId, AnalogPorts.DefaultI2cAddress);

			using (I2cDevice i2cDevice = I2cDevice.Create(i2cConnectionSettings))
			using (AnalogPorts AnalogPorts = new AnalogPorts(i2cDevice))
			{
				Console.WriteLine($"{DateTime.Now:HH:mm:SS} Version:{AnalogPorts.Version()}");
				Console.WriteLine();

				double powerSupplyVoltage = AnalogPorts.PowerSupplyVoltage();
				Console.WriteLine($"{DateTime.Now:HH:mm:SS} Power Supply Voltage:{powerSupplyVoltage:F2}v");

				while (true)
				{
					double value = AnalogPorts.Read(AnalogPorts.AnalogPort.A0);
					double rawValue = AnalogPorts.ReadRaw(AnalogPorts.AnalogPort.A0);
					double voltageValue = AnalogPorts.ReadVoltage(AnalogPorts.AnalogPort.A0);

					Console.WriteLine($"{DateTime.Now:HH:mm:SS} Value:{value:F2} Raw:{rawValue:F2} Voltage:{voltageValue:F2}v");
					Console.WriteLine();

					Thread.Sleep(1000);
				}
			}
		}
	}
}
The GROVE_BASE_HAT_RPI and GROVE_BASE_HAT_RPI_ZERO are used to specify the number of available analog ports.