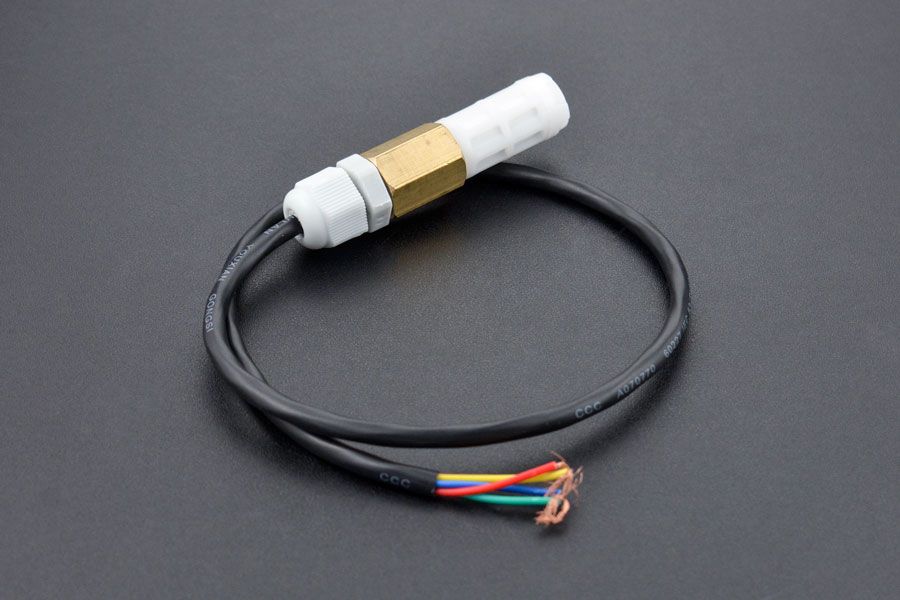
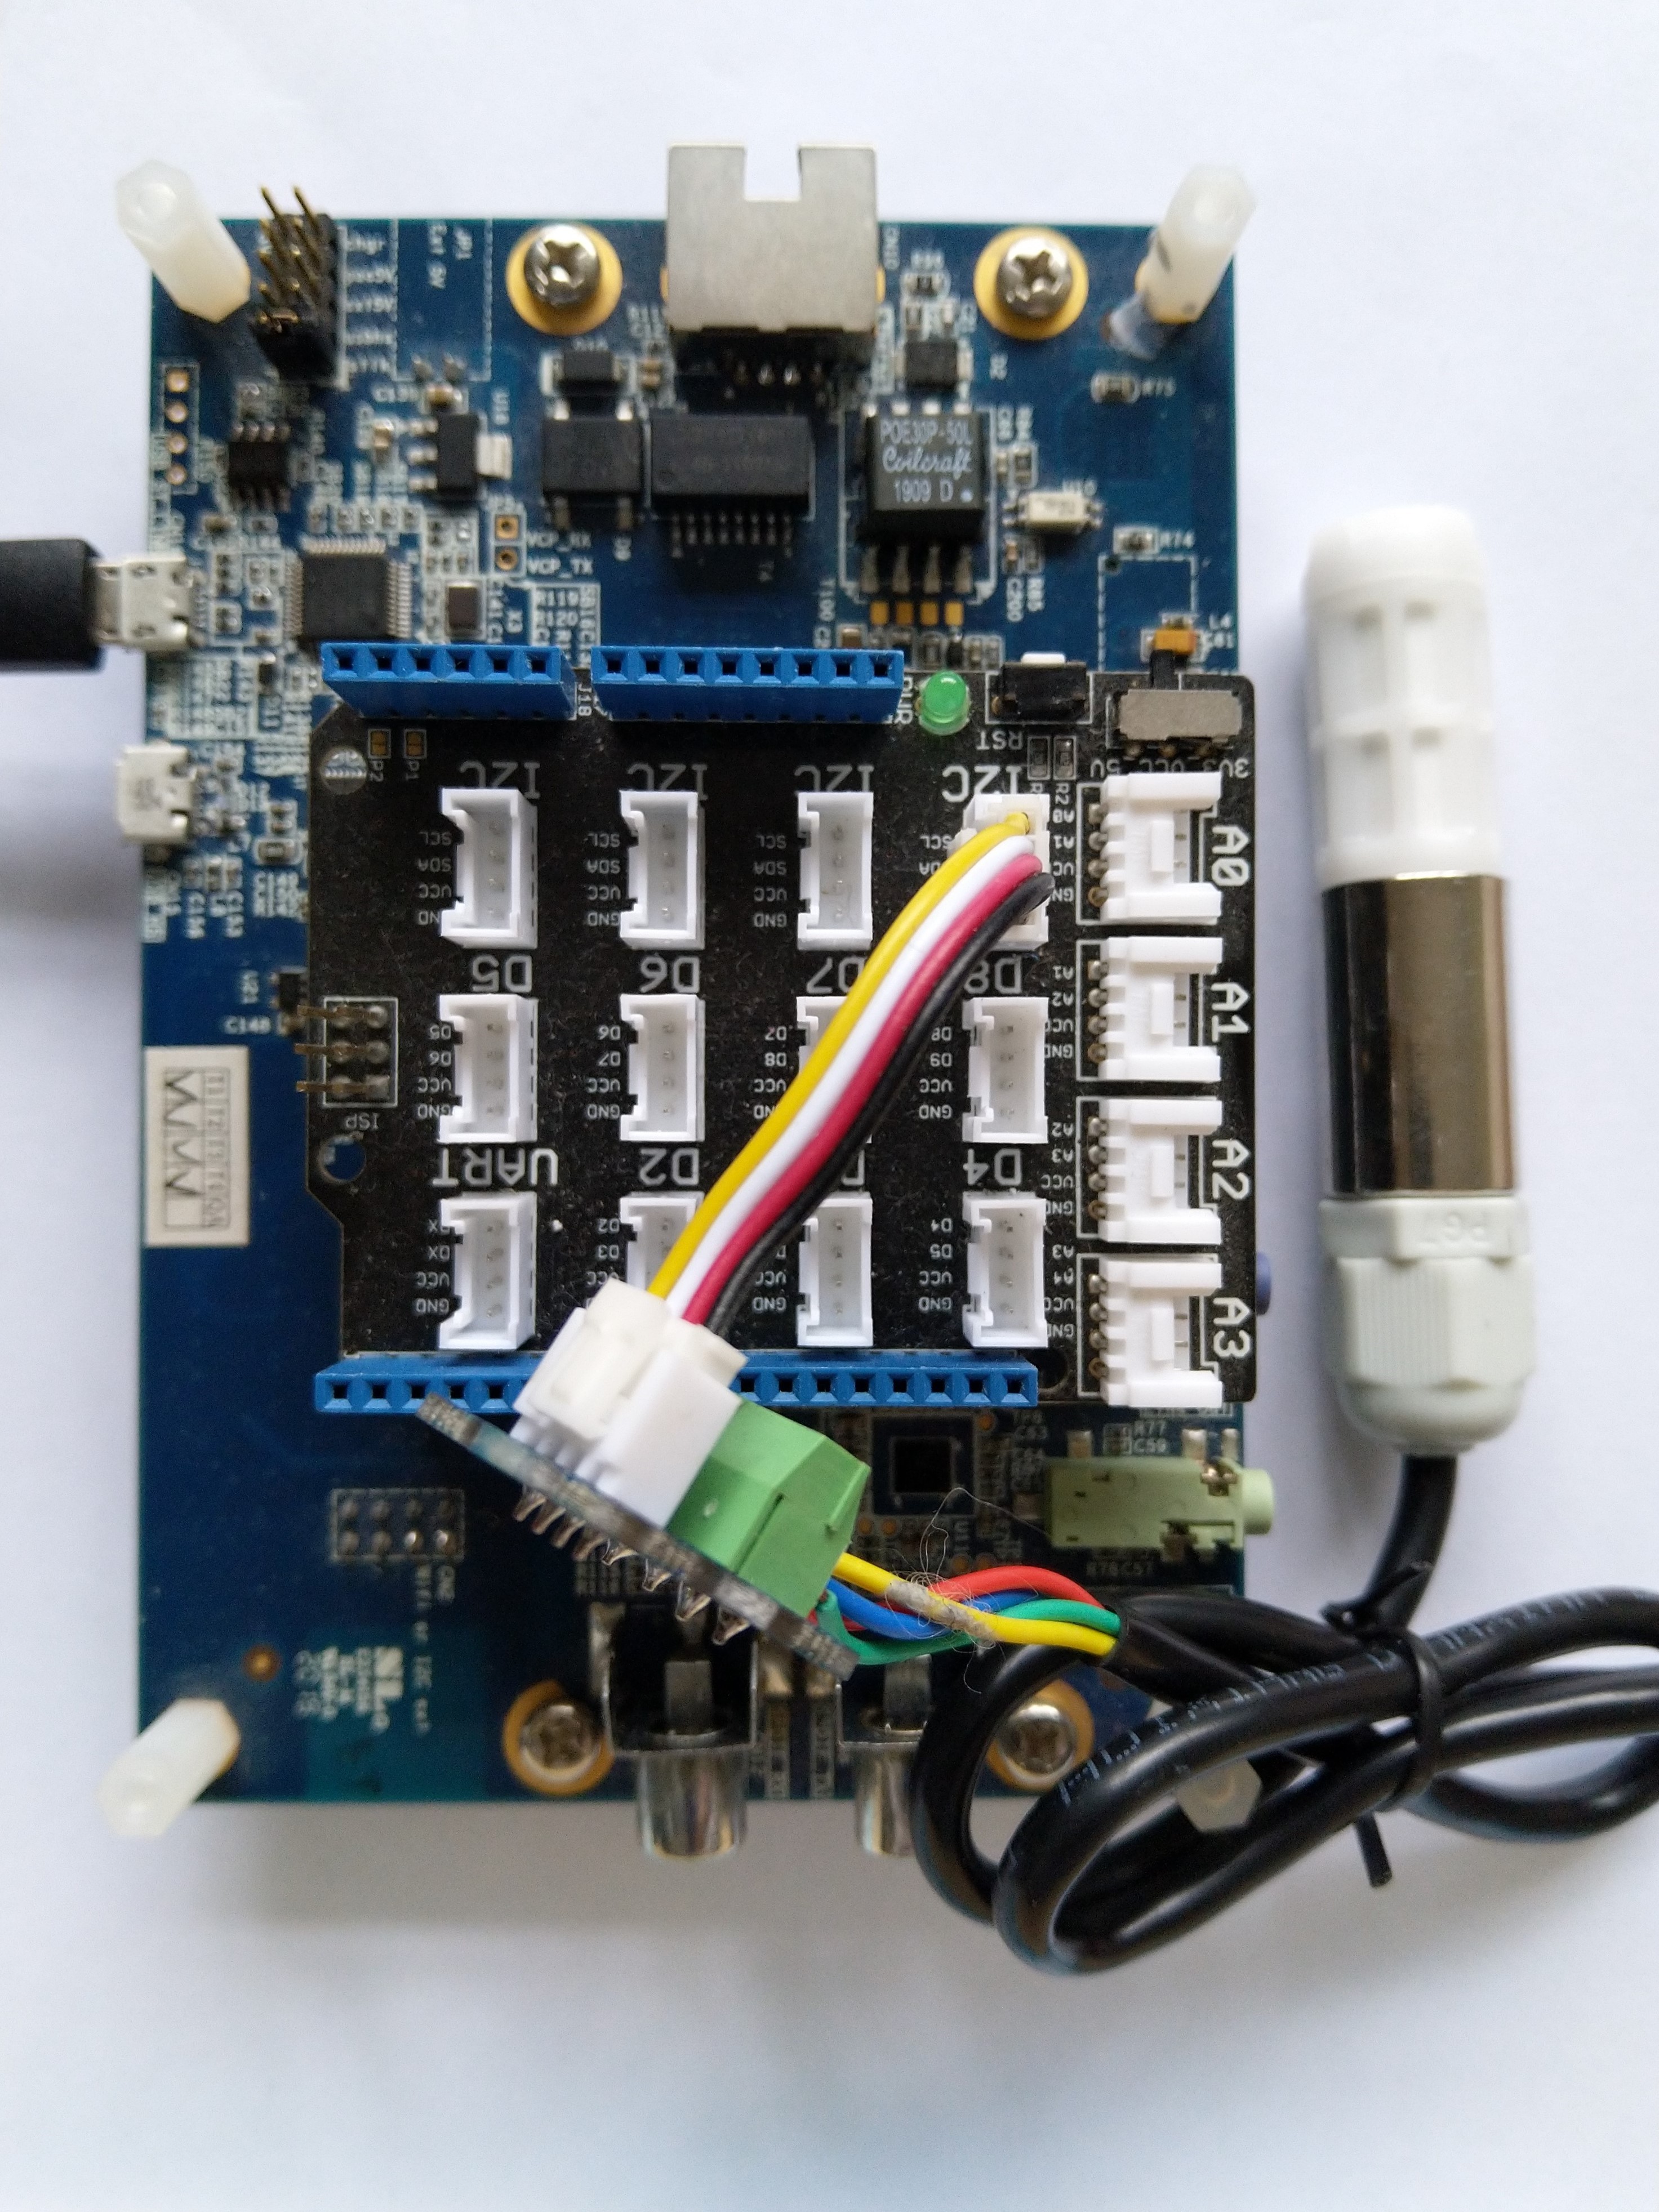
The full source code (just need to do readme) of my .NET nanoFramework Sensirion SHT20 temperature and humidity(Waterproof) library is now available on GitHub. I have tested the library and sample application with Sparkfun Thing Plus and ST Micro STM32F7691 Discovery devices. (I can validate on more platform configurations if there is interest).
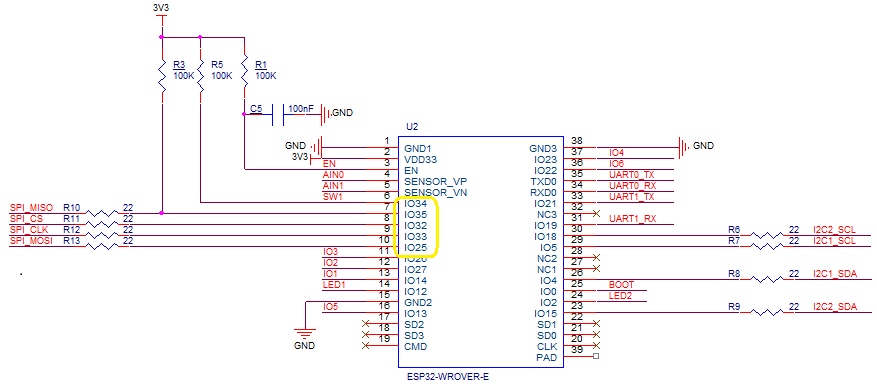
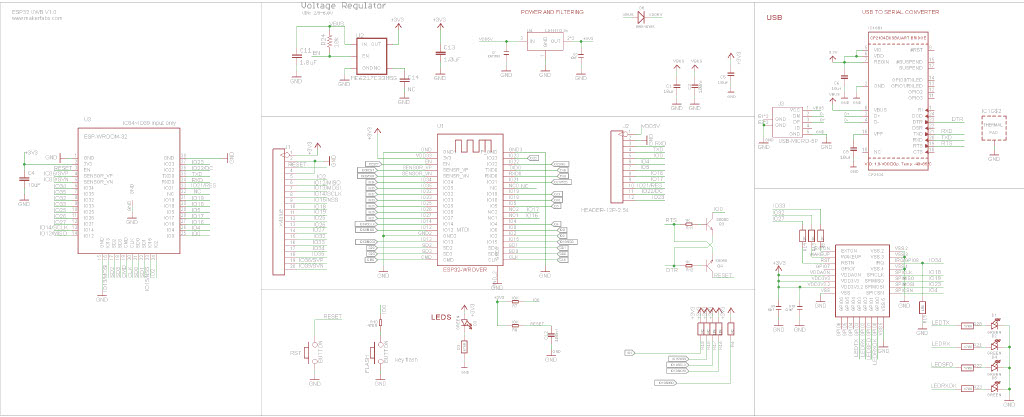
Important: make sure you setup the I2C pins especially on ESP32 Devices before creating the I2cDevice,
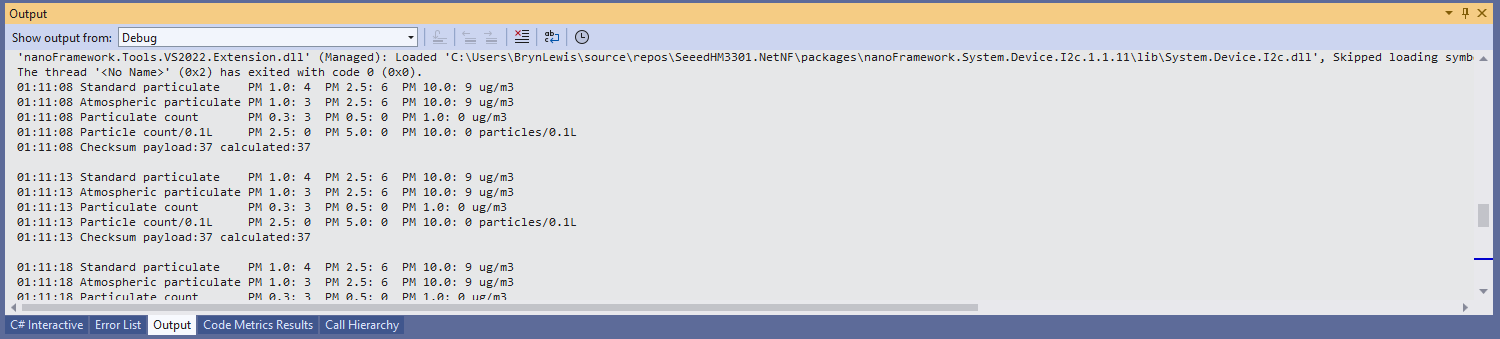
The .NET nanoFramework device libraries use a TryGet… pattern to retrieve sensor value, this library throws an exception if reading a sensor value fails. I’m not certain which approach is “better” as reading Sensirion SHT20 temperature and humidity(Waterproof) has never failed The only time reading a value failed was when I unplugged the device which I think is “exceptional”.
//---------------------------------------------------------------------------------
// Copyright (c) March 2023, devMobile Software
//
// Licensed under the Apache License, Version 2.0 (the "License");
// you may not use this file except in compliance with the License.
// You may obtain a copy of the License at
//
// http://www.apache.org/licenses/LICENSE-2.0
//
// Unless required by applicable law or agreed to in writing, software
// distributed under the License is distributed on an "AS IS" BASIS,
// WITHOUT WARRANTIES OR CONDITIONS OF ANY KIND, either express or implied.
// See the License for the specific language governing permissions and
// limitations under the License.
//
// nanoff --target ST_STM32F769I_DISCOVERY --update
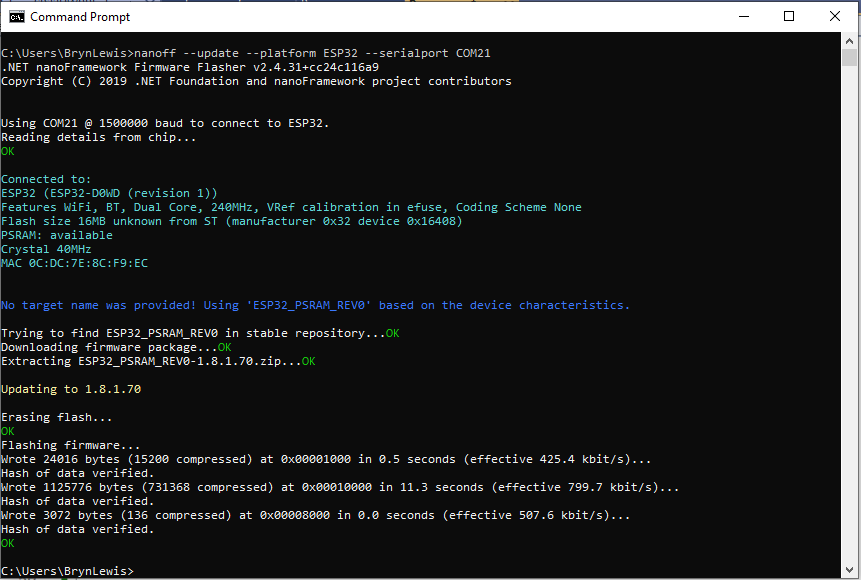
// nanoff --platform ESP32 --serialport COM7 --update
//
//---------------------------------------------------------------------------------
#define ST_STM32F769I_DISCOVERY
//#define SPARKFUN_ESP32_THING_PLUS
namespace devMobile.IoT.Device.Sht20
{
using System;
using System.Device.I2c;
using System.Threading;
#if SPARKFUN_ESP32_THING_PLUS
using nanoFramework.Hardware.Esp32;
#endif
class Program
{
static void Main(string[] args)
{
const int busId = 1;
Thread.Sleep(5000);
#if SPARKFUN_ESP32_THING_PLUS
Configuration.SetPinFunction(Gpio.IO23, DeviceFunction.I2C1_DATA);
Configuration.SetPinFunction(Gpio.IO22, DeviceFunction.I2C1_CLOCK);
#endif
I2cConnectionSettings i2cConnectionSettings = new(busId, Sht20.DefaultI2cAddress);
using I2cDevice i2cDevice = I2cDevice.Create(i2cConnectionSettings);
{
using (Sht20 sht20 = new Sht20(i2cDevice))
{
sht20.Reset();
while (true)
{
double temperature = sht20.Temperature();
double humidity = sht20.Humidity();
#if HEATER_ON_OFF
sht20.HeaterOn();
Console.WriteLine($"{DateTime.Now:HH:mm:ss} HeaterOn:{sht20.IsHeaterOn()}");
#endif
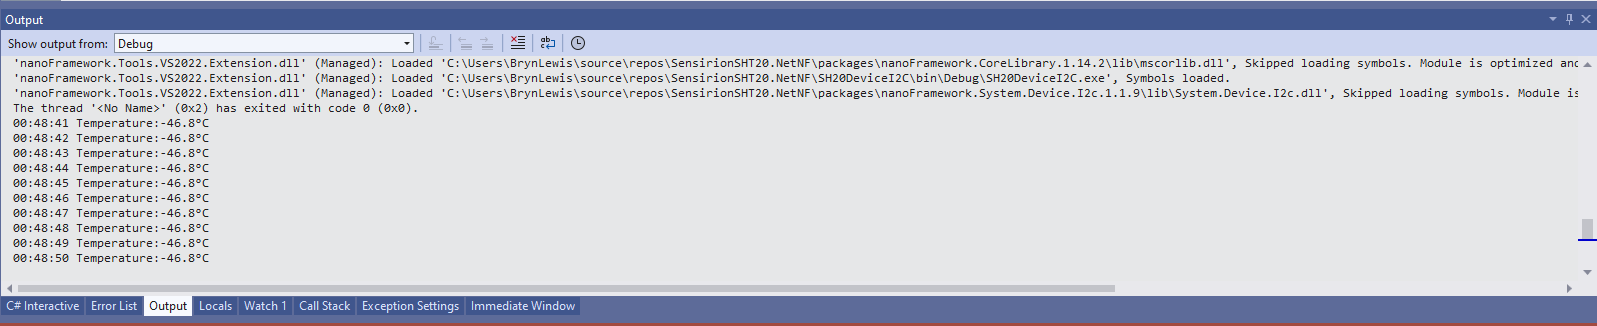
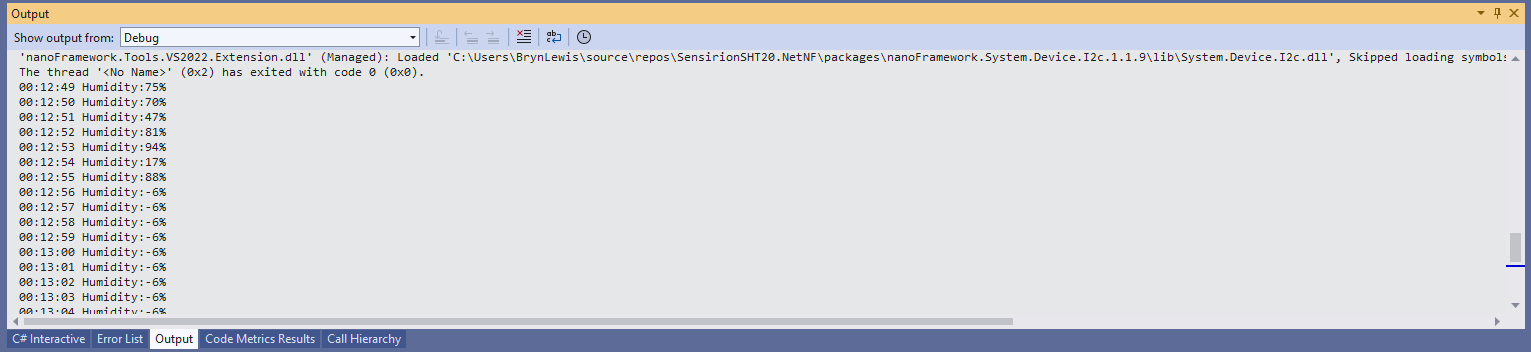
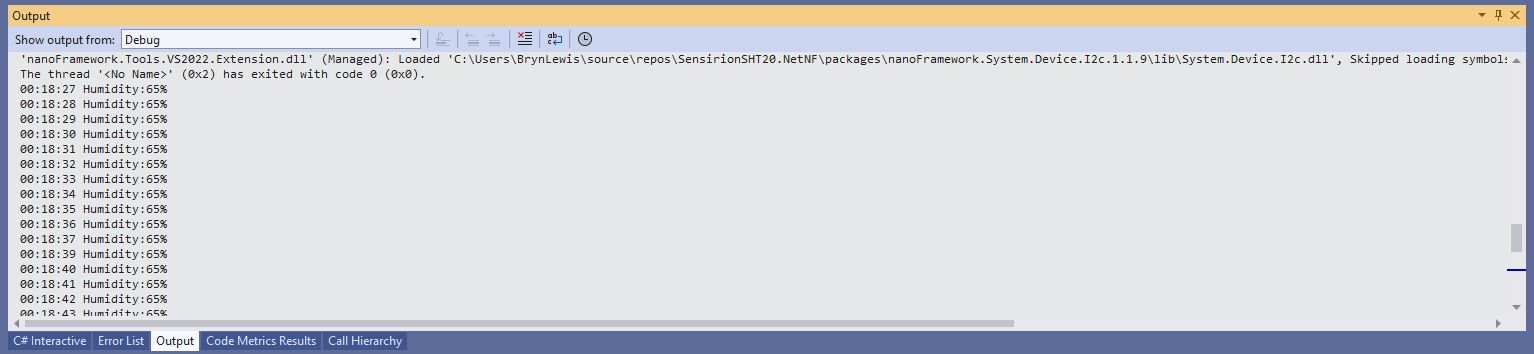
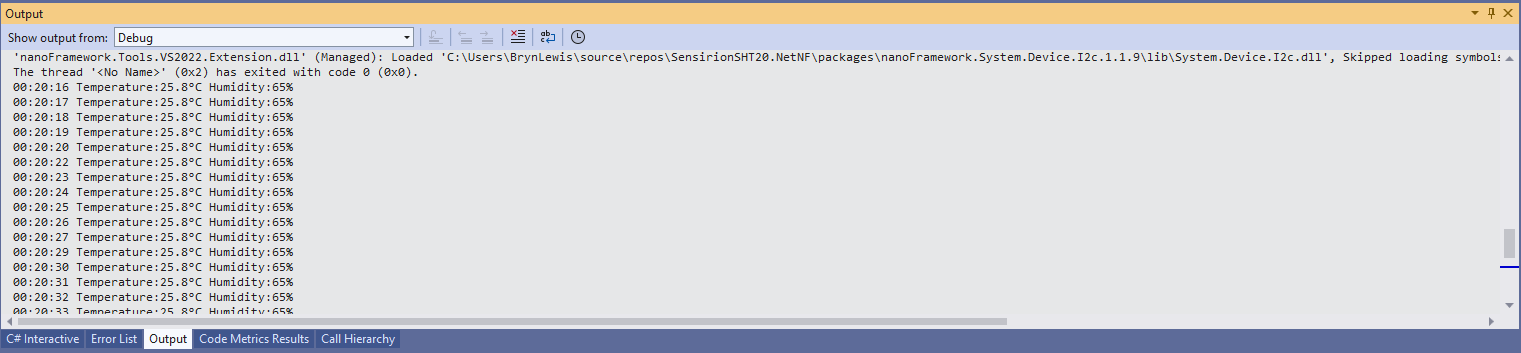
Console.WriteLine($"{DateTime.UtcNow:HH:mm:ss} Temperature:{temperature:F1}°C Humidity:{humidity:F0}% HeaterOn:{sht20.IsHeaterOn()}");
#if HEATER_ON_OFF
sht20.HeaterOff();
Console.WriteLine($"{DateTime.Now:HH:mm:ss} HeaterOn:{sht20.IsHeaterOn()}");
#endif
Thread.Sleep(1000);
}
}
}
}
}
}
I’m going to soak test the library for a week to check that is working okay, then most probably refactor the code so it can be added to the nanoFramework IoT.Device Library repository.