Mikrobus.Net Quail and Click boards arrived

A couple of weeks ago I ordered a NetMF board from MikroElektronika in Serbia. Last night I downloaded the platform libraries and built my first application for the device (the obligatory flashing an LED). This afternoon I soldered the headers onto the clicks and hopefully didn’t make a mess of it.

MikroBusNet Quail board and a selection of click boards

MikroElektronika MikroBusNet Quail board and a selection of click boards

using MBN;
using MBN.Exceptions;
using System.Threading;
using Microsoft.SPOT.Hardware;

namespace MBFlashy
{
   public class Program
   {
      public static void Main()
      {
         while( true )
         {
            MBN.Hardware.Led1.Write(!MBN.Hardware.Led1.Read());
            Thread.Sleep(500);
         }
      }
   }
}

Next steps will be to get the nRF24L01 and joystick clicks working, maybe as a remote control for my 4WD robot.

Netduino 3 Wifi xively nRF24L01 Gateway data stream live

The gateway is now live, I’m regularly updating the Netduino 3 wifi code and the client arduino, devDuino + netduino devices so there maybe short periods of downtime and/or missing data points.

The stream is available here and is currently just temperature and humidity readings from two bedrooms updating roughly once a minute.

I live in New Zealand which is currently UTC + 12.

Netduino 3 Wifi xively nRF24L01 Gateway introduction

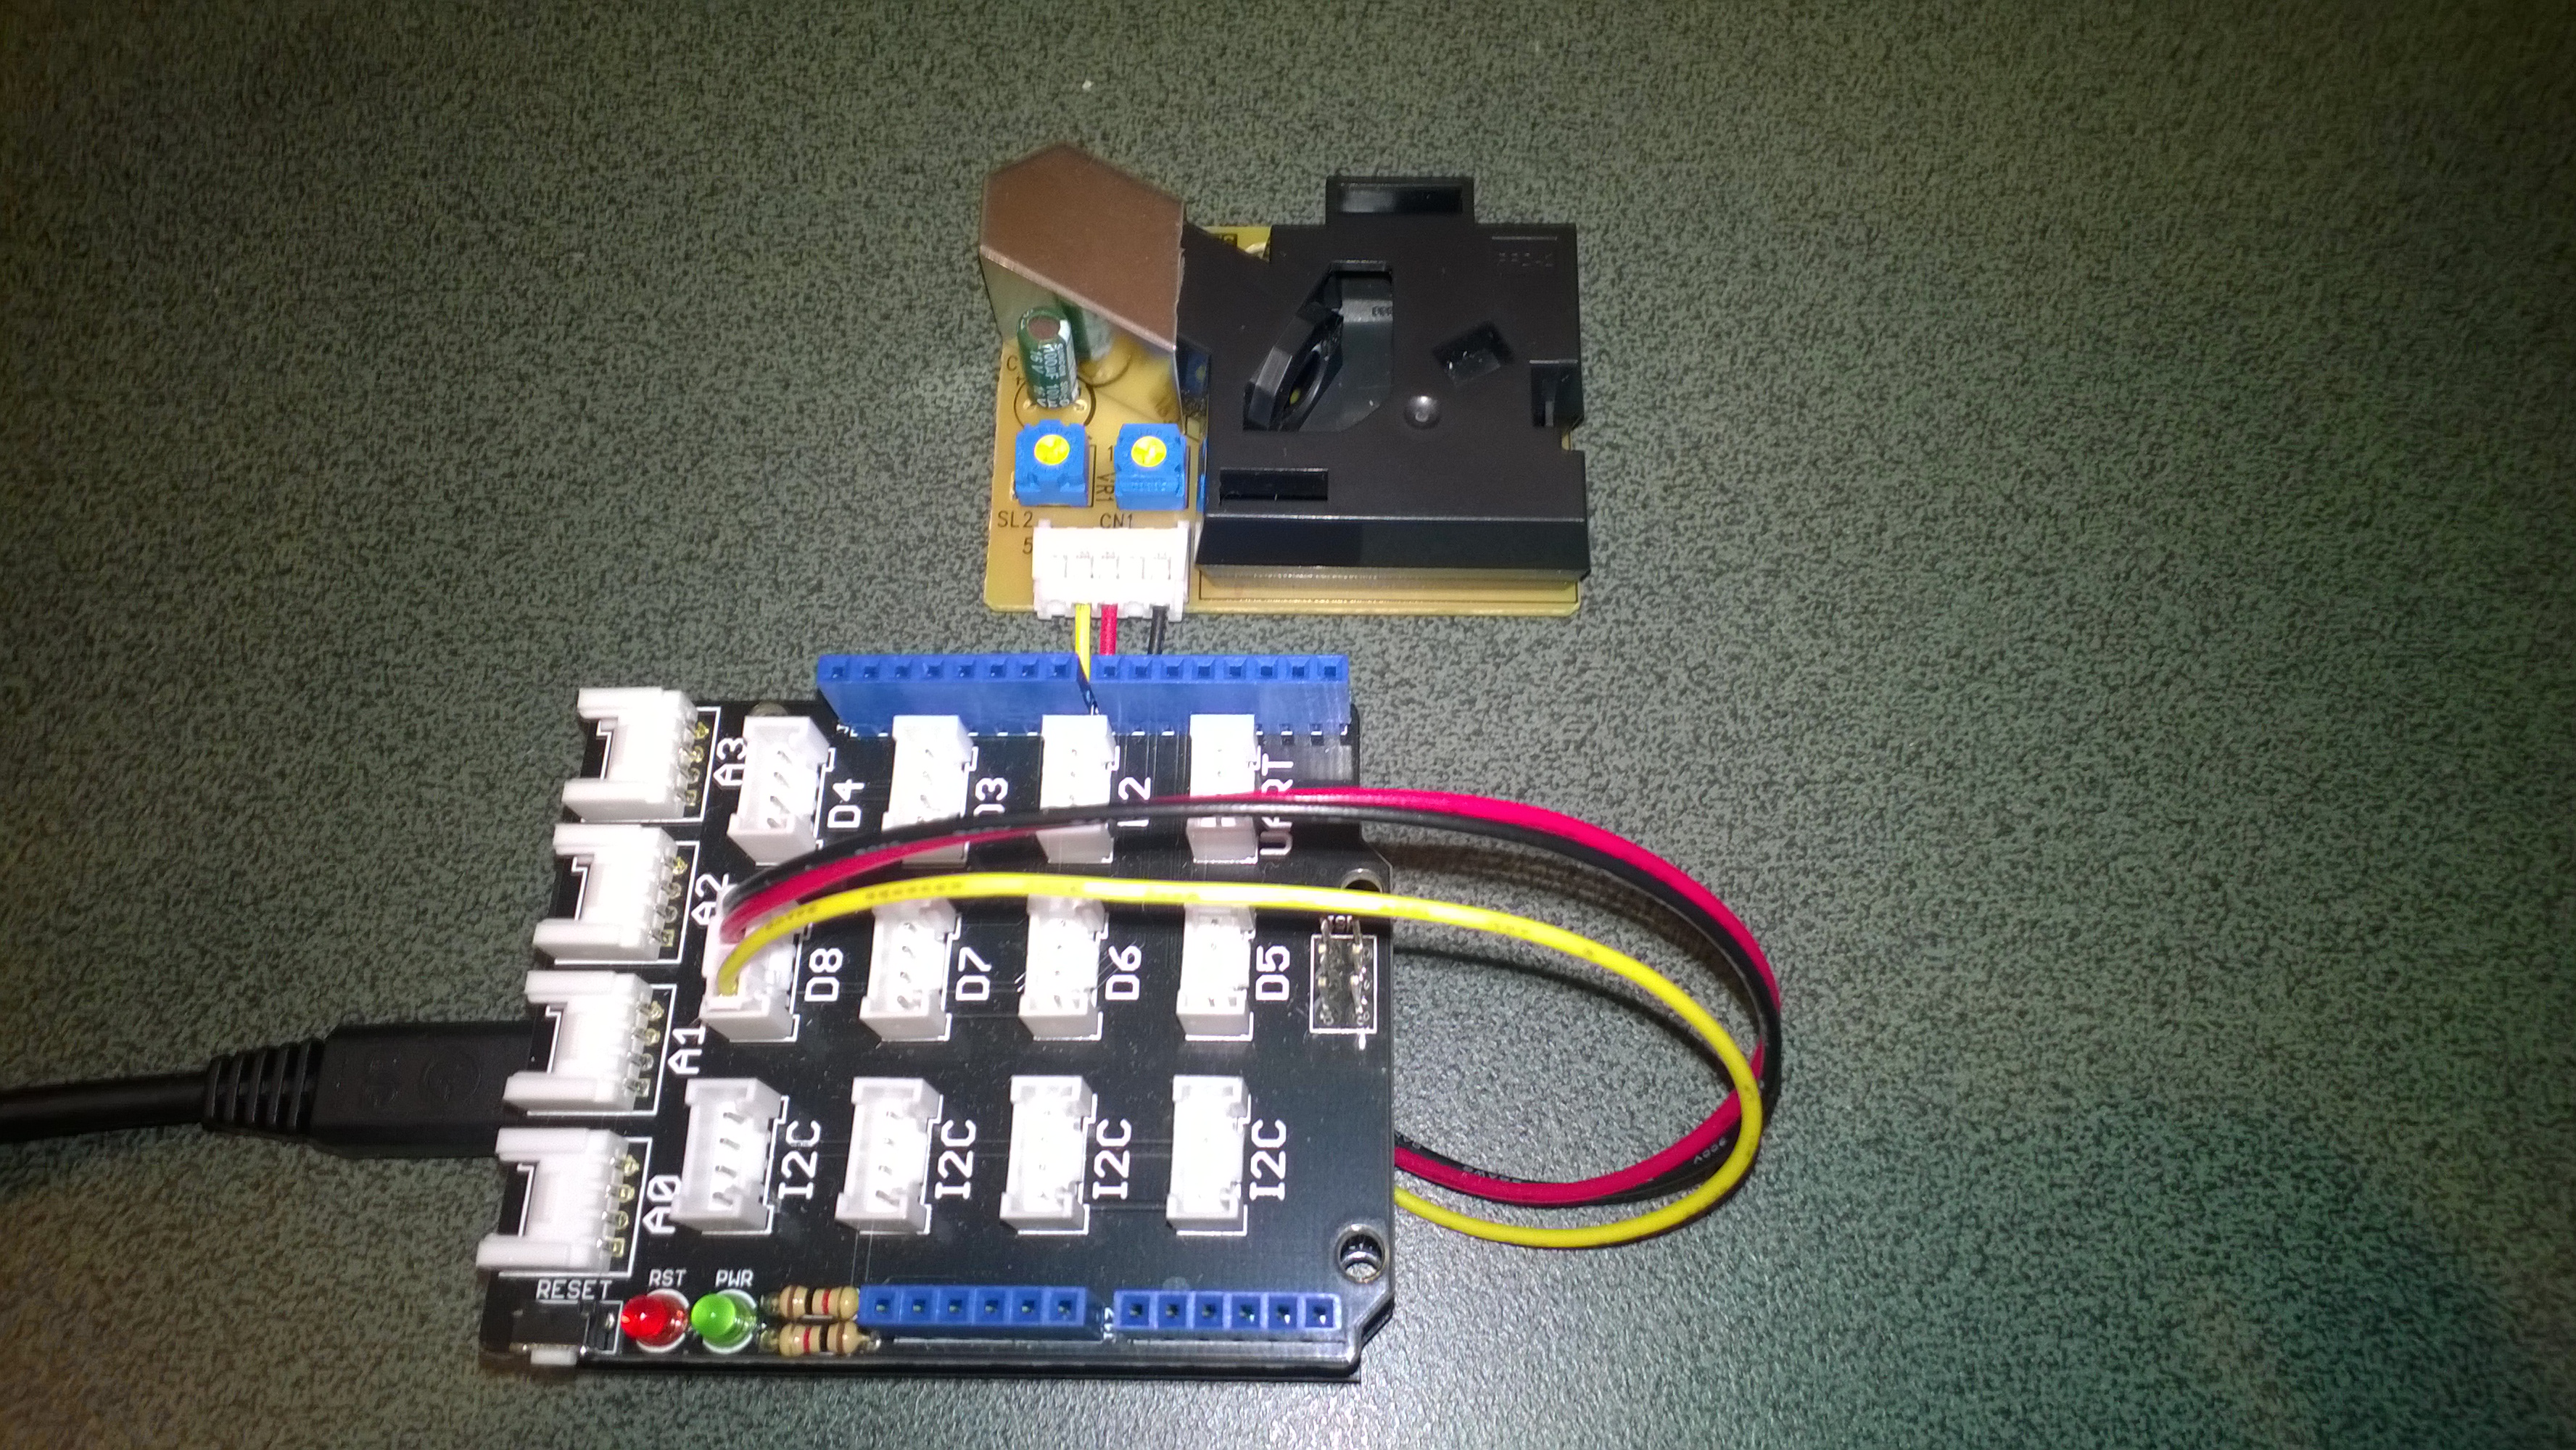
Around home I have a number of Arduino, devDuino and Netduino devices collecting power consumption, temperature & humidity measurements. Previously I had built an Azure event hub gateway which runs on Windows 7(or later) which acts as a gateway forwarding local http requests to an Microsoft Azure event hub.

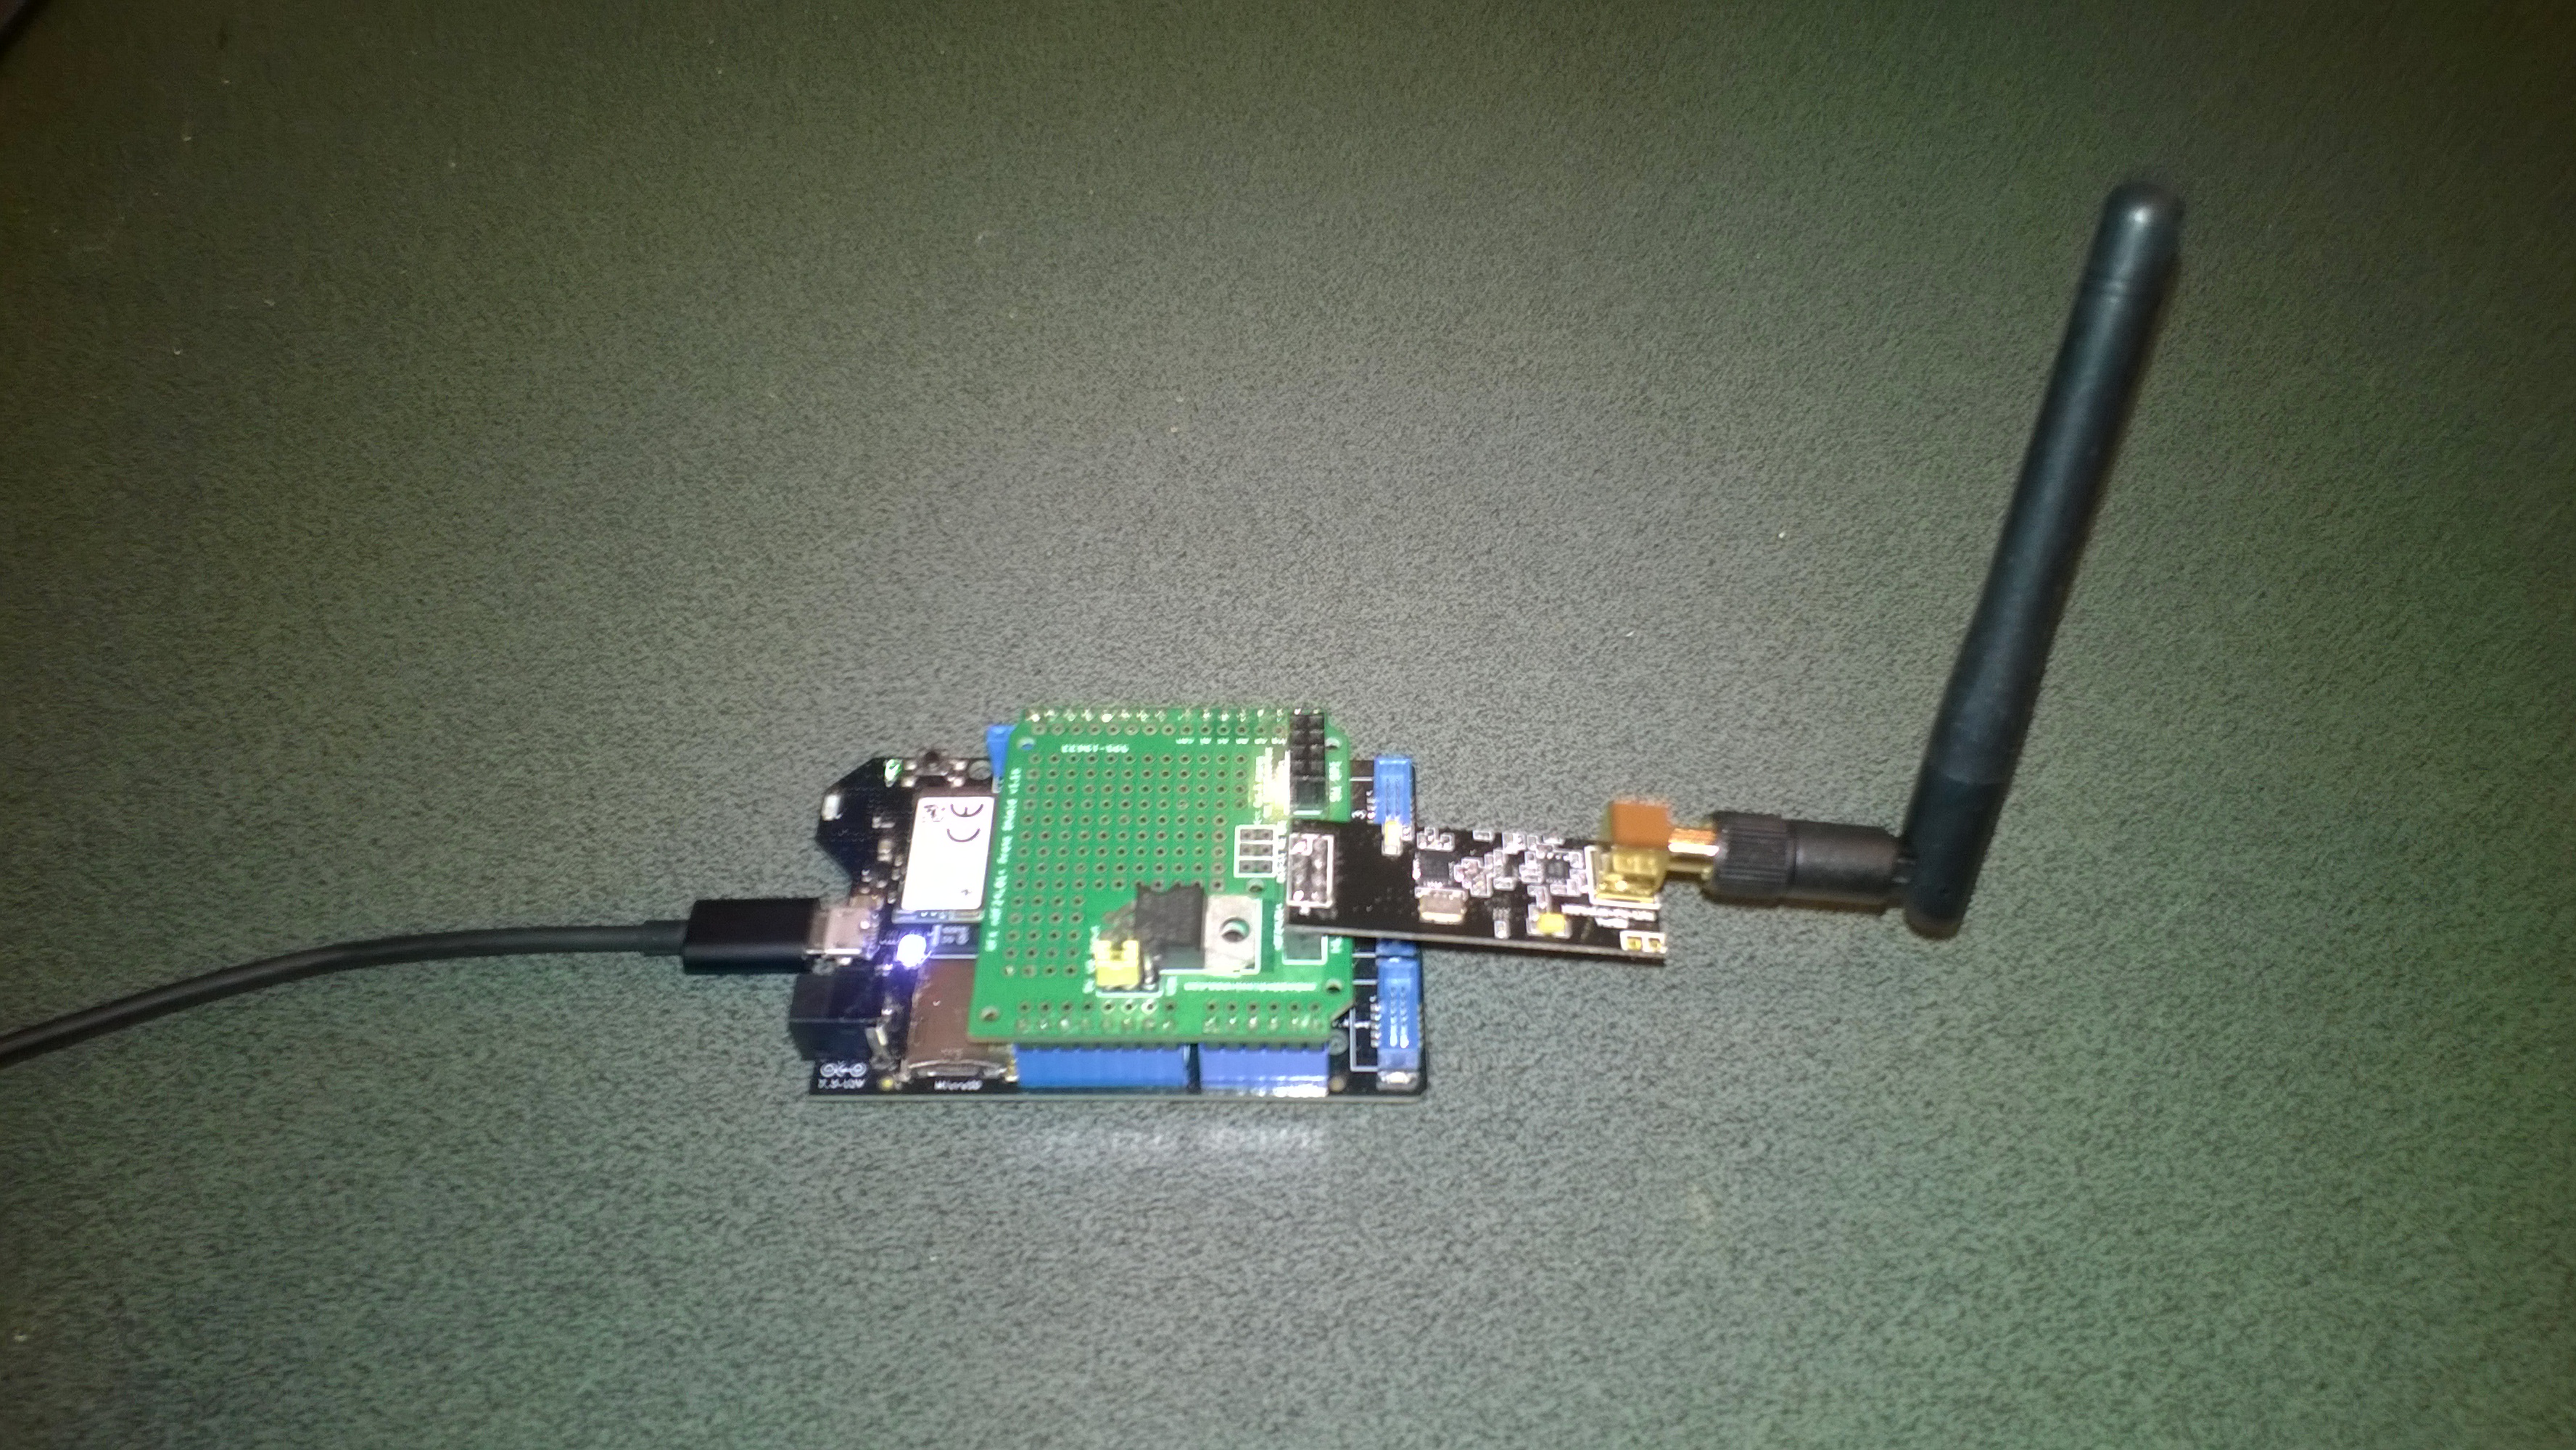
Not all my embedded devices are capable of making an http request but an nRF24l01 based approach is supported.

For this application I wanted something a bit simpler than an Azure Event hub which could plot basic graphs and as I didn’t require massive scale Xively looked ideal.

Netduino 3 Wifi xively gateway + duino clients

Netduino 3 Wifi xively gateway and *duino clients

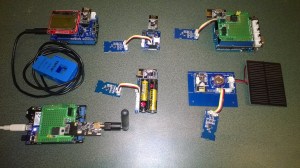
Over the next few blog postings I will show how I built the Netduino 3 wifi application and the Arduino based clients.

Bill of materials for the Xively gateway (prices at June 2015)

First step is to configure the network

NetworkInterface networkInterface = NetworkInterface.GetAllNetworkInterfaces()[0];

if (networkInterface.IsDhcpEnabled)
{
   Debug.Print(" Waiting for IP address ");

   while (NetworkInterface.GetAllNetworkInterfaces()[0].IPAddress == IPAddress.Any.ToString()) 
   {
      Thread.Sleep(100);
   }
}

// Display network config for debugging
Debug.Print("Network configuration");
Debug.Print(" Network interface type: " + networkInterface.NetworkInterfaceType.ToString());
Debug.Print(" MAC Address: " + BytesToHexString(networkInterface.PhysicalAddress));
Debug.Print(" DHCP enabled: " + networkInterface.IsDhcpEnabled.ToString());
Debug.Print(" Dynamic DNS enabled: " + networkInterface.IsDynamicDnsEnabled.ToString());
Debug.Print(" IP Address: " + networkInterface.IPAddress.ToString());
Debug.Print(" Subnet Mask: " + networkInterface.SubnetMask.ToString());
Debug.Print(" Gateway: " + networkInterface.GatewayAddress.ToString());

foreach (string dnsAddress in networkInterface.DnsAddresses)
{
   Debug.Print(" DNS Server: " + dnsAddress.ToString());
}

_module = new NRF24L01Plus();

Then setup the nRF24l01 driver

_module.OnDataReceived += OnReceive;
_module.OnTransmitFailed += OnSendFailure;
_module.OnTransmitSuccess += OnSendSuccess;

_module.Initialize(SPI.SPI_module.SPI1, Pins.GPIO_PIN_D7, Pins.GPIO_PIN_D3, Pins.GPIO_PIN_D2);
_module.Configure(myAddress, channel, NRFDataRate.DR1Mbps);
_module.Enable();

The setup required for the Xively API and mapping the devices highlighted the need for a means of storing configuration which could be modified using a simple text editor.

Netduino 3 Wifi with nRF24L01 shield

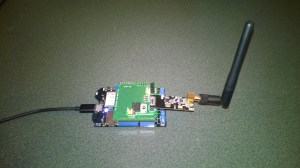
Netduino 3 Wifi + nRF24L01 shield

This software was built using tooling created and shared by others.

Big thanks to

Jakub Bartkowiak – Gralin.NETMF.Nordic.NRF24L01Plus

Netduino pollution Monitor V0.1

As part of a project for Sensing City I had been helping with the evaluation of  PM2.5/PM10 sensors for monitoring atmospheric pollution levels. For my DIY IoT projects I use the SeeedStudio Grove system which has a couple of dust sensors. The Grove Dust Sensor which is based on a Shinyei Model PPD42 Particle Sensor looked like a cost effective option.

Seeedstudio Grove Dust Sensor

Seeedstudio Grove Dust Sensor

Bill of Materials for my engineering proof of concept (Prices as at June 2015)

I initially got the sensor running with one of my Arduino Uno R3  devices using the software from the seeedstudio wiki and the ratio values returned by my Netduino Plus 2 code (see below) look comparable. I have purchased a couple of extra dust sensors so I can run the Arduino & Netduino devices side by side. I am also trying to source a professional air quality monitor so I can see how reliable my results are

The thread ” (0x2) has exited with code 0 (0x0).

Ratio 0.012

Ratio 0.012

Ratio 0.020

Ratio 0.008

Ratio 0.031

Ratio 0.014

Ratio 0.028

Ratio 0.012

Ratio 0.013

Ratio 0.018

public class Program
{
private static long pulseStartTicks = 0;
private static long durationPulseTicksTotal = 0;
readonly static TimeSpan durationSample = new TimeSpan(0, 0, 0, 30);
readonly static TimeSpan durationWaitForBeforeFirstSample = new TimeSpan(0, 0, 0, 30);

public static void Main()
{
InterruptPort sensor = new InterruptPort(Pins.GPIO_PIN_D8, false, Port.ResistorMode.Disabled, Port.InterruptMode.InterruptEdgeBoth);
sensor.OnInterrupt += sensor_OnInterrupt;

Timer sampleTimer = new Timer(SampleTimerProc, null, durationWaitForBeforeFirstSample, durationSample);

Thread.Sleep(Timeout.Infinite);
}

static void sensor_OnInterrupt(uint data1, uint data2, DateTime time)
{
if (data2 == 1)
{
long pulseDuration = time.Ticks - pulseStartTicks;

durationPulseTicksTotal += pulseDuration;
}
else
{
pulseStartTicks = time.Ticks;
}
}

static void SampleTimerProc(object status)
{
double ratio = durationPulseTicksTotal / (double)durationSample.Ticks ;
durationPulseTicksTotal = 0;

Debug.Print("Ratio " + ratio.ToString("F3"));
}
}

Next steps will be, adding handling for edges cases, converting the ratio into a particle concentration per litre or 0.1 cubic feet, selecting a weather proof enclosure, smoothing/filtering the raw measurements, and uploading the values to Xively for presentation and storage.