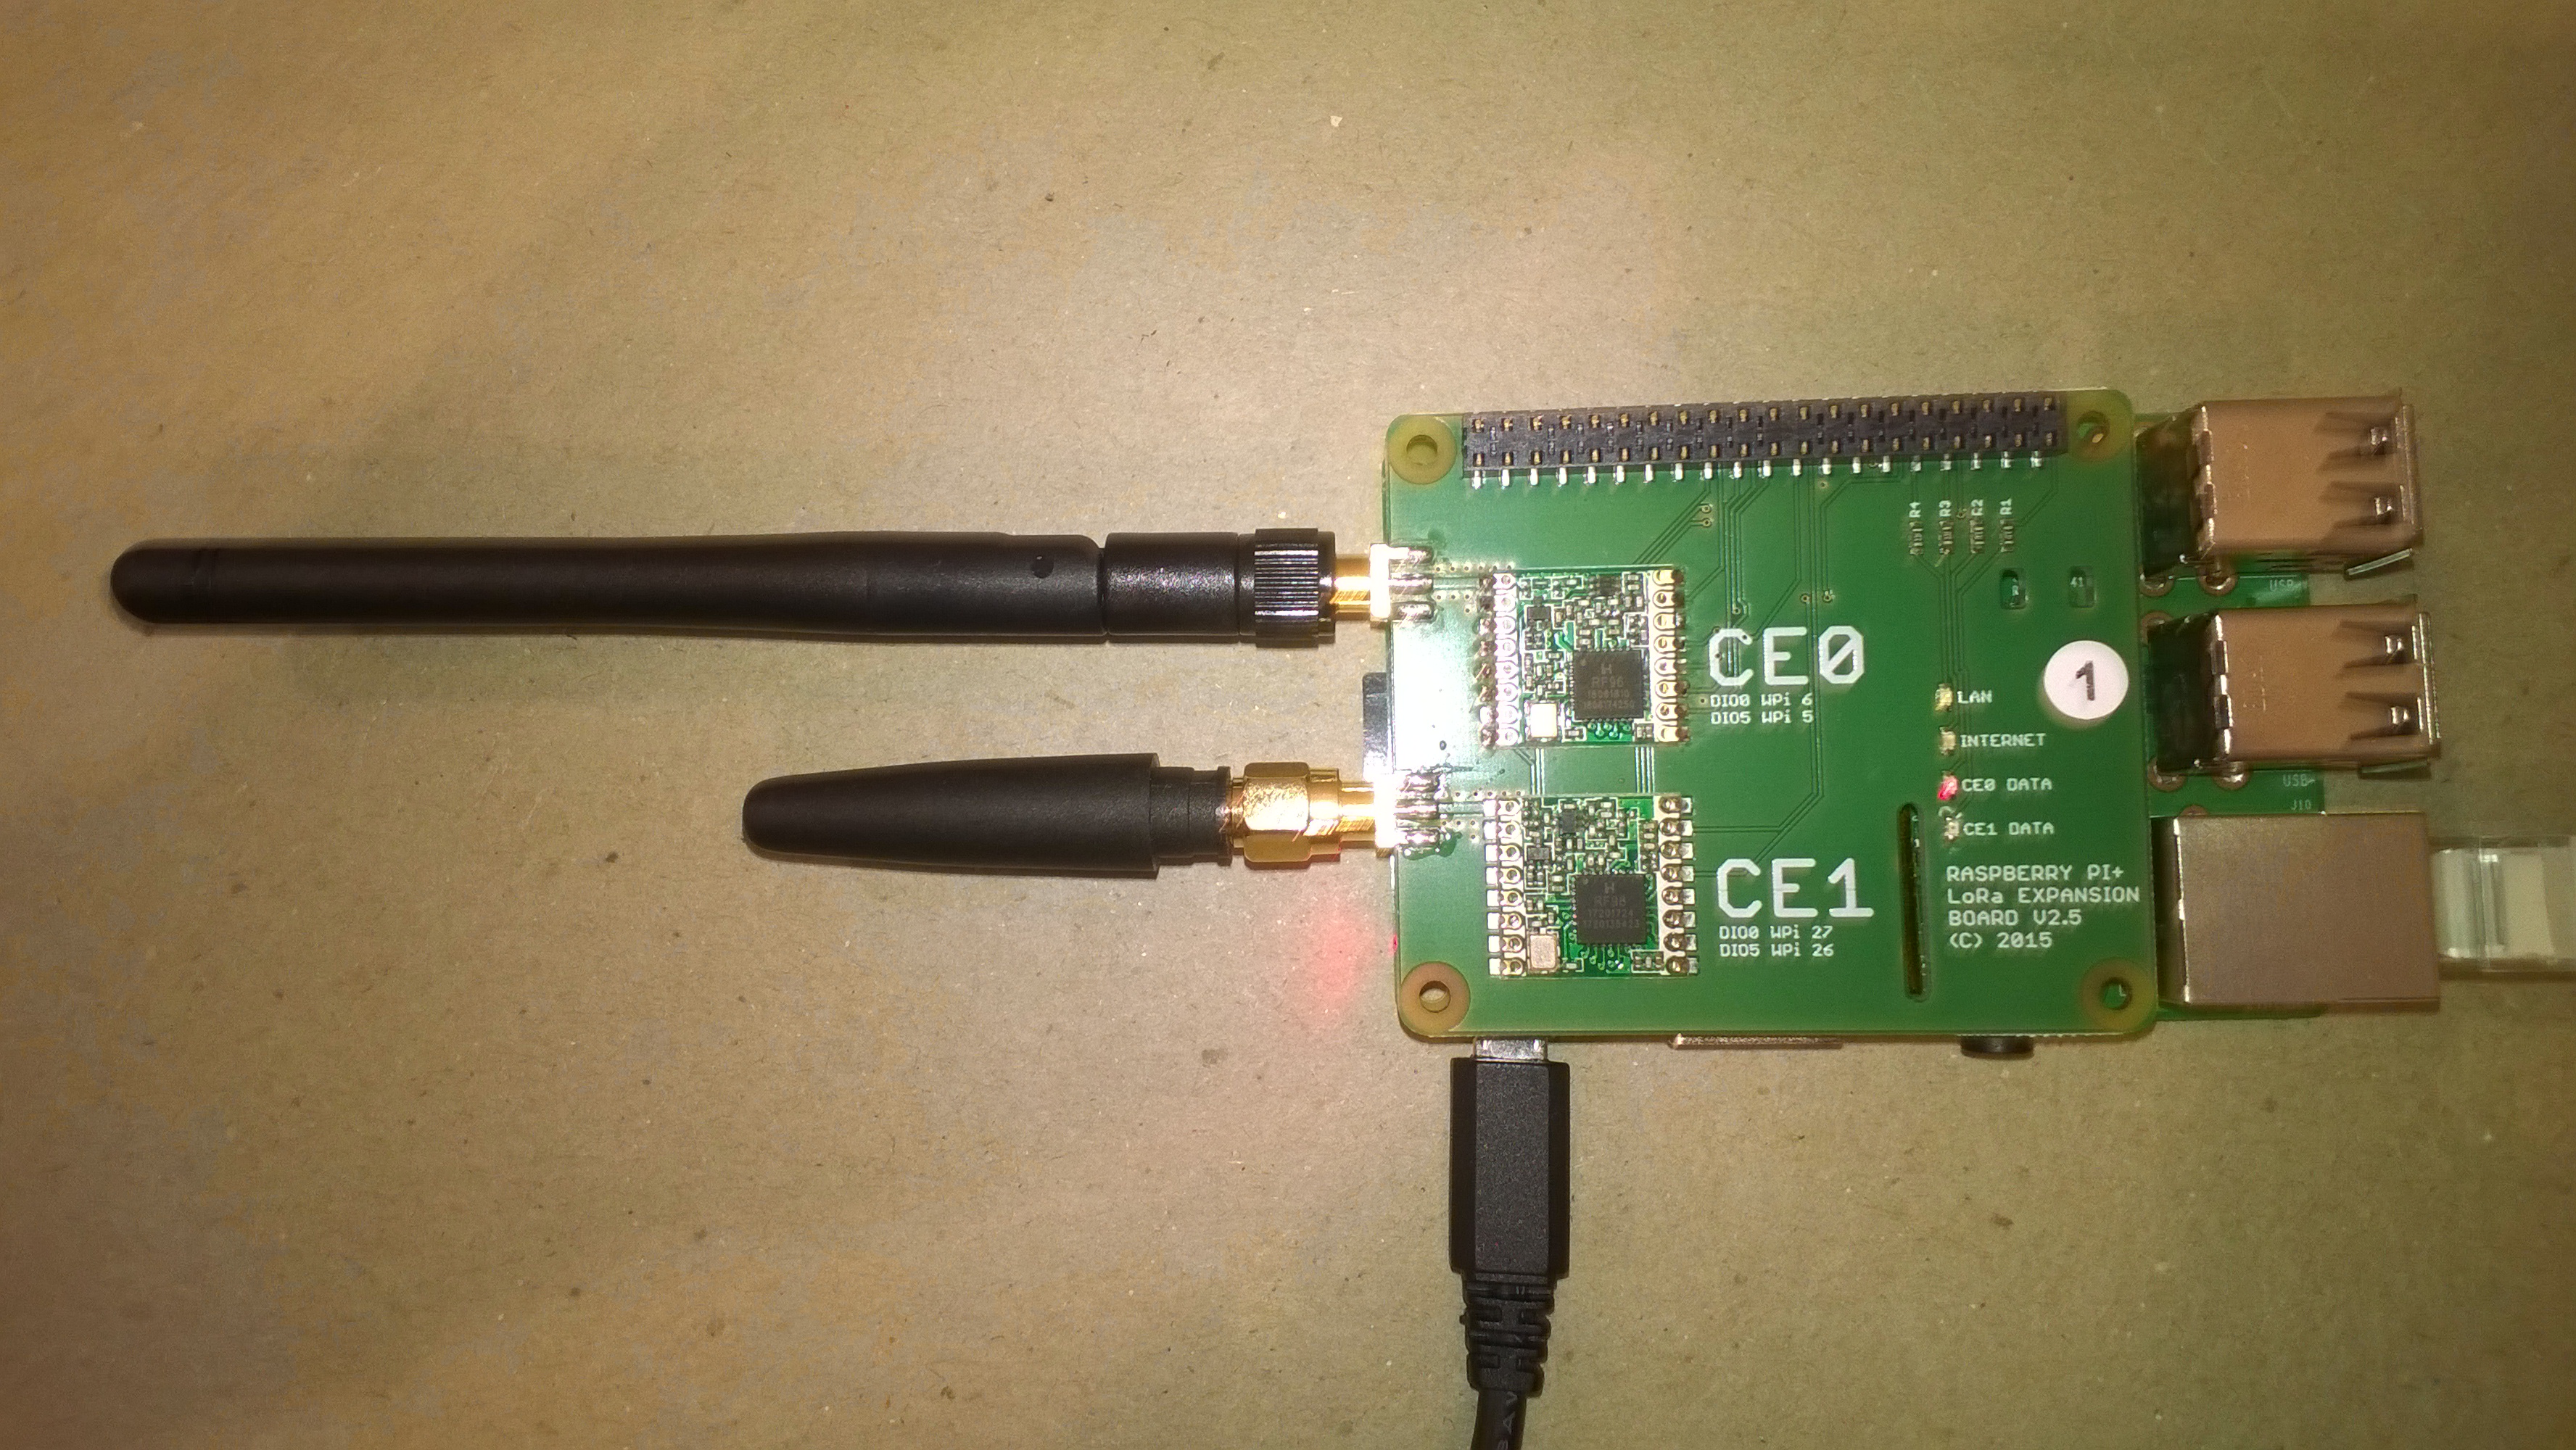
This is a demo Netduino client (based on one of the examples in my RFM9XLoRaNetMF library) that uploads telemetry data to my Windows 10 IoT Core on Raspberry PI field gateway proof of concept(PoC).
Bill of materials (Prices Sep 2018)
- Netduino 3 USD40
- Seeedstudio Base shield V2 USD8.90 NZD14.00
- Seeedstudio Temperature&Humidity Sensor USD11.50 NZD20
- 5CM 4 Pin buckled cable USD1.90 NZD34.75
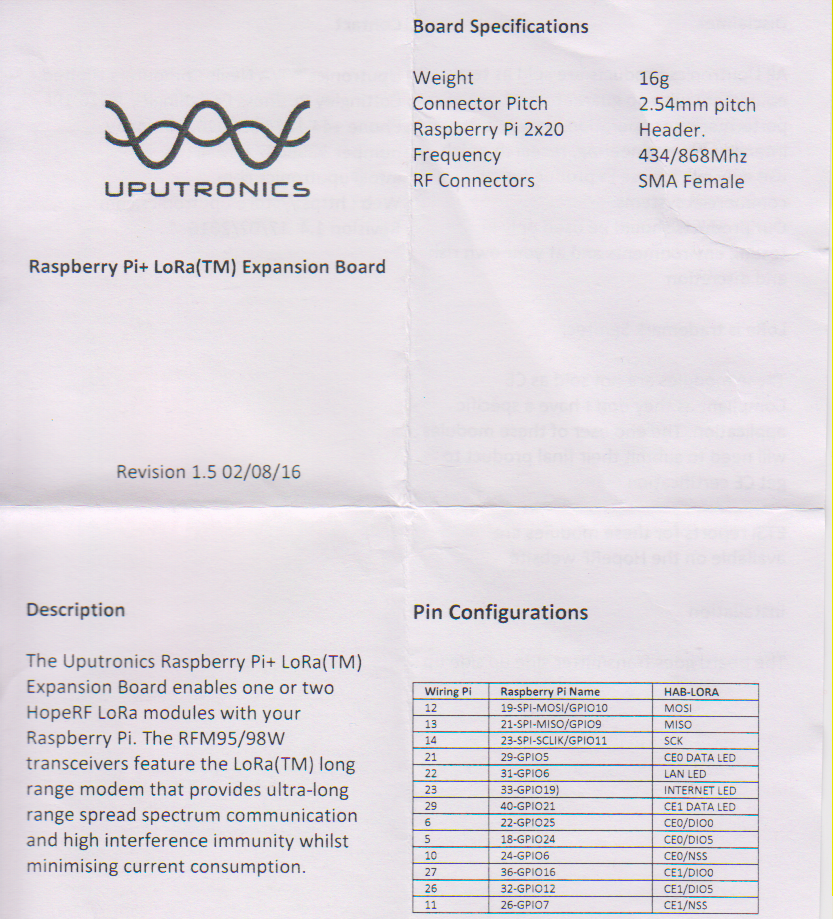
- Lora Shield
//---------------------------------------------------------------------------------
// Copyright (c) 2017, devMobile Software
//
// Licensed under the Apache License, Version 2.0 (the "License");
// you may not use this file except in compliance with the License.
// You may obtain a copy of the License at
//
//     http://www.apache.org/licenses/LICENSE-2.0
//
// Unless required by applicable law or agreed to in writing, software
// distributed under the License is distributed on an "AS IS" BASIS,
// WITHOUT WARRANTIES OR CONDITIONS OF ANY KIND, either express or implied.
// See the License for the specific language governing permissions and
// limitations under the License.
//---------------------------------------------------------------------------------
namespace devMobile.IoT.Netduino.FieldGateway
{
   using System;
   using System.Text;
   using System.Threading;
   using Microsoft.SPOT;
   using Microsoft.SPOT.Hardware;
   using SecretLabs.NETMF.Hardware.Netduino;
   using devMobile.IoT.NetMF.ISM;
   using devMobile.NetMF.Sensor;

   class NetduinoClient
   {
      Rfm9XDevice rfm9XDevice;
      private readonly TimeSpan dueTime = new TimeSpan(0, 0, 15);
      private readonly TimeSpan periodTime = new TimeSpan(0, 0, 300);
      private readonly SiliconLabsSI7005 sensor = new SiliconLabsSI7005();
      private readonly OutputPort _led = new OutputPort(Pins.ONBOARD_LED, false);
      private readonly byte[] fieldGatewayAddress = Encoding.UTF8.GetBytes("LoRaIoT1");
      private readonly byte[] deviceAddress = Encoding.UTF8.GetBytes("Netduino1");

      public NetduinoClient()
      {
         rfm9XDevice = new Rfm9XDevice(Pins.GPIO_PIN_D10, Pins.GPIO_PIN_D9, Pins.GPIO_PIN_D2);
      }

      public void Run()
      {
         //rfm9XDevice.Initialise(frequency: 915000000, paBoost: true, rxPayloadCrcOn: true);
         rfm9XDevice.Initialise(frequency: 433000000, paBoost: true, rxPayloadCrcOn: true);
         rfm9XDevice.Receive(deviceAddress);

         rfm9XDevice.OnDataReceived += rfm9XDevice_OnDataReceived;
         rfm9XDevice.OnTransmit += rfm9XDevice_OnTransmit;

         Timer humidityAndtemperatureUpdates = new Timer(HumidityAndTemperatureTimerProc, null, dueTime, periodTime);

         Thread.Sleep(Timeout.Infinite);
      }

      private void HumidityAndTemperatureTimerProc(object state)
      {
         _led.Write(true);

         double humidity = sensor.Humidity();
         double temperature = sensor.Temperature();

         Debug.Print(DateTime.UtcNow.ToString("hh:mm:ss") + " H:" + humidity.ToString("F1") + " T:" + temperature.ToString("F1"));

         rfm9XDevice.Send(fieldGatewayAddress, Encoding.UTF8.GetBytes( "t " + temperature.ToString("F1") + ",H " + humidity.ToString("F0")));

         _led.Write(true);
      }

      void rfm9XDevice_OnTransmit()
      {
         Debug.Print("Transmit-Done");
         _led.Write(false);
      }

      void rfm9XDevice_OnDataReceived(byte[] address, float packetSnr, int packetRssi, int rssi, byte[] data)
      {
         try
         {
            string messageText = new string(UTF8Encoding.UTF8.GetChars(data));
            string addressText = new string(UTF8Encoding.UTF8.GetChars(address));

            Debug.Print(DateTime.UtcNow.ToString("HH:MM:ss") + "-Rfm9X PacketSnr " + packetSnr.ToString("F1") + " Packet RSSI " + packetRssi + "dBm RSSI " + rssi + "dBm = " + data.Length + " byte message " + @"""" + messageText + @"""");
         }
         catch (Exception ex)
         {
            Debug.Print(ex.Message);
         }
      }
   }
}
The code is available on GitHub
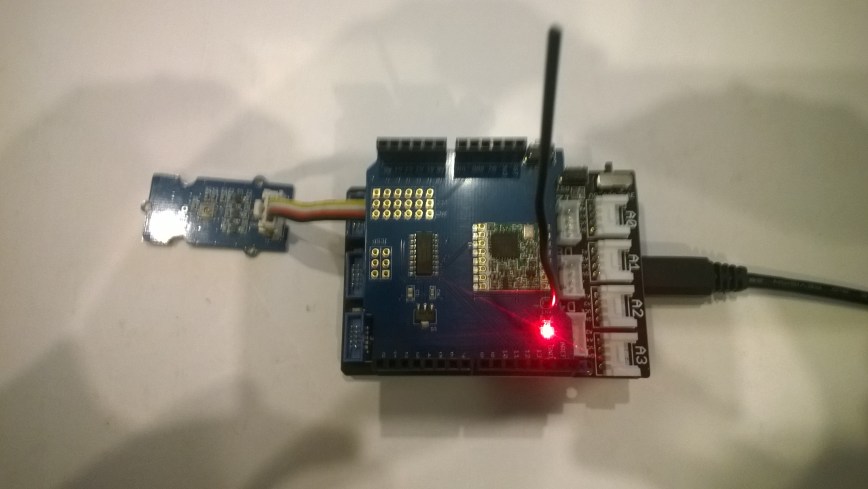
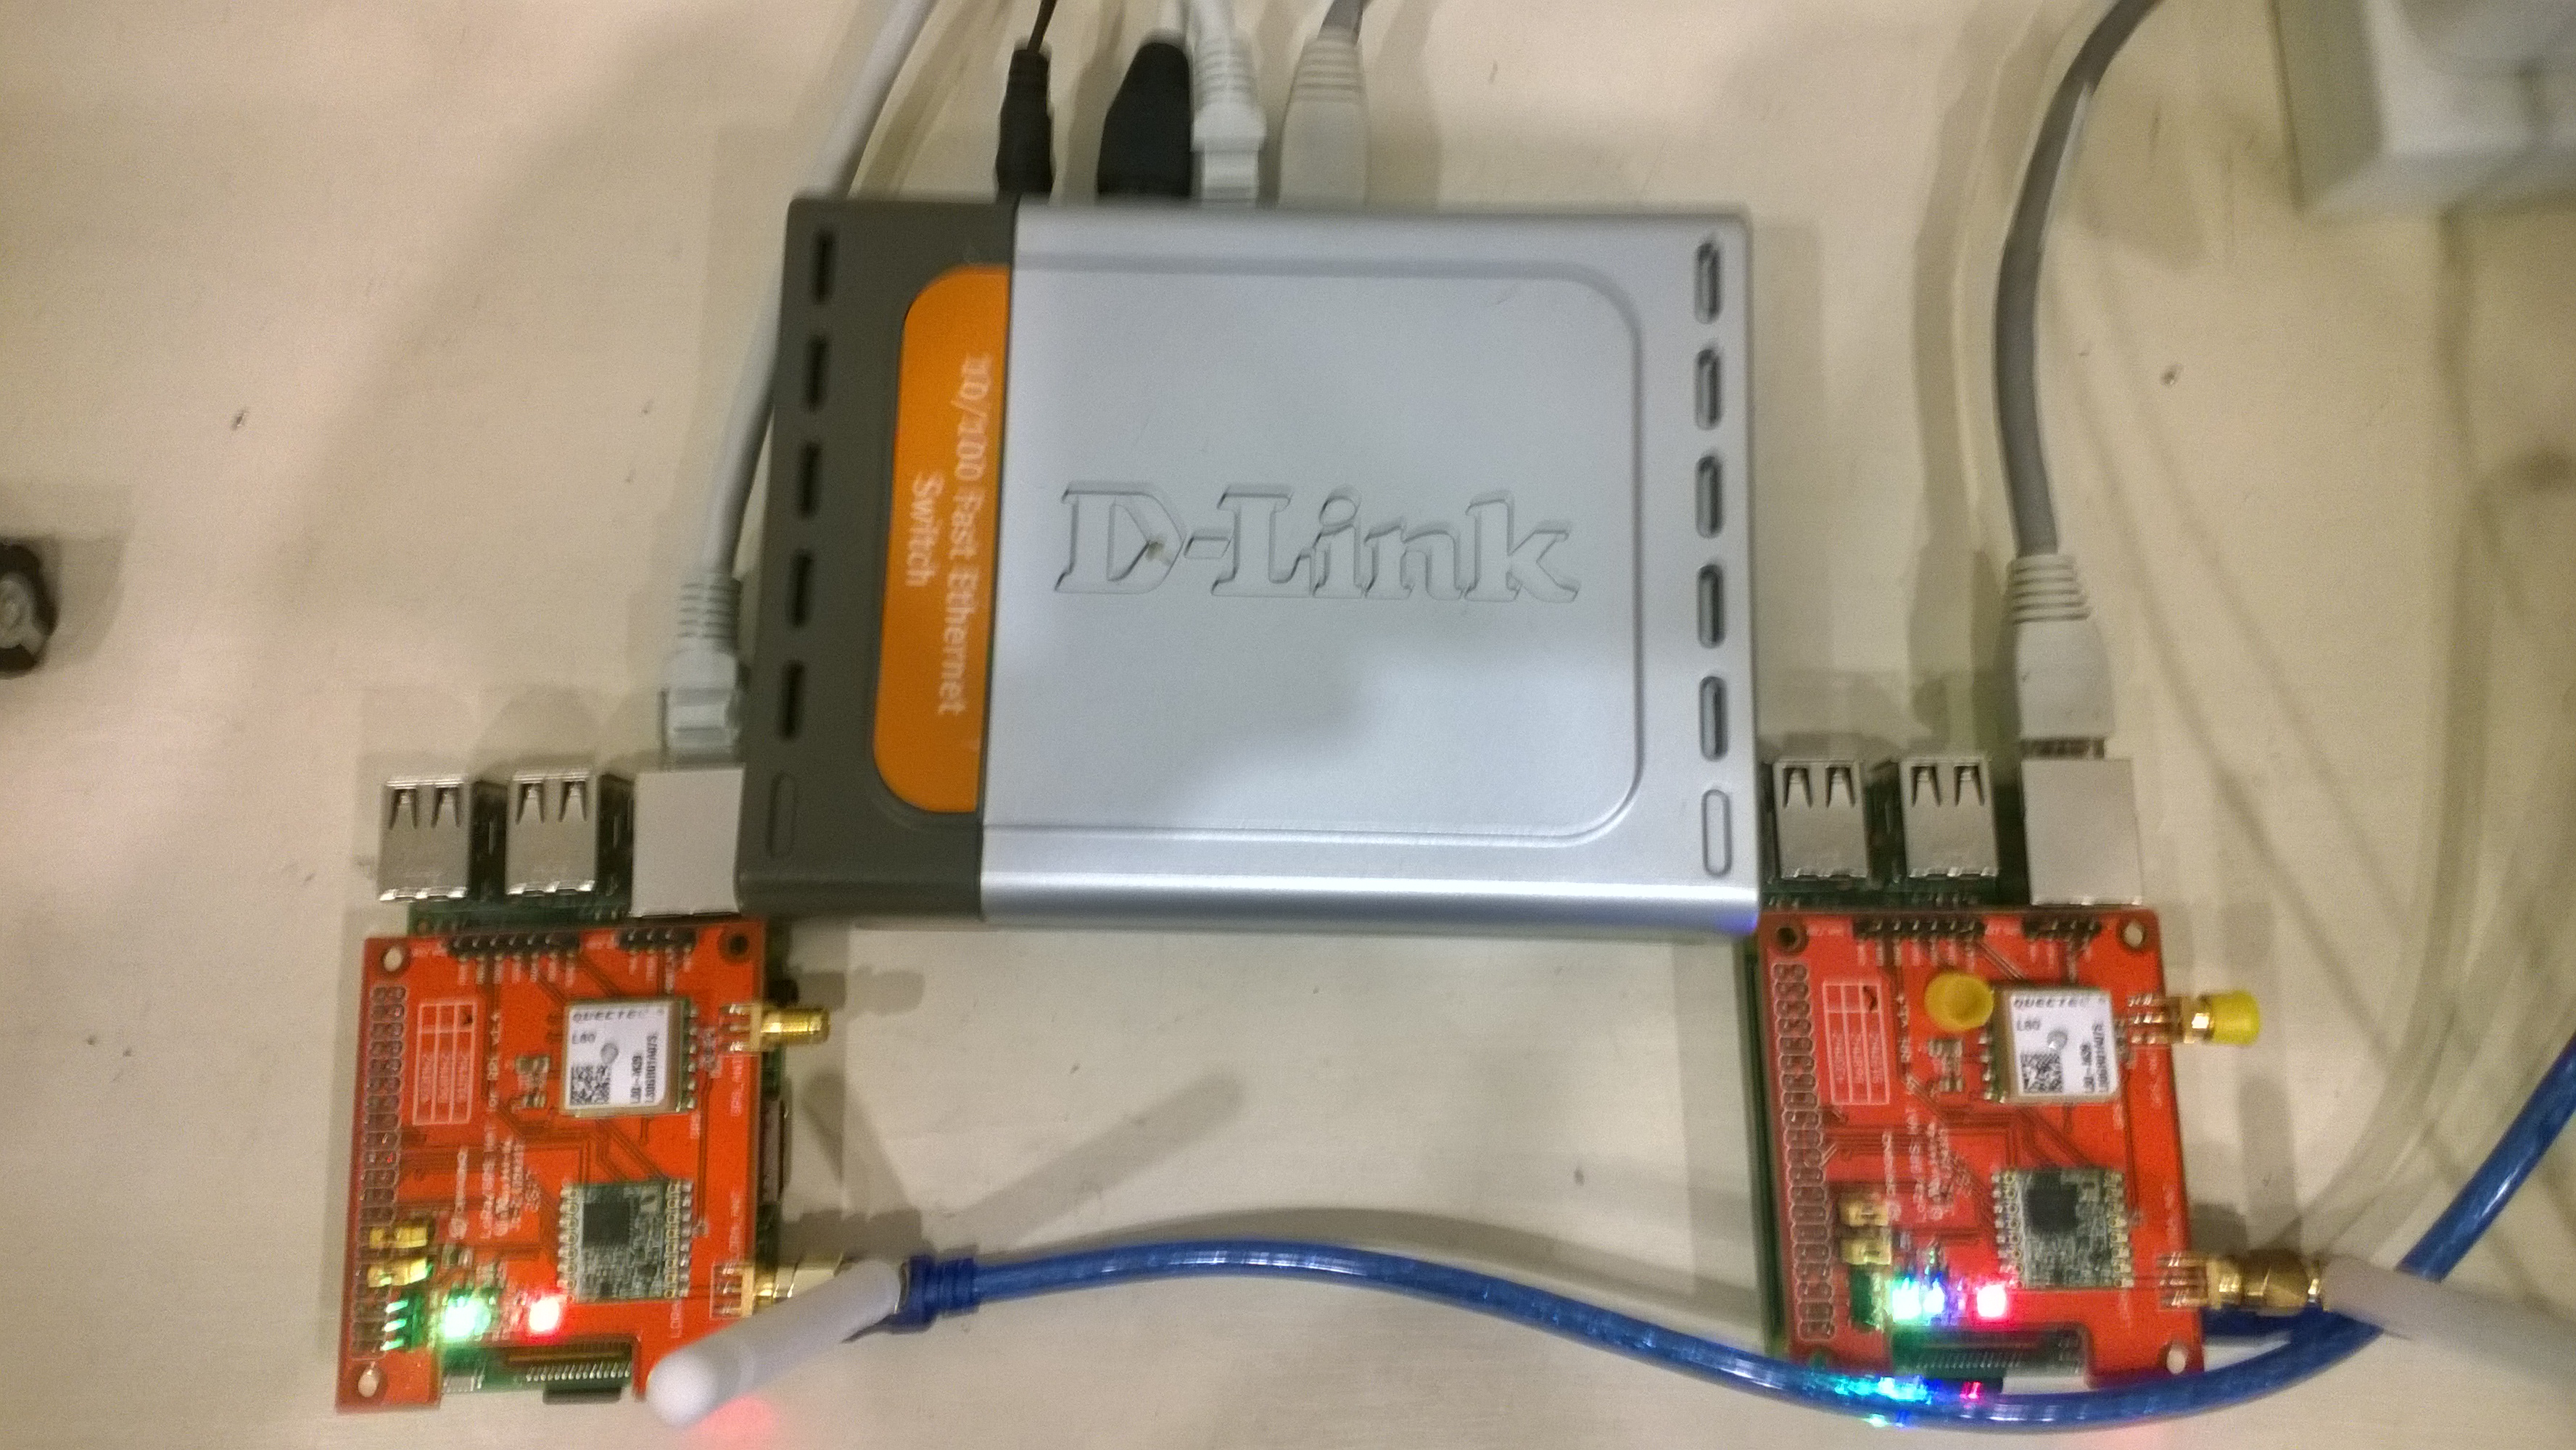
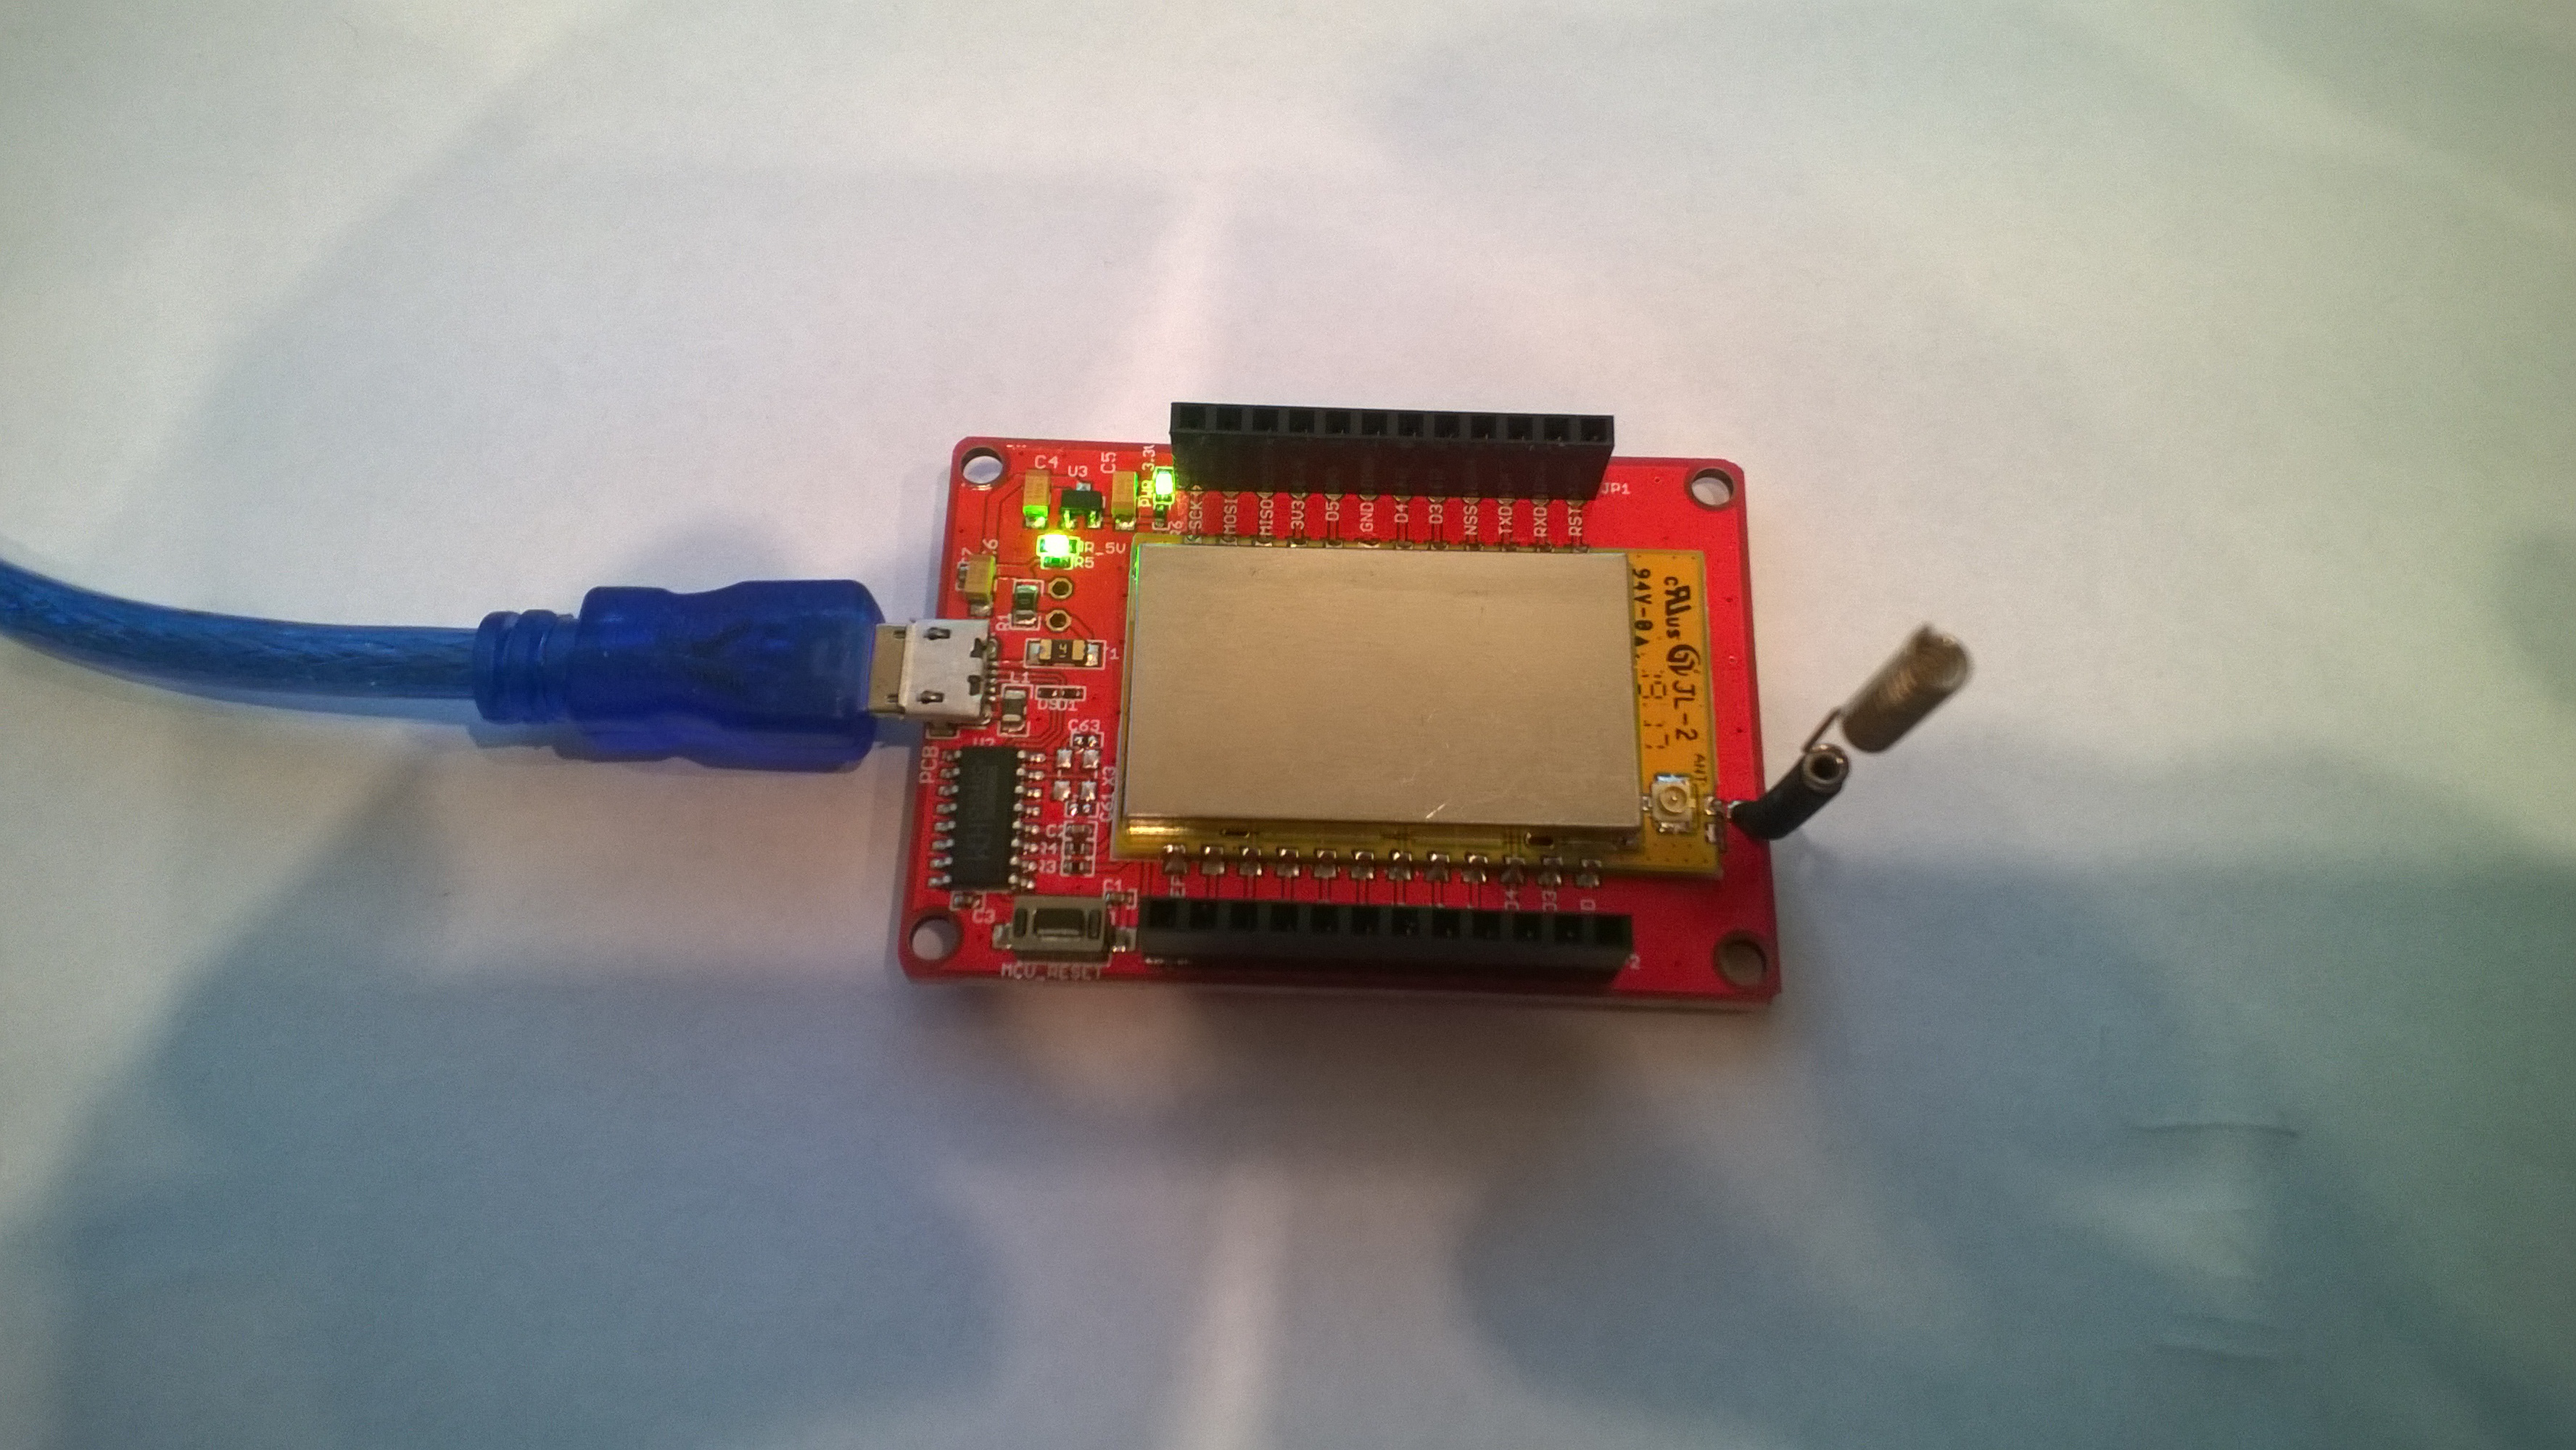
Elecrow shield
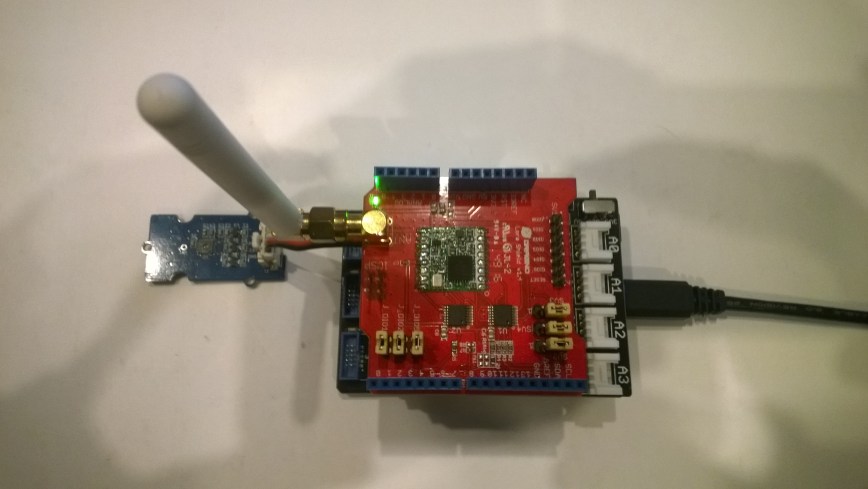
Dragino shield
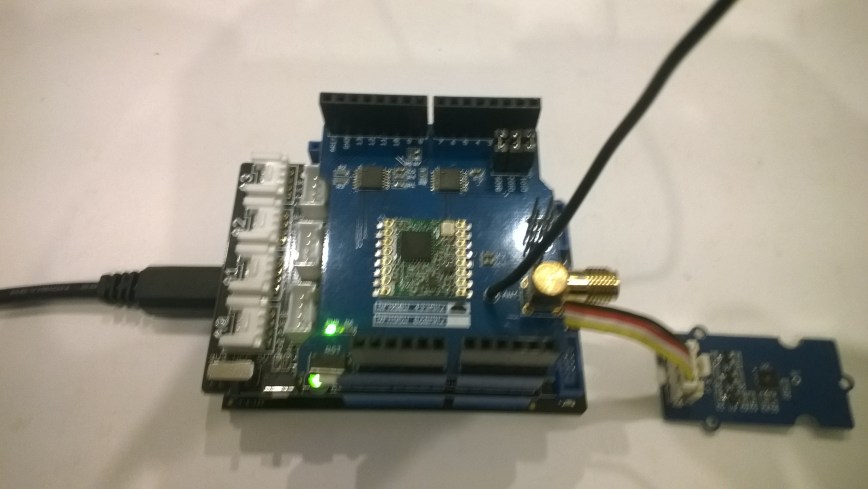
MakerFabs shield
Net Micro Framework debug output from device
The thread '' (0x2) has exited with code 0 (0x0).
12:00:18 H:96.9 T:19.6
Transmit-Done
12:05:17 H:95.1 T:20.1
Transmit-Done
.Net Framework debug output Field Gateway
The thread 0x1550 has exited with code 0 (0x0).
21:21:49-RX From Netduino1 PacketSnr 9.5 Packet RSSI -40dBm RSSI -107dBm = 11 byte message "t 19.6,H 97"
 Sensor Netduino1t Value 19.6
 Sensor Netduino1H Value 97
 AzureIoTHubClient SendEventAsync start
 AzureIoTHubClient SendEventAsync finish
...
21:26:49-RX From Netduino1 PacketSnr 9.5 Packet RSSI -33dBm RSSI -103dBm = 11 byte message "t 20.1,H 95"
 Sensor Netduino1t Value 20.1
 Sensor Netduino1H Value 95
 AzureIoTHubClient SendEventAsync start
 AzureIoTHubClient SendEventAsync finish
The thread 0xfbc has exited with code 0 (0x0).
Then in my Azure IoT Hub