Netduino pollution Monitor V0.1

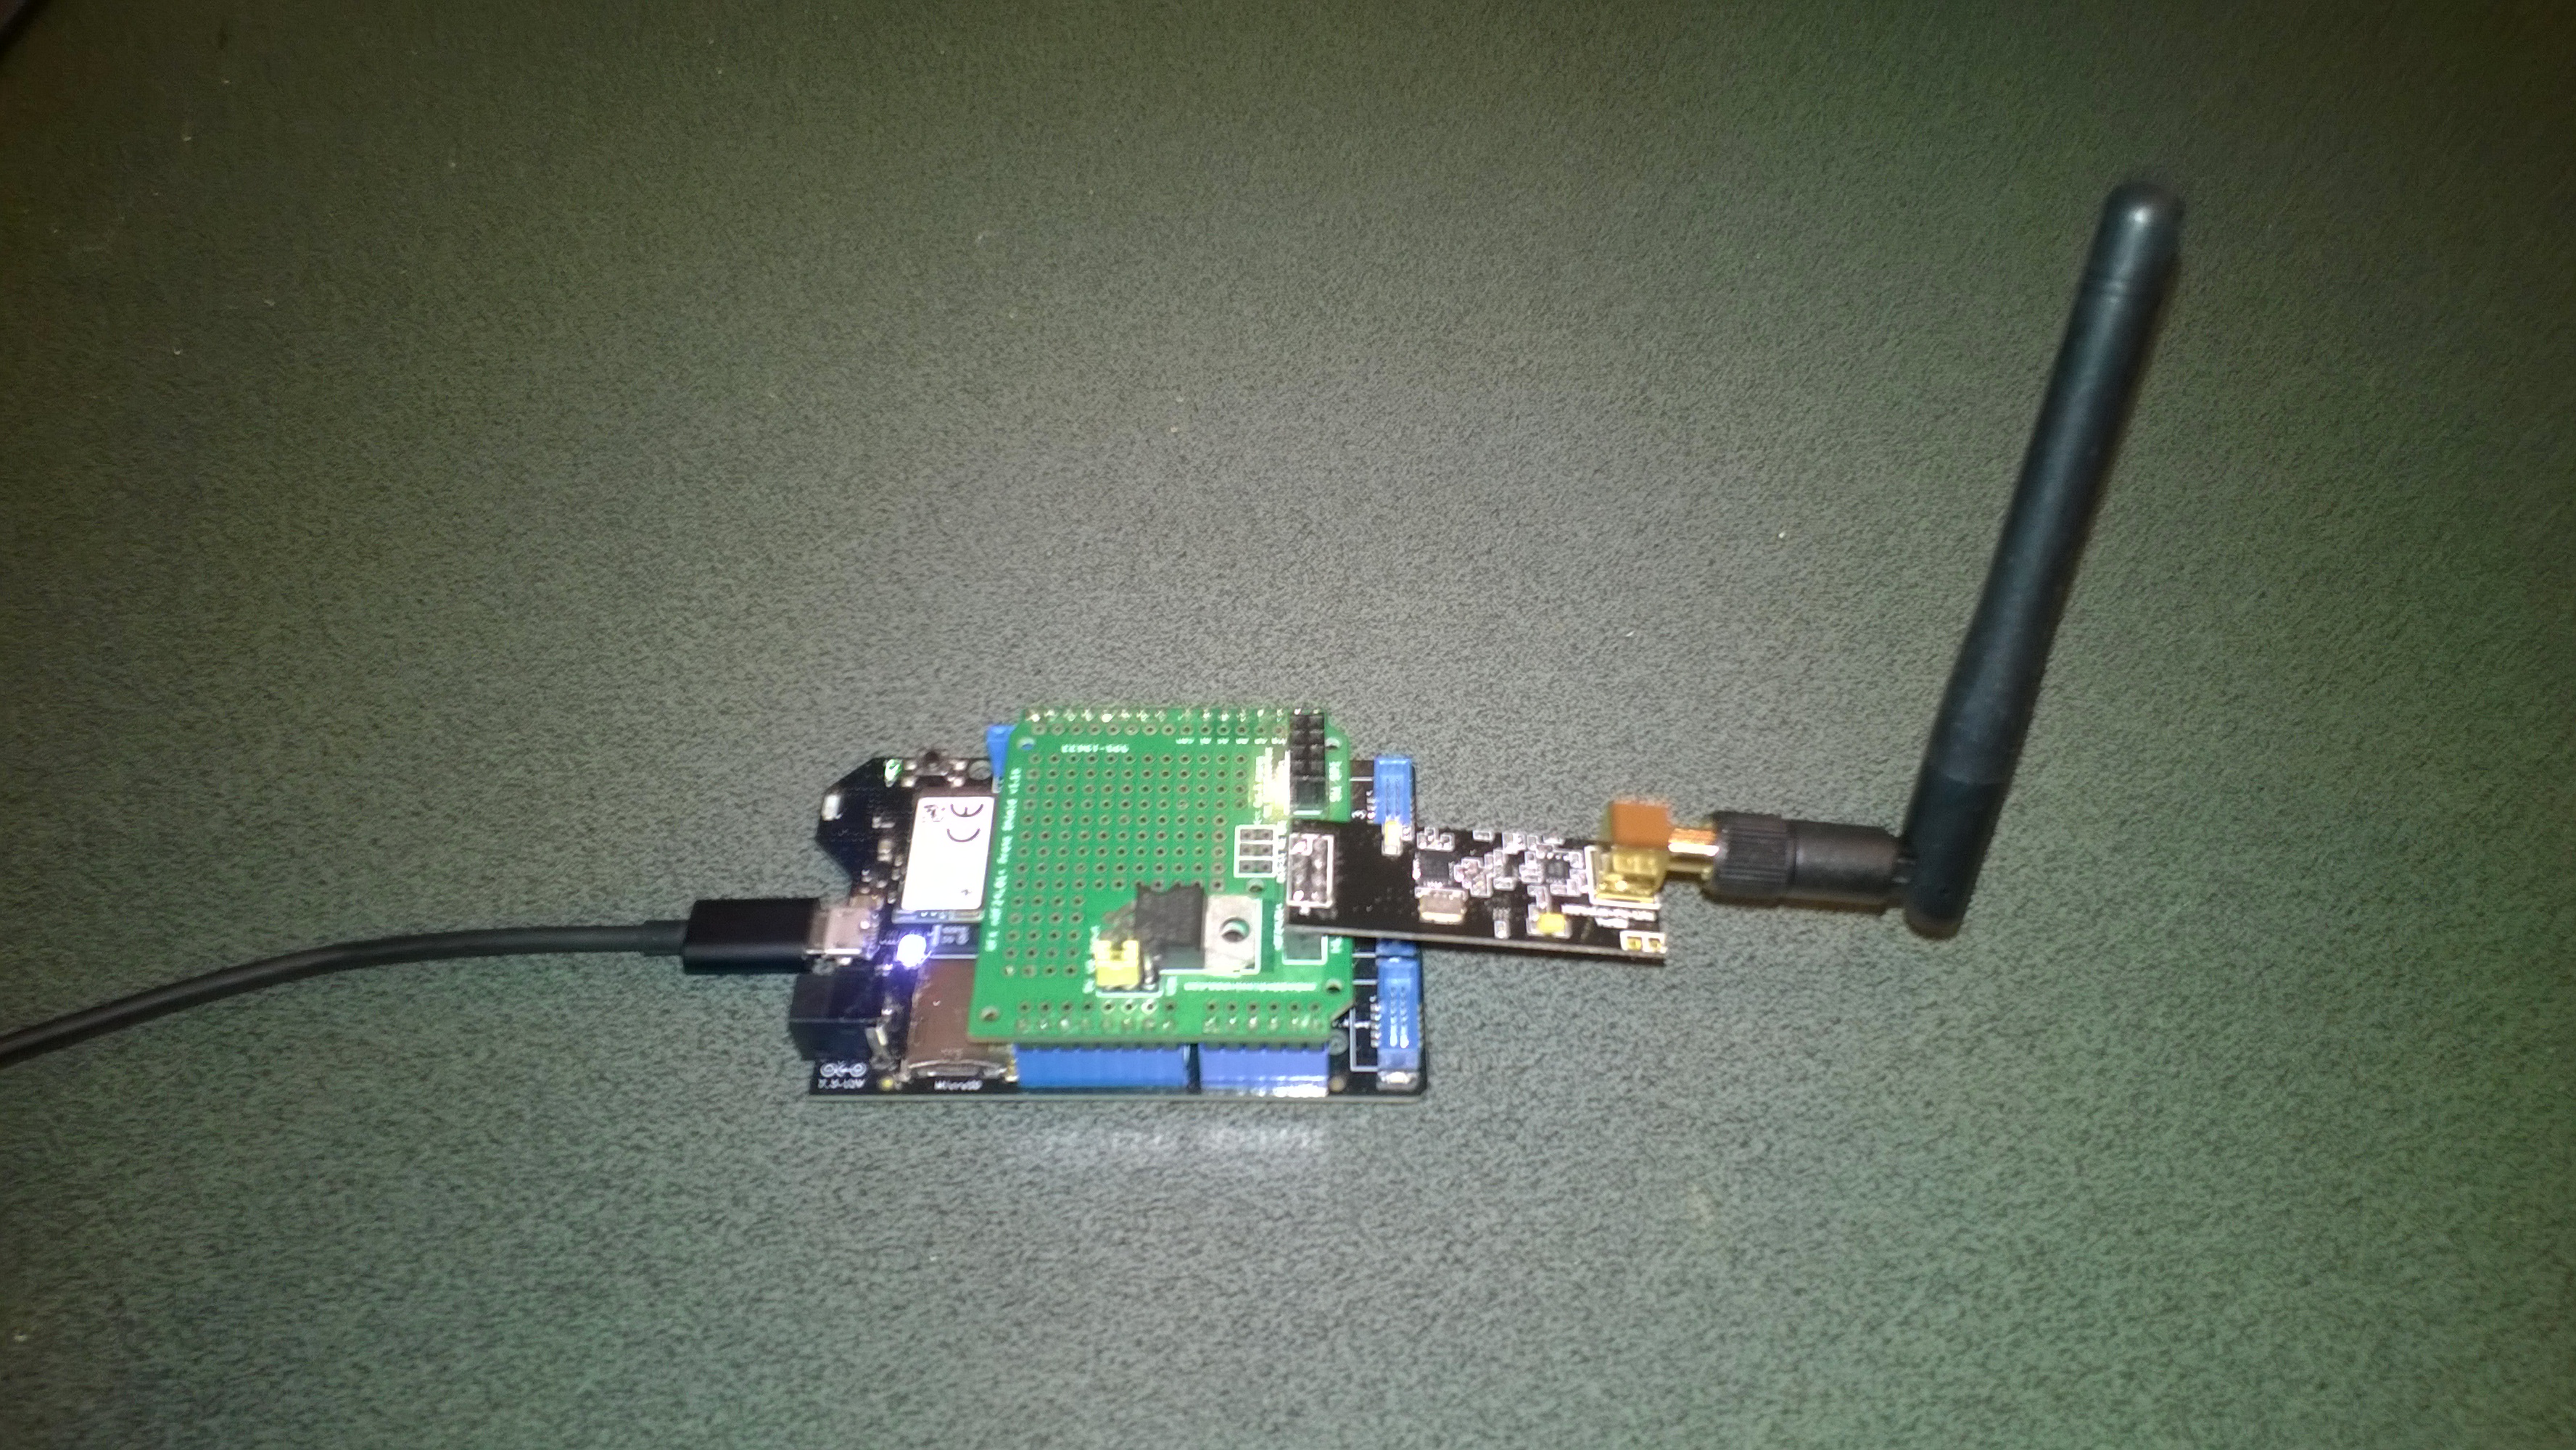
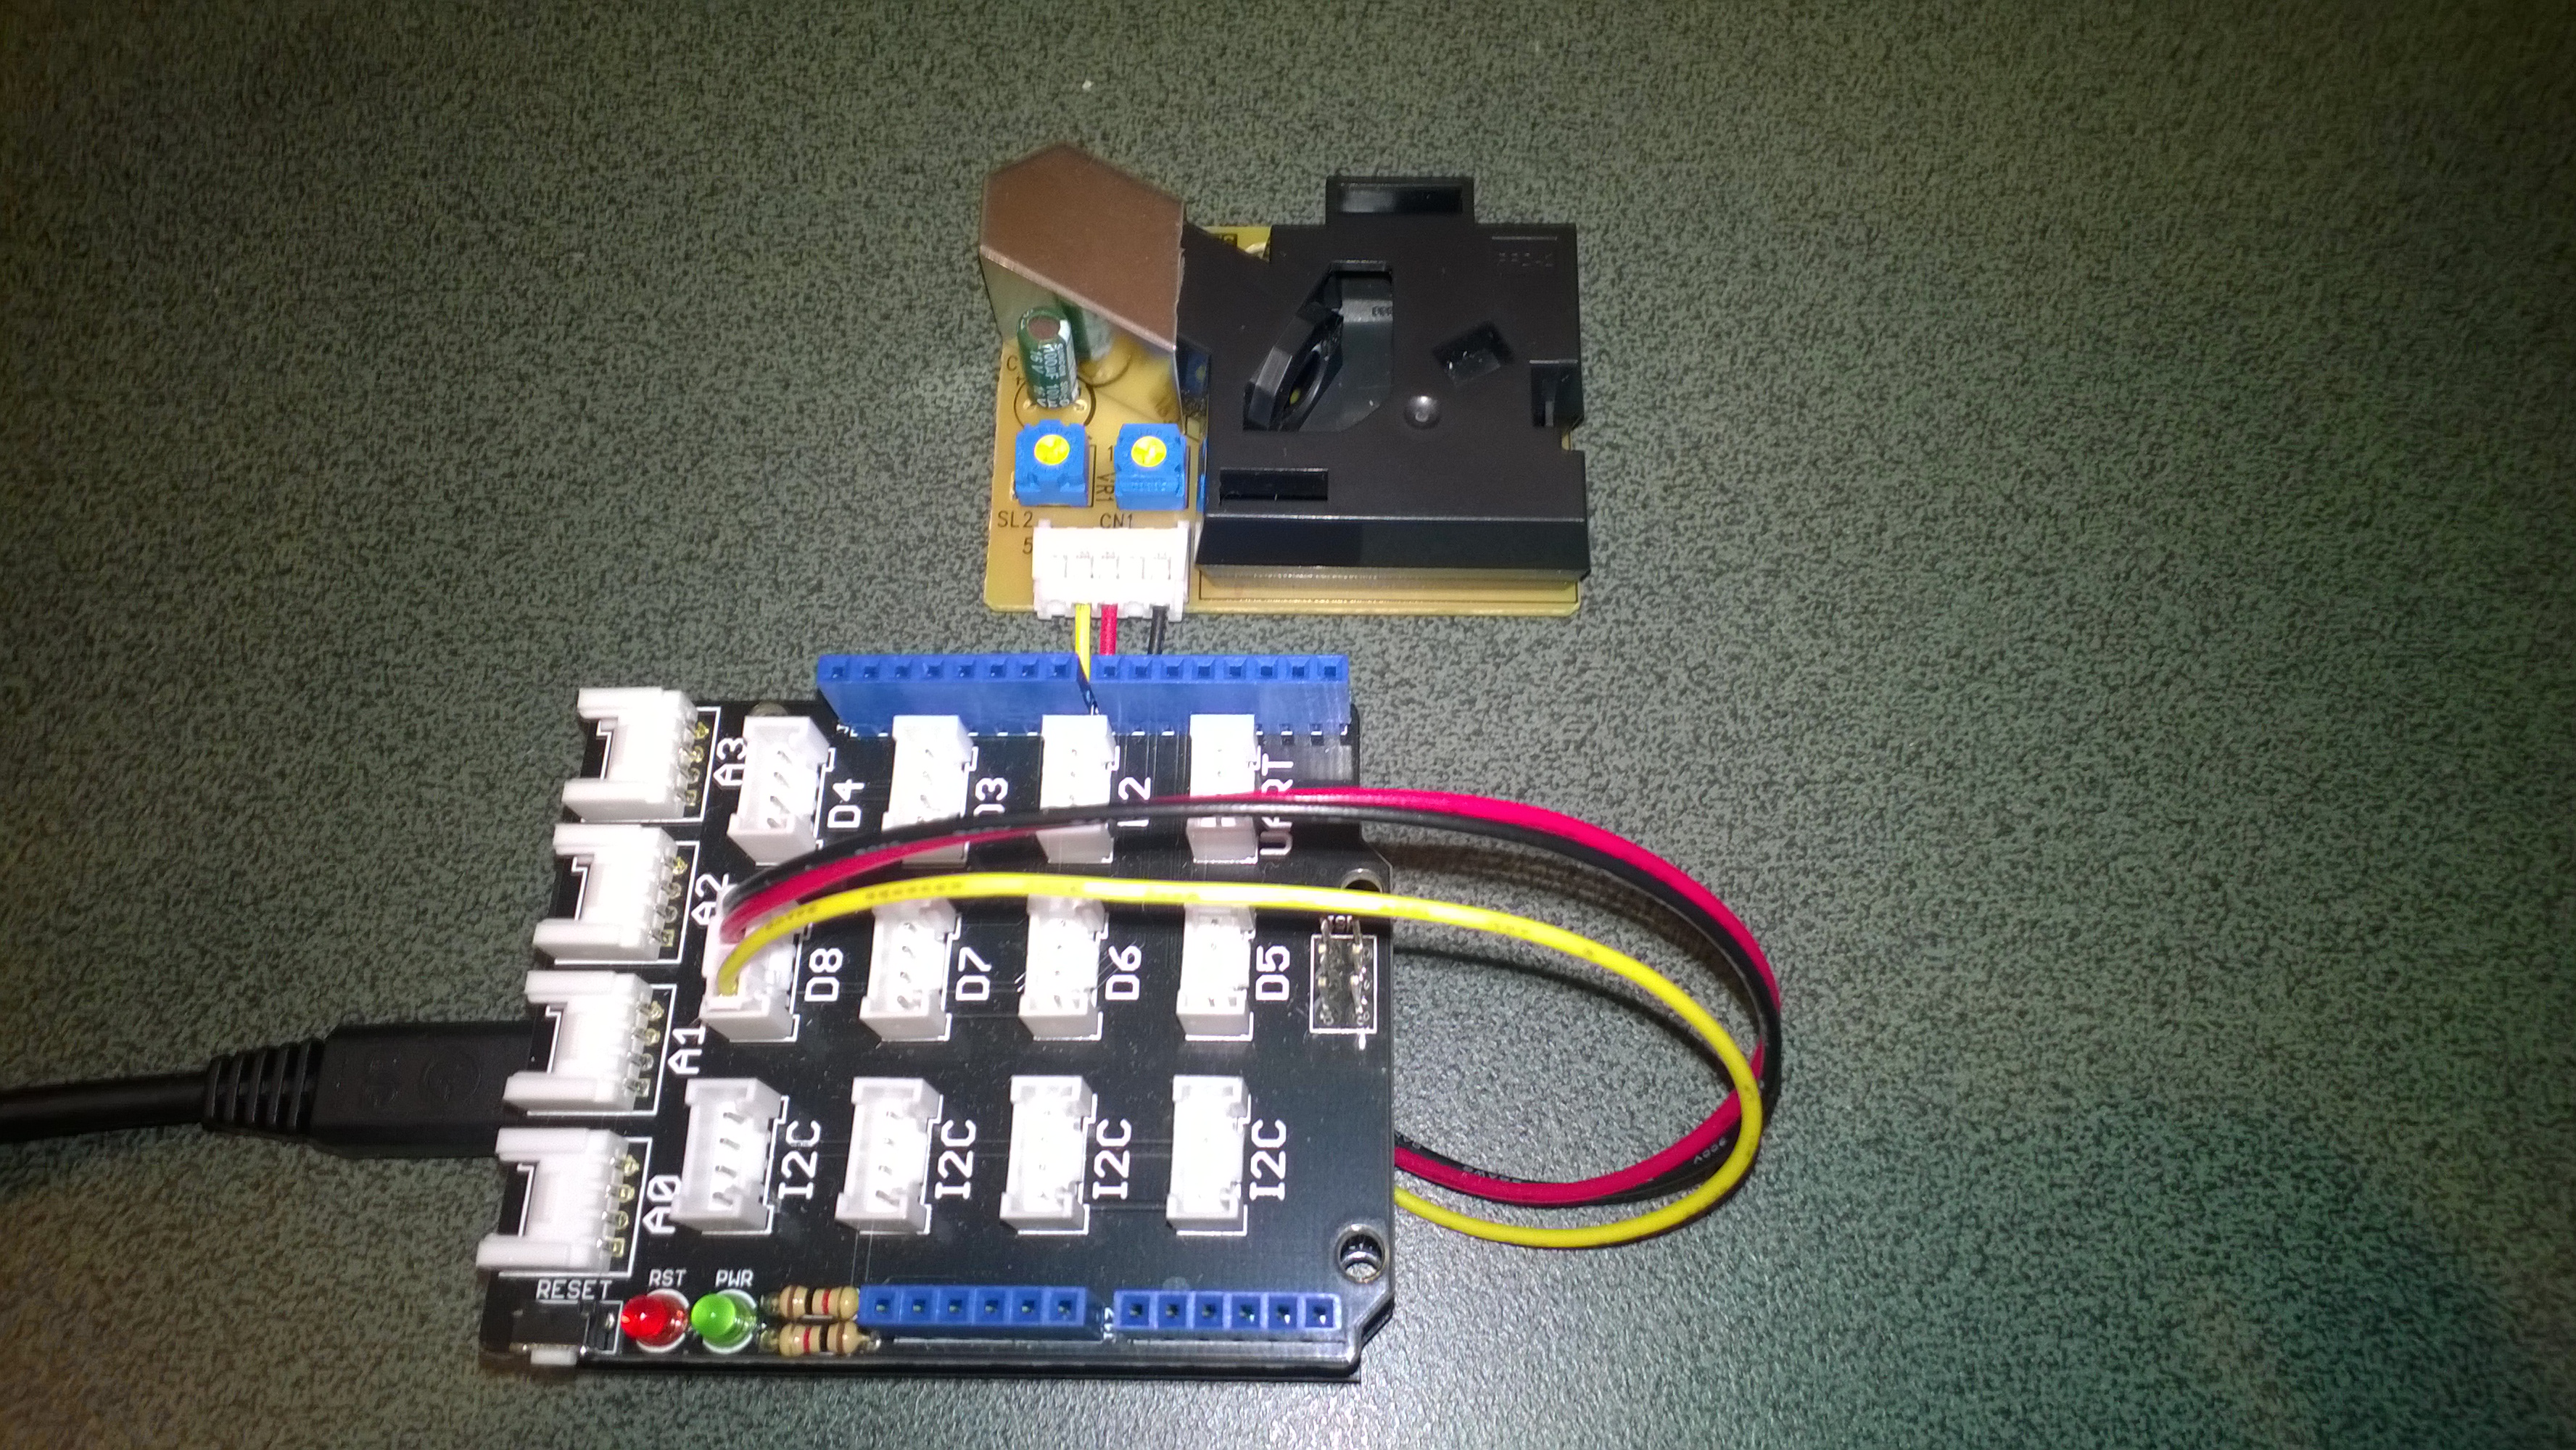
As part of a project for Sensing City I had been helping with the evaluation of  PM2.5/PM10 sensors for monitoring atmospheric pollution levels. For my DIY IoT projects I use the SeeedStudio Grove system which has a couple of dust sensors. The Grove Dust Sensor which is based on a Shinyei Model PPD42 Particle Sensor looked like a cost effective option.

Seeedstudio Grove Dust Sensor

Seeedstudio Grove Dust Sensor

Bill of Materials for my engineering proof of concept (Prices as at June 2015)

I initially got the sensor running with one of my Arduino Uno R3  devices using the software from the seeedstudio wiki and the ratio values returned by my Netduino Plus 2 code (see below) look comparable. I have purchased a couple of extra dust sensors so I can run the Arduino & Netduino devices side by side. I am also trying to source a professional air quality monitor so I can see how reliable my results are

The thread ” (0x2) has exited with code 0 (0x0).

Ratio 0.012

Ratio 0.012

Ratio 0.020

Ratio 0.008

Ratio 0.031

Ratio 0.014

Ratio 0.028

Ratio 0.012

Ratio 0.013

Ratio 0.018

public class Program
{
private static long pulseStartTicks = 0;
private static long durationPulseTicksTotal = 0;
readonly static TimeSpan durationSample = new TimeSpan(0, 0, 0, 30);
readonly static TimeSpan durationWaitForBeforeFirstSample = new TimeSpan(0, 0, 0, 30);

public static void Main()
{
InterruptPort sensor = new InterruptPort(Pins.GPIO_PIN_D8, false, Port.ResistorMode.Disabled, Port.InterruptMode.InterruptEdgeBoth);
sensor.OnInterrupt += sensor_OnInterrupt;

Timer sampleTimer = new Timer(SampleTimerProc, null, durationWaitForBeforeFirstSample, durationSample);

Thread.Sleep(Timeout.Infinite);
}

static void sensor_OnInterrupt(uint data1, uint data2, DateTime time)
{
if (data2 == 1)
{
long pulseDuration = time.Ticks - pulseStartTicks;

durationPulseTicksTotal += pulseDuration;
}
else
{
pulseStartTicks = time.Ticks;
}
}

static void SampleTimerProc(object status)
{
double ratio = durationPulseTicksTotal / (double)durationSample.Ticks ;
durationPulseTicksTotal = 0;

Debug.Print("Ratio " + ratio.ToString("F3"));
}
}

Next steps will be, adding handling for edges cases, converting the ratio into a particle concentration per litre or 0.1 cubic feet, selecting a weather proof enclosure, smoothing/filtering the raw measurements, and uploading the values to Xively for presentation and storage.

EVolocity 3 Axis G-Meter

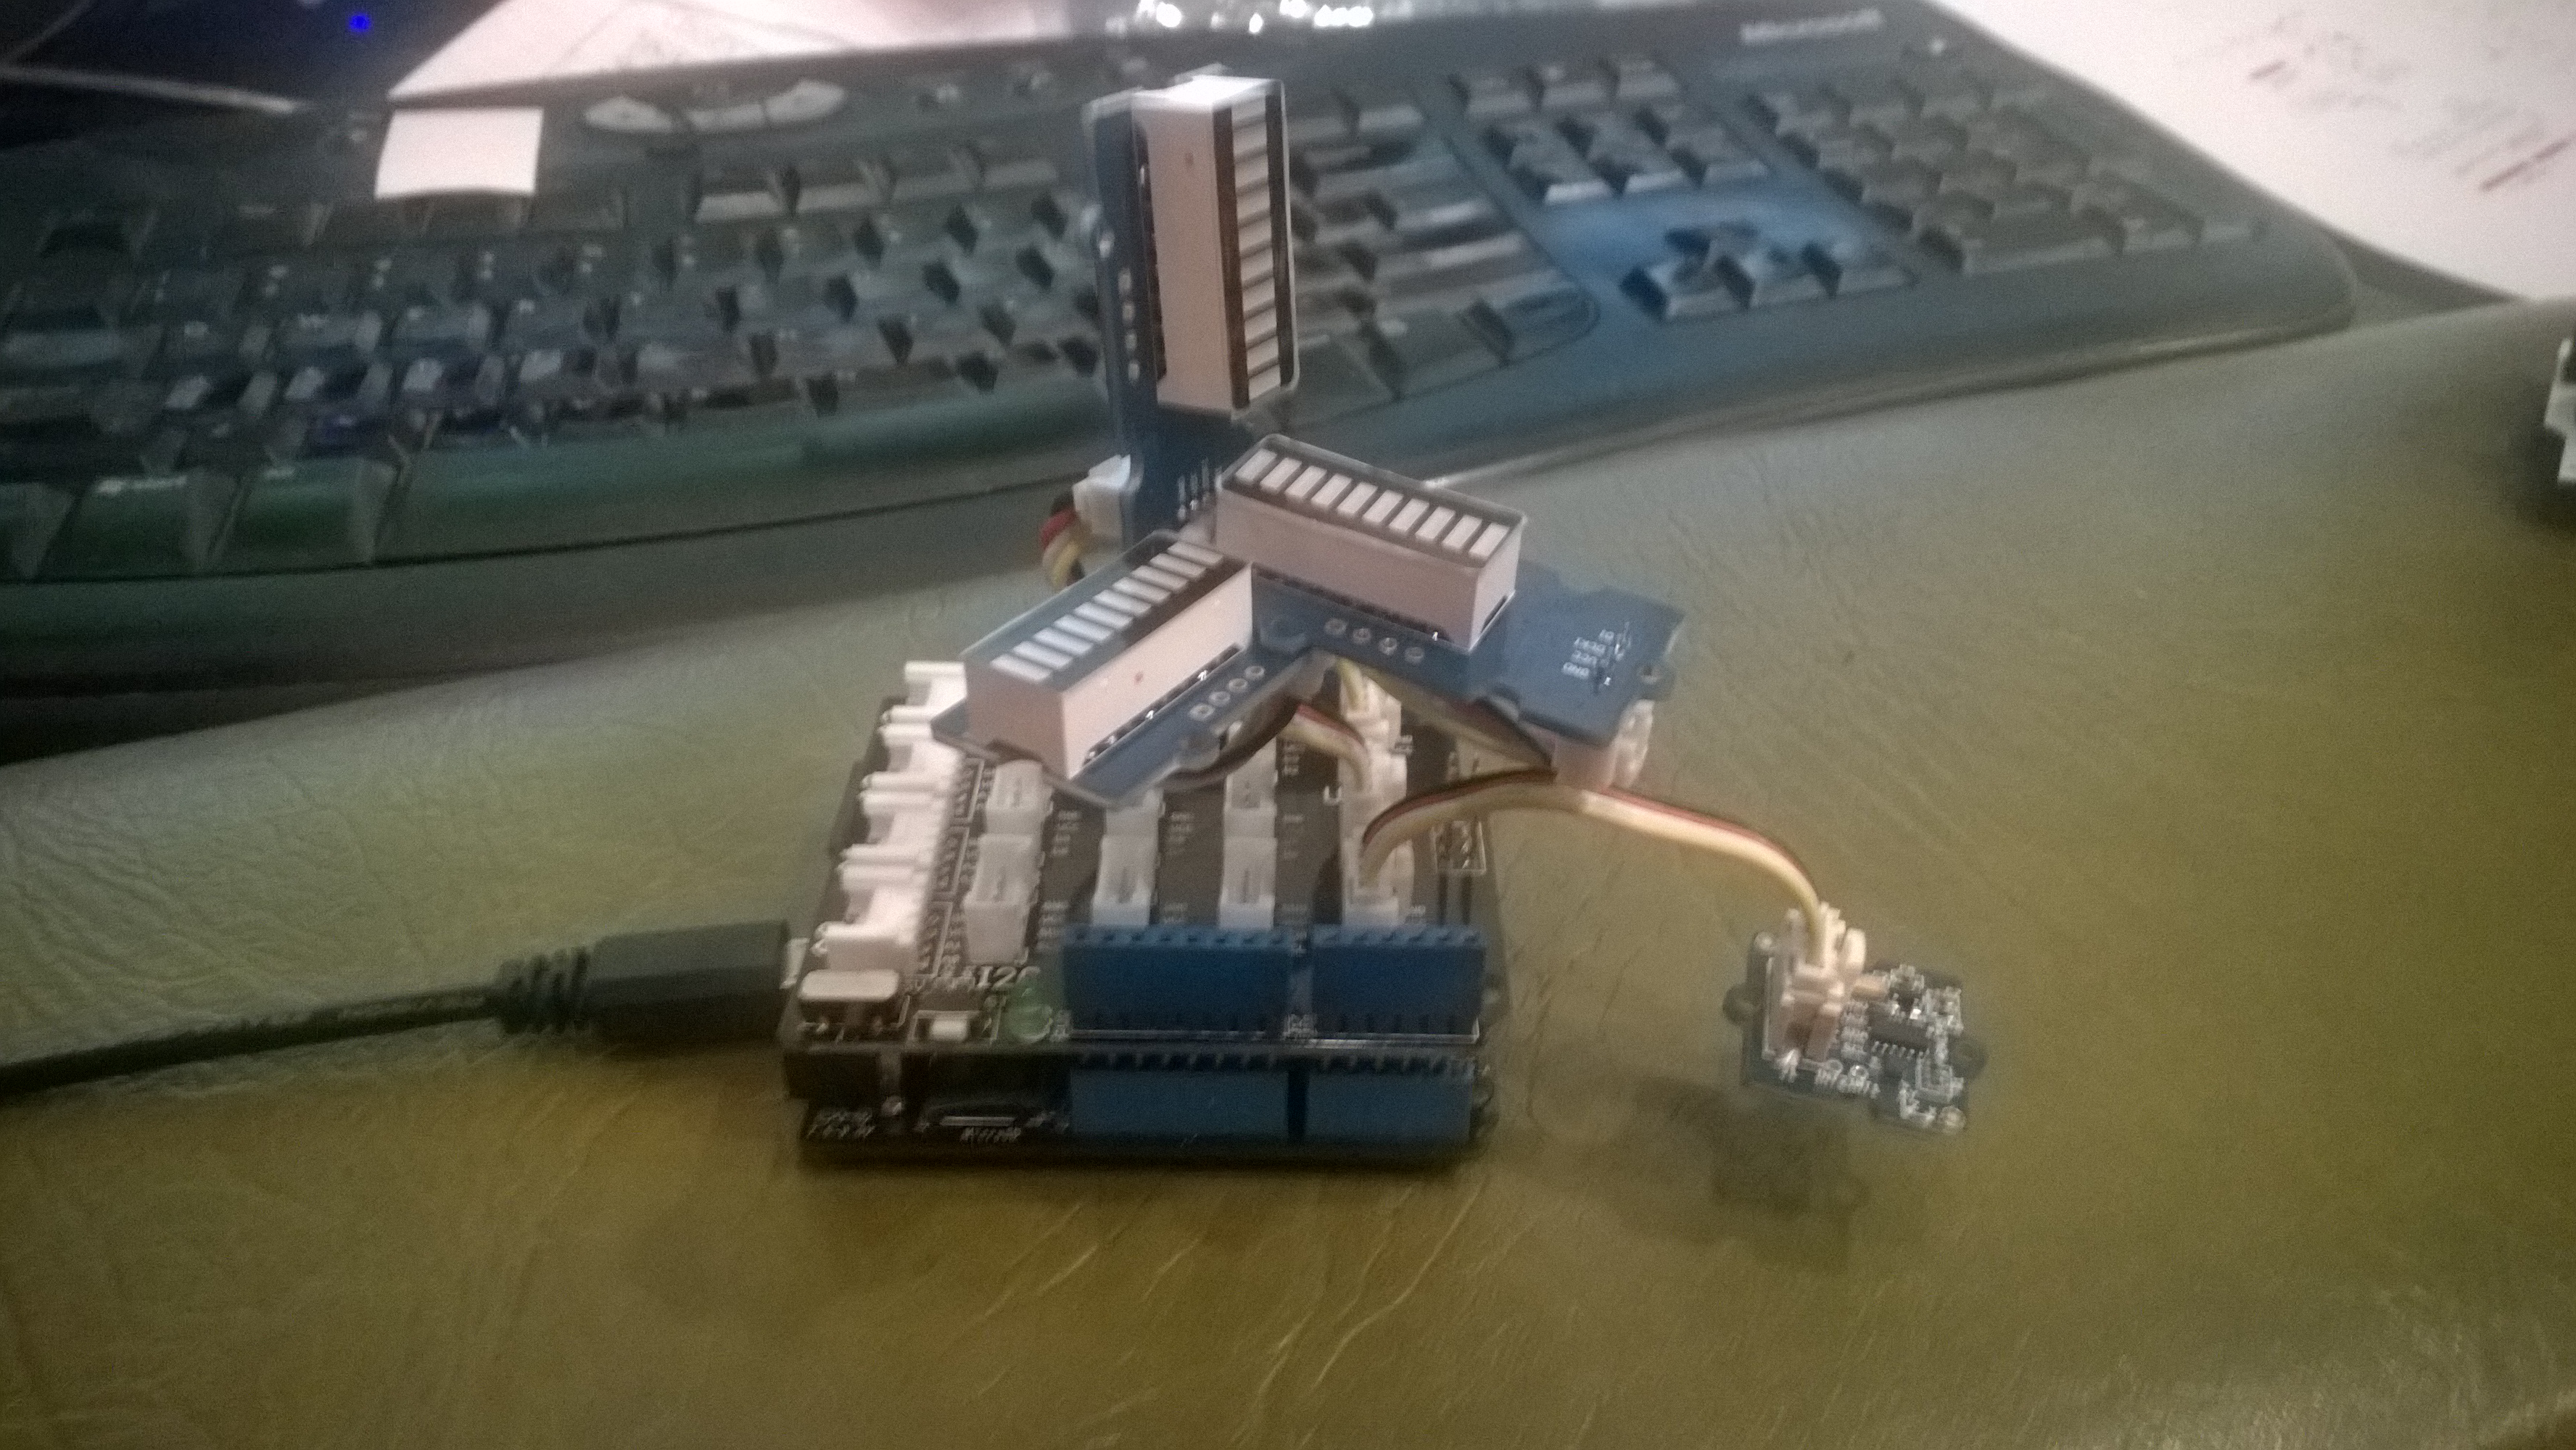
A telemetry system could be used to monitor the progress of your electric vehicle and provide feedback to the team & driver about how efficiently/fast it is being driven. As part of a telemetry system lateral, longitudinal, and vertical acceleration could be monitored using a cheap ADXL345 mems accelerometer

Netduino based 3D GMeter

Netduino based 3D G-Meter

Bill of Materials for my engineering proof of concept (Prices as at May 2015)

The sample code reads the acceleration data from the ADXL345 using a driver originally created by Love Electronics. It then displays the magnitude of the scaled acceleration on 3 x LED Bars using code written by Famoury Toure

OutputPort Xcin = new OutputPort(Pins.GPIO_PIN_D0, false);
OutputPort Xdin = new OutputPort(Pins.GPIO_PIN_D1, false);
OutputPort Ycin = new OutputPort(Pins.GPIO_PIN_D3, false);
OutputPort Ydin = new OutputPort(Pins.GPIO_PIN_D4, false);
OutputPort Zcin = new OutputPort(Pins.GPIO_PIN_D5, false);
OutputPort Zdin = new OutputPort(Pins.GPIO_PIN_D6, false);

GroveLedBarGraph Xbar = new GroveLedBarGraph(Xcin, Xdin);
GroveLedBarGraph Ybar = new GroveLedBarGraph(Ycin, Ydin);
GroveLedBarGraph Zbar = new GroveLedBarGraph(Zcin, Zdin);

using (OutputPort i2cPort = new OutputPort(Pins.GPIO_PIN_SDA, true))
{
   i2cPort.Write(false);
}

ADXL345 accel = new ADXL345(0x53);
accel.EnsureConnected();
accel.Range = 2;
accel.FullResolution = true;
accel.EnableMeasurements();
accel.SetDataRate(0x0F);

while (true)
{
   accel.ReadAllAxis();

   uint xValue = (uint)(((accel.ScaledXAxisG / 1.0 ) + 1.0) * 5.0) ;
   uint xbar = 1;
   xbar = xbar << (int)xValue;
   Xbar.setLED(xbar);

   uint yValue = (uint)(((accel.ScaledYAxisG / 1.0) + 1.0) * 5.0);
   uint ybar = 1;
   ybar = ybar << (int)yValue;
   Ybar.setLED(ybar);

   uint zValue = (uint)((-(accel.ScaledZAxisG / 1.0) + 2.0) * 5.0);
   uint zbar = 1;
   zbar = zbar << (int)zValue;
   Zbar.setLED(zbar);

   Thread.Sleep(20);
   }
}

St Margaret’s CodeClub information

If you want to follow along at home all the software is free (Visual Studio Express 2013) or open source (Netduino software & Hardware + NetMF) and can be downloaded from the following locations. The packages need to be sequentially installed in the order below.

If you want to purchase your own hardware, we use Netduino 2 Plus devices (we use them mainly for their integrated networking and MicroSD card) and Seeedstudio Grove sensors. (Prices as at 05/2015)

We are looking into Apple friendly options for later this term.

Netduino 3 wifi Azure Event Hub client

Over the last couple of weeks I have been beta testing a Netduino 3 Wifi board. One of the great features of the new board is baked in support for SSL 3.0 and TLS 1.2 which enables direct connection to services which require https.

EDIT: The device has been running under my desk powered by a wall wart for a week. It has been monitoring the temperature of my office and the air gap between the curtains and the glass. My ADSL has gone down a couple of times but the N3 has recovered all by itself and kept on going.

In a couple of previous blog posts I have shown how to upload data to an Azure Event Hub from other NetMFdevices. I built an application that runs on a FEZ Spider and a lightweight Service Gateway so I was keen to see how well a Netduino 3 Wifi based solution worked.

To get something working on my Netduino 3 device I started with the application I had written for the FEZ spider. The code is based on OBD Recorder for .Net Micro Framework with ServiceBus, AMQP (for IoT) samples. The test client used a couple of DS18B20 temperature sensors to monitor the temperature of my fridge and freezer.
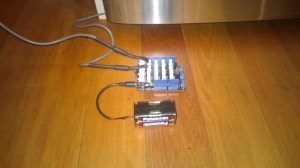
Netduino 3 device with temperature sensors

Netduino 3 device with Seeedstudio Shield and two temperature sensors

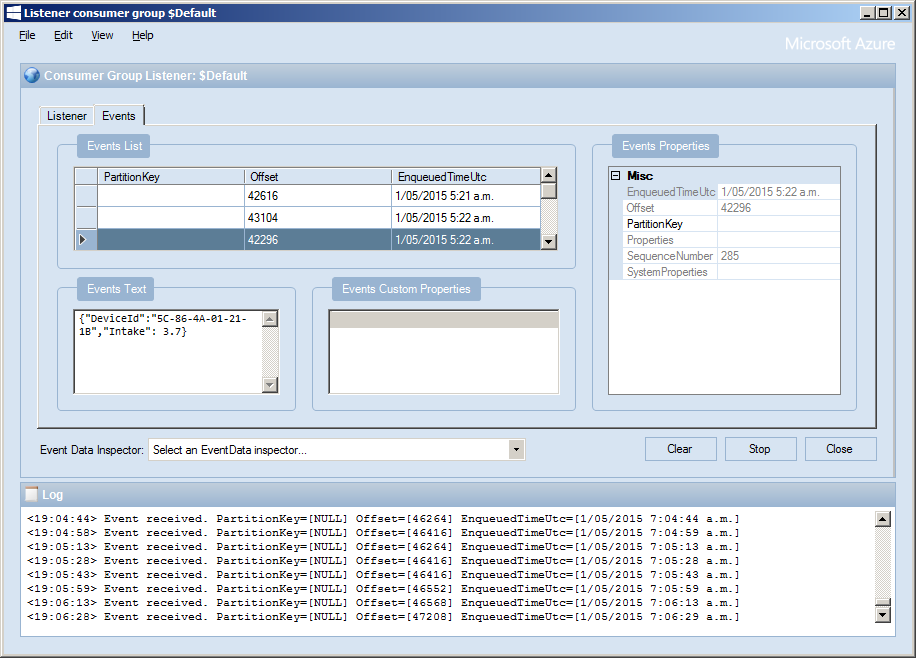
I created an Event Hub and associated device access keys and fired up Service Bus Explorer so I could see what was happening.ServiceBus Explorer showing my fridge and freezer temperatures
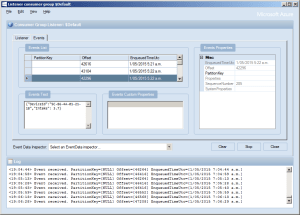
In the application the first step was to add code to wait for the device to acquire an IP address. (Will replace this code with a more efficient approach)

// Wait for Network address if DHCP
NetworkInterface networkInterface = NetworkInterface.GetAllNetworkInterfaces()[0];

if (networkInterface.IsDhcpEnabled)
{
   Debug.Print(" Waiting for IP address " );

   while (NetworkInterface.GetAllNetworkInterfaces()[0].IPAddress == IPAddress.Any.ToString()) ;
}

// Display network config for debugging
Debug.Print("Network configuration");
Debug.Print(" Network interface type: " + networkInterface.NetworkInterfaceType.ToString());
Debug.Print(" MAC Address: " + BytesToHexString(networkInterface.PhysicalAddress));
Debug.Print(" DHCP enabled: " + networkInterface.IsDhcpEnabled.ToString());
Debug.Print(" Dynamic DNS enabled: " + networkInterface.IsDynamicDnsEnabled.ToString());
Debug.Print(" IP Address: " + networkInterface.IPAddress.ToString());
Debug.Print(" Subnet Mask: " + networkInterface.SubnetMask.ToString());
Debug.Print(" Gateway: " + networkInterface.GatewayAddress.ToString());

foreach (string dnsAddress in networkInterface.DnsAddresses)
{
   Debug.Print(" DNS Server: " + dnsAddress.ToString());
}

deviceId = BytesToHexString(networkInterface.PhysicalAddress);

Then to send the message to the event hub the request has to have a authorisation token attached

private void EventHubSendMessage(string eventHubAddressHttps, string messageBody)
{
   string token = CreateSasToken(eventHubAddressHttps + "/messages", sasKeyName, sasKeyText);

   try
   {
      using( HttpWebRequest request = (HttpWebRequest)HttpWebRequest.Create(eventHubAddressHttps + "/messages" + "?timeout=60" + ApiVersion))
      {
         request.Timeout = 2500;
         request.Method = "POST";

         // Enable these options to suit your environment
         //request.Proxy = new WebProxy("myproxy.myorganisation.com", true);
         //request.Credentials = new NetworkCredential("myusername", "mytopsecretpassword"); 

         request.Headers.Add("Authorization", token);
         request.Headers.Add("ContentType", "application/json;charset=utf-8");

         byte[] buffer = Encoding.UTF8.GetBytes(messageBody);

         request.ContentLength = buffer.Length;

         // request body
         using (Stream stream = request.GetRequestStream())
         {
            stream.Write(buffer, 0, buffer.Length);
         }

         using (HttpWebResponse response = (HttpWebResponse)request.GetResponse())
         {
            Debug.Print("HTTP Status:" + response.StatusCode + " : " + response.StatusDescription);
         }
      }
   }
   catch (WebException we)
   {
      Debug.Print(we.Message);
   }
}

// Create a SAS token for a specified scope. SAS tokens are described in http://msdn.microsoft.com/en-us/library/windowsazure/dn170477.aspx.
private static string CreateSasToken(string uri, string keyName, string key)
{
   // Set token lifetime to 20 minutes. When supplying a device with a token, you might want to use a longer expiration time.
   uint tokenExpirationTime = GetExpiry(20 * 60);

   string stringToSign = HttpUtility.UrlEncode(uri) + "\n" + tokenExpirationTime;

   var hmac = SHA.computeHMAC_SHA256(Encoding.UTF8.GetBytes(key), Encoding.UTF8.GetBytes(stringToSign));
   string signature = Convert.ToBase64String(hmac);

   signature = Base64NetMf42ToRfc4648(signature);

   string token = "SharedAccessSignature sr=" + HttpUtility.UrlEncode(uri) + "&sig=" + HttpUtility.UrlEncode(signature) + "&se=" + tokenExpirationTime.ToString() + "&skn=" + keyName;

   return token;
}

private static string Base64NetMf42ToRfc4648(string base64netMf)
{
   var base64Rfc = string.Empty;

   for (var i = 0; i < base64netMf.Length; i++)
   {
      if (base64netMf[i] == '!')
      {
         base64Rfc += '+';
      }
      else if (base64netMf[i] == '*')
      {
         base64Rfc += '/';
      }
      else
      {
         base64Rfc += base64netMf[i];
      }
   }
   return base64Rfc;
}

static uint GetExpiry(uint tokenLifetimeInSeconds)
{
   const long ticksPerSecond = 1000000000 / 100; // 1 tick = 100 nano seconds

   DateTime origin = new DateTime(1970, 1, 1, 0, 0, 0, 0);
   TimeSpan diff = DateTime.Now.ToUniversalTime() - origin;

   return ((uint)(diff.Ticks / ticksPerSecond)) + tokenLifetimeInSeconds;
}

The initial version of the Netduino TI CC3100 driver has some limitations e.g. no server certificate validation but these should be attended to in future releases.

The software was based on Brad’s One-Wire and DS18B20 library with fixes from here.

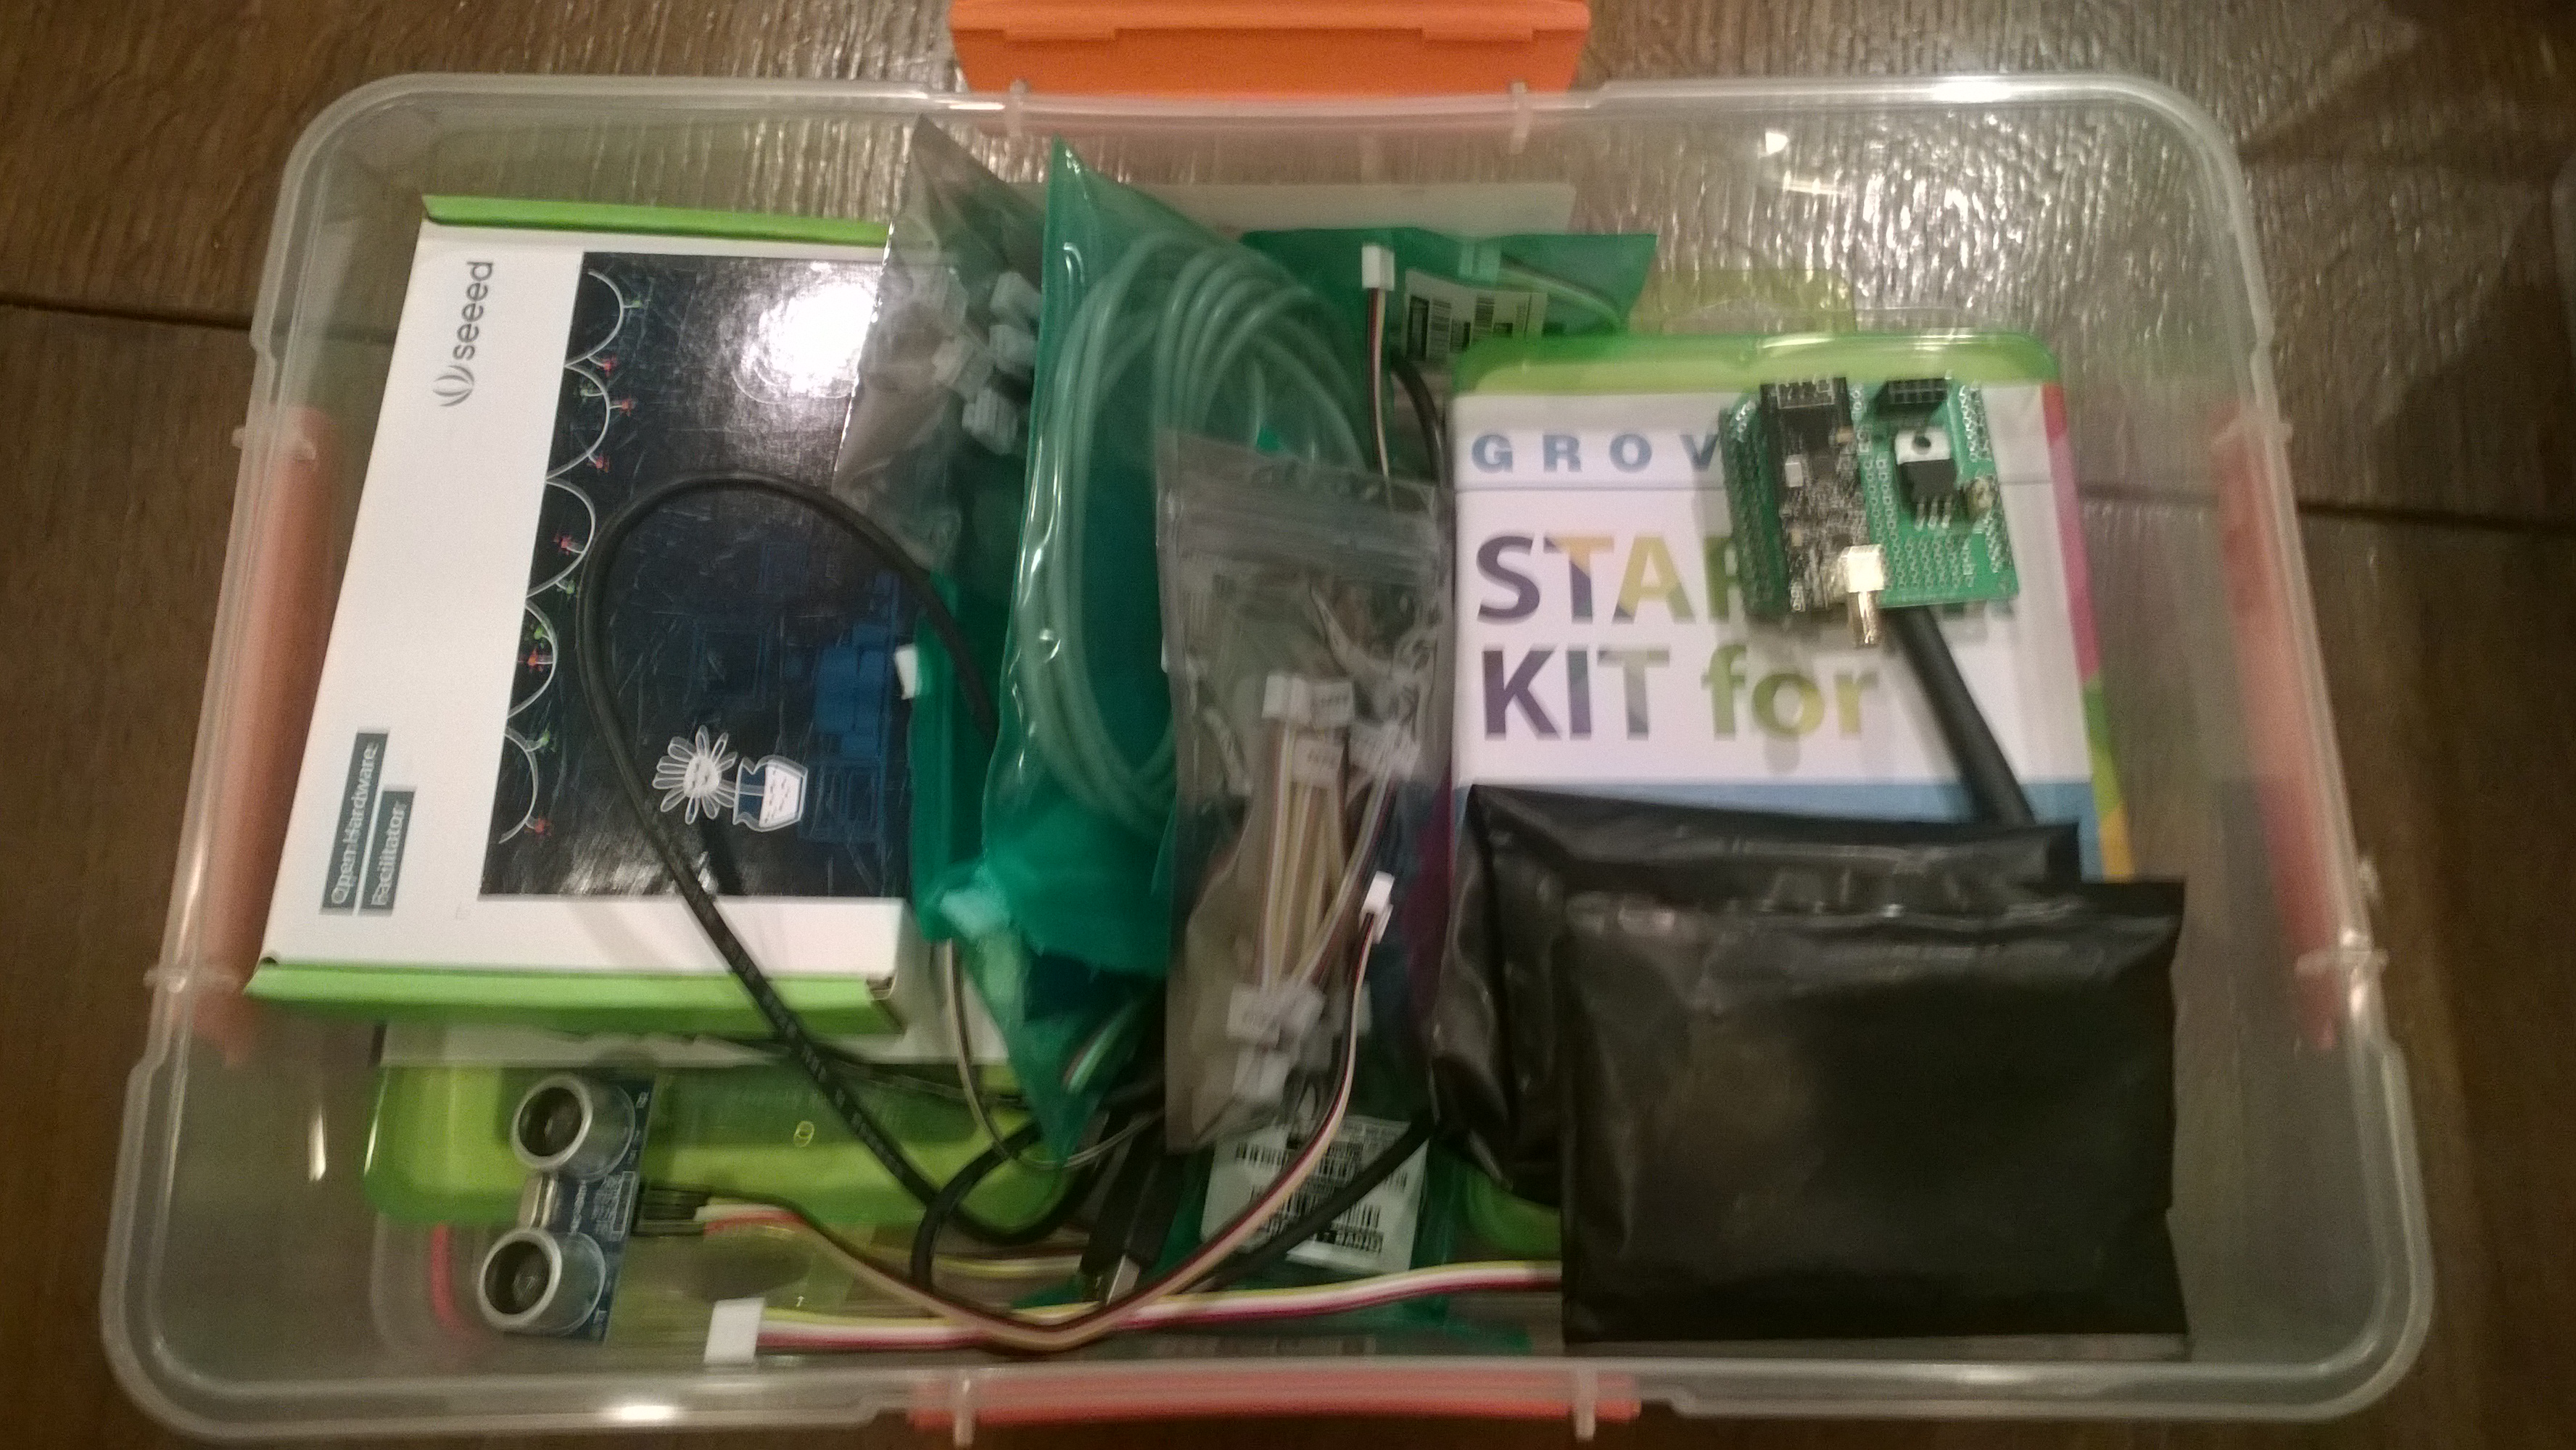
CodeClub Internet of Things Boxes sponsored by Microsoft NZ

A few months ago Microsoft NZ donated NZ6K to CodeClub NZ for the purchase of kits for our basic electronics and programming classes.

Over the last couple of months I have been assembling these so we now have 15 kits ready to go. Each one has enough gear for 2-6 students, fits into a 7L Sistema plastic box and contains the following items

2 x Netduino 2 Plus devices
2 x Seeedstudio Grove Starter kits for Arduino which contain

  • 1xBase Shield
  • 1xGrove – LCD RGB Backlight
  • 1xGrove – Smart Relay
  • 1xGrove – Buzzer
  • 1xGrove – Sound Sensor
  • 1xGrove – Touch Sensor
  • 1xGrove – Rotary Angle Sensor
  • 1xGrove – Temperature Sensor
  • 1xGrove – Light Sensor
  • 1xGrove – Button
  • 1xGrove LED Blue-Blue
  • 1xGrove LED Green-Green
  • 1xGrove  LED Red-Red
  • 1xMini Servo
  • 10xGrove Cables
  • 1x9V to Barrel Jack Adapter
  • 1xGrove starter kit Manual
  • 1xGreen Plastic Box
  • 1 x ultrasonic ranger

In addition to the Netduino devices and the Grove starter kits, we also include

Thanks to Embedded coolness, Secret Labs, and Seeedstudio which discounted their products so our funding went further.

CodeClub Programming and electronics kits

CodeClub Programming and electronics kits

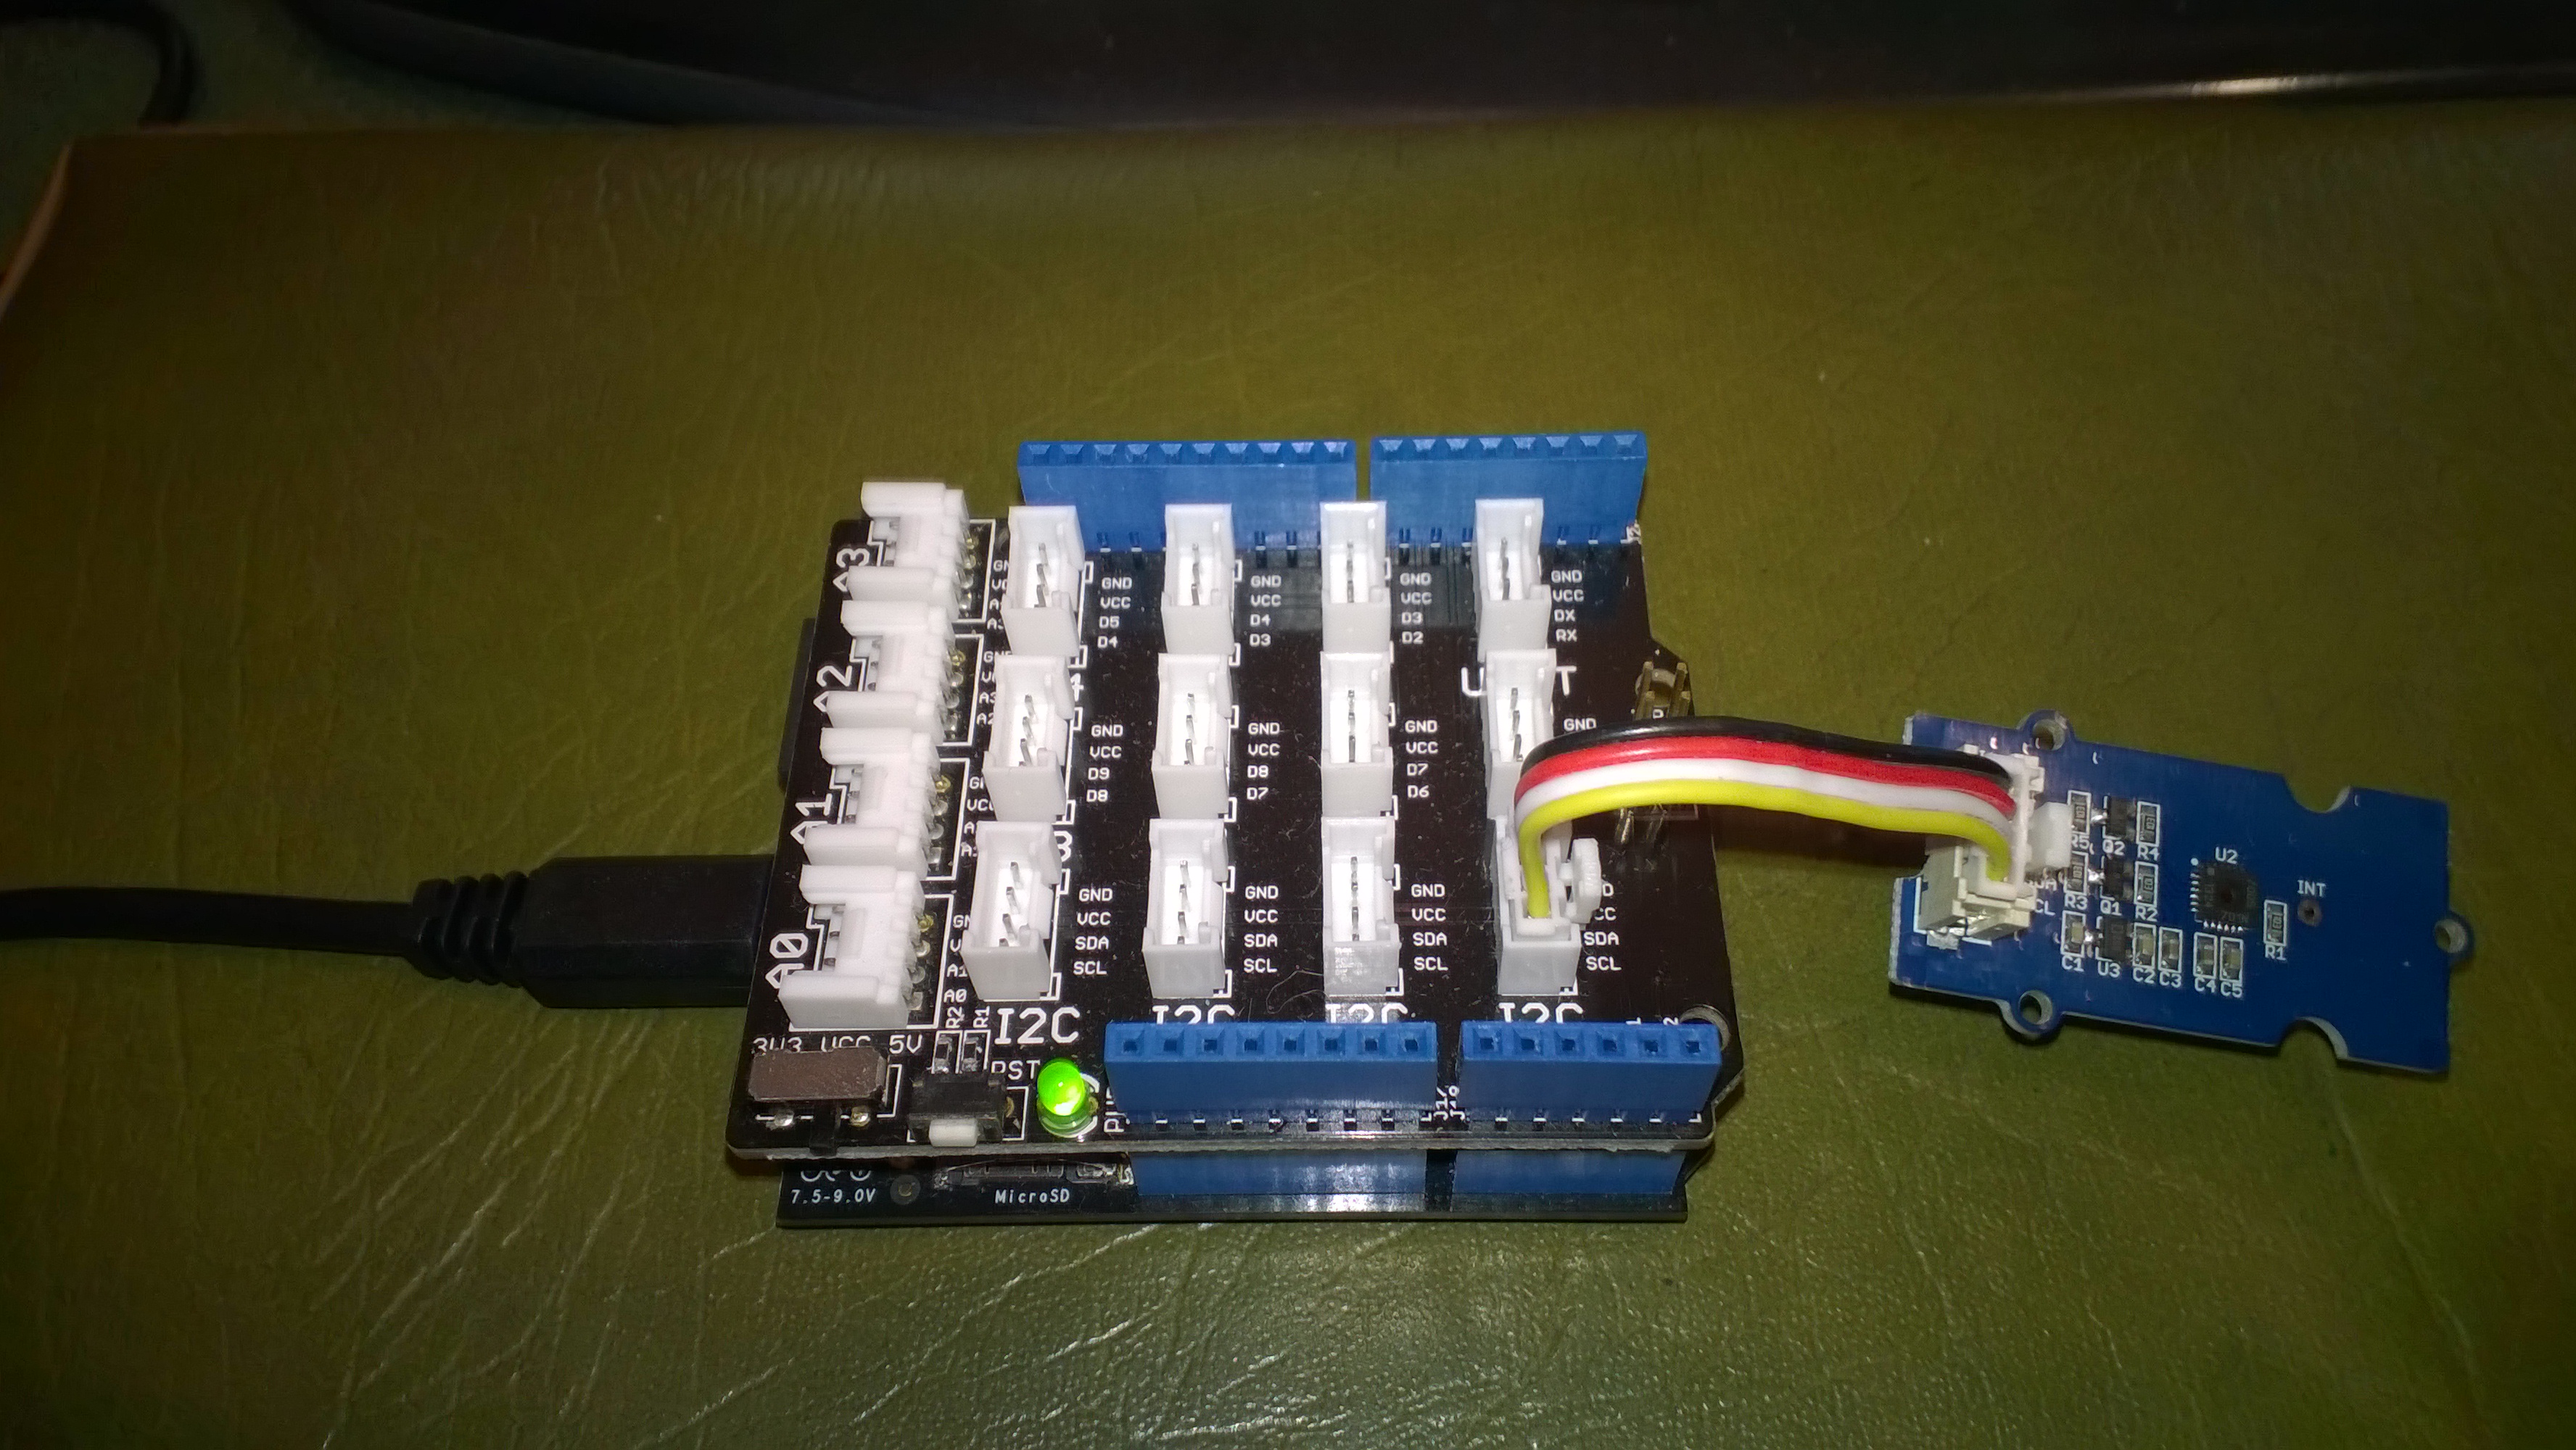
Silicon Labs Si7005 Device Driver oddness

I have been working on a Netduino I2C driver for the Silicon Labs Si7005 Digital I2C Humidity & Temperature Sensor for weather station and building monitoring applications as it looks like a reasonably priced device which is not to complex to interface with.I’m using a SeeedStudio Grove – Temperature&Humidity Sensor (High-Accuracy & Mini) for development.

The first time I try and read anything from the device it fails. Otherwise my driver works as expected.

Netduino 2 Plus & Silicon Labs Si7005

Bill of materials (prices as at April 2015)

  • Netduino Plus 2 USD60 NZD108
  • Grove – Temperature&Humidity Sensor (High-Accuracy & Mini) USD11.50
  • Grove – Base Shield USD8.90

This code just shows the flow, I’ll package into a driver shortly

I strobe the I2C line which seems to help

using (OutputPort i2cPort = new OutputPort(Pins.GPIO_PIN_SDA, true))
{
   i2cPort.Write(false);
   Thread.Sleep(1000);
}

I then try and read the Device ID (0x50) from register 0X11 but this (and any other read fails)

byte[] writeBuffer = { RegisterIdDeviceId };
byte[] readBuffer = new byte[1];

I2CDevice.I2CTransaction[] action = new I2CDevice.I2CTransaction[] 
{ 
   I2CDevice.CreateWriteTransaction(writeBuffer),
   I2CDevice.CreateReadTransaction(readBuffer)
};

int length = device.Execute(action, TransactionTimeoutMilliseconds);
Debug.Print(&quot;Byte count &quot; + length.ToString());
foreach (byte Byte in readBuffer)
{
   Debug.Print(Byte.ToString(&quot;X2&quot;));
}

I can read the temperature and humidity by writing to the command register

byte[] writeBuffer = { RegisterIdConiguration, CMD_MEASURE_TEMP };

I2CDevice.I2CTransaction[] action = new I2CDevice.I2CTransaction[] 
{ 
   I2CDevice.CreateWriteTransaction(writeBuffer),
};

int length = device.Execute(action, TransactionTimeoutMilliseconds);
Debug.Print(&quot;Byte count&quot; + length.ToString());

Then poll for measurement process to finish

conversionInProgress = true
do
{
   byte[] writeBuffer = { RegisterIdStatus };
   byte[] readBuffer = new byte[1];

   I2CDevice.I2CTransaction[] action = new I2CDevice.I2CTransaction[] 
   { 
      I2CDevice.CreateWriteTransaction(writeBuffer4),
      I2CDevice.CreateReadTransaction(readBuffer4)
   };

   int length = device.Execute(action, TransactionTimeoutMilliseconds);
   Debug.Print(&quot;Byte count &quot; + length.ToString());
   foreach (byte Byte in readBuffer)
   {
      Debug.Print(Byte.ToString());
   }

   if ((readBuffer[RegisterIdStatus] &amp;&amp; STATUS_RDY_MASK) != STATUS_RDY_MASK)
   {
      conversionInProgress = false;
   }
} while (conversionInProgress);

Then finally read and convert the value

byte[] writeBuffer = { REG_DATA_H };
byte[] readBuffer = new byte[2];

I2CDevice.I2CTransaction[] action = new I2CDevice.I2CTransaction[] 
{ 
   I2CDevice.CreateWriteTransaction(writeBuffer),
   I2CDevice.CreateReadTransaction(readBuffer)
};

int length = device.Execute(action, TransactionTimeoutMilliseconds);
Debug.Print(&quot;Byte count &quot; + length.ToString());
foreach (byte Byte in readBuffer)
{
   Debug.Print(Byte.ToString());
}

int temp = readBuffer[0];

temp = temp &lt;&lt; 8;
temp = temp + readBuffer[1];
temp = temp &gt;&gt; 2;

double temperature = (temp / 32.0) - 50.0;

Debug.Print(&quot; Temp &quot; + temperature.ToString(&quot;F1&quot;));

EVolocity Innovation Challenge Parking Aids

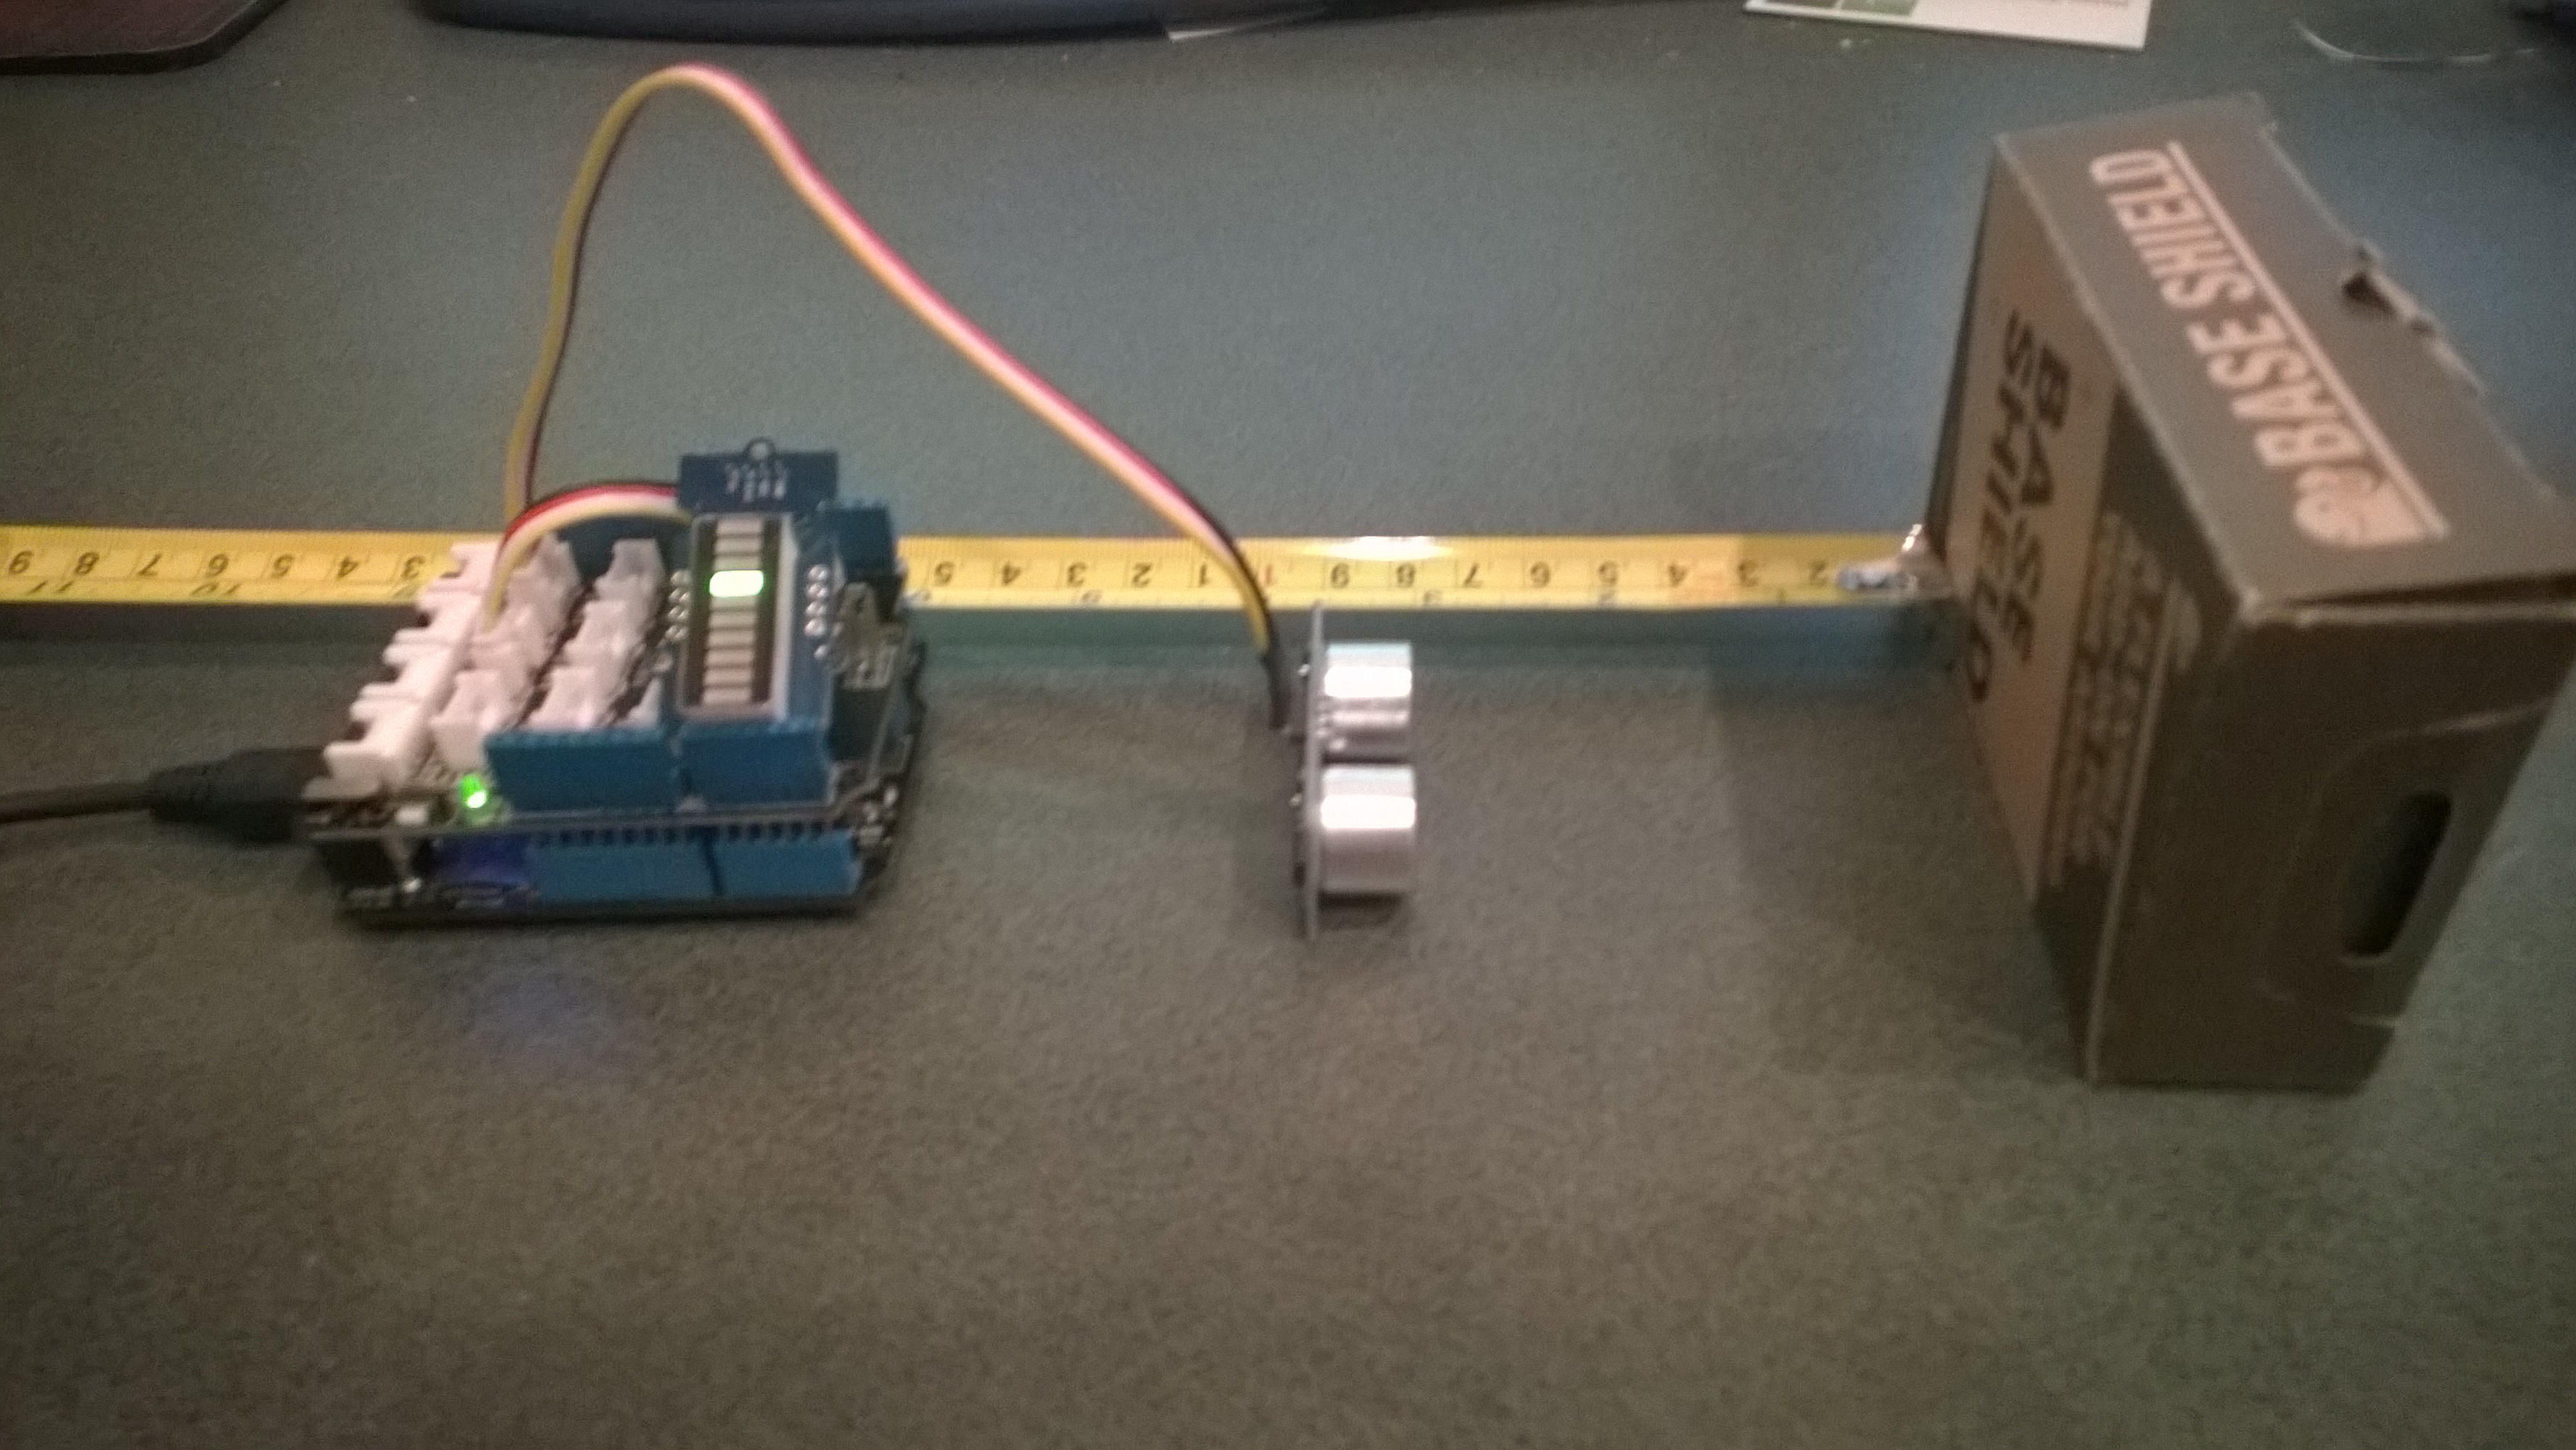
At evelocity boot camp on the 22nd of March we talked about aids for use in the parking challenge. For example, a Netduino and one or more ultrasonic rangers could be used to measure the distance to obstacles placed around the car park.

In the picture below the LED bar is displaying the distance to the base shield box with each LED segment representing 2cm.
Netduino based Park Distance Control

Bill of Materials for this project (Prices as at March 2015)

This code is just to illustrate how this could done and should not be used in production

public class Program
{
   private static OutputPort triggerOutput;
   private static InterruptPort echoInterrupt;
   private static long pulseStartTicks;
   private static GroveLedBarGraph distanceBar;
   private const int MillimetersPerBar = 20;

   public static void Main()
   {
      OutputPort distanceCin = new OutputPort(Pins.GPIO_PIN_D8, false);
      OutputPort distanceDin = new OutputPort(Pins.GPIO_PIN_D9, false);

      distanceBar = new GroveLedBarGraph(distanceCin, distanceDin);

      triggerOutput = new OutputPort(Pins.GPIO_PIN_D5, false);
      echoInterrupt = new InterruptPort(Pins.GPIO_PIN_D4,
         true,
         Port.ResistorMode.Disabled,
         Port.InterruptMode.InterruptEdgeBoth);

      echoInterrupt.OnInterrupt += new NativeEventHandler(echoInterruptPort_OnInterrupt);

      Timer distanceUpdate = new Timer(distanceUpdateCallbackProc, null, 0, 500);

      Thread.Sleep(Timeout.Infinite);
   }

   public static void distanceUpdateCallbackProc(object state)
   {
      triggerOutput.Write(false);
      Thread.Sleep(2);
      triggerOutput.Write(true);
      Thread.Sleep(10);
      triggerOutput.Write(false);
      Thread.Sleep(2);
   }

   static void echoInterruptPort_OnInterrupt(uint data1, uint data2, DateTime time)
   {
      long pulseWidthTicks;

      if (data2 == 1) // leading edge, start of pulse
      {
         pulseStartTicks = time.Ticks;
      }
      else
      {
         pulseWidthTicks = time.Ticks - pulseStartTicks;

         long distance = pulseWidthTicks / 58;

         Debug.Print("distance = " + distance.ToString() + "mm");

         uint ledBar = 1;
         ledBar = ledBar <<(int)(distance / MillimetersPerBar );
         distanceBar.setLED(ledBar);
      }
   }
}

Azure Event Hub Service Gateway V0.5

In a previous post I had developed a simple Microsoft Azure EventHubs Service Gateway for Arduino and Netduino devices which required Internet Information Server(IIS). Running IIS in some home environments could be a bit awkward so I have got a basic light weight version going which is hosted in a self installing Windows Service. The gateway supports four command line parameters.(The install and uninstall must be run as administrator otherwise the requested process will fail)

  • Install – install the service
  • Uninstall – uninstalls the service
  • Debug – runs the service in interactive mode
  • Name – allows you to specify the name of the service in the Services Manager.

The code does some basic logging to the Windows Event log and can be configured to start automatically when the computer starts.

The configuration file has two settings

<appSettings>
<add key="Microsoft.ServiceBus.ConnectionString" value="YourConnectionStringGoesHere" />
<add key="Microsoft.ServiceBus.EventHub" value="myhomemonitor" />
<add key="baseAddress" value="http://your.URL.goes.Here:8080/" />
</appSettings>

The code is based on the self installing service sample code that ships with the Wix# toolkit.

try
{
   string connectionString = ConfigurationManager.AppSettings["Microsoft.ServiceBus.ConnectionString"];
   string eventHubName = ConfigurationManager.AppSettings["Microsoft.ServiceBus.EventHub"];

   NamespaceManager namespaceManager = NamespaceManager.CreateFromConnectionString(connectionString);

   EventHubClient client = EventHubClient.Create(eventHubName);

   EventData data = new EventData(request.Content.ReadAsByteArrayAsync().Result);

   // Set user properties if needed
   data.Properties.Add("UploadedAtUTC", DateTime.UtcNow.ToString("yyyy-MM-dd HH:mm:ss"));
   data.Properties.Add("UploadedBy", "devMobileAzureEventHubGateway");

   client.Send(data);
}
catch (Exception ex)
{
   eventLog.WriteEntry(string.Format("Application initialisation failed {0}", ex.Message), EventLogEntryType.Error);
}

The Azure EventHub Service Gateway Code V0.5 is a bit rough but I will enhance it as time allows. First steps will be improving logging then creating a WIX# based installer.

Electric Longboard Annoying Squeak\Squeal

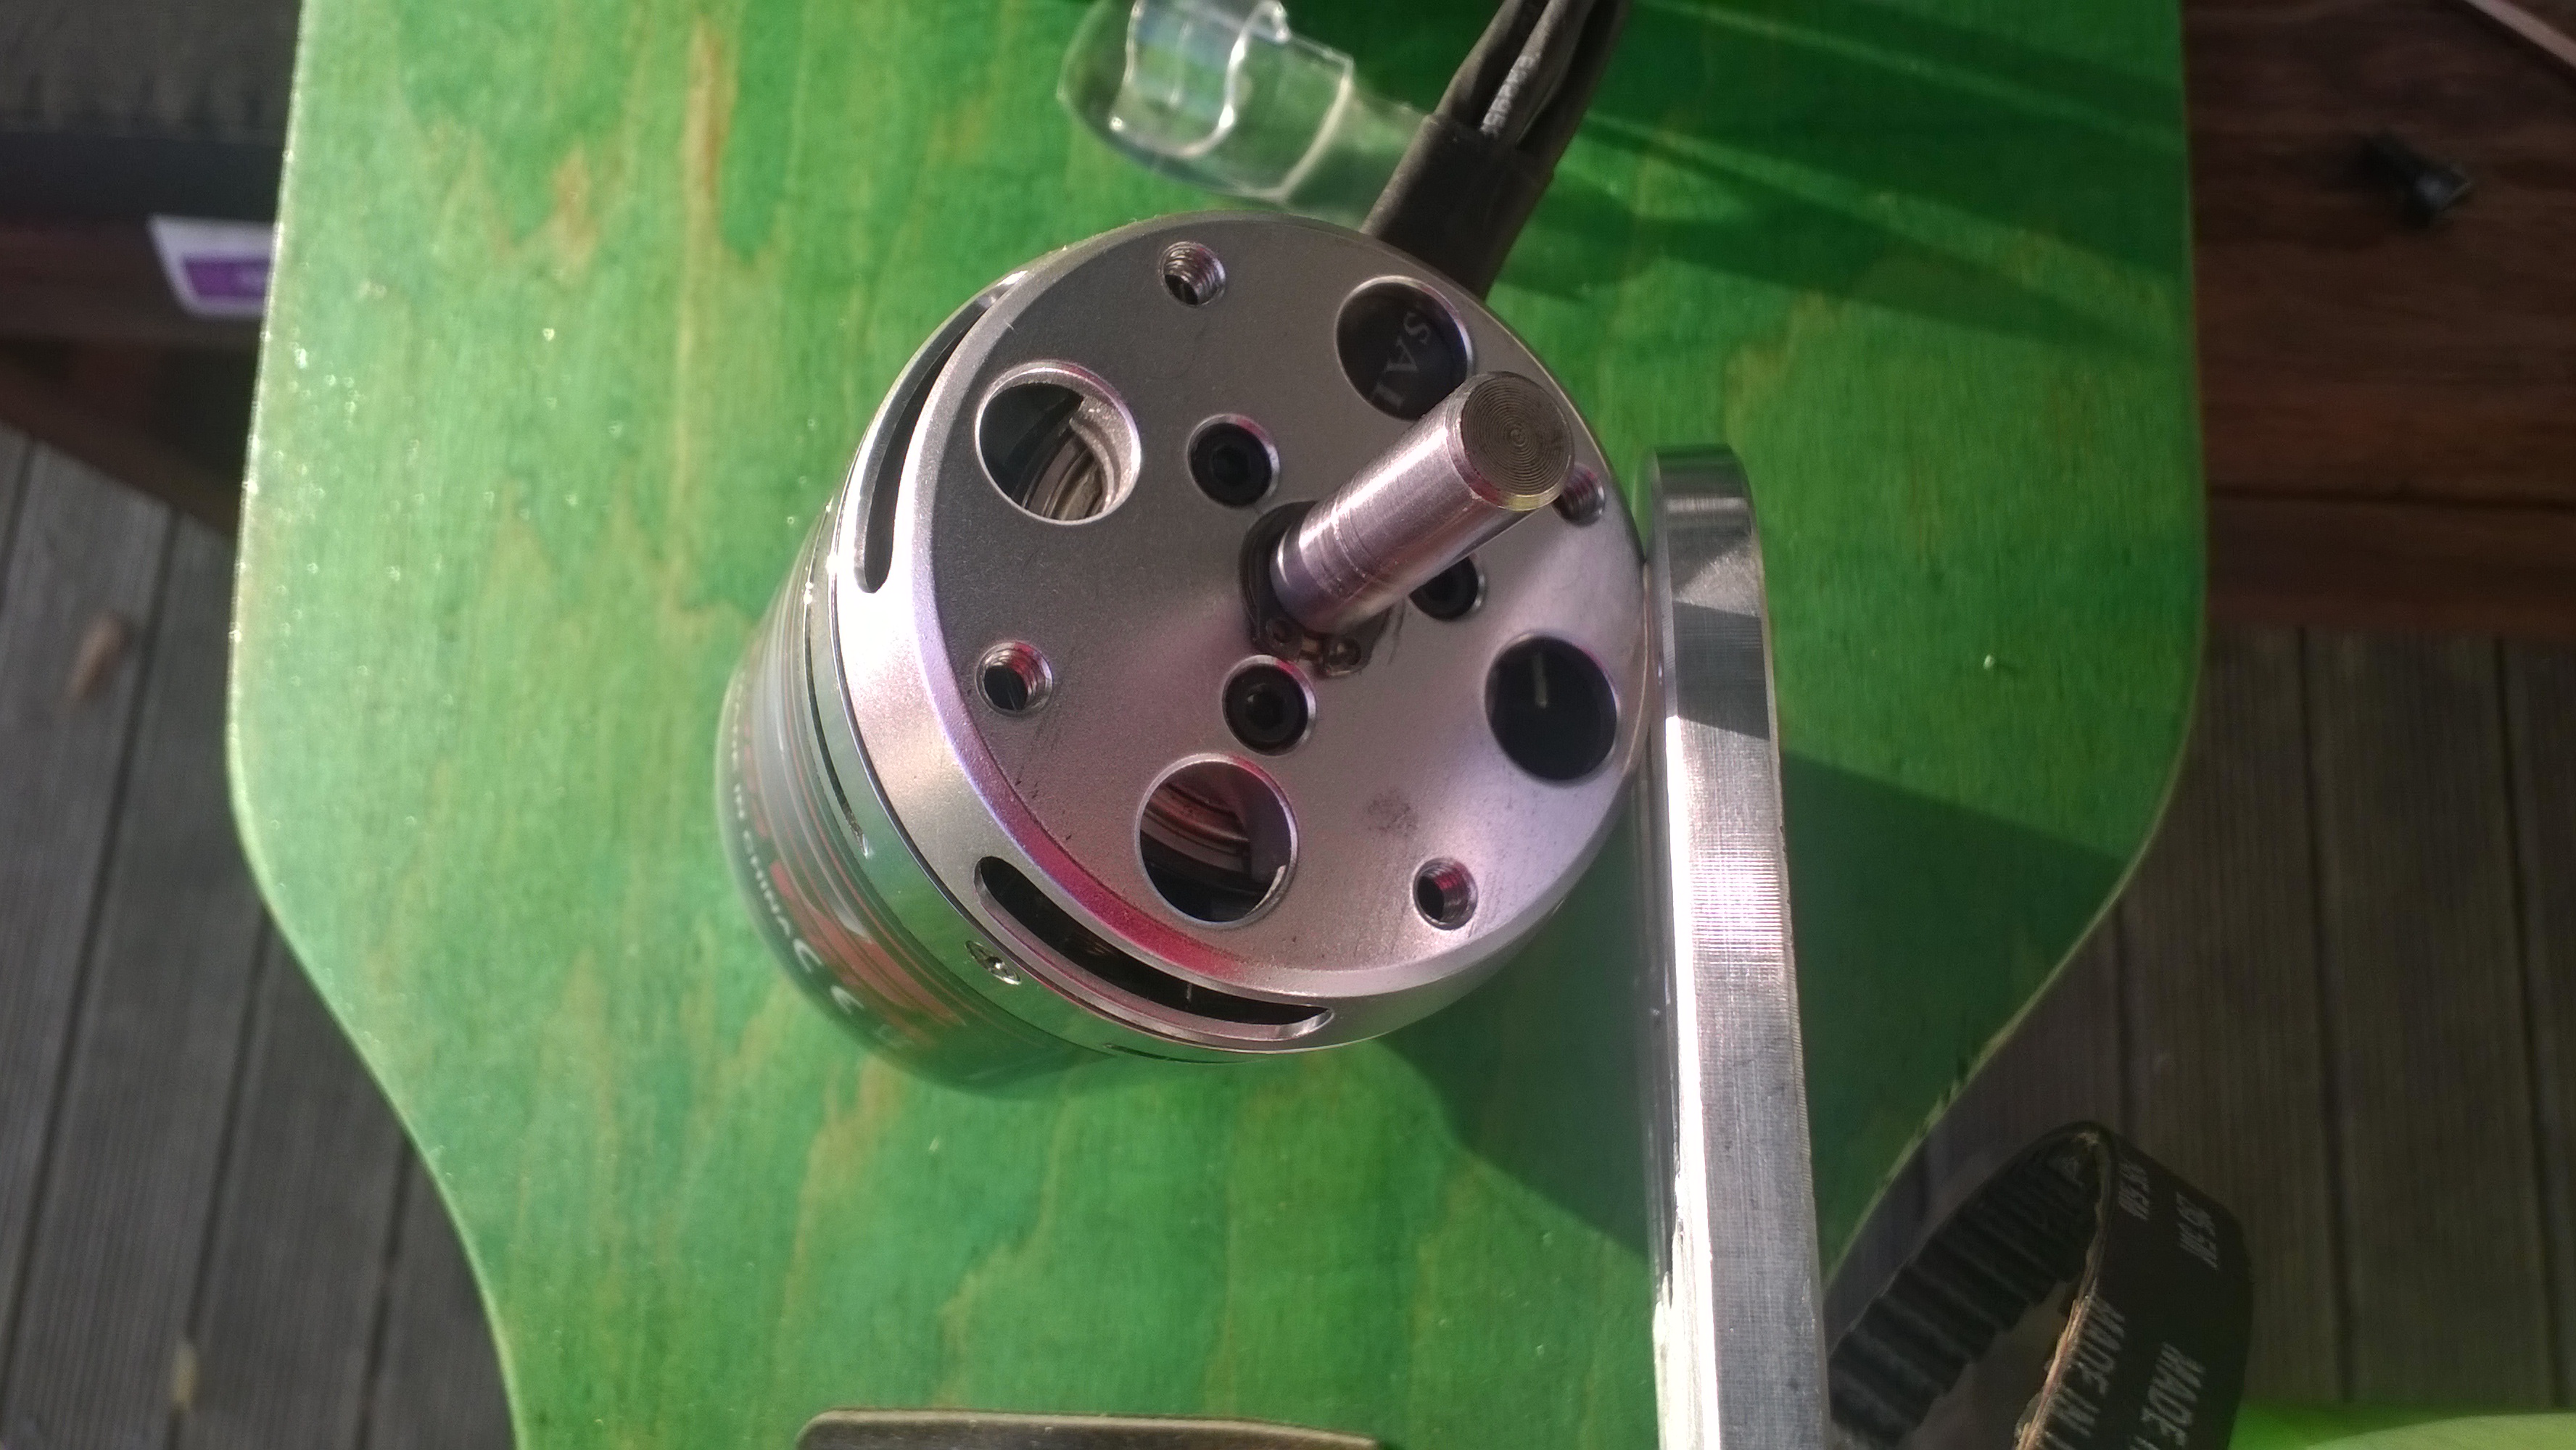
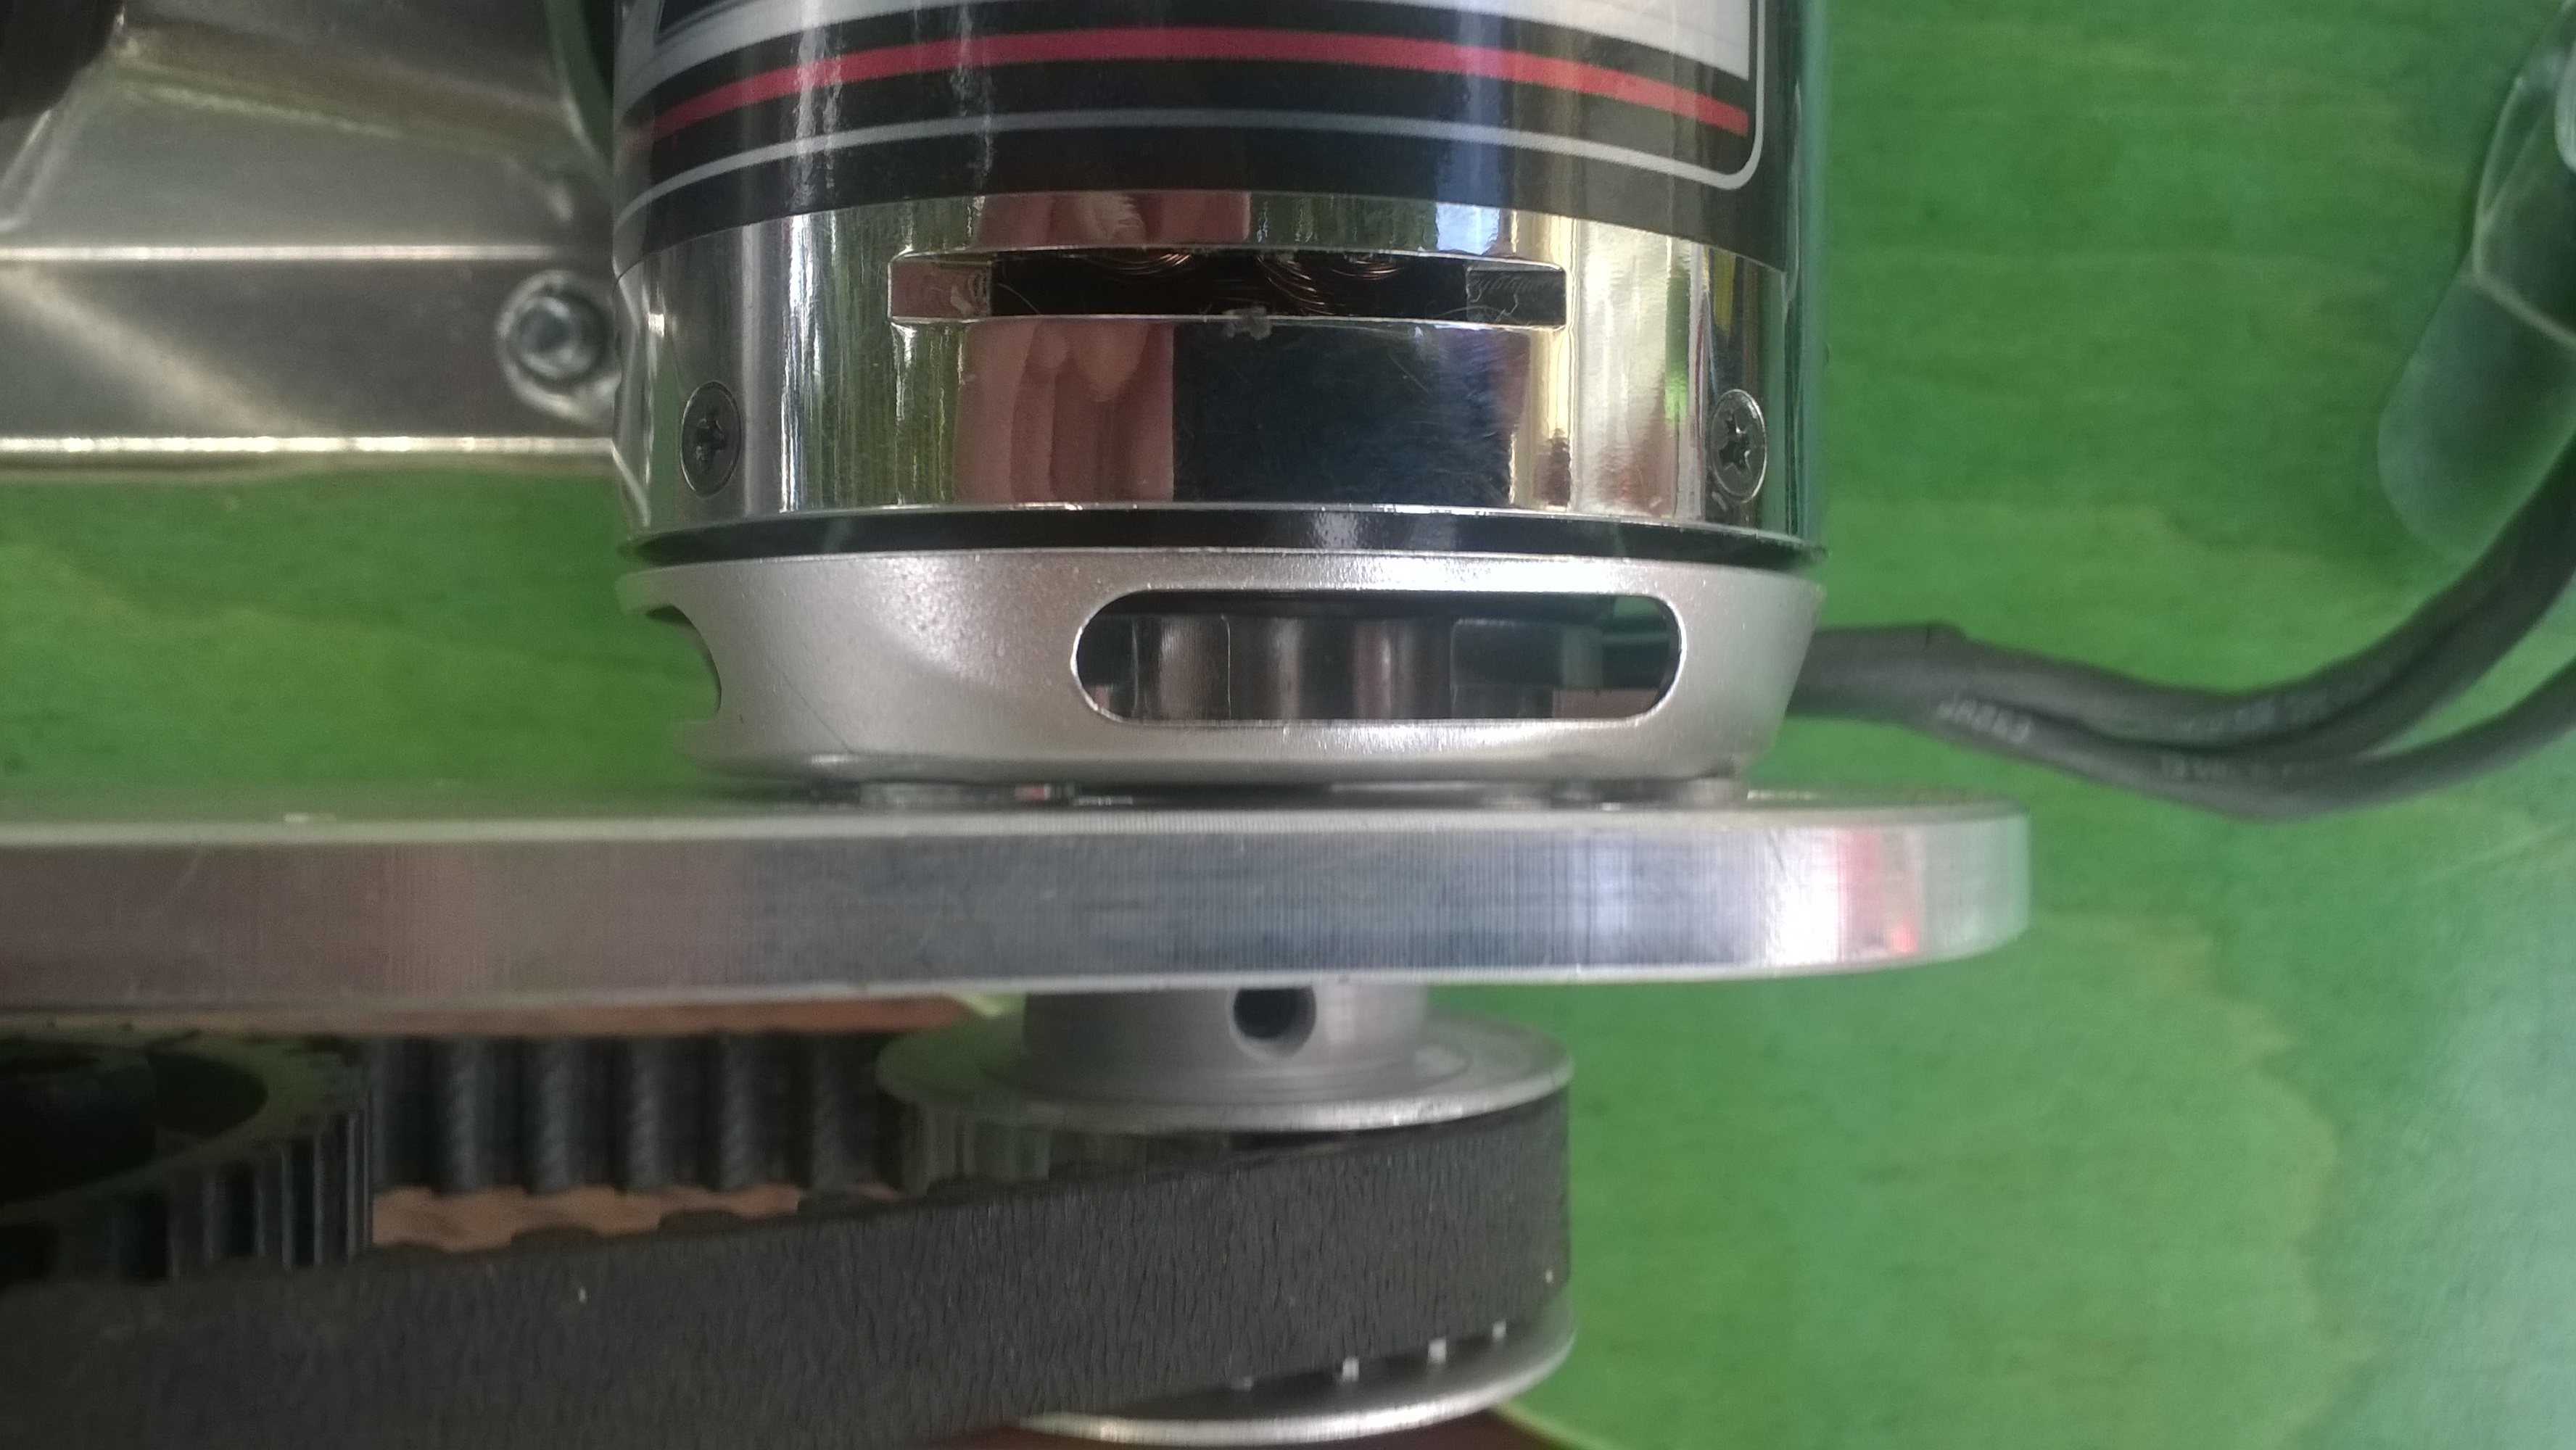
After a couple hours of riding my longboard it started making a high pitched squeak\squeal which sounded like it was coming from the brushless motor. After some investigation I found that a circlip on the end of my Turnigy Aerodrive SK3-6364-245kv Brushless motor was making the noise. The circlip usually rotates with the shaft of the motor but the motor bracket was stopping this from happening.

photo of circlip end of SK3 motor

Close up photo of circlip on the end of SK3 motor

I used the DIYElectricSkateboard.com website “support chat” and spoke with Dexter the very helpful owner of DIY Electric Skateboards and he suggested trying washers on the 4 x bolts which attach the motor to the bracket.

Longboard Motor Spacer

Longboard Motor with Spacers

I used 4 x M4 washers and the circlip now rotates freely which appears to have fixed the problem.

Electric Longboard devDuino V2 Controller

I really wanted to get the longboard working so I had a look at buying Wiiceiver from AustinDavid.com.

The source code is available on Github and I had a spare devicter devDuino Sensor Node V2 sitting on my desk. With some modification (changing pins numbers and removing all references to the second LED) I got the wiiceiver code running on my devDuino.

The Electronic Speed Controller(ESC) and the plastic lunch box (containing the batteries and devDuino) are attached to the deck with 3M Command adhesive strips. The first set of command adhesive strips I tried were for hanging pictures and had a Velcro quick release system. This approach was a failure and the ESC & electronics box fell off after 10-15 minutes use. The Velcro backing tape was getting pulled in the wrong direction so was unable to hold the weight of the electronics when vibration levels increased. I tried them because a “quick release” capability would be handy but I have gone back to using conventional 3M Command adhesive strips and these are working well.

devDuino V2 and ESC on longboard

devDuino based controller interfaced with ESC and wireless WiiChuk

Initial rides went well, though I need to recalibrate the acceleration and braking ramp up/down settings to suit my hardware and riding style.

Bill of Materials for this project (Prices as at Feb 2015)

  • Single Motor Mechanical Electric Longboard Kit USD223
  • Turnigy Aerodrive SK3-6364-245kv Brushless Outrunner Motor USD70.68
  • HobbyKing 150A High Performance Brushless Car ESC USD68.99
  • ZIPPY Flightmax 5000mAh battery X 2 USD31.99 each
  • HXT4mm Battery Harness 14AWG for 2 Packs in Series USD2.43
  • HXT 4mm Gold Connector with Protector (10pcs/set)
  • devDuino Sensor Node V2 USD15.99
  • Grove Nunchuck adaptor USD2.90
  • Grove Branch Cable for Servo USD4.90
  • Wireless Nunchuck NZD25.00
  • Moose 9.5×42 Longboard Flush Mount Deck Green Stain NZD57

WARNING – Disconnect the power supply pin on the Grove Branch Cable for Servos as the ESC will supply sufficient current to make the batteries on the devDuino go pop. Wrap some tape around the other servo connector so it can’t cause a short circuit.

Thanks to Austin David for making the code for the Wiiciever open source, if anyone is interested in my code I can tidy it up and share.

/*
 * Pin IDs -- NOT LOCATIONS !!!
 * don't change these ever; see &quot;pinLocation&quot; below for
 * actual locations
 */
#define RED_LED_ID   0
//#define GREEN_LED_ID 1

#define ESC_PPM_ID   2
//#define ESC2_PPM_ID   6
#define ESC_GROUND 00     // hard-wired

//#define WII_POWER_ID 3
//#define WII_GROUND 00     // hard-wired

#define WII_SCL_ID   4
#define WII_SDA_ID   5

I made my devDuino look like a V3 wiiceiver

int pinLocation(int pinID) {
  int pinMap[7][3] = {
  // v1, v2, v3
    {8,   8,  9},  // RED_LED     any digital pin
    {7,   6,  8},  // GREEN_LED   any digital pin
    {10,  9,  3},  // ESC_PPM     PWM required
    {9,  11,  5},  // WII_POWER   any digital pin
    {19, 19, 19}, // WII_SCL     A5, don't change
    {18, 18, 18}, // WII_SDA     A4, don't change
    {0,  10, 0}, // ESC2_PPM    PWM required
  };

The rest of my changes were commenting out all references to the Green LED as the devDuino only has one onboard LED.