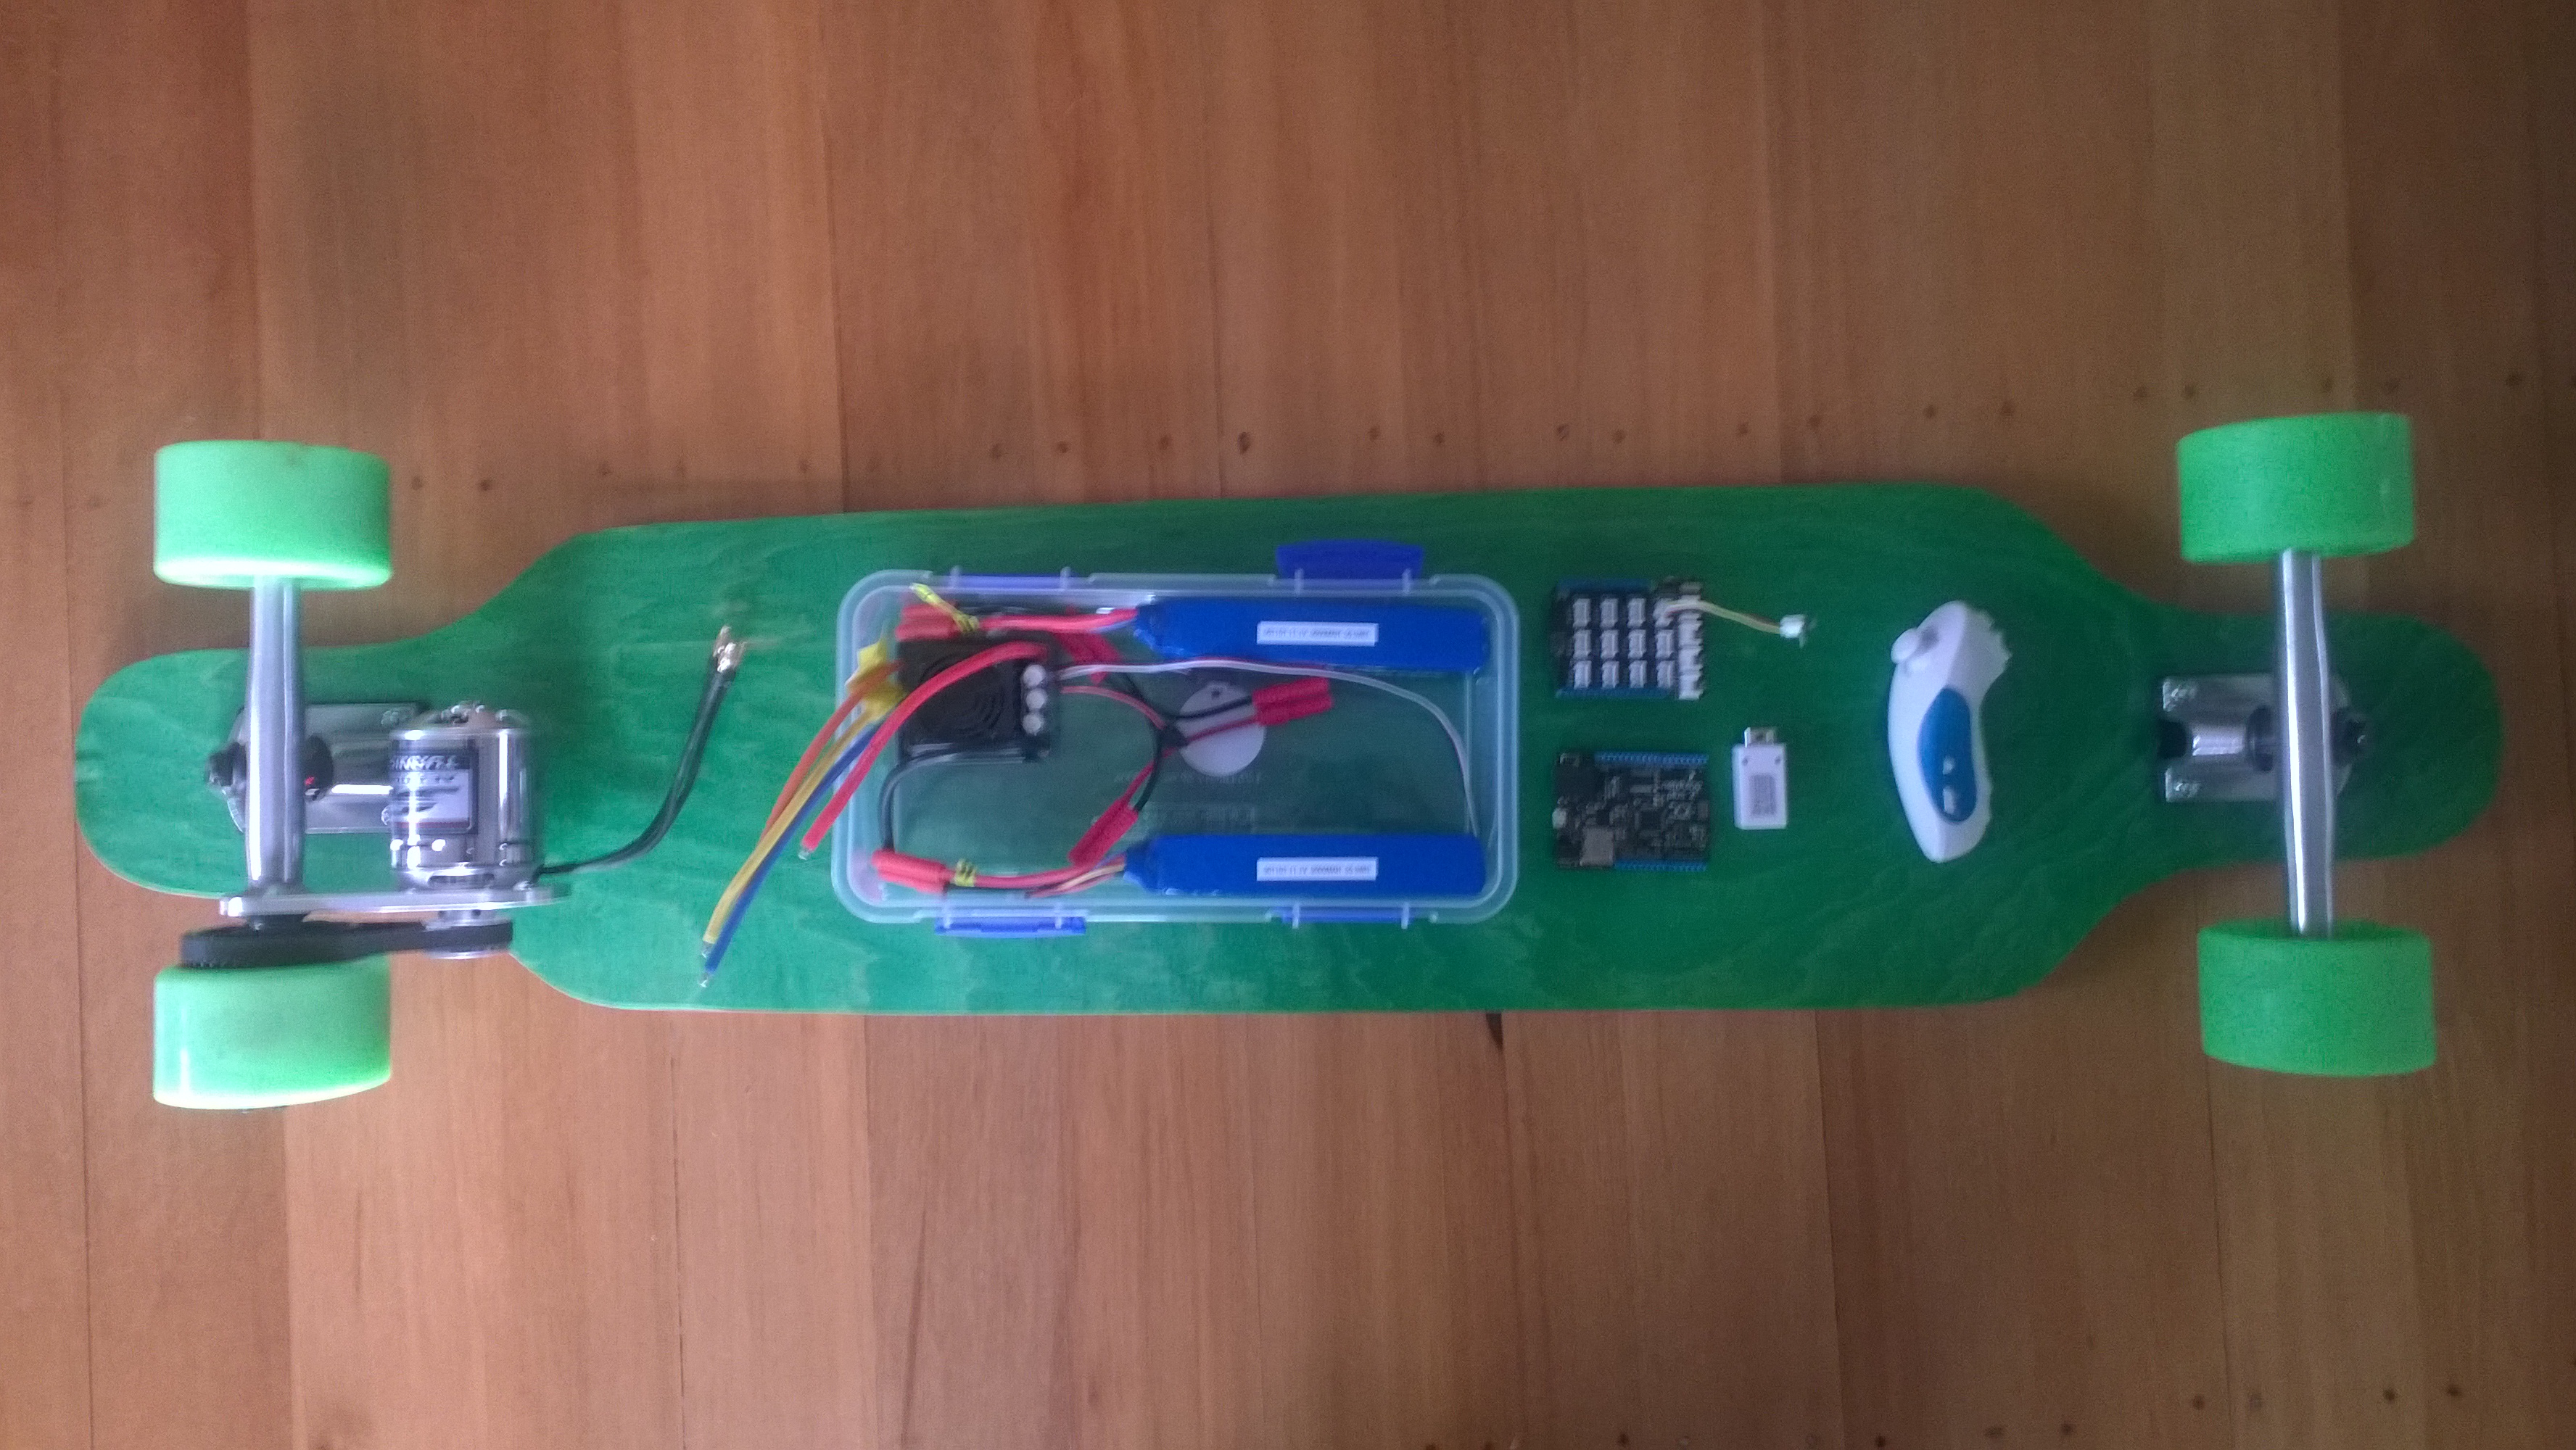
I really wanted to get the longboard working so I had a look at buying Wiiceiver from AustinDavid.com.
The source code is available on Github and I had a spare devicter devDuino Sensor Node V2 sitting on my desk. With some modification (changing pins numbers and removing all references to the second LED) I got the wiiceiver code running on my devDuino.
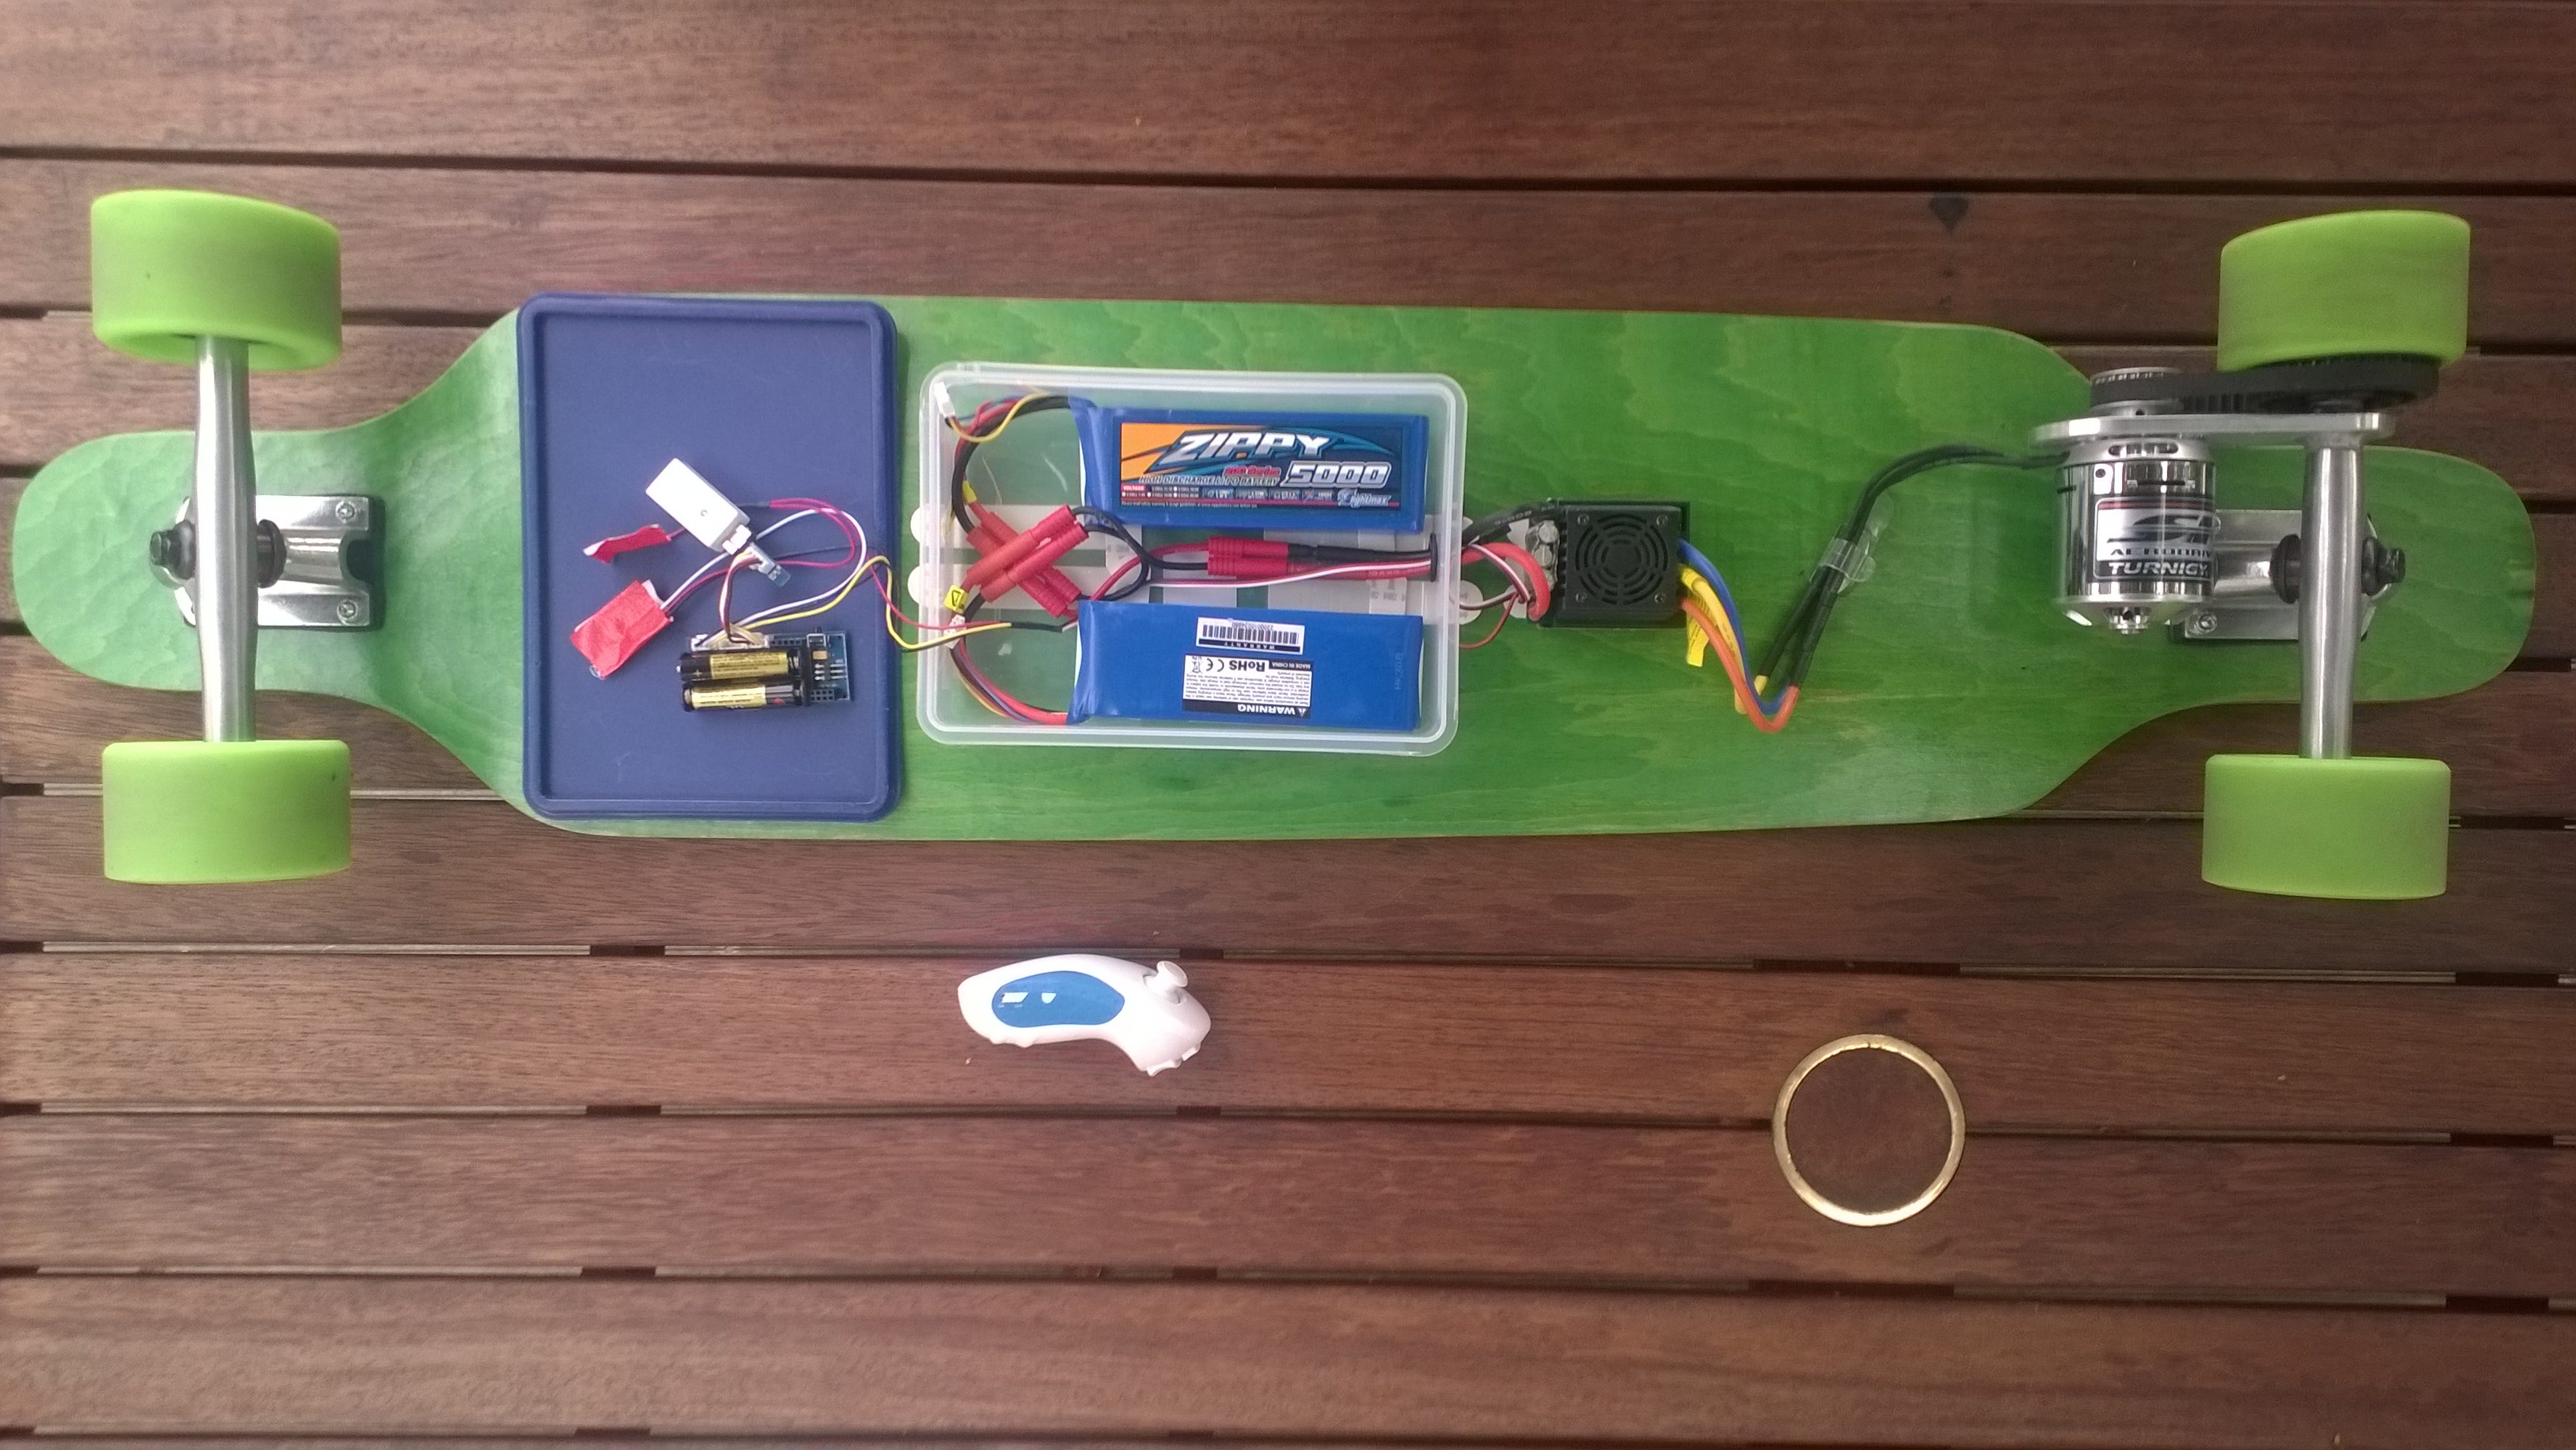
The Electronic Speed Controller(ESC) and the plastic lunch box (containing the batteries and devDuino) are attached to the deck with 3M Command adhesive strips. The first set of command adhesive strips I tried were for hanging pictures and had a Velcro quick release system. This approach was a failure and the ESC & electronics box fell off after 10-15 minutes use. The Velcro backing tape was getting pulled in the wrong direction so was unable to hold the weight of the electronics when vibration levels increased. I tried them because a “quick release” capability would be handy but I have gone back to using conventional 3M Command adhesive strips and these are working well.

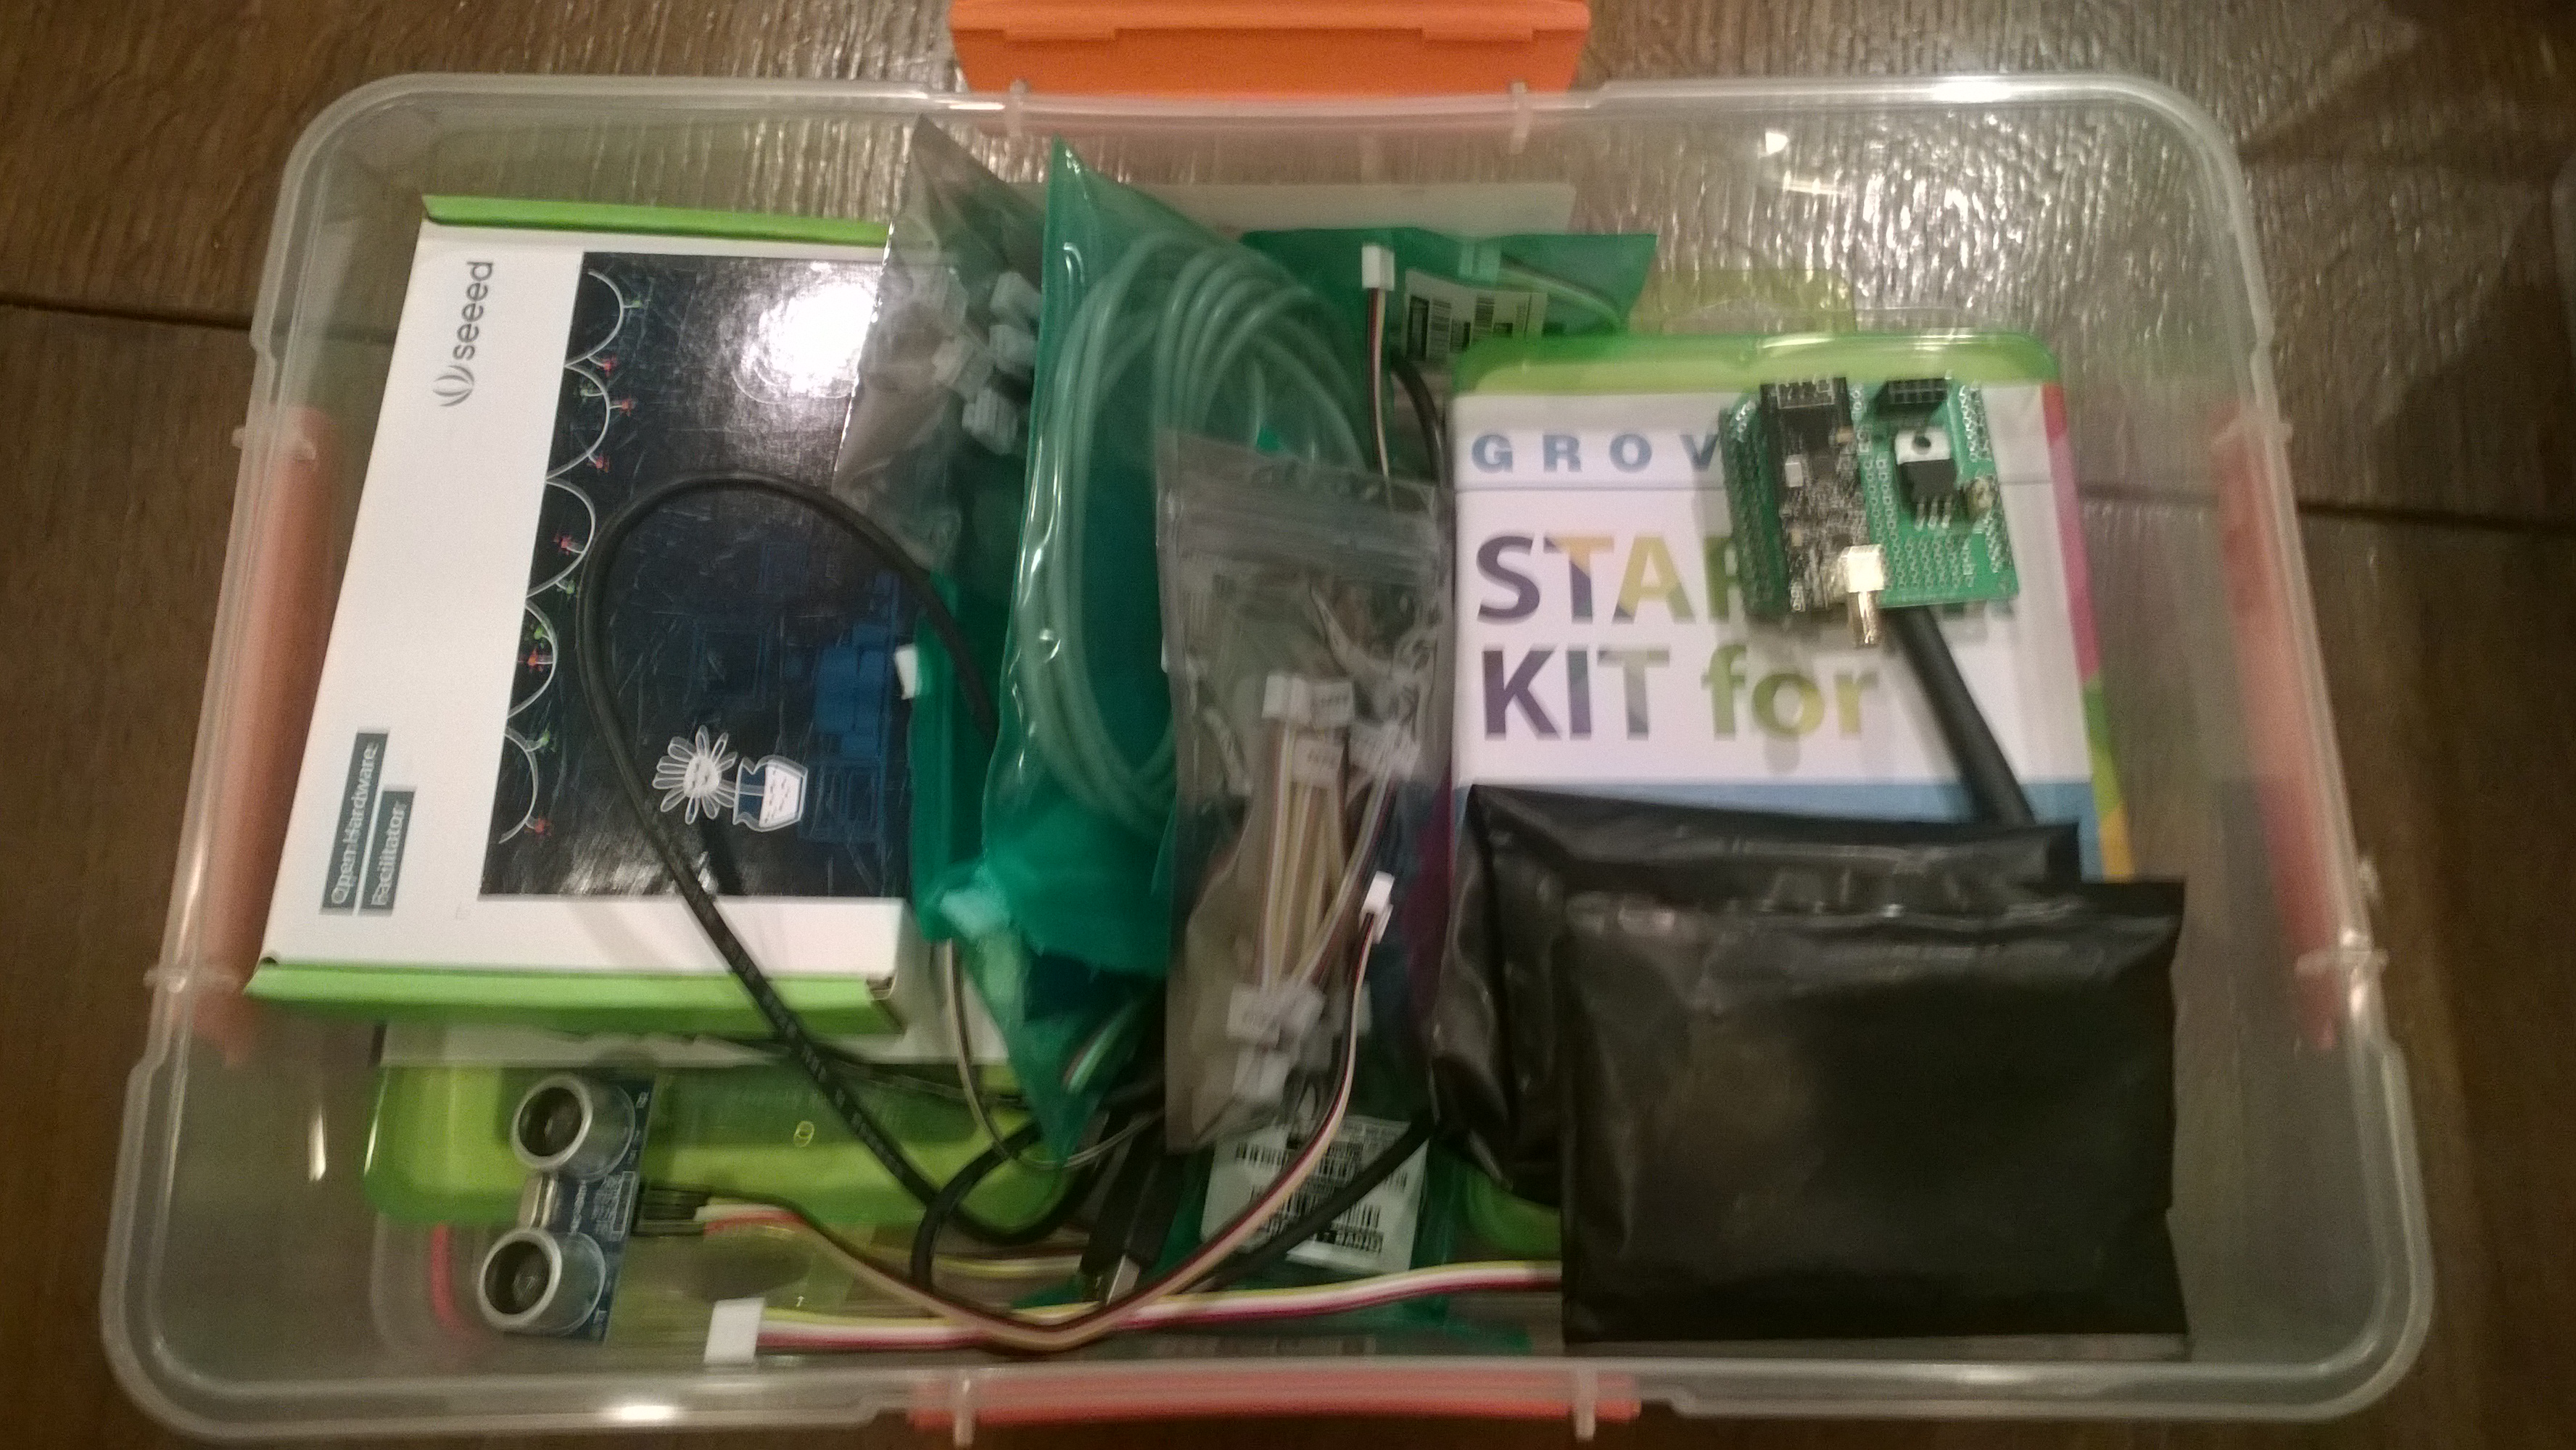
devDuino based controller interfaced with ESC and wireless WiiChuk
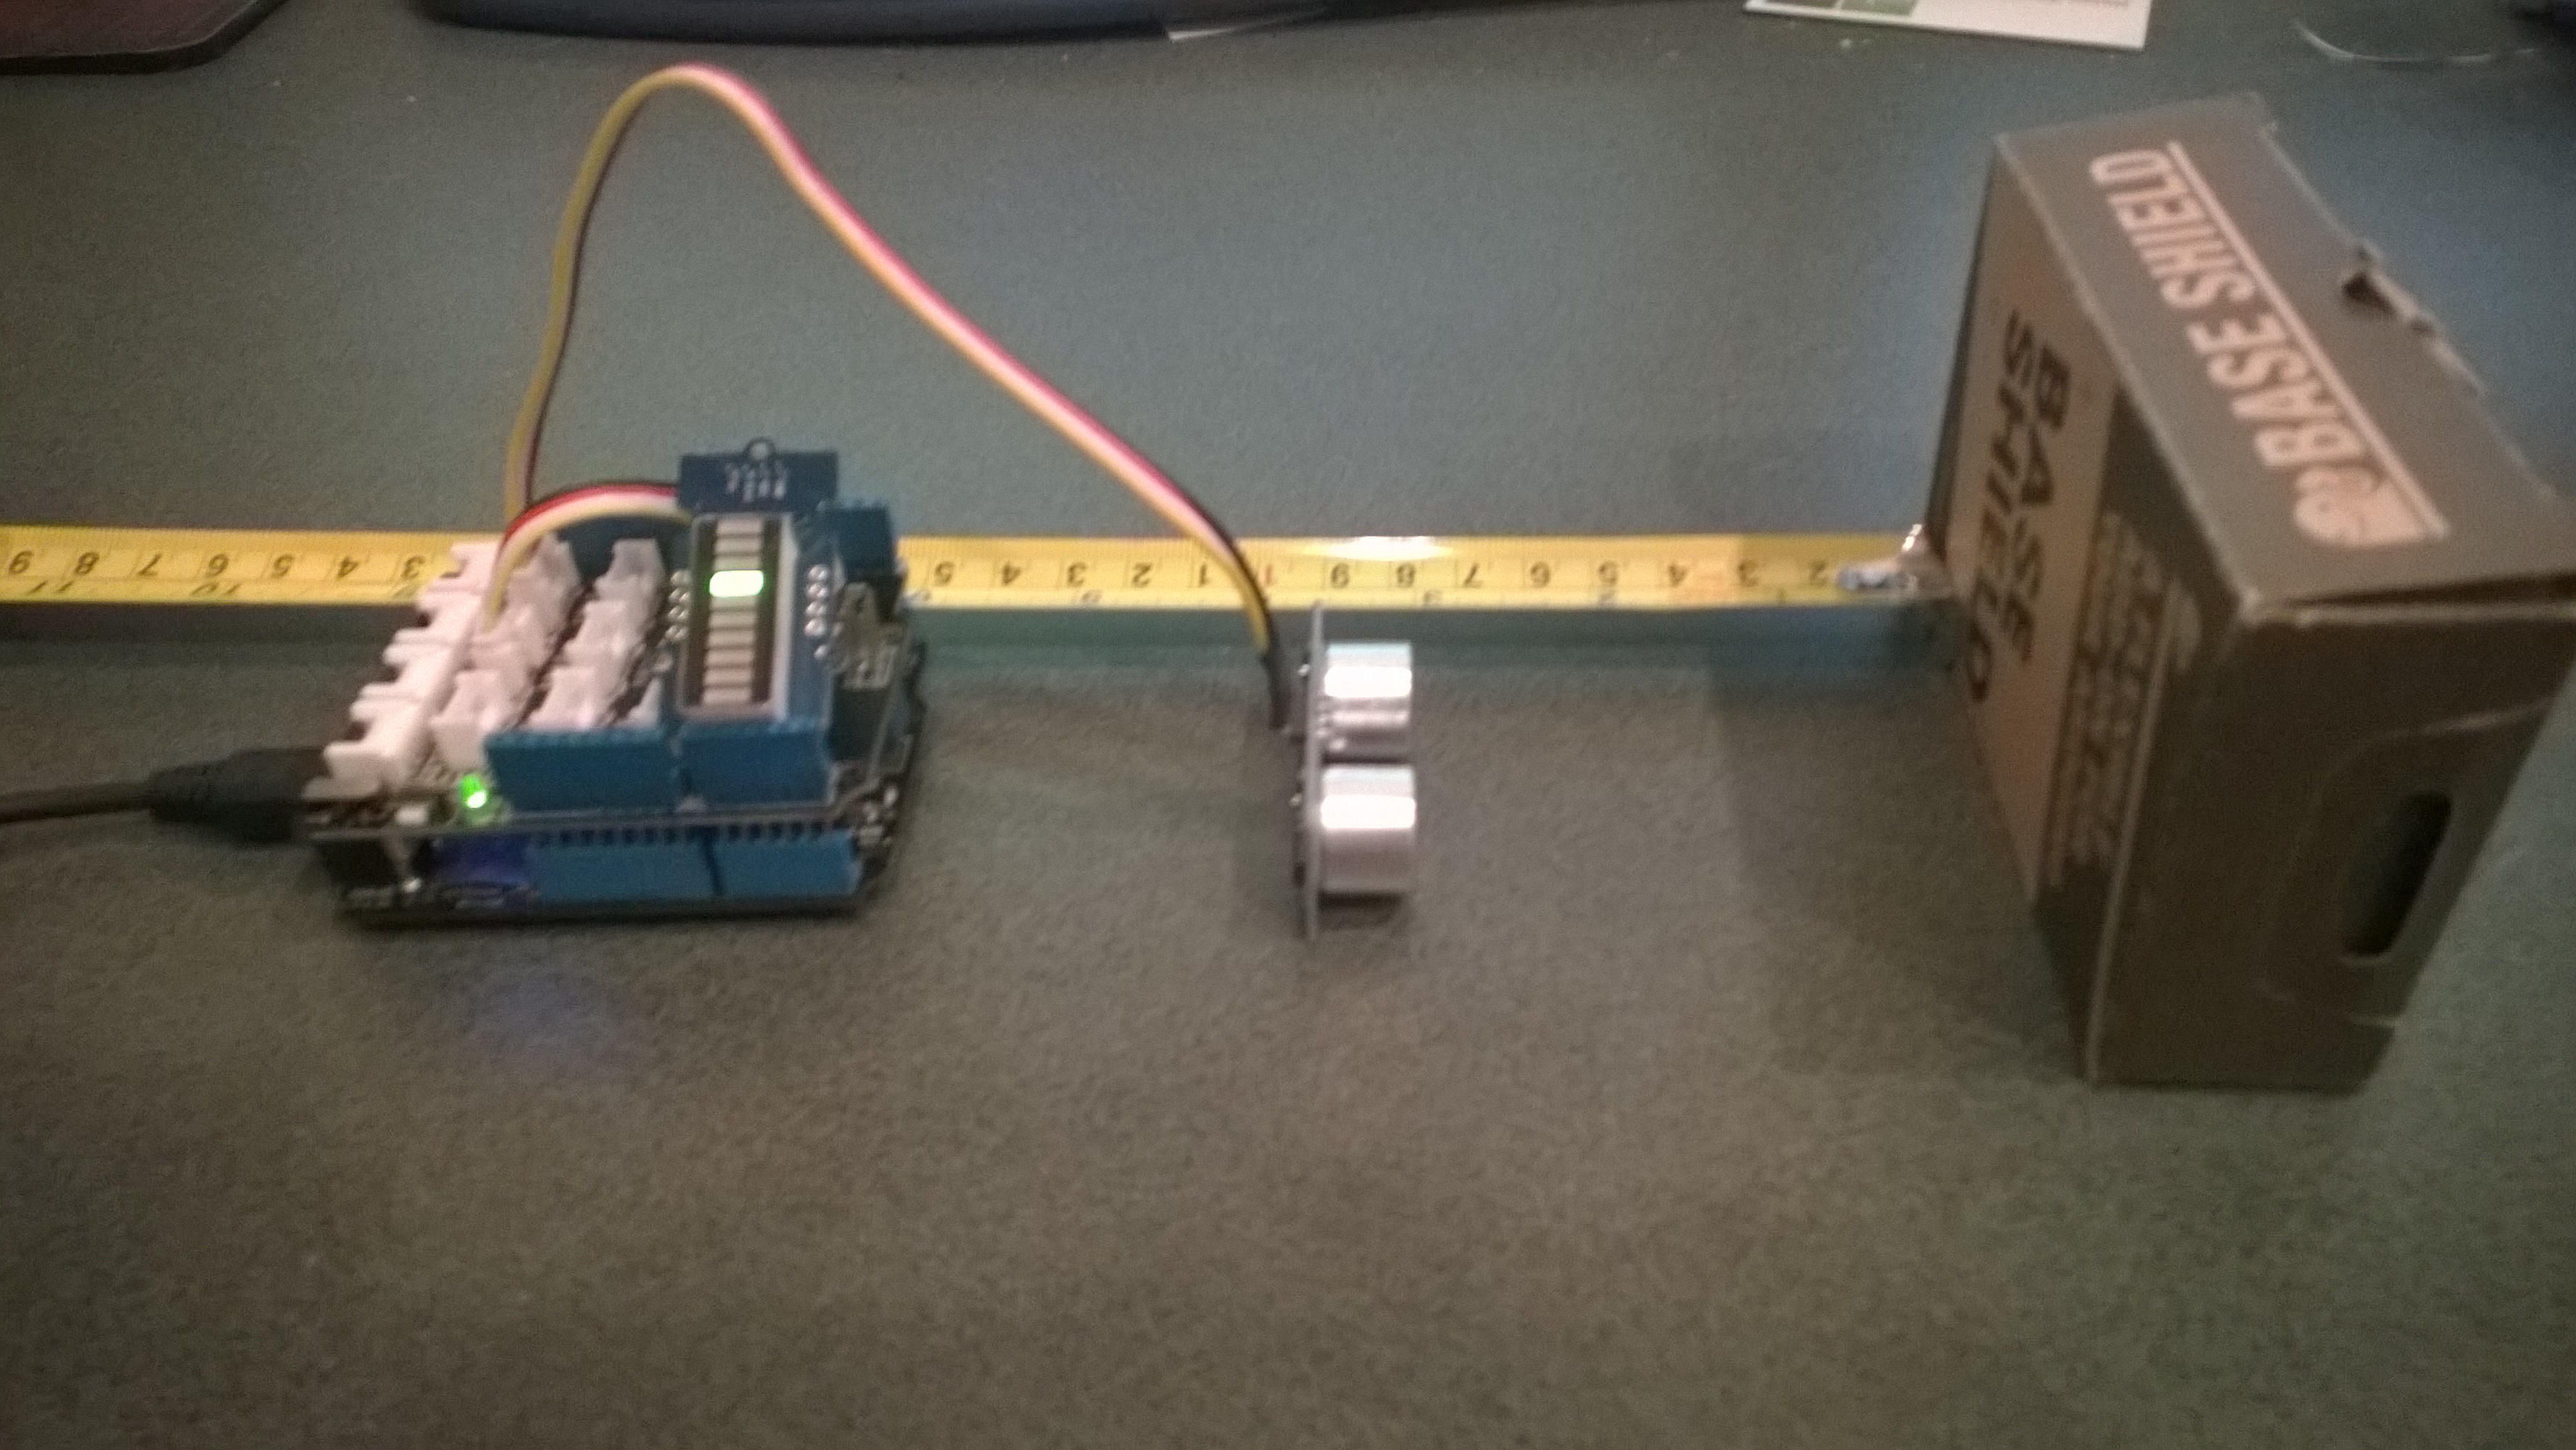
Initial rides went well, though I need to recalibrate the acceleration and braking ramp up/down settings to suit my hardware and riding style.
Bill of Materials for this project (Prices as at Feb 2015)
- Single Motor Mechanical Electric Longboard Kit USD223
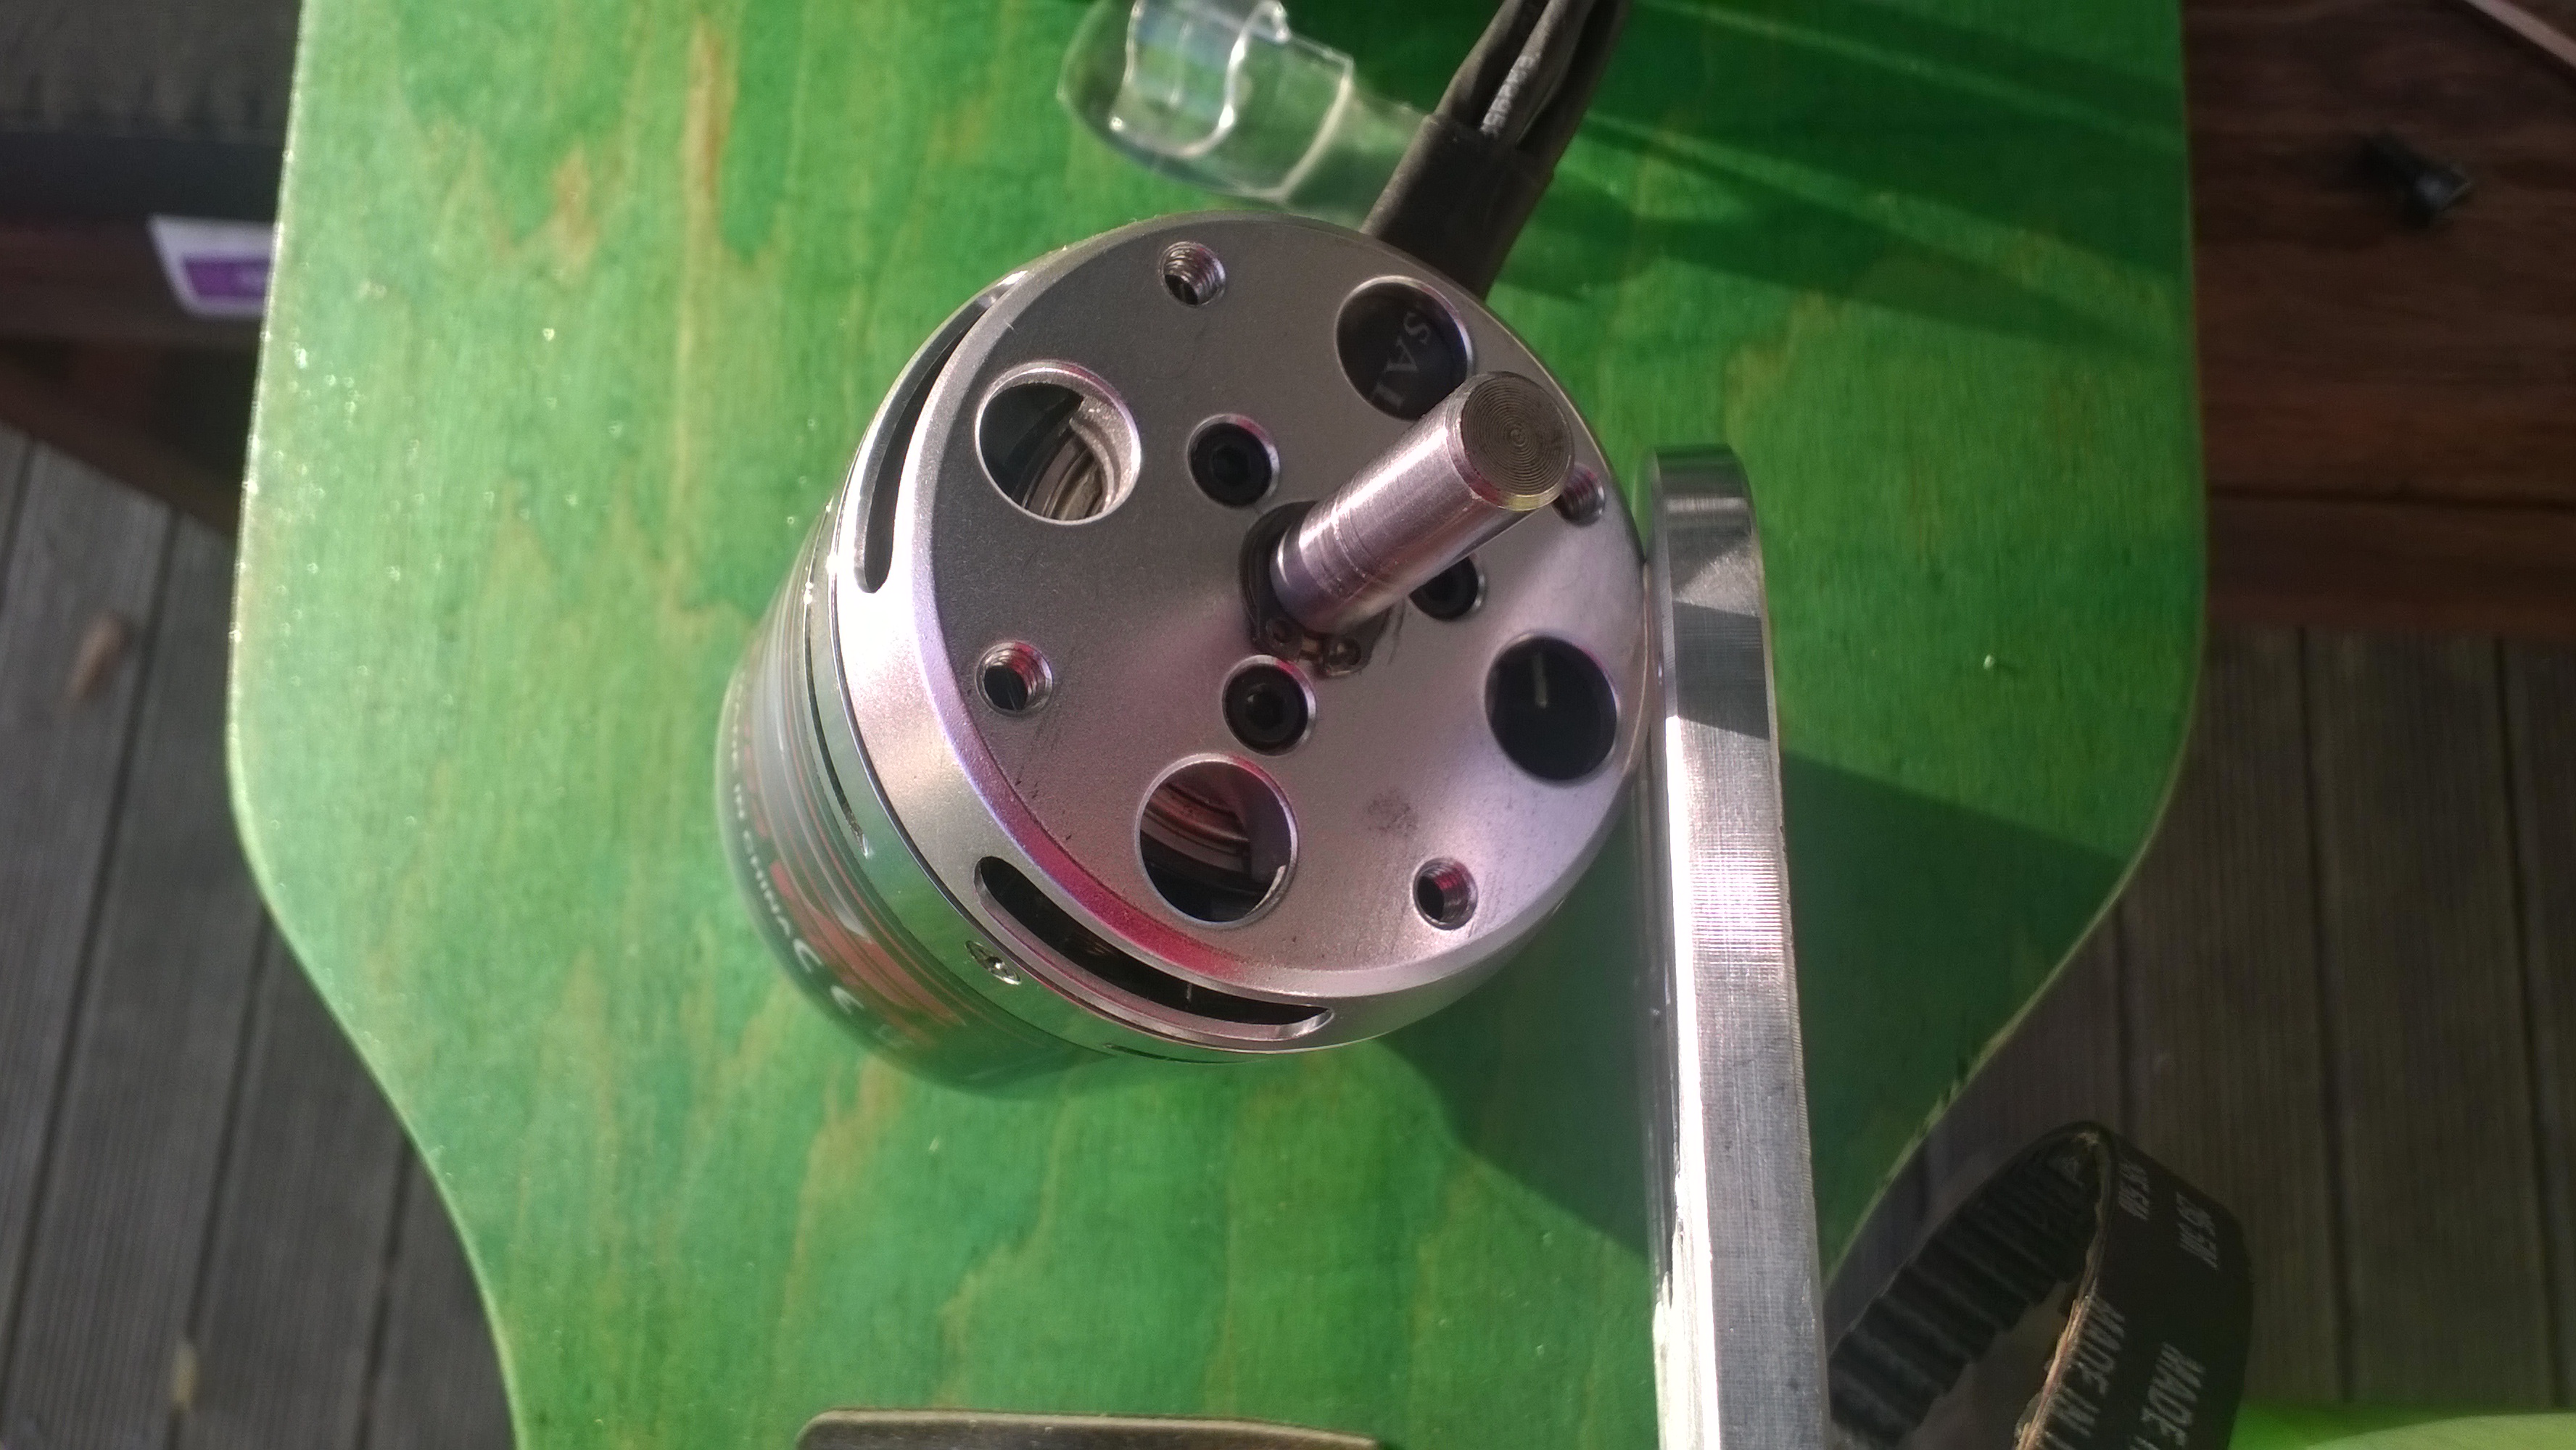
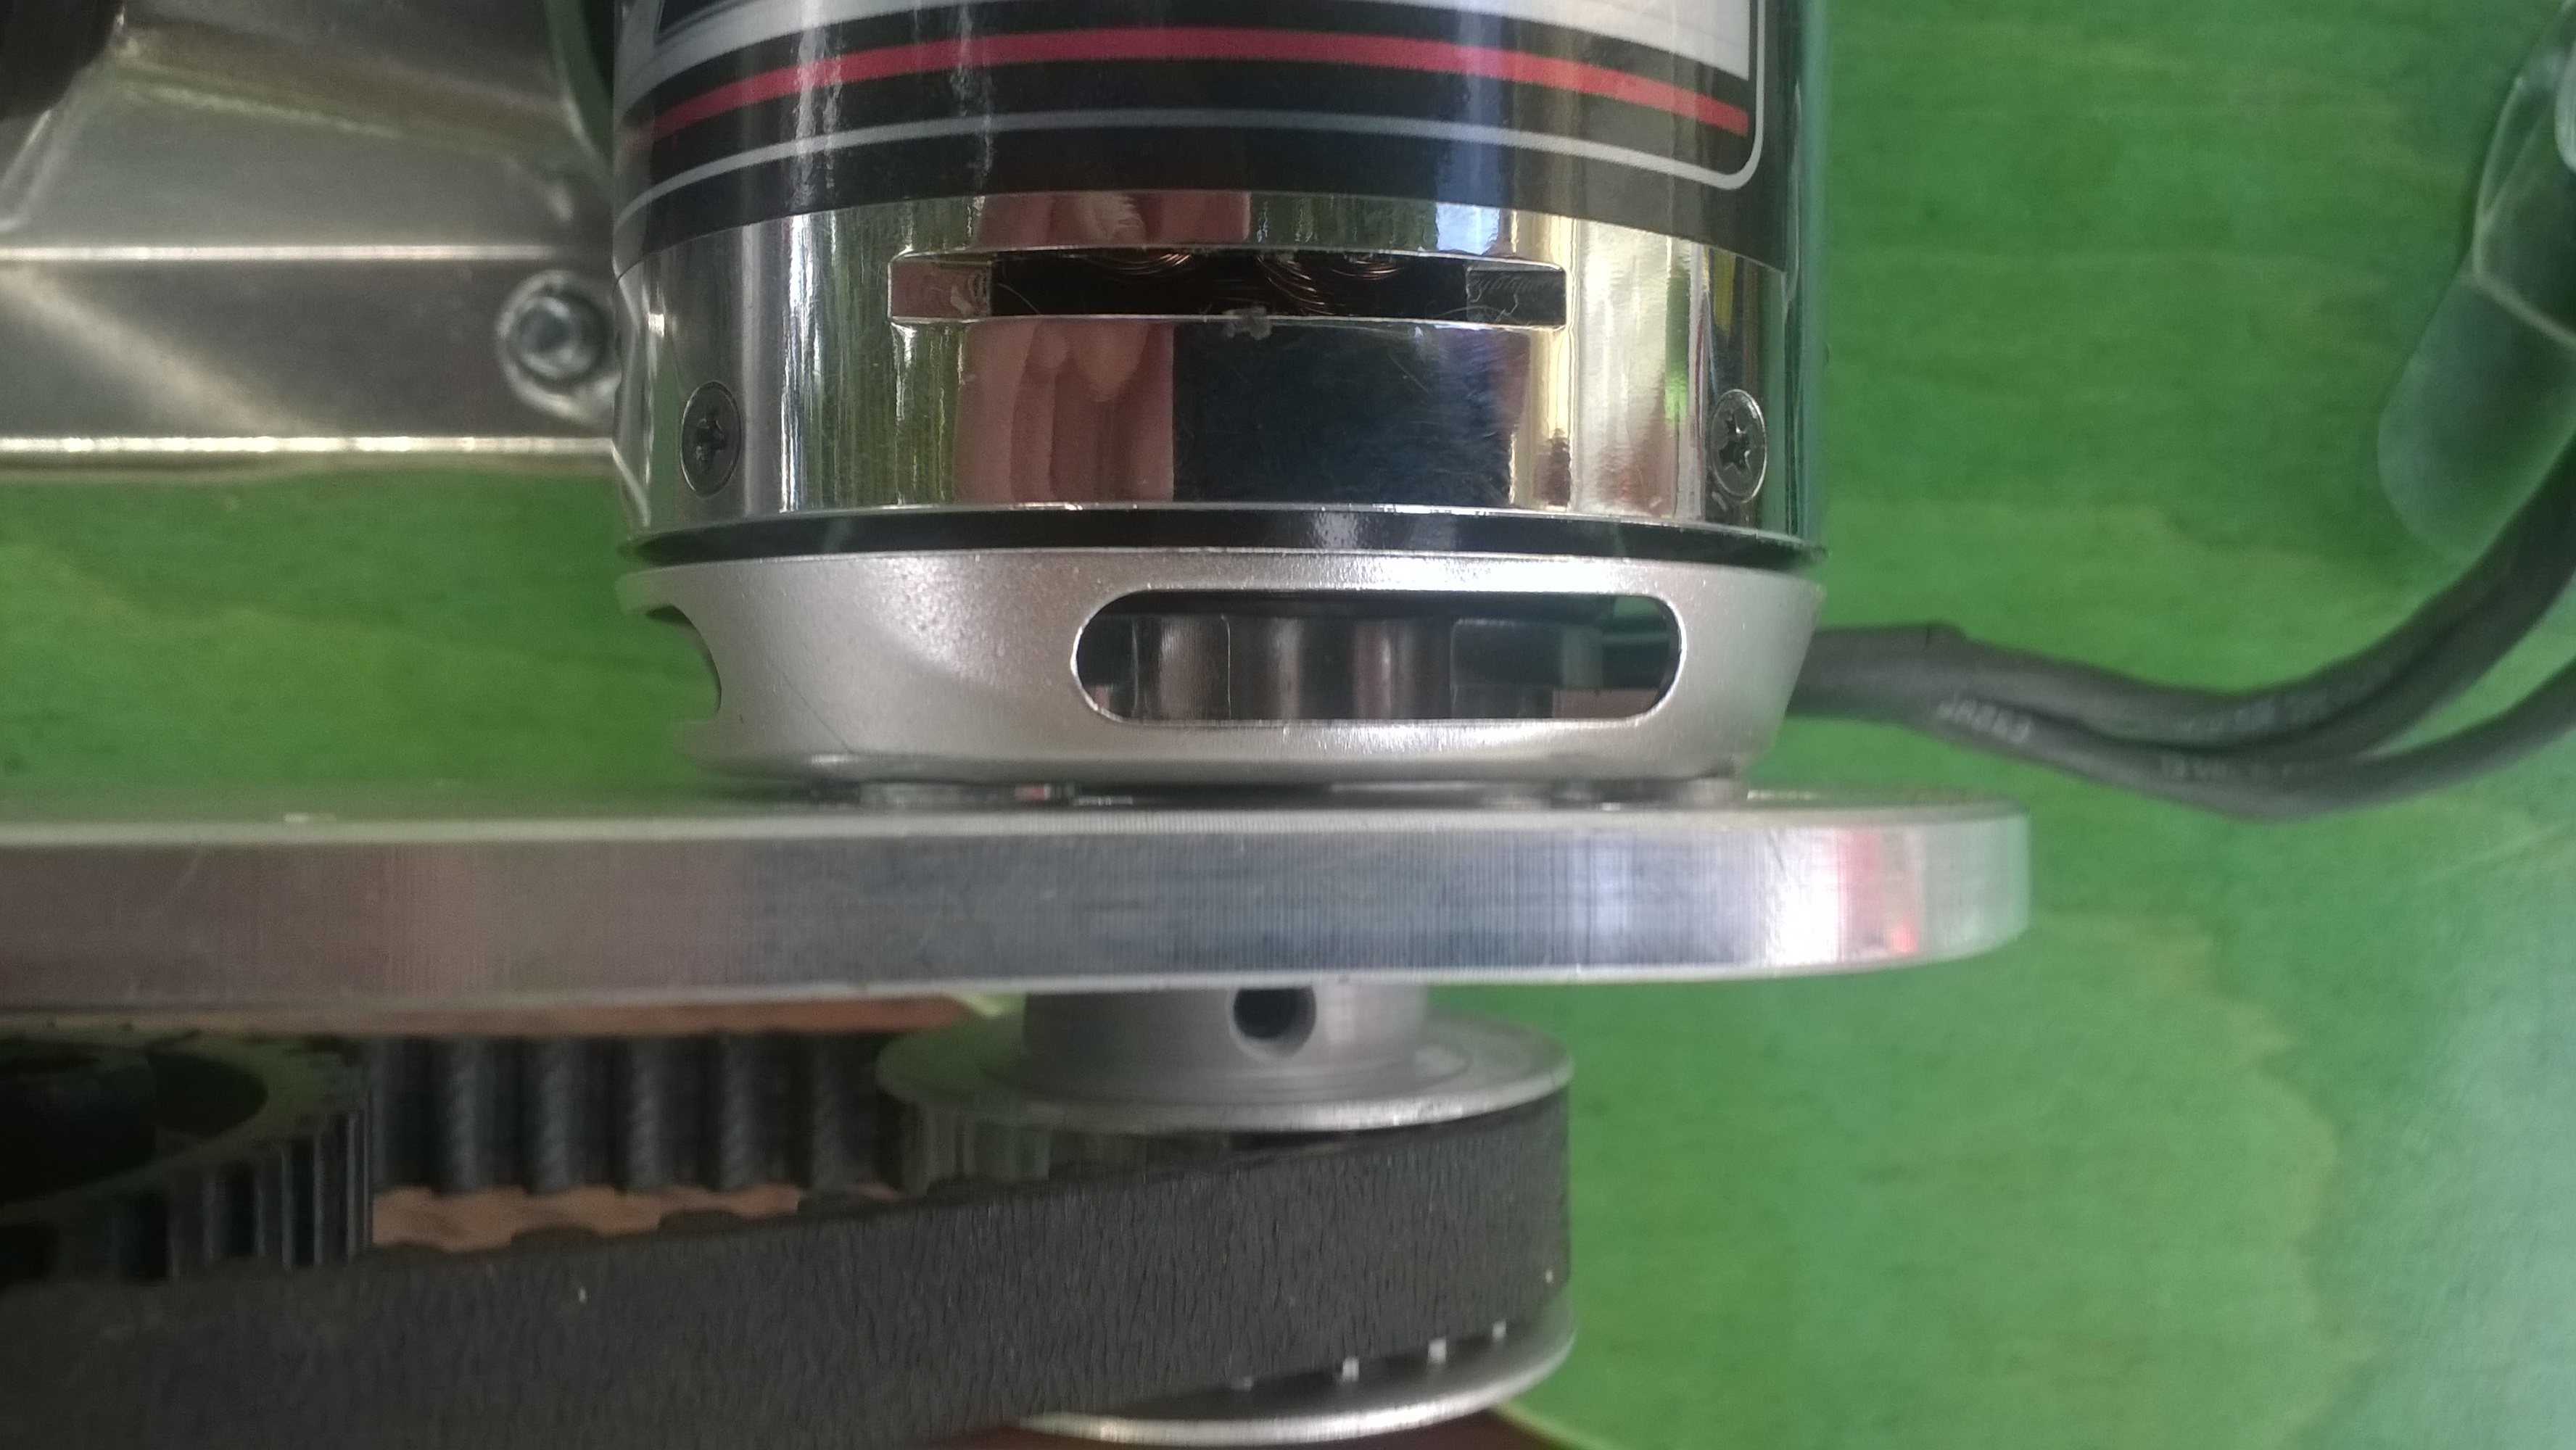
- Turnigy Aerodrive SK3-6364-245kv Brushless Outrunner Motor USD70.68
- HobbyKing 150A High Performance Brushless Car ESC USD68.99
- ZIPPY Flightmax 5000mAh battery X 2 USD31.99 each
- HXT4mm Battery Harness 14AWG for 2 Packs in Series USD2.43
- HXT 4mm Gold Connector with Protector (10pcs/set)
- devDuino Sensor Node V2 USD15.99
- Grove Nunchuck adaptor USD2.90
- Grove Branch Cable for Servo USD4.90
- Wireless Nunchuck NZD25.00
- Moose 9.5×42 Longboard Flush Mount Deck Green Stain NZD57
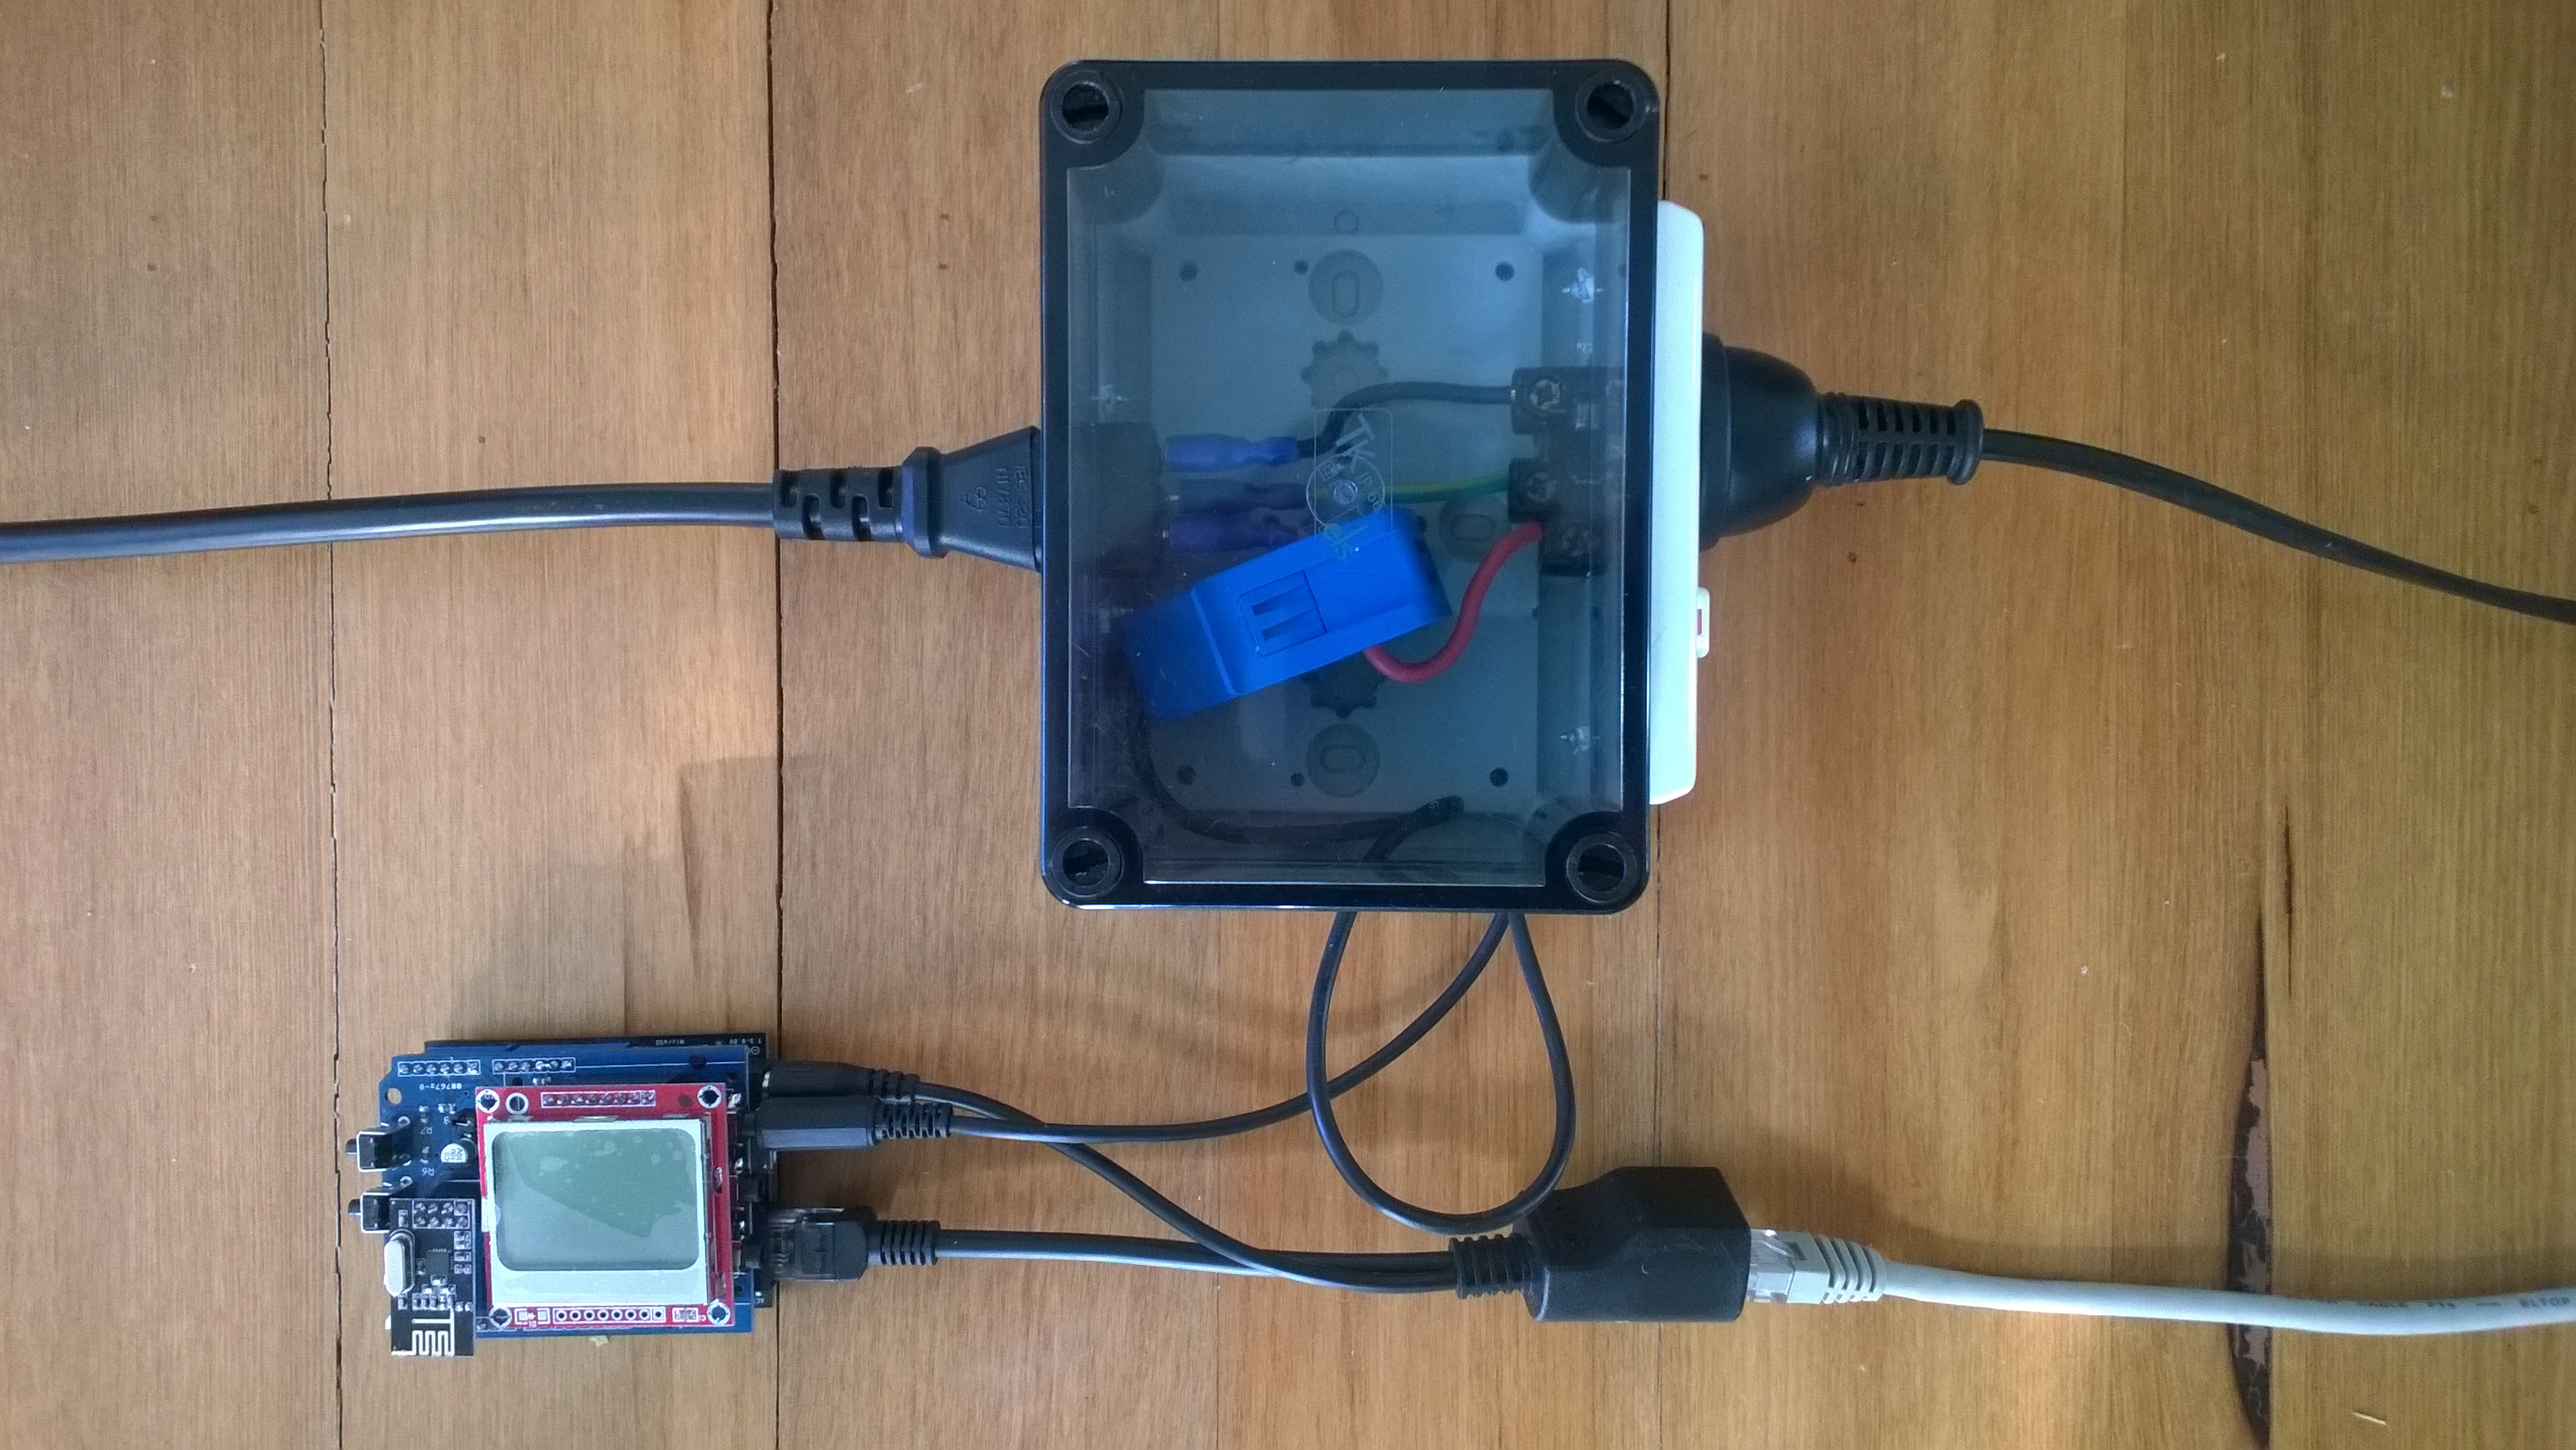
WARNING – Disconnect the power supply pin on the Grove Branch Cable for Servos as the ESC will supply sufficient current to make the batteries on the devDuino go pop. Wrap some tape around the other servo connector so it can’t cause a short circuit.
Thanks to Austin David for making the code for the Wiiciever open source, if anyone is interested in my code I can tidy it up and share.
/*
 * Pin IDs -- NOT LOCATIONS !!!
 * don't change these ever; see "pinLocation" below for
 * actual locations
 */
#define RED_LED_ID   0
//#define GREEN_LED_ID 1

#define ESC_PPM_ID   2
//#define ESC2_PPM_ID   6
#define ESC_GROUND 00     // hard-wired

//#define WII_POWER_ID 3
//#define WII_GROUND 00     // hard-wired

#define WII_SCL_ID   4
#define WII_SDA_ID   5
I made my devDuino look like a V3 wiiceiver
int pinLocation(int pinID) {
  int pinMap[7][3] = {
  // v1, v2, v3
    {8,   8,  9},  // RED_LED     any digital pin
    {7,   6,  8},  // GREEN_LED   any digital pin
    {10,  9,  3},  // ESC_PPM     PWM required
    {9,  11,  5},  // WII_POWER   any digital pin
    {19, 19, 19}, // WII_SCL     A5, don't change
    {18, 18, 18}, // WII_SDA     A4, don't change
    {0,  10, 0}, // ESC2_PPM    PWM required
  };
The rest of my changes were commenting out all references to the Green LED as the devDuino only has one onboard LED.