Xively Personal is being retired

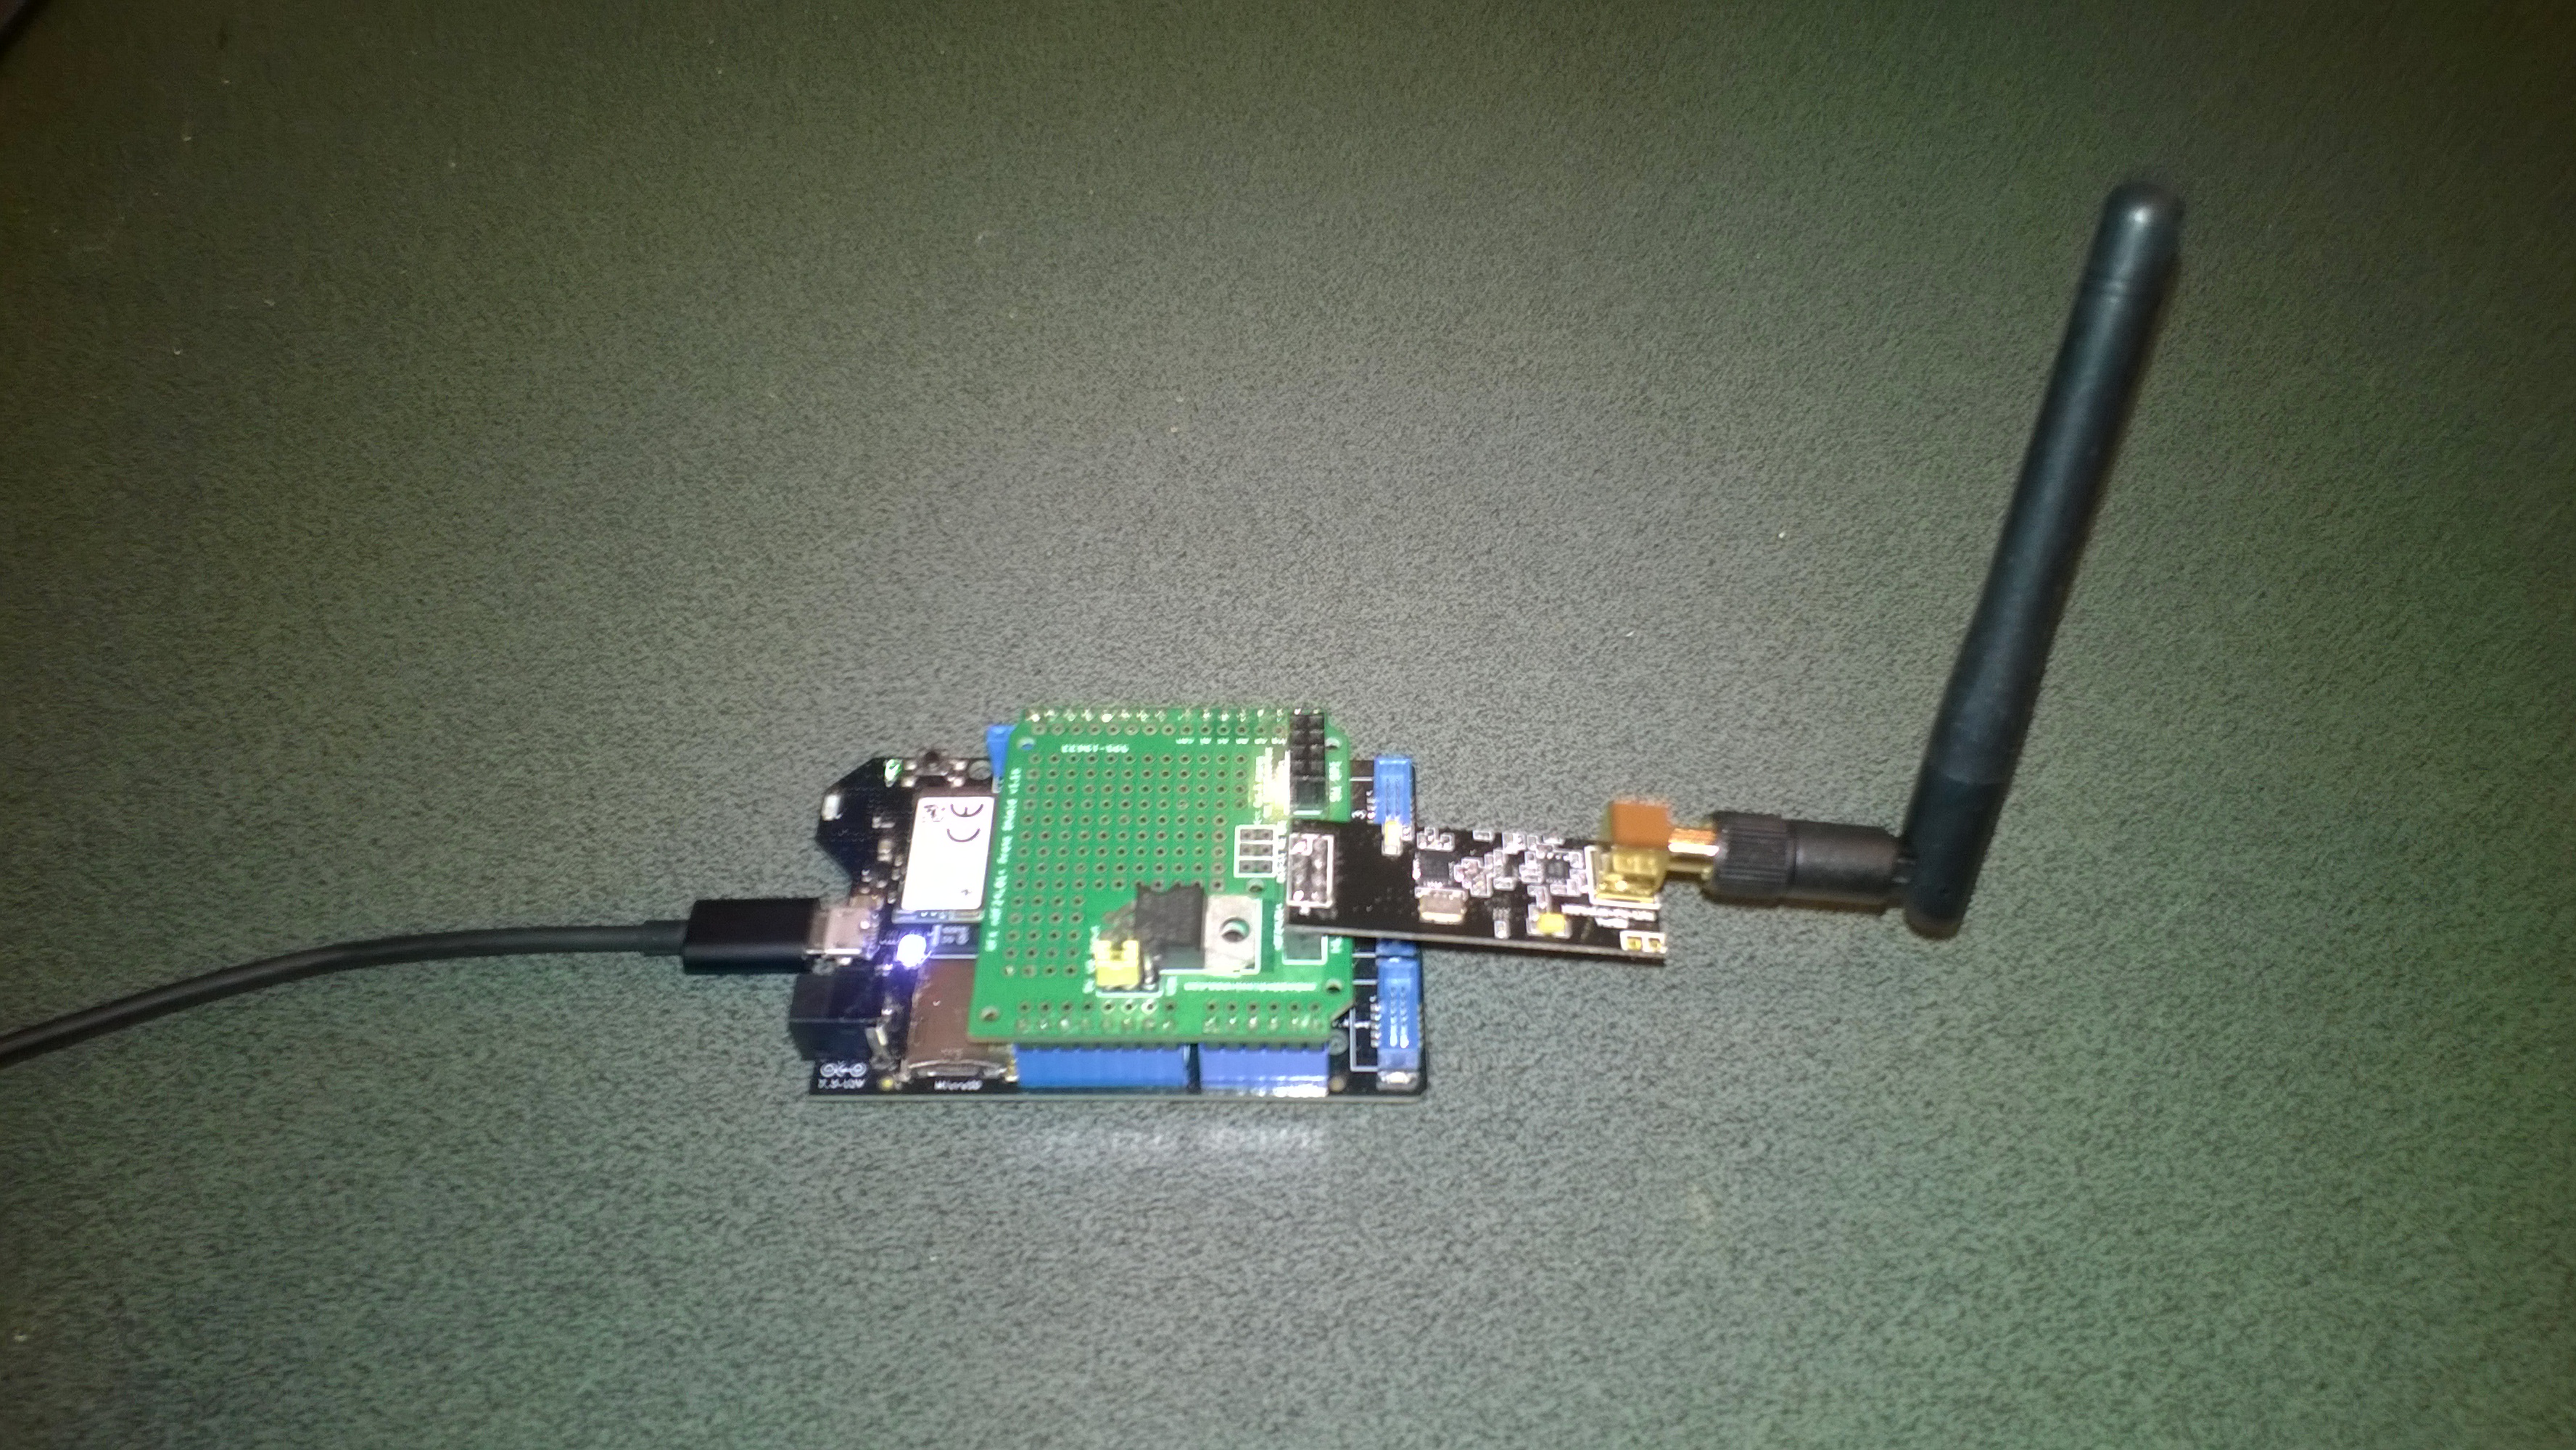
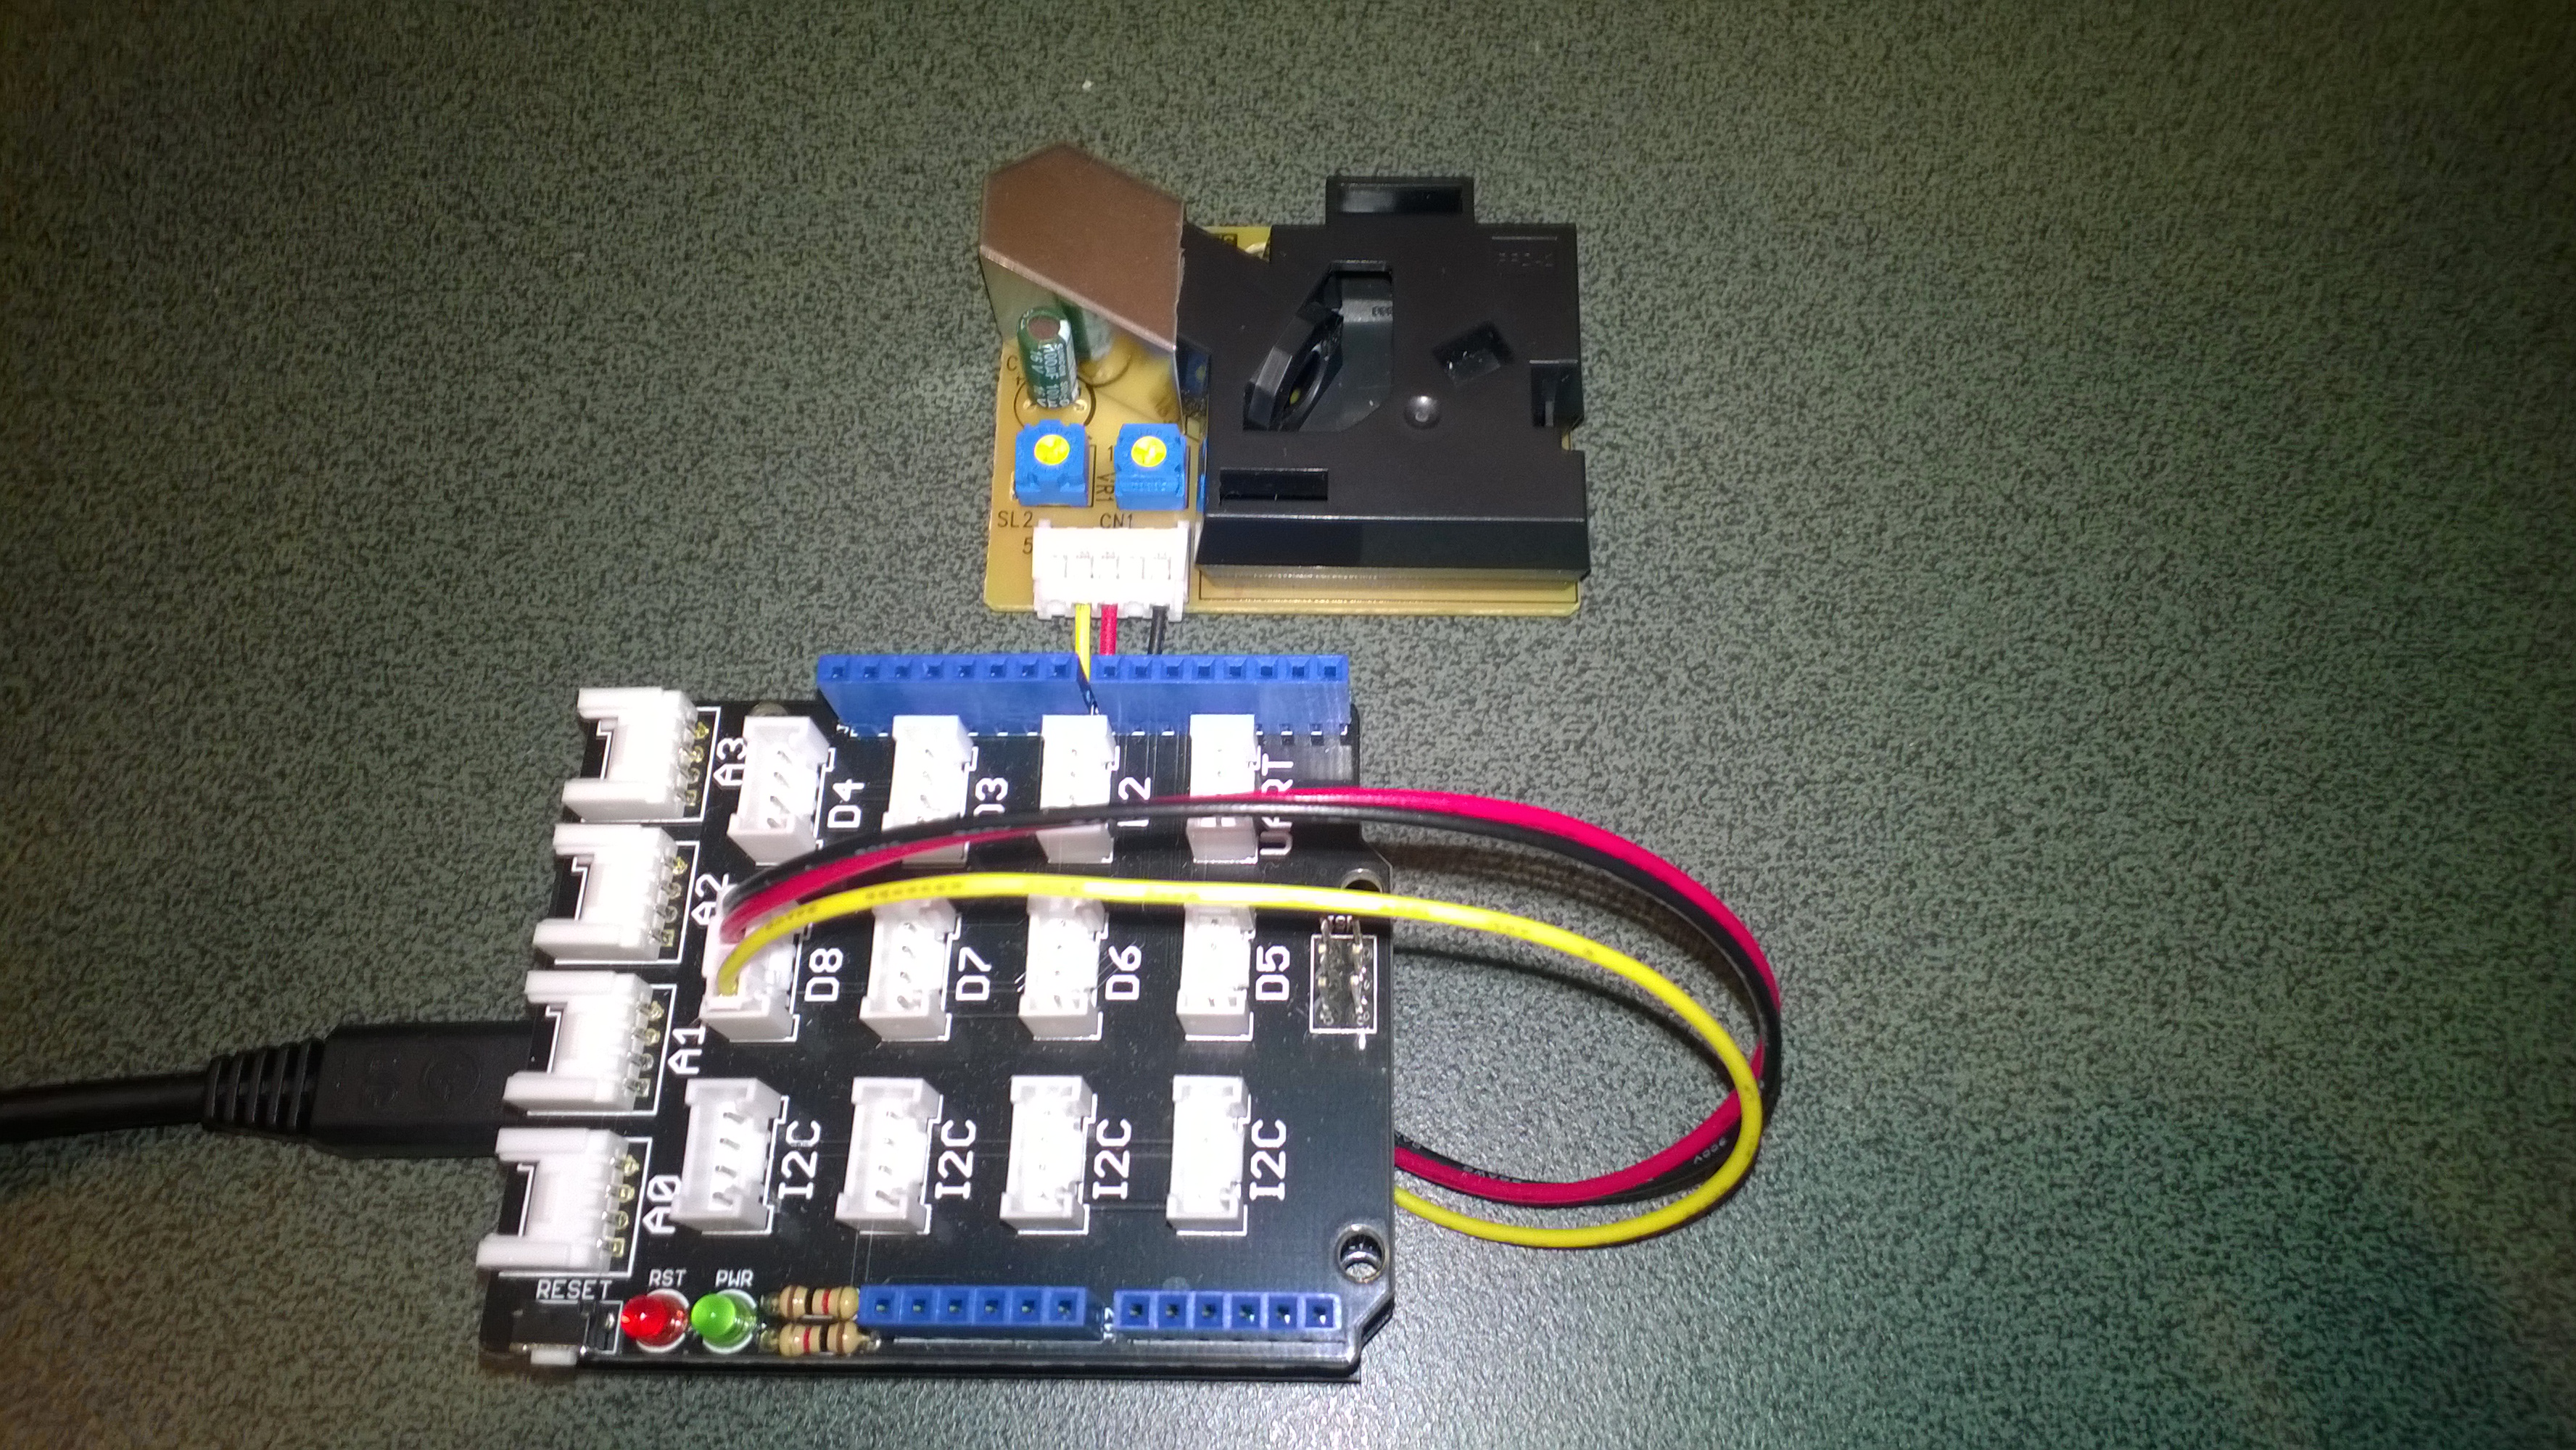
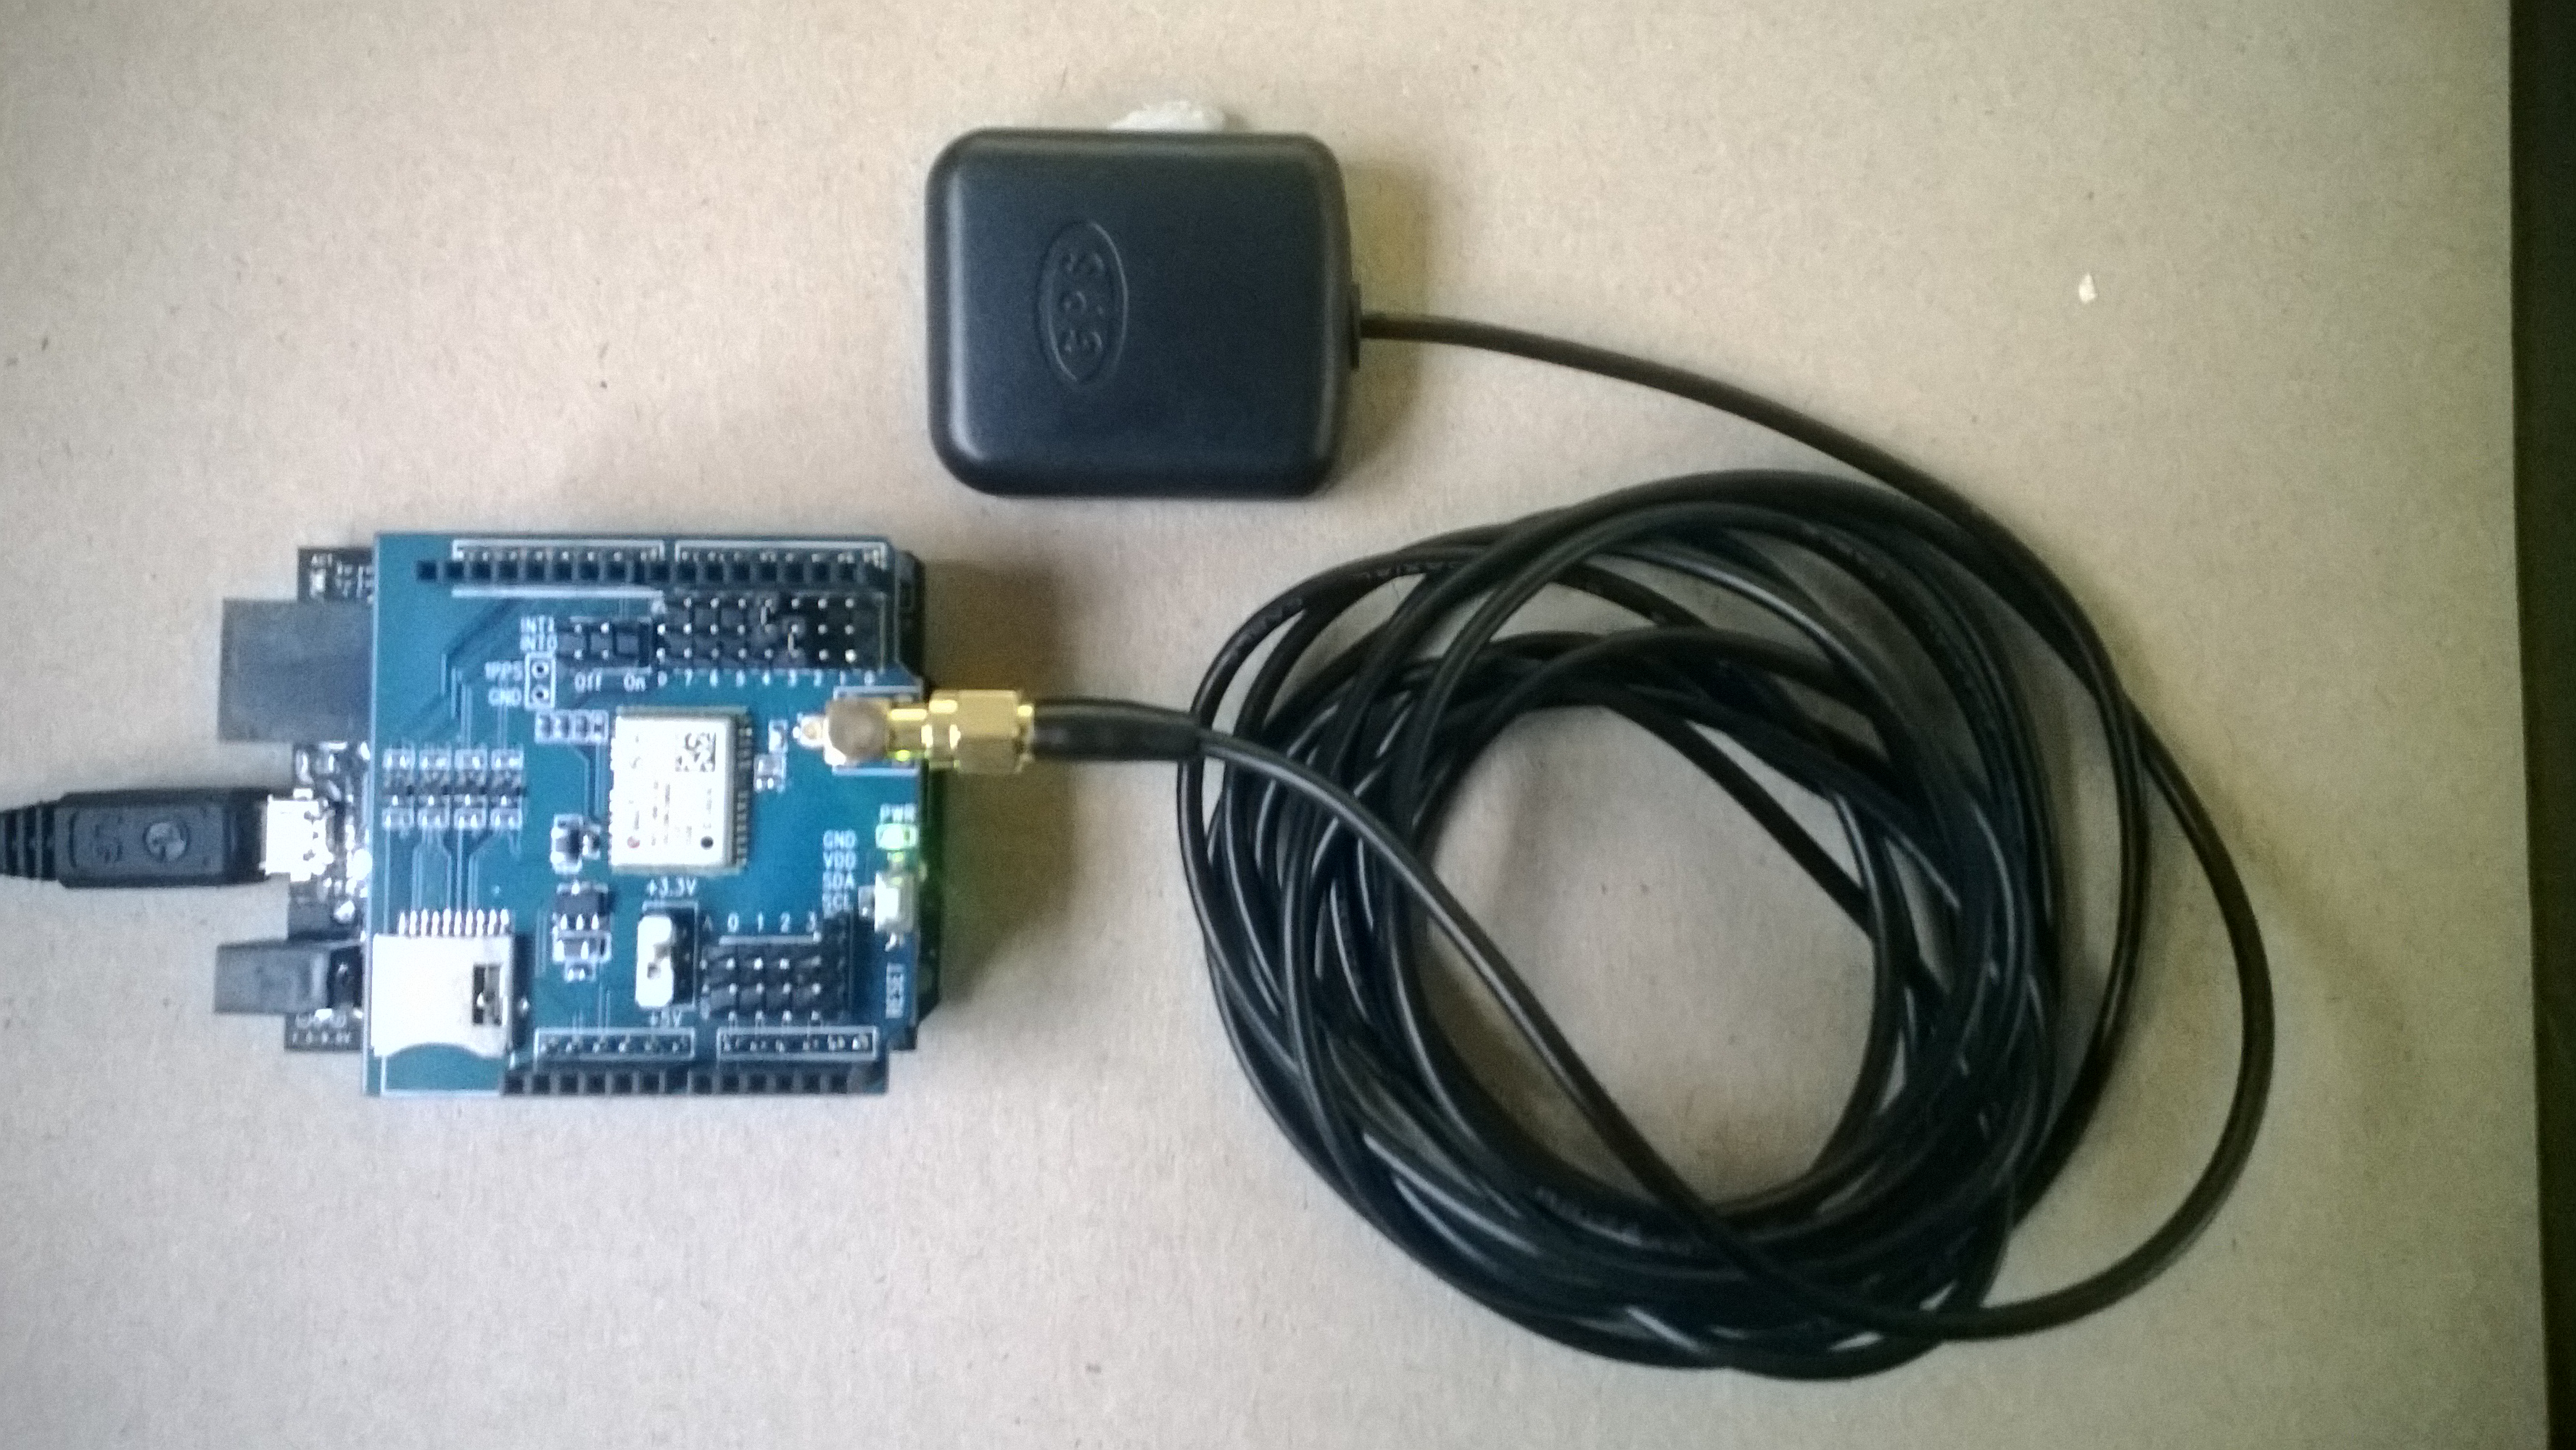
This is going to cause me a problem especially my Netduino based nRF24 Xively Field gateway which gets used in quite a few of my student projects. I’m looking for a replacement Internet of Things service which has http/s and/or mqtt, amqp support, C & C#  client libraries (which I can get to work on Windows 10 IoT Core & NetMF) would be a bonus.

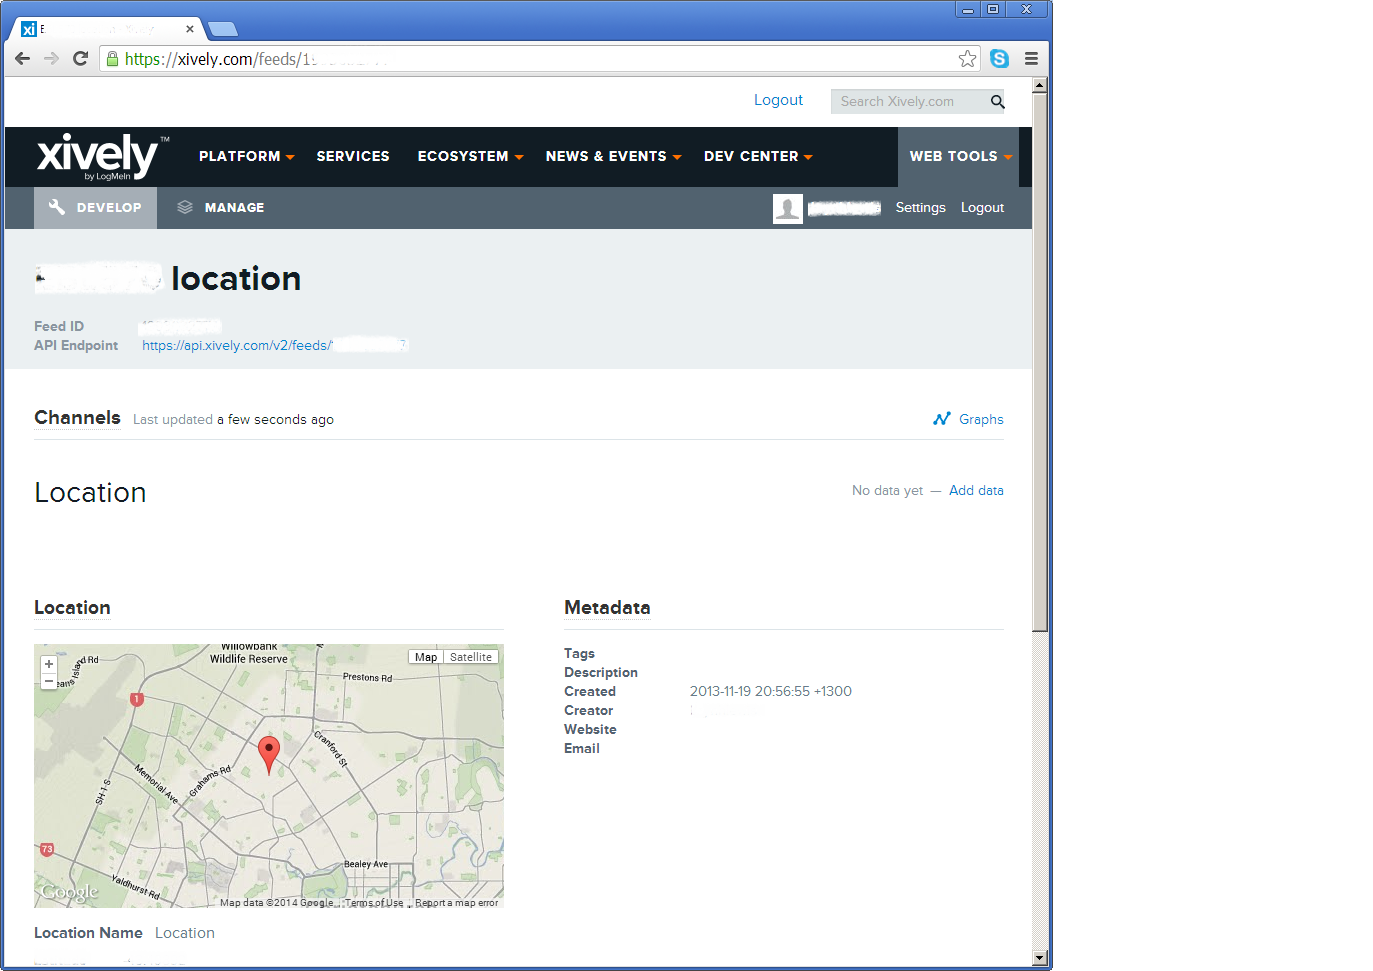
From the Xively email

”After careful consideration, LogMeIn has made the decision to retire Xively Personal from its current line of products effective January 15, 2018 at 12:00PM ET . Please note that LogMeIn will continue to offer our Xively Enterprise edition – there is no change to that edition and we will continue to support that platform as part of our IoT business.

Retiring a product is never an easy decision, and we recognize it does introduce potential challenges to active users. So we want to make sure you have all the information you need to make as seamless a transition as possible.

Access to your account:
Your Xively Personal account will remain active until January 15th. Please note that devices will not be accessible via the Xively Personal service once it is retired.

Transferring your products to another IoT service:
Should you choose to switch to another service, there are essentially two options.

1) Migrate to Xively Enterprise: The latest Enterprise version of Xively is built on a more modern and reliable architecture, which brings the benefits of pre-built hardware integrations, identity and device management features, MQTT messaging, and best-in-class security, but it may require some reconfiguring of your current devices. We do offer a 30 day free trial of Xively Enterprise should you want to try it out for yourself.

2) Migrate to another free service: If your use is primarily for experimenting and personal projects, there are several free IoT platform options on the market, such as Adafruit, Thingspeak, or SparkFun.”

One of the suggestions – Sparkfun Phant has been retired

Some possible alternatives in no particular order (this list may grow)

AdaFruit.IO – The internet of things for everyone

Microsoft IoT Central – Enterprise-grade IoT SaaS

ThingSpeak – The open IoT platform with MATLAB analytics

Blynk – Democratizing the Internet of Things

Thinger.io platform

SenseIoT – Internet of Things Data Hosting Platform

Temboo – Tools for Digital Transformation

Carriots by Altair

Nearbus – An IoT Open Project

ubidots – An application Builder for the Internet of Things

Kii Cloud

Artik – End-to-end IoT Platform

goplusplatform – Connect your things with GO+

I’m initially looking for a platform which is the “least painful” transition from Xively.

Netduino 3 Wifi xively nRF24L01 Gateway data stream live

The gateway is now live, I’m regularly updating the Netduino 3 wifi code and the client arduino, devDuino + netduino devices so there maybe short periods of downtime and/or missing data points.

The stream is available here and is currently just temperature and humidity readings from two bedrooms updating roughly once a minute.

I live in New Zealand which is currently UTC + 12.

Netduino 3 Wifi xively nRF24L01 Gateway introduction

Around home I have a number of Arduino, devDuino and Netduino devices collecting power consumption, temperature & humidity measurements. Previously I had built an Azure event hub gateway which runs on Windows 7(or later) which acts as a gateway forwarding local http requests to an Microsoft Azure event hub.

Not all my embedded devices are capable of making an http request but an nRF24l01 based approach is supported.

For this application I wanted something a bit simpler than an Azure Event hub which could plot basic graphs and as I didn’t require massive scale Xively looked ideal.

Netduino 3 Wifi xively gateway + duino clients

Netduino 3 Wifi xively gateway and *duino clients

Over the next few blog postings I will show how I built the Netduino 3 wifi application and the Arduino based clients.

Bill of materials for the Xively gateway (prices at June 2015)

First step is to configure the network

NetworkInterface networkInterface = NetworkInterface.GetAllNetworkInterfaces()[0];

if (networkInterface.IsDhcpEnabled)
{
   Debug.Print(" Waiting for IP address ");

   while (NetworkInterface.GetAllNetworkInterfaces()[0].IPAddress == IPAddress.Any.ToString()) 
   {
      Thread.Sleep(100);
   }
}

// Display network config for debugging
Debug.Print("Network configuration");
Debug.Print(" Network interface type: " + networkInterface.NetworkInterfaceType.ToString());
Debug.Print(" MAC Address: " + BytesToHexString(networkInterface.PhysicalAddress));
Debug.Print(" DHCP enabled: " + networkInterface.IsDhcpEnabled.ToString());
Debug.Print(" Dynamic DNS enabled: " + networkInterface.IsDynamicDnsEnabled.ToString());
Debug.Print(" IP Address: " + networkInterface.IPAddress.ToString());
Debug.Print(" Subnet Mask: " + networkInterface.SubnetMask.ToString());
Debug.Print(" Gateway: " + networkInterface.GatewayAddress.ToString());

foreach (string dnsAddress in networkInterface.DnsAddresses)
{
   Debug.Print(" DNS Server: " + dnsAddress.ToString());
}

_module = new NRF24L01Plus();

Then setup the nRF24l01 driver

_module.OnDataReceived += OnReceive;
_module.OnTransmitFailed += OnSendFailure;
_module.OnTransmitSuccess += OnSendSuccess;

_module.Initialize(SPI.SPI_module.SPI1, Pins.GPIO_PIN_D7, Pins.GPIO_PIN_D3, Pins.GPIO_PIN_D2);
_module.Configure(myAddress, channel, NRFDataRate.DR1Mbps);
_module.Enable();

The setup required for the Xively API and mapping the devices highlighted the need for a means of storing configuration which could be modified using a simple text editor.

Netduino 3 Wifi with nRF24L01 shield

Netduino 3 Wifi + nRF24L01 shield

This software was built using tooling created and shared by others.

Big thanks to

Jakub Bartkowiak – Gralin.NETMF.Nordic.NRF24L01Plus

Netduino pollution Monitor V0.1

As part of a project for Sensing City I had been helping with the evaluation of  PM2.5/PM10 sensors for monitoring atmospheric pollution levels. For my DIY IoT projects I use the SeeedStudio Grove system which has a couple of dust sensors. The Grove Dust Sensor which is based on a Shinyei Model PPD42 Particle Sensor looked like a cost effective option.

Seeedstudio Grove Dust Sensor

Seeedstudio Grove Dust Sensor

Bill of Materials for my engineering proof of concept (Prices as at June 2015)

I initially got the sensor running with one of my Arduino Uno R3  devices using the software from the seeedstudio wiki and the ratio values returned by my Netduino Plus 2 code (see below) look comparable. I have purchased a couple of extra dust sensors so I can run the Arduino & Netduino devices side by side. I am also trying to source a professional air quality monitor so I can see how reliable my results are

The thread ” (0x2) has exited with code 0 (0x0).

Ratio 0.012

Ratio 0.012

Ratio 0.020

Ratio 0.008

Ratio 0.031

Ratio 0.014

Ratio 0.028

Ratio 0.012

Ratio 0.013

Ratio 0.018

public class Program
{
private static long pulseStartTicks = 0;
private static long durationPulseTicksTotal = 0;
readonly static TimeSpan durationSample = new TimeSpan(0, 0, 0, 30);
readonly static TimeSpan durationWaitForBeforeFirstSample = new TimeSpan(0, 0, 0, 30);

public static void Main()
{
InterruptPort sensor = new InterruptPort(Pins.GPIO_PIN_D8, false, Port.ResistorMode.Disabled, Port.InterruptMode.InterruptEdgeBoth);
sensor.OnInterrupt += sensor_OnInterrupt;

Timer sampleTimer = new Timer(SampleTimerProc, null, durationWaitForBeforeFirstSample, durationSample);

Thread.Sleep(Timeout.Infinite);
}

static void sensor_OnInterrupt(uint data1, uint data2, DateTime time)
{
if (data2 == 1)
{
long pulseDuration = time.Ticks - pulseStartTicks;

durationPulseTicksTotal += pulseDuration;
}
else
{
pulseStartTicks = time.Ticks;
}
}

static void SampleTimerProc(object status)
{
double ratio = durationPulseTicksTotal / (double)durationSample.Ticks ;
durationPulseTicksTotal = 0;

Debug.Print("Ratio " + ratio.ToString("F3"));
}
}

Next steps will be, adding handling for edges cases, converting the ratio into a particle concentration per litre or 0.1 cubic feet, selecting a weather proof enclosure, smoothing/filtering the raw measurements, and uploading the values to Xively for presentation and storage.

Canterbury Software Cluster Internet of Things Presentation

For my presentation last week I prepared a sample xively and Netduino based application to illustrate what could be built with off the shelf kit. I built a wireless home monitoring system which had two energy consumption monitoring devices and a dual temperature sensor device. These devices uploaded their data using MQTT to xively in close to real time. Prices as at May 2014

The devices connected to the internet via a gateway.

Image

The software running on the Netduino was built using the NetMF library from KittyHawkMQ and the nRF24L01+ library from codeplex

Testing the solar powered temperature sensor monitoring my kitchen fridge. The fridge was 4° and the freezer was -18°

Image

The software was based on the nRF24L01library on codeplex,  Brad’s One-Wire and DS18B20 library with fixes from here.

Testing the power consumption monitor devices, with my “modified” power lead.

Image

The software was based on the approach in the Arduino code of the emon libraries from the Open Energy Monitor project which I’ll discuss in more detail in a future post.

Xively GPS Location data upload V2

In the previous post I assembled the xively request XML using a StringBuilder rather than using the XML support available in the NetMF. To use the NetMF XML library I needed to add a reference to the DPWS extensions (MFDpwsExtensions) and change the using statement at the top of the module from System.Text to System.Ext.Xml

static void xivelyFeedUpdate(string ApiKey, string feedId, string channel, double latitude, double longitude, double altitude)
{
byte[] buffer;

using (XmlMemoryWriter xmlwriter = XmlMemoryWriter.Create())
{
xmlwriter.WriteProcessingInstruction("xml", "version=\"1.0\" encoding=\"utf-8\"");
xmlwriter.WriteStartElement("eeml");
xmlwriter.WriteStartElement("environment");
xmlwriter.WriteStartElement("location");

xmlwriter.WriteStartAttribute("domain");
xmlwriter.WriteString("physical");
xmlwriter.WriteEndAttribute();

xmlwriter.WriteStartAttribute("exposure");
xmlwriter.WriteString("outdoor");
xmlwriter.WriteEndAttribute();

xmlwriter.WriteStartAttribute("disposition");
xmlwriter.WriteString("mobile");
xmlwriter.WriteEndAttribute();

xmlwriter.WriteStartElement("name");
xmlwriter.WriteString("Location");
xmlwriter.WriteEndElement();

xmlwriter.WriteStartElement("lat");
xmlwriter.WriteString(latitude.ToString("F5"));
xmlwriter.WriteEndElement();

xmlwriter.WriteStartElement("lon");
xmlwriter.WriteString(longitude.ToString("F5"));
xmlwriter.WriteEndElement();

xmlwriter.WriteStartElement("ele");
xmlwriter.WriteString(altitude.ToString("F1"));
xmlwriter.WriteEndElement();

xmlwriter.WriteEndElement();

buffer = xmlwriter.ToArray();
}

try
{
using (HttpWebRequest request = (HttpWebRequest)WebRequest.Create(xivelyApiBaseUrl + feedId + ".xml"))
{
request.Method = "PUT";
request.ContentLength = buffer.Length;
request.ContentType = "text/xml";
request.Headers.Add("X-ApiKey", xivelyApiKey);
request.KeepAlive = false;
request.Timeout = 5000;
request.ReadWriteTimeout = 5000;

// request body
using (Stream stream = request.GetRequestStream())
{
stream.Write(buffer, 0, buffer.Length);                }
using (var response = (HttpWebResponse)request.GetResponse())
{
Debug.Print("HTTP Status:" + response.StatusCode + " : " + response.StatusDescription);
}
}
}
catch (Exception ex)
{
Debug.Print(ex.Message);
}
}

I was expecting the XML libraries to be quite chunky, but on my Netduino Plus 2 there wasn’t a huge size difference, the StringBuilder download was 49K8 bytes and the XMLWiter download was 56K1 bytes.

When I ran the StringBuilder and XMLWriter versions they both had roughly 92K6 bytes of free memory.

Realistically there was little to separate the two implementations

Xively GPS Location data upload V1

For one of the code club projects we looked at the National Marine Electronics Association (NMEA) 0183 output of my iteadStudio GPS Shield + Active Antenna. We used the NetMF Toolbox NMEA GPS processing code with a couple of modifications detailed here.

IteadStudio GPS

IteadStudio GPS shield and Antenna

For another project we had used Xively a “Public Cloud for the Internet of Things”. The Xively API has support for storing the position of a “thing” and it didn’t look like it would take much effort to extend the original GPS demo to trial this. The xively Location & waypoints API is RESTful and supports JSON & XML

void xivelyFeedUpdate(string ApiKey, string feedId, string channel, double latitude, double longitude, double altitude)
{
try
{
using (HttpWebRequest request = (HttpWebRequest)WebRequest.Create(xivelyApiBaseUrl + feedId + ".xml"))
{
StringBuilder payload = new StringBuilder();
payload.Append(@"<?xml version=""1.0"" encoding=""UTF-8""?><eeml><environment><location domain=""physical"" exposure=""outdoor"" disposition=""mobile""><name>Location</name><lat>");
payload.Append(latitude.ToString("F5"));
payload.Append("</lat><lon>");
payload.Append(longitude.ToString("F5"));
payload.Append("</lon><ele>");
payload.Append(altitude.ToString("F1"));
payload.Append("</ele></location></environment></eeml>");

byte[] buffer = Encoding.UTF8.GetBytes(payload.ToString());

request.Method = "PUT";
request.ContentLength = buffer.Length;
request.ContentType = "text/xml";
request.Headers.Add("X-ApiKey", xivelyApiKey);
request.KeepAlive = false;
request.Timeout = 5000;
request.ReadWriteTimeout = 5000;

// request body
using (Stream stream = request.GetRequestStream())
{
stream.Write(buffer, 0, buffer.Length);
}
using (var response = (HttpWebResponse)request.GetResponse())
{
Debug.Print("HTTP Status:" + response.StatusCode + " : " + response.StatusDescription);
}
}
}
catch (Exception ex)
{
Debug.Print(ex.Message);
}
}

The position of the “thing” is displayed like this

Xively poisition

The position of my car

The XML was constructed using a stringbuilder (NetMF 4.2) as this appeared easier/smaller than using the baked in XML functionality.

Netduino Plus PulseRate Monitor V2

In the final couple of code club sessions we built a pulse rate monitor to show a practical application for the NetMF InterruptPort, and communication between threads using the Interlocked class (Increment & exchange). This was then enhanced to display the data locally and upload it to the cloud to illustrate a basic HTTP interaction and serial communications.

The application displays the approximate pulse rate in Beats Per Minute (BPM) on a 16×2 character LCD display and also uploads the information to a free developer account at Xively a “Public Cloud for the Internet of Things”.

Netduino Plus 2 rate monitor

The xively trial account has a limit of 25 calls a minute, rolling 3 minute average (Dec 2013) which was more than adequate for our application and many other educational projects.

The xively API supports managing products, managing devices,  reading & writing data, reading & wiring metadata, querying historical data and searching for data feeds, using a RESTful approach.

The NetduinoPlus2 has full support for the NetMF system.http and sufficient memory so that there is plenty of room left for an application. If you are using a Netduino Plus (or other NetMF device with limited memory) an approach which reduces memory consumption is detailed here.

The xively data API supports JSON, XML and CSV formats for upload of data and for the pulse rate monitor we used CSV. The following code was called roughly every 20 seconds.

static void xivelyFeedUpdate( string ApiKey, string feedId, string channel, string value )
{
try
{
using (HttpWebRequest request = (HttpWebRequest)WebRequest.Create(xivelyApiBaseUrl+ feedId + ".csv"))
{
byte[] buffer = Encoding.UTF8.GetBytes(channel + "," + value);


request.Method = "PUT";
request.ContentLength = buffer.Length;
request.ContentType = "text/csv";
request.Headers.Add("X-ApiKey", ApiKey);
request.KeepAlive = false;
request.Timeout = 5000;
request.ReadWriteTimeout = 5000;


// request body
using (Stream stream = request.GetRequestStream())
{
stream.Write(buffer, 0, buffer.Length);
}


using (var response = (HttpWebResponse)request.GetResponse())
{
Debug.Print("HTTP Status:" + response.StatusCode + " : " + response.StatusDescription);
}
}
}
catch (Exception ex)
{
Debug.Print(ex.Message);
}
}

The pulse rate information can then displayed by xively in tables and graphs.

Pulse Rate data gaph at xively

Pulse Rate data display

At the end of term presentation several parents and family members were doing press-ups and other exercises to see how high their pulse rate went and how quickly it recovered.

Bill of materials (Prices as at Dec 2013)