I use GitHub Copilot with Visual Studio 2020 and I wanted to see if I could write a simple application only using “Ask Copilot”. Retrieving a static image from a security camera (like my HiLook IPC-T250H) felt like a reasonable challenge.
please write a console application that uses an HttpClient to retrieve an image from a security camera

static async Task Main(string[] args)
{
   string cameraUrl = "http://your-security-camera-url/image.jpg";
   string savePath = "downloaded_image.jpg";

   using (HttpClient client = new HttpClient())
   {
      try
      {
         HttpResponseMessage response = await client.GetAsync(cameraUrl);
         response.EnsureSuccessStatusCode();

         byte[] imageBytes = await response.Content.ReadAsByteArrayAsync();
         await File.WriteAllBytesAsync(savePath, imageBytes);

         Console.WriteLine("Image downloaded successfully.");
      }
      catch (Exception ex)
      {
         Console.WriteLine($"An error occurred: {ex.Message}");
      }
   }
}
}
The Github Copilot generated code compiled first time and looked reasonable for a Proof of Concept (PoC). After changing the “cameraUrl” the program could retrieve an image from one of my cameras when I disabled authentication.
please write a console application that uses an httpclient to retrieve an image from a security camera. The security camera needs a username and password
static async Task Main(string[] args)
{
   string cameraUrl = "http://your-security-camera-url/image";
   string username = "your-username";
   string password = "your-password";

   using (HttpClient client = new HttpClient())
   {
      var byteArray = new System.Text.ASCIIEncoding().GetBytes($"{username}:{password}");
      client.DefaultRequestHeaders.Authorization = new AuthenticationHeaderValue("Basic", Convert.ToBase64String(byteArray));

      HttpResponseMessage response = await client.GetAsync(cameraUrl);
      response.EnsureSuccessStatusCode();

      byte[] imageBytes = await response.Content.ReadAsByteArrayAsync();
      File.WriteAllBytes("camera_image.jpg", imageBytes);

      Console.WriteLine("Image retrieved and saved as camera_image.jpg");
   }
Github Copilot had taken my request literally and implemented Hypertext Transfer Protocol (HTTP/1.1): Authentication (RFC7235). My HiLook IPC-T250H only supports Digest Authentication(RFC2617) so I tried
please modify the security code to support Digest authentication
static async Task Main(string[] args)
{
   string cameraUrl = "http://your-security-camera-url/image";
   string username = "your-username";
   string password = "your-password";

   using (HttpClient client = new HttpClient())
   {
      HttpResponseMessage response = await client.GetAsync(cameraUrl);

      if (response.StatusCode == System.Net.HttpStatusCode.Unauthorized)
      {
         var wwwAuthenticateHeader = response.Headers.WwwAuthenticate.FirstOrDefault();
         if (wwwAuthenticateHeader != null && wwwAuthenticateHeader.Scheme == "Digest")
         {
            var digestHeader = wwwAuthenticateHeader.Parameter;
            var digestResponse = CreateDigestHeader(digestHeader, cameraUrl, username, password, "GET");

            client.DefaultRequestHeaders.Authorization = new AuthenticationHeaderValue("Digest", digestResponse);

            response = await client.GetAsync(cameraUrl);
            response.EnsureSuccessStatusCode();

            byte[] imageBytes = await response.Content.ReadAsByteArrayAsync();
            File.WriteAllBytes("camera_image.jpg", imageBytes);

            Console.WriteLine("Image retrieved and saved as camera_image.jpg");
         }
      }
   }
}

private static string CreateDigestHeader(string digestHeader, string url, string username, string password, string method)
{
   var headerValues = digestHeader.Split(',').Select(v => v.Trim().Split('=')).ToDictionary(v => v[0], v => v[1].Trim('"'));

   string ha1 = CalculateMD5Hash($"{username}:{headerValues["realm"]}:{password}");
   string ha2 = CalculateMD5Hash($"{method}:{url}");
   string response = CalculateMD5Hash($"{ha1}:{headerValues["nonce"]}:{headerValues["nc"]}:{headerValues["cnonce"]}:{headerValues["qop"]}:{ha2}");

   return $"username=\"{username}\", realm=\"{headerValues["realm"]}\", nonce=\"{headerValues["nonce"]}\", uri=\"{url}\", qop={headerValues["qop"]}, nc={headerValues["nc"]}, cnonce=\"{headerValues["cnonce"]}\", response=\"{response}\", opaque=\"{headerValues["opaque"]}\"";
}

private static string CalculateMD5Hash(string input)
{
   using (MD5 md5 = MD5.Create())
   {
      byte[] inputBytes = Encoding.ASCII.GetBytes(input);
      byte[] hashBytes = md5.ComputeHash(inputBytes);
      return BitConverter.ToString(hashBytes).Replace("-", "").ToLower();
   }
}
Github Copilot had taken my request literally and implemented Digest Authentication(RFC2617) so I did some “research”. The Copilot desktop application suggested using NetworkCredential which supports Basic, and digest (also NTLM, and Kerberos) authentication.
modify the code to use a NetworkCredential to authenticate with the security camera
using System.Net;

namespace SecurityCameraClient
{
   internal class Program
   {
      static async Task Main(string[] args)
      {
         string cameraUrl = "http://your-security-camera-url/image.jpg";
         string savePath = "downloaded_image.jpg";
         string username = "your-username";
         string password = "your-password";

         using (HttpClientHandler handler = new HttpClientHandler { Credentials = new NetworkCredential(username, password) })
         using (HttpClient client = new HttpClient(handler))
         {
            try
            {
               HttpResponseMessage response = await client.GetAsync(cameraUrl);
               response.EnsureSuccessStatusCode();

               byte[] imageBytes = await response.Content.ReadAsByteArrayAsync();
               await File.WriteAllBytesAsync(savePath, imageBytes);

               Console.WriteLine("Image downloaded successfully.");
            }
            catch (Exception ex)
            {
               Console.WriteLine($"An error occurred: {ex.Message}");
            }
         }
      }
   }
}
The Github Copilot generated code compiled and after changing the “cameraUrl”, “username” and “password” the program could retrieve an image from each of my cameras.
I wanted the application to retrieve images regularly, but the first Github Copilot generated code was pretty ugly (it used a System.Timers.Timer). After “consulting” the Copilot desktop application
modify the code to use a System.Threading Timer so an image is retrieved every 1000mSec
using System.Net;

namespace SecurityCameraClient
{
   internal class Program
   {
      private static Timer _timer;
      private static HttpClient _client;
      private static string _cameraUrl = "http://your-security-camera-url/image.jpg";
      string savePath = "downloaded_image.jpg";

      static void Main(string[] args)
      {
         string username = "your-username";
         string password = "your-password";

         HttpClientHandler handler = new HttpClientHandler { Credentials = new NetworkCredential(username, password) };
         _client = new HttpClient(handler, disposeHandler: true);

         _timer = new Timer(async _ => await RetrieveImageAsync(), null, 0, 1000);

         Console.WriteLine("Press any key to exit...");
         Console.ReadKey();

         _timer.Dispose();
         _client.Dispose();
      }

      private static async Task RetrieveImageAsync()
      {
         try
         {
            HttpResponseMessage response = await _client.GetAsync(_cameraUrl);
            response.EnsureSuccessStatusCode();

            byte[] imageBytes = await response.Content.ReadAsByteArrayAsync();
            await File.WriteAllBytesAsync(_savePath, imageBytes);

            Console.WriteLine("Image downloaded successfully.");
         }
         catch (Exception ex)
         {
            Console.WriteLine($"An error occurred: {ex.Message}");
         }
      }
   }
}
By this stage I was an elite “prompt engineer” and after a couple of revisions of my Github Copilot prompt to released unmanaged resources (the initial version used .Dispose and was a bit ugly).
modify the code to dispose of the HttpClientHandler, HttpClient and Timer with “using” statements
The application had a reentrancy issue when retrieving an image from a camera took too long
modify the code to stop RetrieveImageAsync getting called while an image is already being retrieved
I then decided to try a “cosmetic” change
modify the code _timer does not have to be class level variable
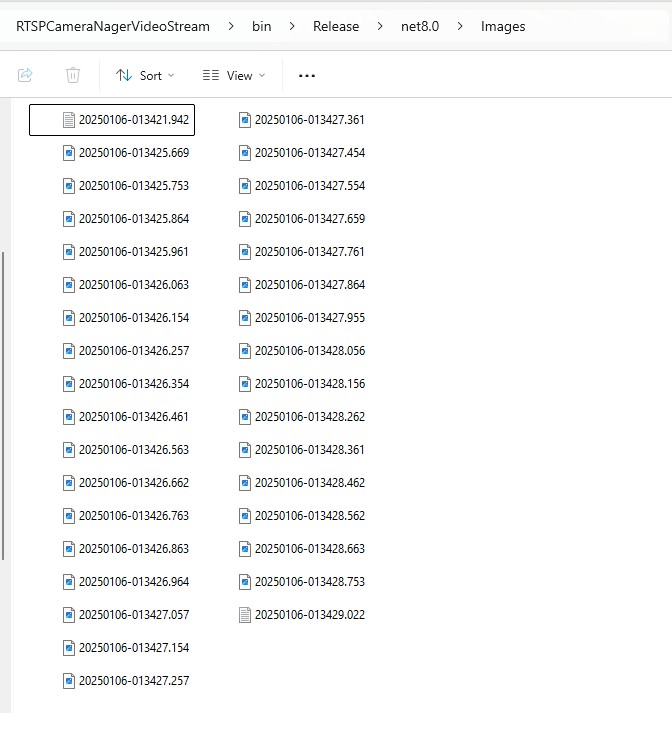
The savePath was a constant and I wanted to store a series of images
modify the code to use String.Format to generate the savepath
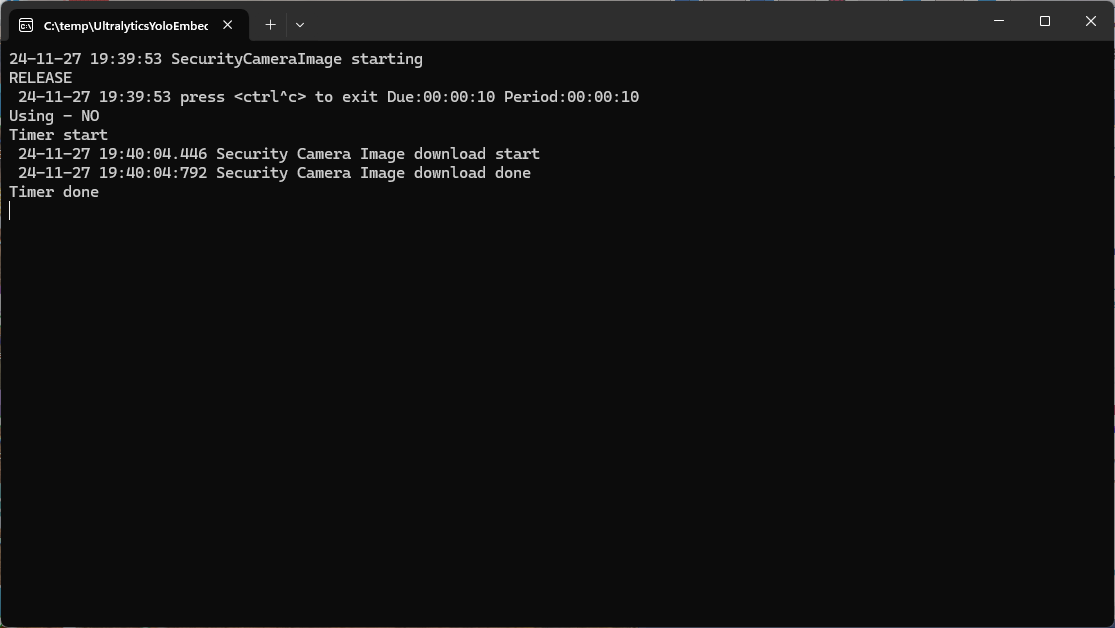
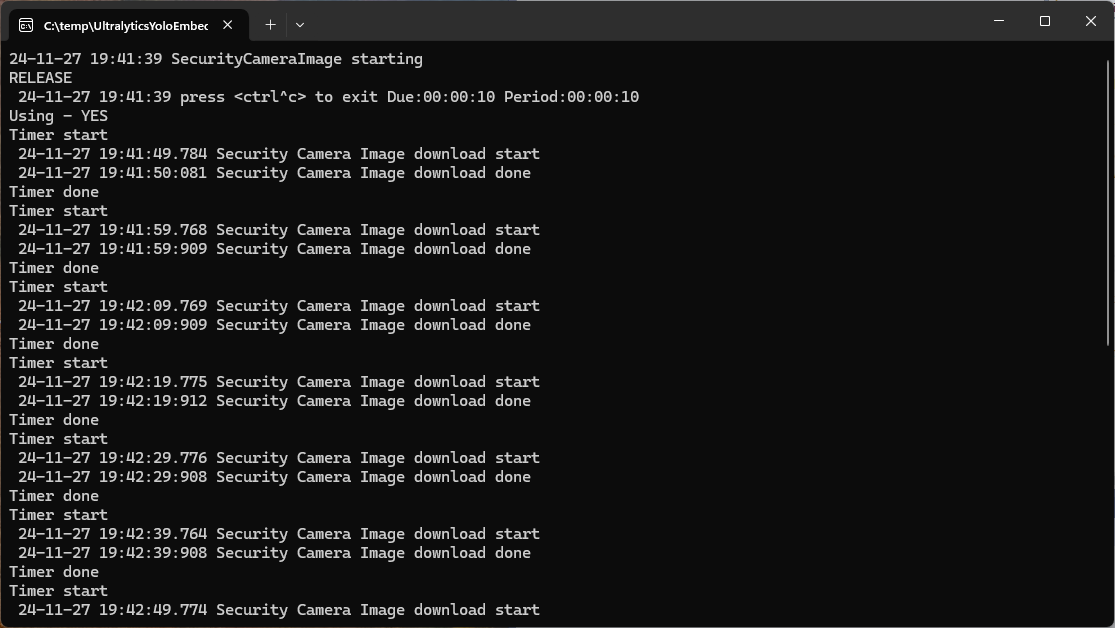
For the final version I modified the program adding a Console.Writeline to display the build type, retrieving the SavePath, dueTime, and period from the appsettings.json. The Microsoft.Configuration.UserSecrets configuration source was used for the CameraUrl, UserName, and Password.
using System.Net;
using Microsoft.Extensions.Configuration;
namespace SecurityCameraClient
{
internal class Program
{
private static HttpClient _client;
private static bool _isRetrievingImage = false;
private static ApplicationSettings _applicationSettings;
static void Main(string[] args)
{
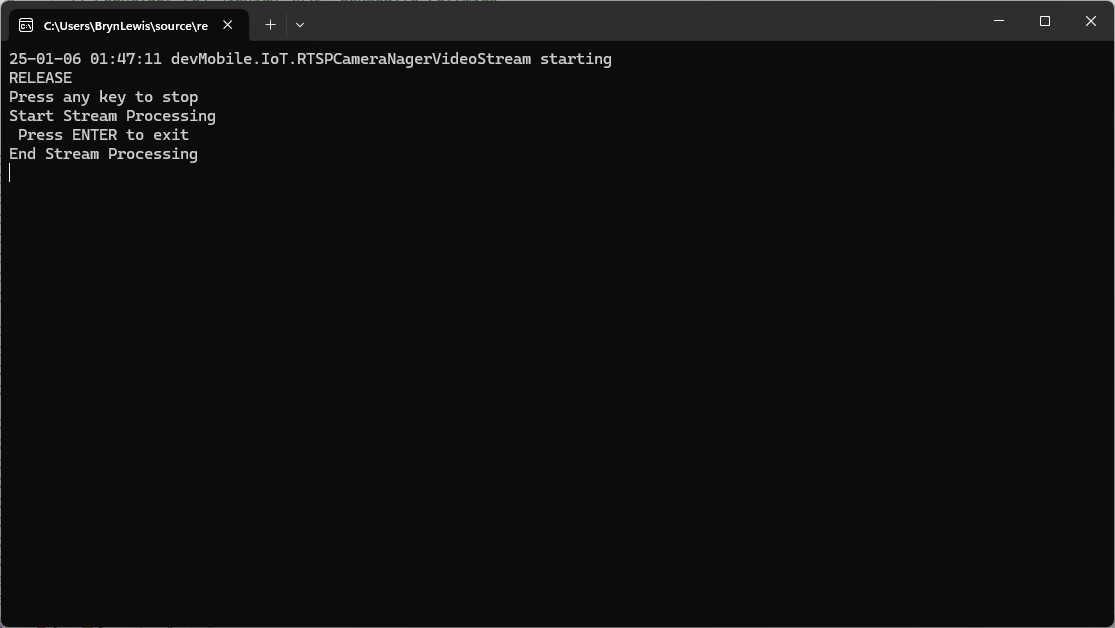
Console.WriteLine($"{DateTime.UtcNow:yy-MM-dd HH:mm:ss} SecurityCameraClient starting");
#if RELEASE
Console.WriteLine("RELEASE");
#else
Console.WriteLine("DEBUG");
#endif
var configuration = new ConfigurationBuilder()
.AddJsonFile("appsettings.json", false, true)
.AddUserSecrets<Program>()
.Build();
_applicationSettings = configuration.GetSection("ApplicationSettings").Get<ApplicationSettings>();
using (HttpClientHandler handler = new HttpClientHandler { Credentials = new NetworkCredential(_applicationSettings.Username, _applicationSettings.Password) })
using (_client = new HttpClient(handler))
using (var timer = new Timer(async _ => await RetrieveImageAsync(), null, _applicationSettings.TimerDue, _applicationSettings.TimerPeriod))
{
Console.WriteLine("Press any key to exit...");
Console.ReadKey();
}
}
private static async Task RetrieveImageAsync()
{
if (_isRetrievingImage) return;
_isRetrievingImage = true;
try
{
HttpResponseMessage response = await _client.GetAsync(_applicationSettings.CameraUrl);
response.EnsureSuccessStatusCode();
byte[] imageBytes = await response.Content.ReadAsByteArrayAsync();
string savePath = string.Format(_applicationSettings.SavePath, DateTime.UtcNow);
await File.WriteAllBytesAsync(savePath, imageBytes);
Console.WriteLine("Image downloaded successfully.");
}
catch (Exception ex)
{
Console.WriteLine($"An error occurred: {ex.Message}");
}
finally
{
_isRetrievingImage = false;
}
}
}
public class ApplicationSettings
{
public string CameraUrl { get; set; } = "";
public string SavePath { get; set; } = "";
public string Username { get; set; } = "";
public string Password { get; set; } = "";
public TimeSpan TimerDue { get; set; } = TimeSpan.Zero;
public TimeSpan TimerPeriod { get; set; } = TimeSpan.Zero;
}
}
Overall, my Github Copilot experience was pretty good, and got better as my “prompt engineering” improved.
The Github Copilot “decision” to implement Hypertext Transfer Protocol (HTTP/1.1): Authentication (RFC7235) and Digest Authentication(RFC2617) was “sub optimal”


