Introduction
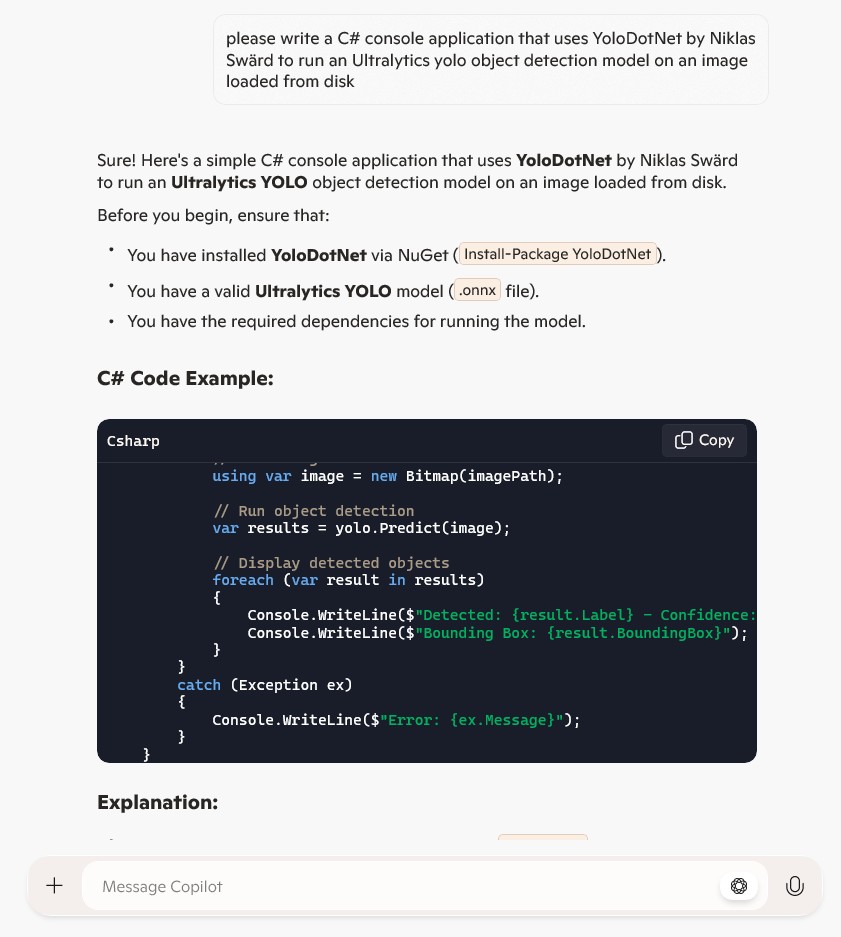
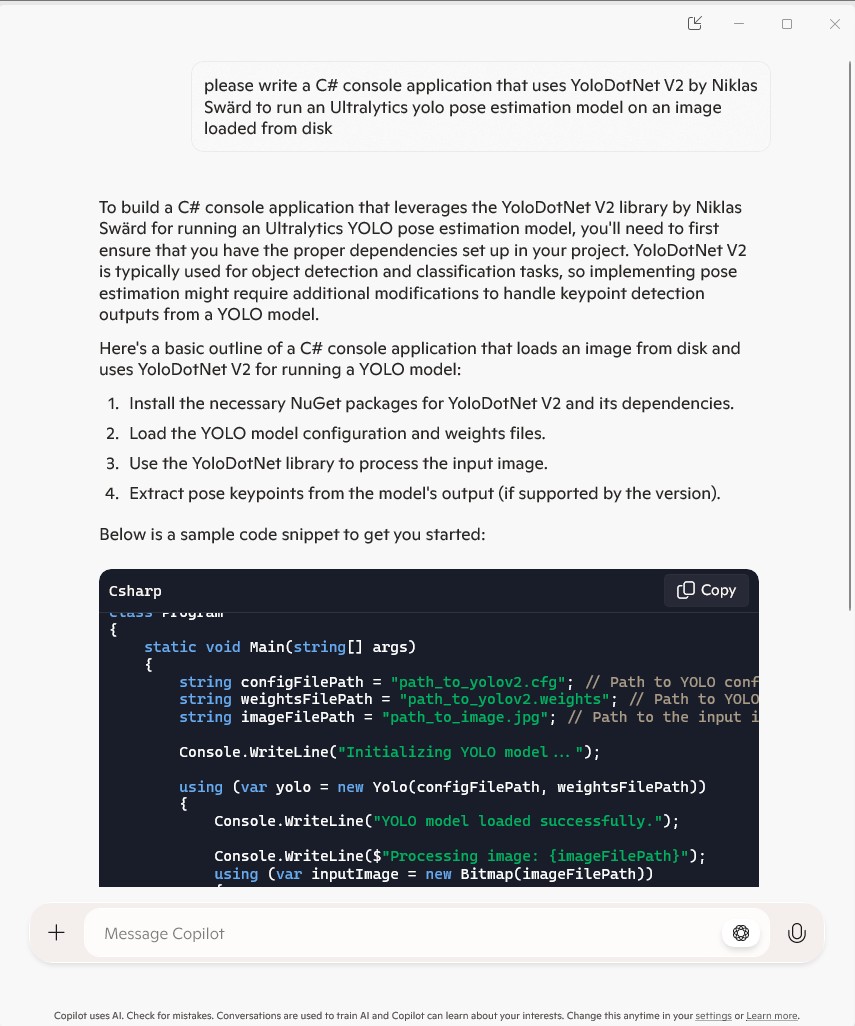
For this post I have used Github Copilot prompts to generate Azure HTTP Trigger functions which use Ultralytics YoloV8 and Compunet YoloSharp for object classification, object detection, and pose estimation.
I started with the Visual Studio 2022 Azure functions quick start code which ran first time.
using Microsoft.AspNetCore.Http;
using Microsoft.AspNetCore.Mvc;
using Microsoft.Azure.Functions.Worker;
using Microsoft.Extensions.Logging;

namespace YoloSharpxxxxxHttpTriggerFunction
{
    public class Function1
    {
        private readonly ILogger<Function1> _logger;

        public Function1(ILogger<Function1> logger)
        {
            _logger = logger;
        }

        [Function("Function1")]
        public IActionResult Run([HttpTrigger(AuthorizationLevel.Anonymous, "get", "post")] HttpRequest req)
        {
            _logger.LogInformation("C# HTTP trigger function processed a request.");
            return new OkObjectResult("Welcome to Azure Functions!");
        }
    }
}
The code generated by Github Copilot for the three functions changed the Function attribute to FunctionName and didn’t initialise the ILogger correctly.
[FunctionName("DetectObjects")]
public static async Task<IActionResult> Run(
     [HttpTrigger(AuthorizationLevel.Function, "post", Route = "detect")] HttpRequest req,
     ILogger log)
{
   log.LogInformation("DetectObjects function received a request for object detection.");
   ...
}

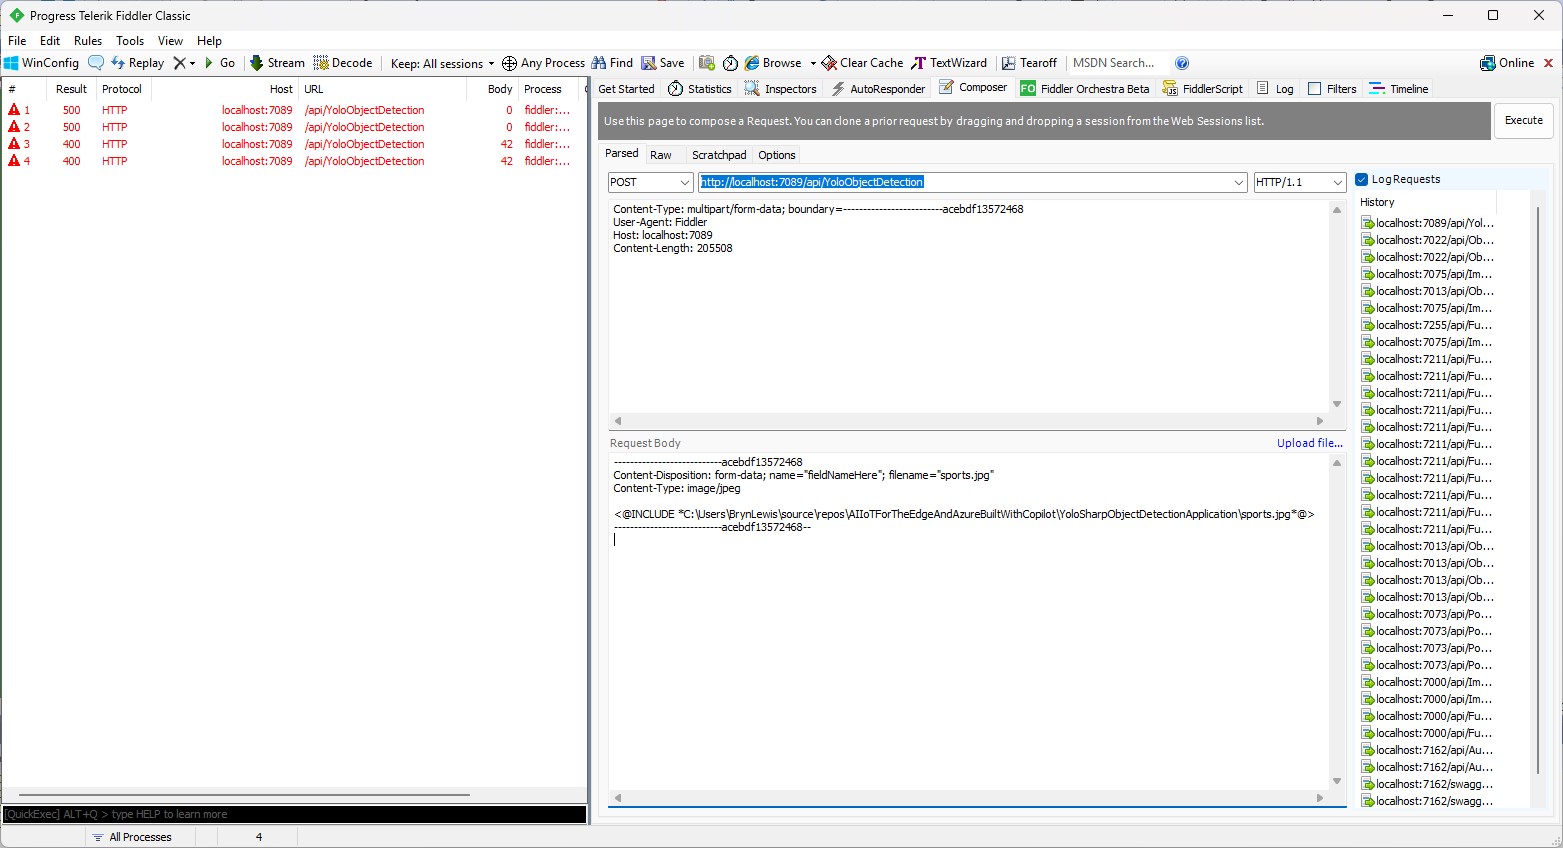
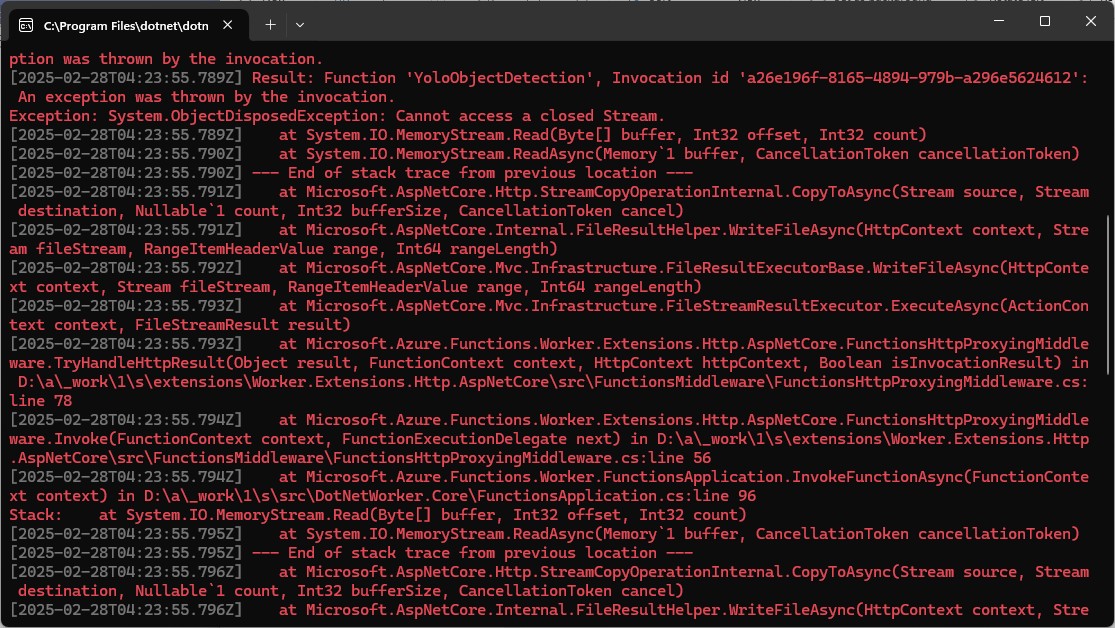
Every so often, when uploading more than one image at a time there was a “System.IO.InvalidData Exception: The stream exceeded the data limit 16384” error. In previous examples I had tried the batch processing of multiple images but had hit memory issues, so putting the image to be in the message body rather than Multipart Form Data for future development seems like a reasonable approach.


Image in the body of the request
Object Classification
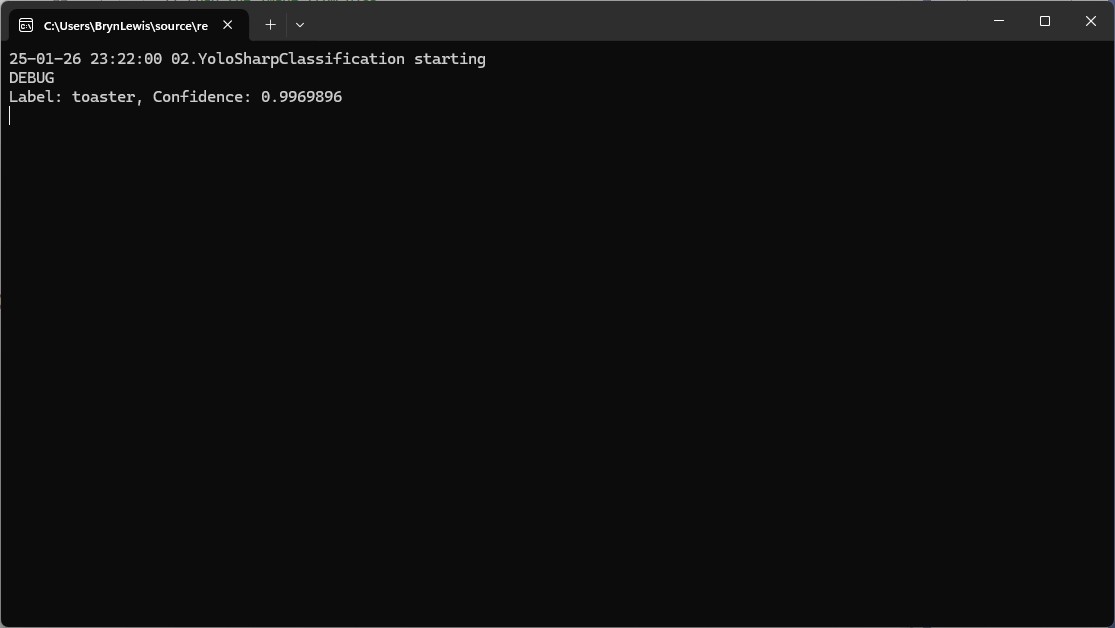
I started with an object classification function because in previous examples Github Copilot was better at unpacking the results.
please write an httpTrigger azure function that uses YoloSharp and a Yolo image classification onnx model
Image classification not object detection
The image is in the form data
The multipart/form-data check can be removed
The YoloPredictor should be released after use
Many image files could be uploaded in one request
Only one image file can be uploaded in one request
[Function("YoloImageClassificationFunction")]
public async Task<IActionResult> Run([HttpTrigger(AuthorizationLevel.Function, "post", Route = null)] HttpRequest req)
{
   _logger.LogInformation("C# HTTP trigger function processed a request.");

   var form = await req.ReadFormAsync();
   var files = form.Files;

   if (files.Count == 0)
   {
      return new BadRequestObjectResult("No images uploaded.");
   }

   if (files.Count > 1)
   {
      return new BadRequestObjectResult("Only one image file can be uploaded in one request.");
   }

   var file = files[0];
   if (file.Length > 0)
   {
      using (var memoryStream = new MemoryStream())
      {
         await file.CopyToAsync(memoryStream);
         var imageBytes = memoryStream.ToArray();

         using (var yoloModel = new YoloPredictor("yolov8s-cls.onnx"))
         {
            var classifications = yoloModel.Classify(imageBytes);

            return new OkObjectResult(new { file.FileName, classifications });
         }
      }
   }

   return new BadRequestObjectResult("Invalid image file.");
}

Image in the form data of the request

When I compared the results with previous applications, they were the same. I should have added code which discarded any result with less that a specified confidence to reduce the size of the results.
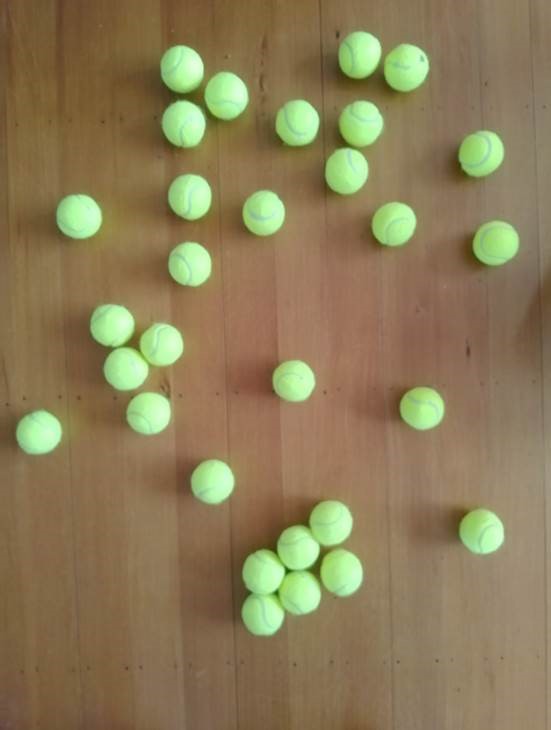
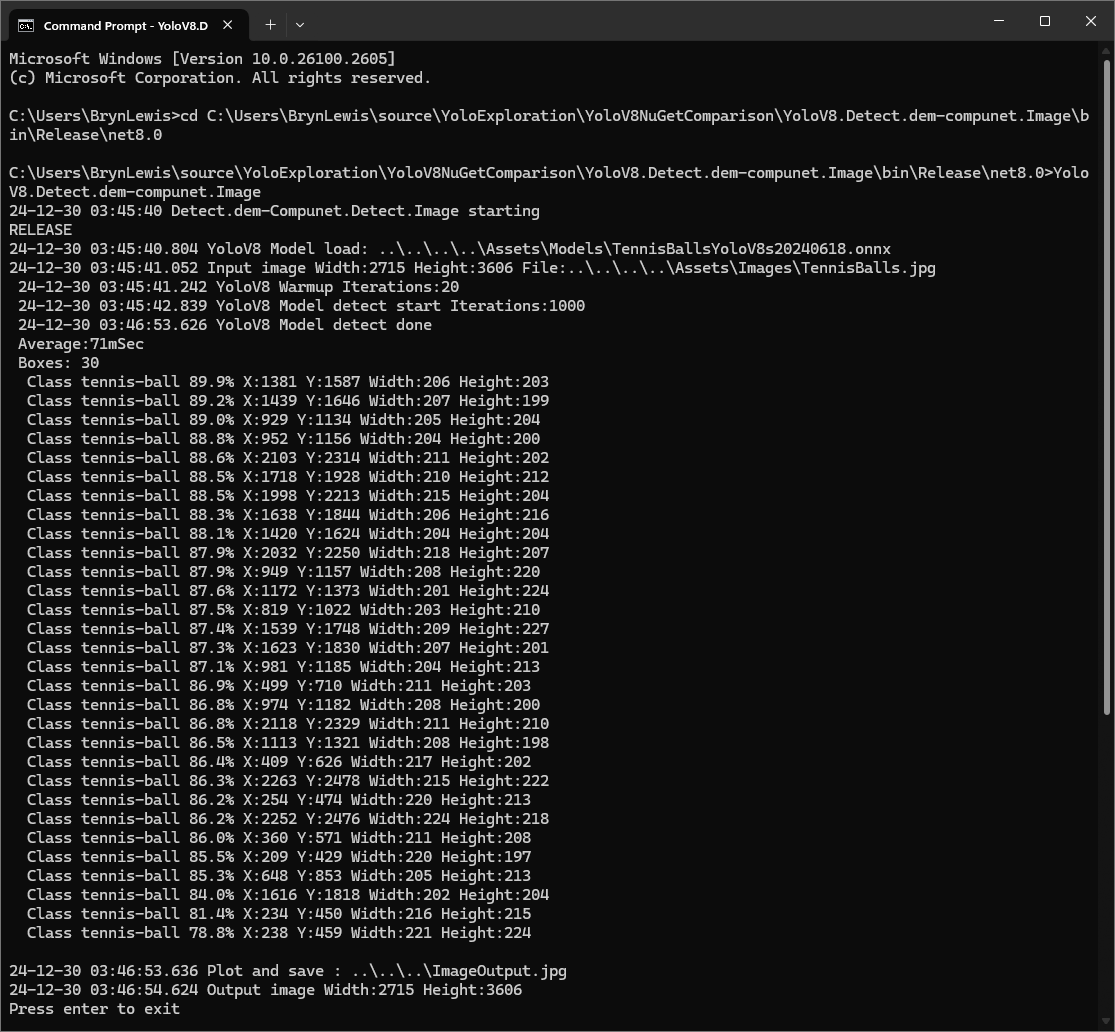
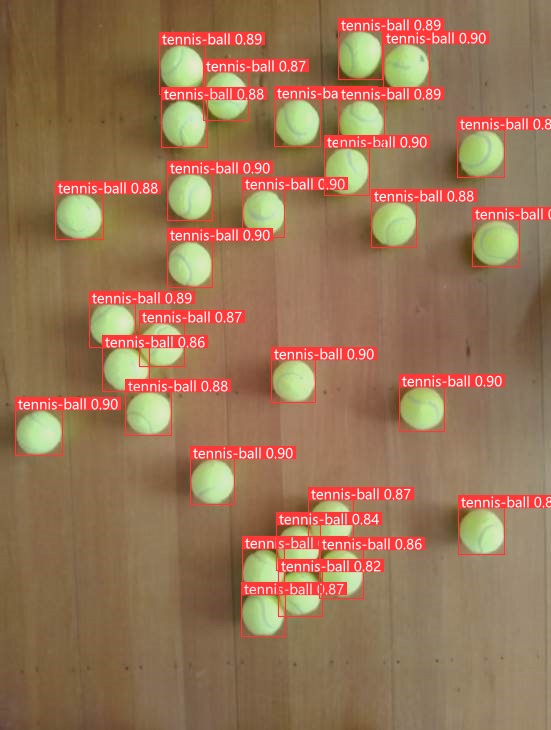
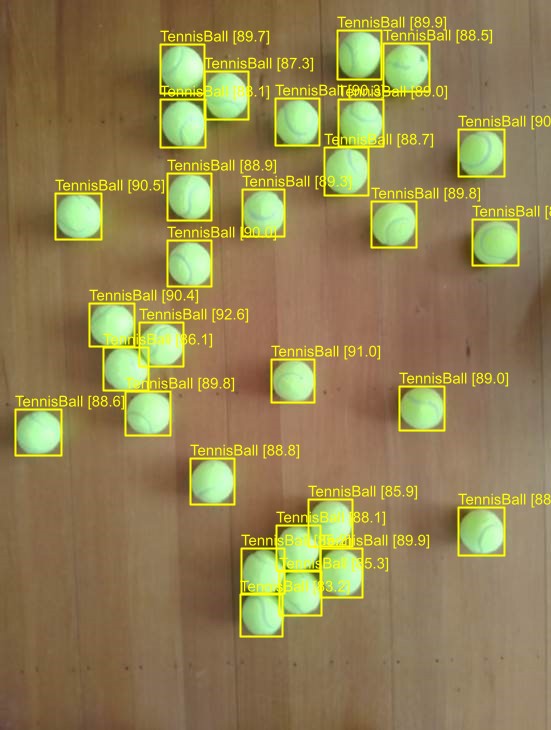
Object Detection
please write an azure function with an http trigger that uses yolosharp and an onnx file to detect objects in an image
The image is not in the body it is in the form
Image.Load is not used
yolo.Detect can process an image file stream
The YoloPredictor should be released after use
Many image files could be uploaded in one request
Only one image per request
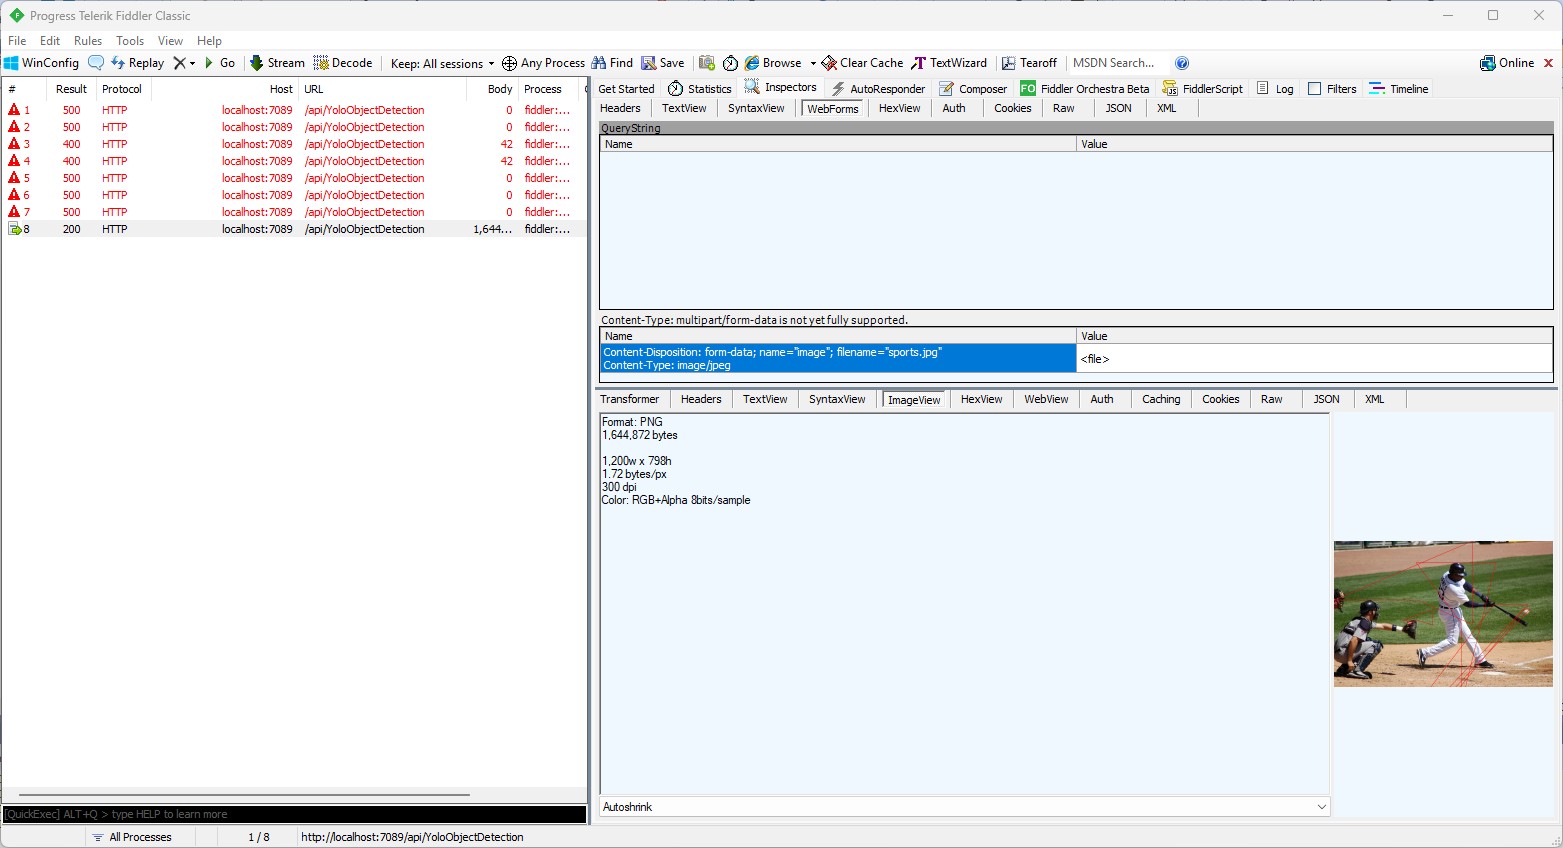
Add multipart/form-data content type check
Add check that there are headers — Didn’t get this right
Add check that req.Headers is not null
Add check that request has ContentType and it is multipart/form-data
[Function("ObjectDetectionFunction")]
public async Task<IActionResult> Run( [HttpTrigger(AuthorizationLevel.Function, "post", Route = null)] HttpRequest req)
{
   _logger.LogInformation("C# HTTP trigger function processed a request.");

   // Intellisense fix
   if (req.Headers == null || !req.Headers.TryGetValue("Content-Type", out Microsoft.Extensions.Primitives.StringValues value) || !value.ToString().Contains("multipart/form-data"))
   {
      return new BadRequestObjectResult("The request must have a Content-Type header with multipart/form-data.");
   }

   // Read the images from the form data
   var form = await req.ReadFormAsync();
   var files = form.Files;
   if (files.Count == 0)
   {
      return new BadRequestObjectResult("No image files uploaded.");
   }

   if (files.Count > 1)
   {
      return new BadRequestObjectResult("Only one image file is allowed per request.");
   }

   var file = files[0];
   if (file.Length == 0)
   {
      return new BadRequestObjectResult("The uploaded image file is empty.");
   }

   // Load the YOLOv8 model
   using (var yolo = new YoloPredictor("yolov8s.onnx"))
   {
      // Perform object detection
      using (var stream = file.OpenReadStream())
      {
         var items = yolo.Detect(stream);
         var result = new { FileName = file.FileName, Detections = items };

         // Return the detection results
         return new OkObjectResult(result);
      }
   }
}
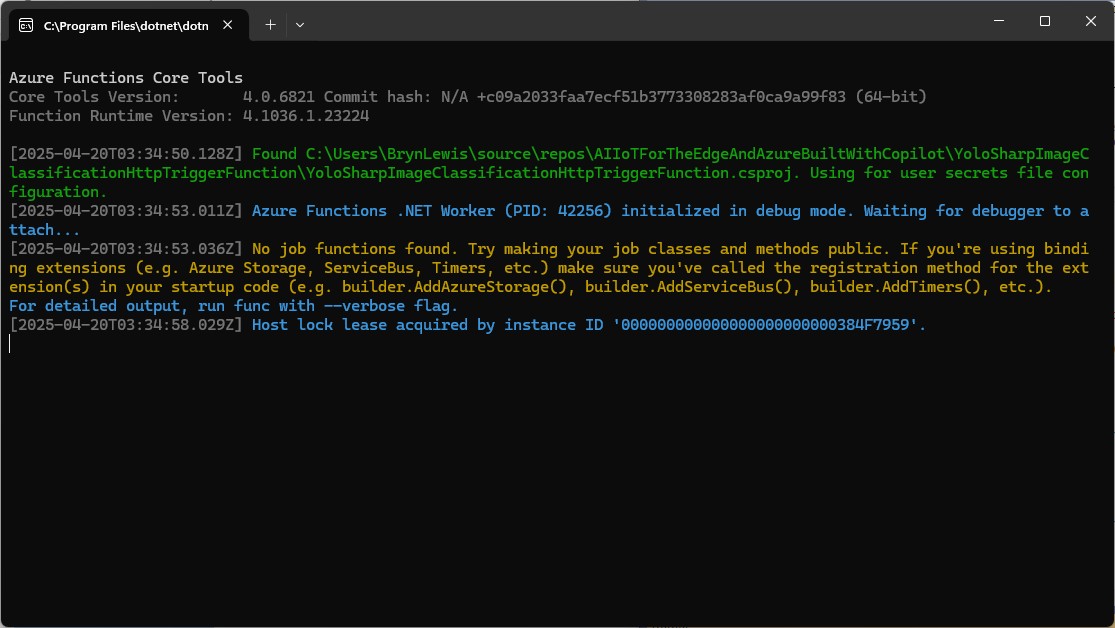
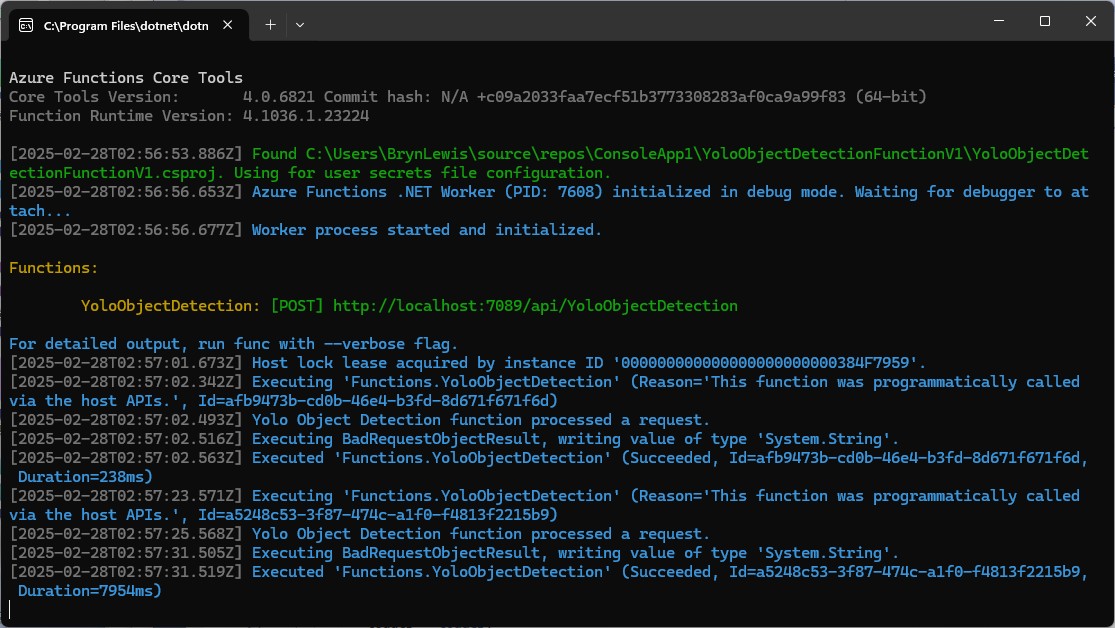
After a couple of manual fixes the function ran in the desktop emulator

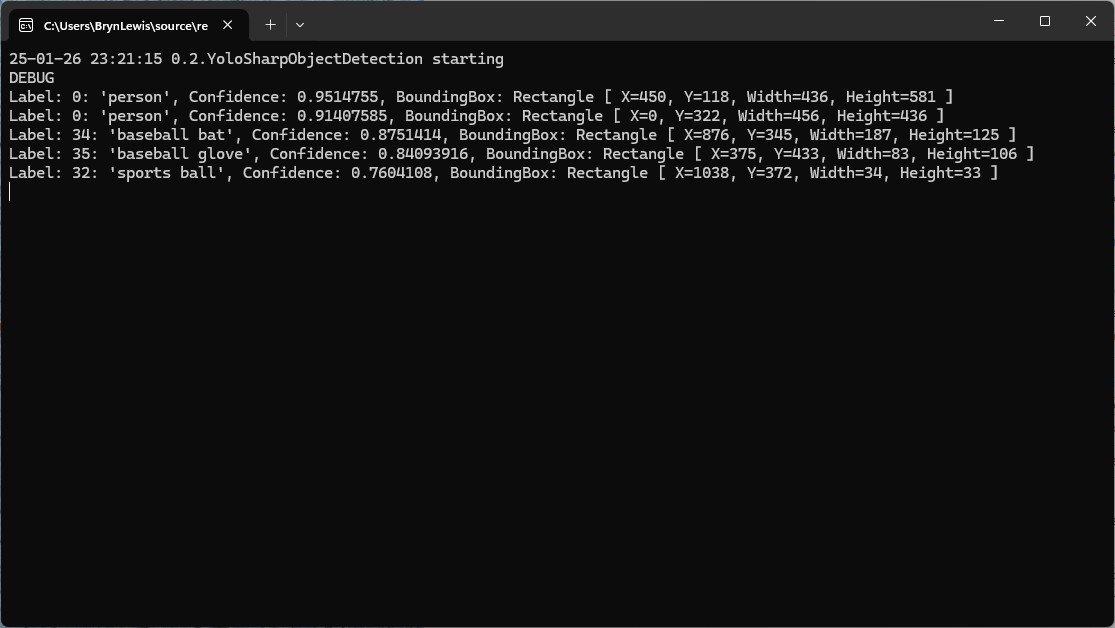
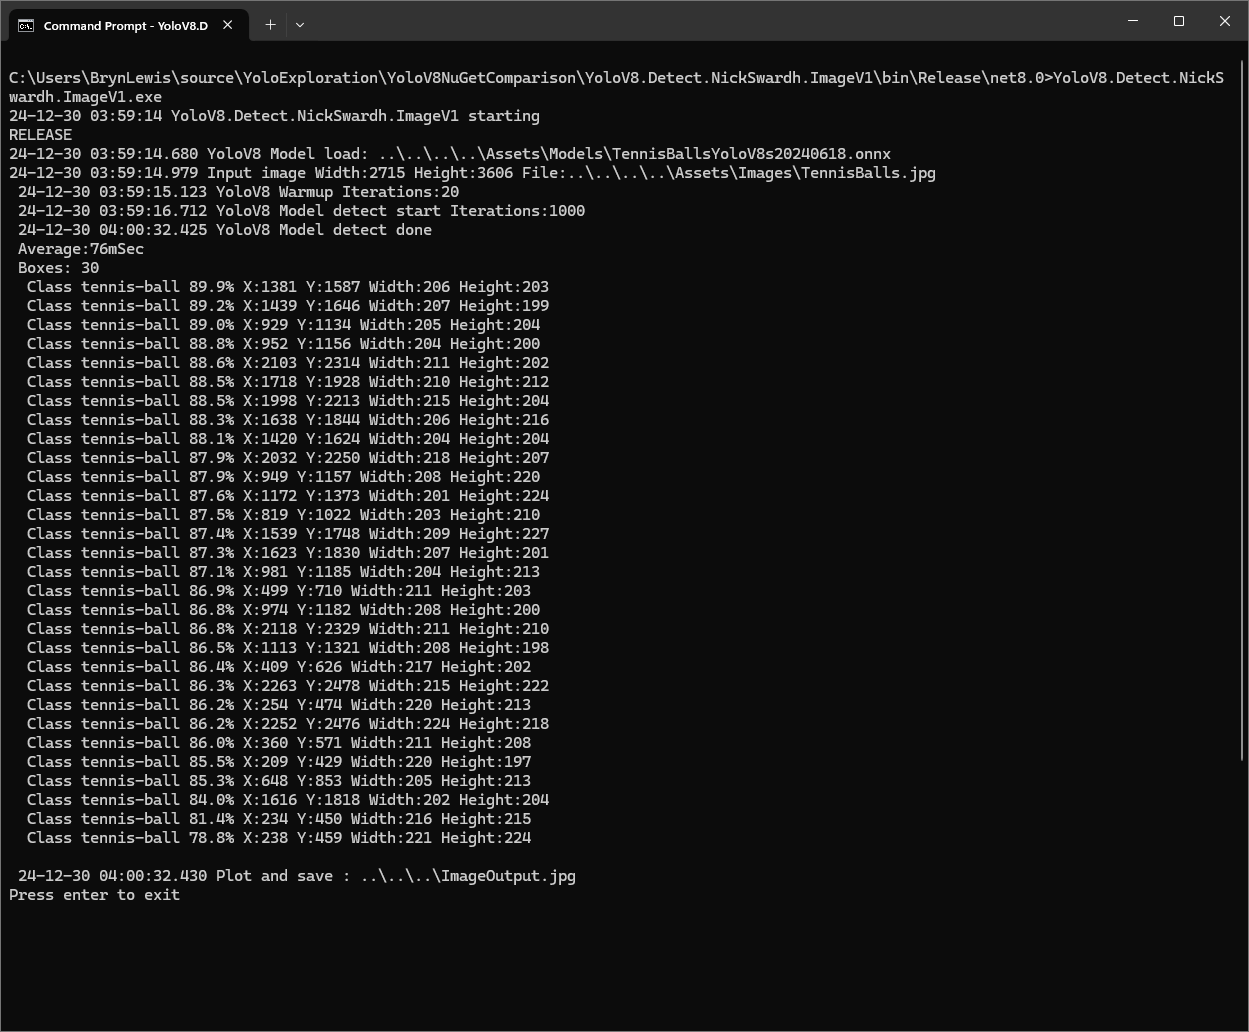
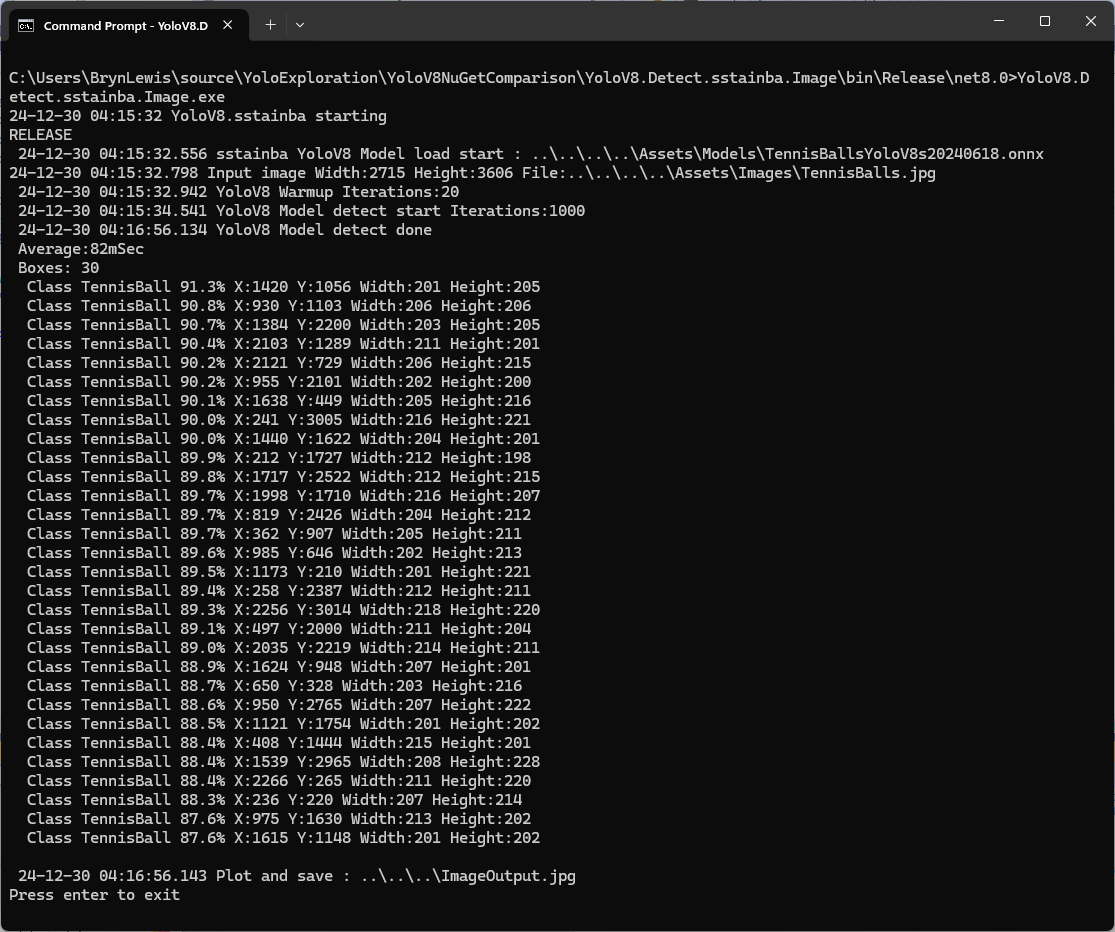
When I compared the results with previous applications, they were the same.
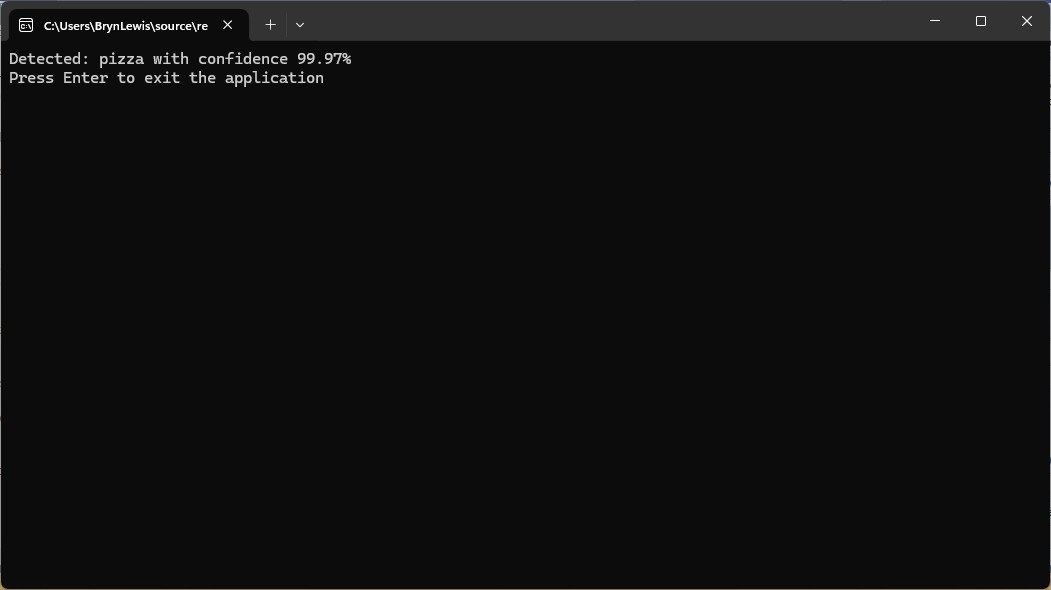
Pose Estimation
I forgot the ILogger initialisation so had to do it at the end
please write an azure function with an http trigger that uses yolosharp to estimate the pose of humans in an uploaded image.
Yolo v8 pose estimation model and yolosharp library
Make into azure function
The image files are in the form of the request
Modify the code so more than one image per request can be processed
Initialise ILogger in the constructor
//[FunctionName("PoseEstimation")]
[Function("PoseEstimation")]
public async Task<IActionResult> Run([HttpTrigger(AuthorizationLevel.Function, "post", Route = null)] HttpRequest req)
{
   _log.LogInformation("Pose estimation function processed a request.");

   if (!req.HasFormContentType || !req.Form.Files.Any())
   {
      return new BadRequestObjectResult("Please upload image files.");
   }

   var results = new List<object>();

   foreach (var file in req.Form.Files)
   {
      using var memoryStream = new MemoryStream();
      await file.CopyToAsync(memoryStream);
      memoryStream.Position = 0;

      using var image = Image.Load<Rgba32>(memoryStream);

      // Initialize the YOLO model
      //using var predictor = new YoloPredictor("path/to/model.onnx");
      using var predictor = new YoloPredictor("yolov8s-pose.onnx");

      // Perform pose estimation
      var result = await predictor.PoseAsync(image);

      // Format the results
      //var poses = result.Poses.Select(pose => new
      var poses = result.Select(pose => new
      {
         //Keypoints = pose.Keypoints.Select(k => new { k.X, k.Y }),
         Keypoints = pose.Select(k => new { k.Point.X, k.Point.Y }),
         Confidence = pose.Confidence
      });

      results.Add(new
      {
         Image = file.FileName,
         Poses = poses
      });
   }

   return new OkObjectResult(new { results });
}

After a couple of manual fixes including changing the way the results were generated the function ran in the desktop emulator.
Summary
The generated code worked but required manual fixes and was pretty ugly
The Github Copilot generated code in this post is not suitable for production


