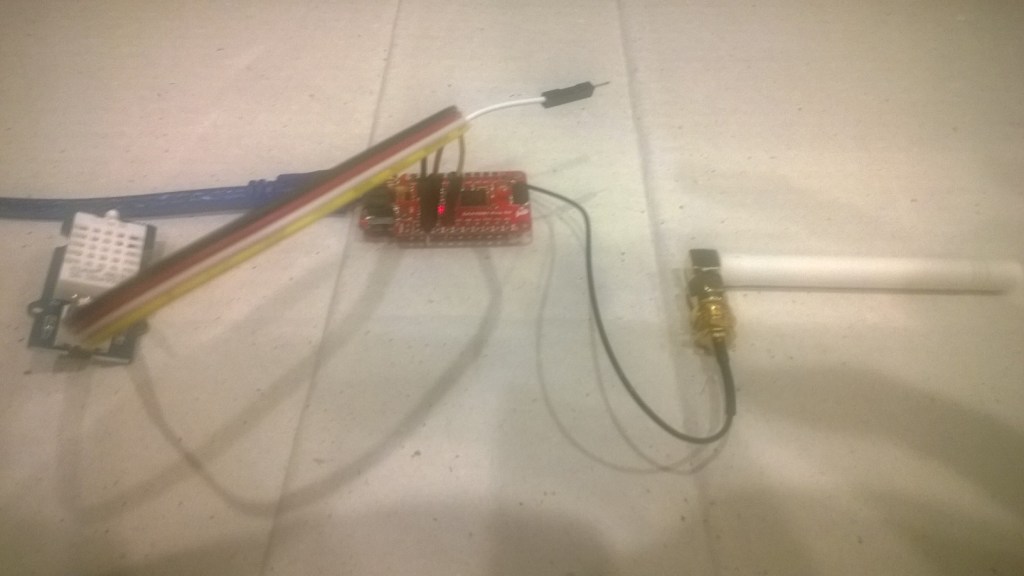
After a 6 month pause I’m back working on my Message Queue Telemetry Transport(MQTT) LoRa gateway.
As I’m testing my Message Queue Telemetry Transport(MQTT) LoRa gateway I’m building a proof of concept(PoC) .Net core console application for each IoT platform I would like to support.
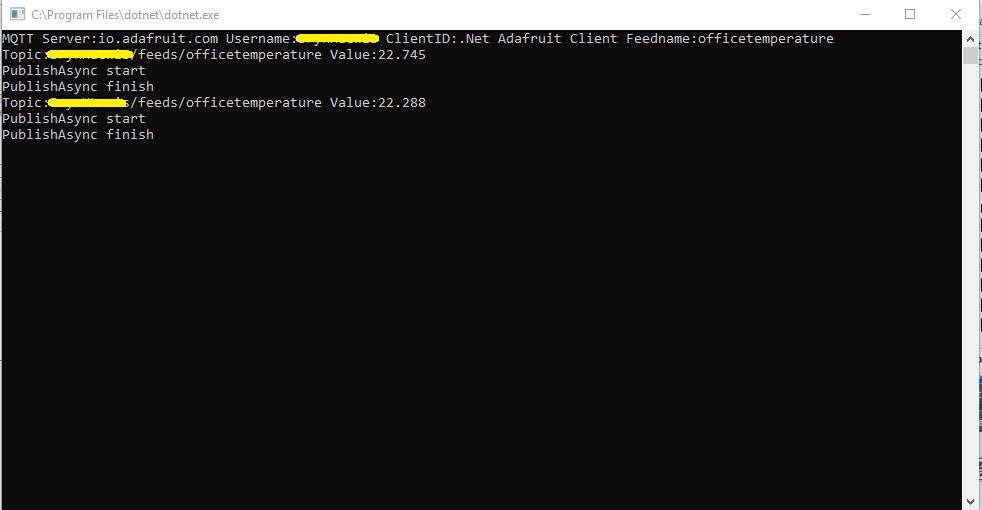
This PoC was to confirm that I could connect to the Ask Sensors MQTT API then format topics and payloads correctly.
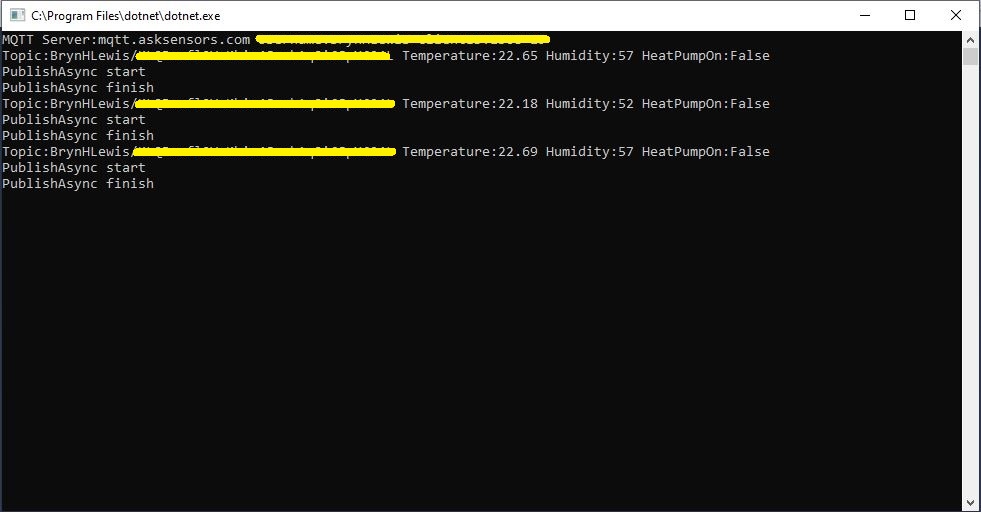
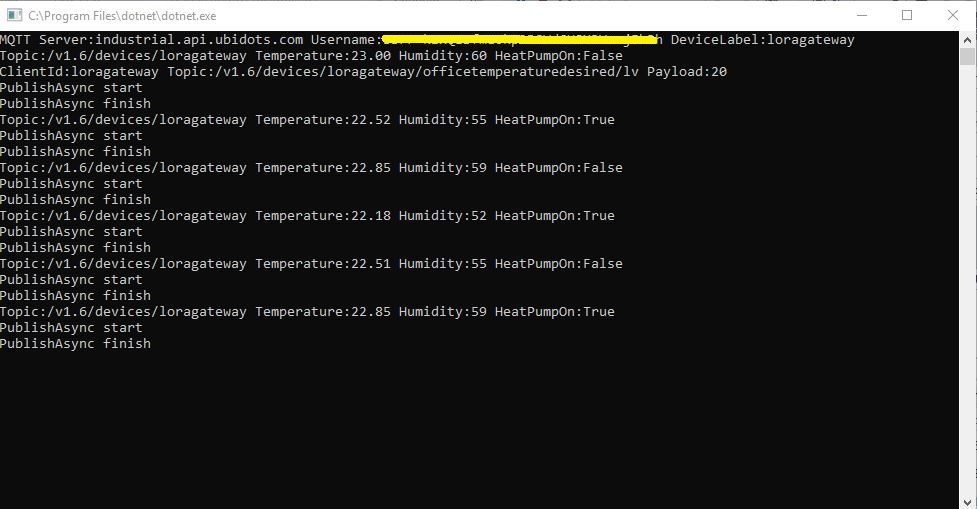
The MQTT broker, username, password, and client ID are command line options.
class Program
{
	private static IMqttClient mqttClient = null;
	private static IMqttClientOptions mqttOptions = null;
	private static string server;
	private static string username;
	private static string apiKey;
	private static string clientID;

	static void Main(string[] args)
	{
		MqttFactory factory = new MqttFactory();
		mqttClient = factory.CreateMqttClient();
		bool heatPumpOn = false;

		if (args.Length != 4)
		{
			Console.WriteLine("[MQTT Server] [UserName] [APIKey] [ClientID]");
			Console.WriteLine("Press <enter> to exit");
			Console.ReadLine();
			return;
		}

		server = args[0];
		username = args[1];
		apiKey = args[2];
		clientID = args[3];

		Console.WriteLine($"MQTT Server:{server} Username:{username} ClientID:{clientID}");

		mqttOptions = new MqttClientOptionsBuilder()
			.WithTcpServer(server)
			.WithCredentials(username, "")
			.WithClientId(clientID)
			//.WithTls() // This is a bit of a worry
			.Build();

		mqttClient.ApplicationMessageReceived += MqttClient_ApplicationMessageReceived;
		mqttClient.Disconnected += MqttClient_Disconnected;
		mqttClient.ConnectAsync(mqttOptions).Wait();

		// AskSensors formatted client state update topic
		string stateTopic = $"{username}/{apiKey}";

		while (true)
		{
			string payloadText;
			double temperature = 22.0 + (DateTime.UtcNow.Millisecond / 1000.0);
			double humidity = 50 + (DateTime.UtcNow.Millisecond / 100.0);
			double speed = 10 + (DateTime.UtcNow.Millisecond / 100.0);
			Console.WriteLine($"Topic:{stateTopic} Temperature:{temperature:0.00} Humidity:{humidity:0} HeatPumpOn:{heatPumpOn}");

			// First JSON attempt didn't work
			payloadText = @"{""Humidity"":55}";

            // Second attempt worked
            payloadText = $"module1=22";

            // Third attempt with "real" values injected
            payloadText = $"module1={temperature}&m2={humidity}";

            var message = new MqttApplicationMessageBuilder()
					.WithTopic(stateTopic)
					.WithPayload(payloadText)
					.WithQualityOfServiceLevel(global::MQTTnet.Protocol.MqttQualityOfServiceLevel.AtLeastOnce)
				   .WithExactlyOnceQoS()
				   //.WithAtLeastOnceQoS()
				   //.WithRetainFlag()
				   .Build();

				Console.WriteLine("PublishAsync start");
				mqttClient.PublishAsync(message).Wait();
				Console.WriteLine("PublishAsync finish");

				Thread.Sleep(30100);
			}
		}

	private static async void MqttClient_Disconnected(object sender, MqttClientDisconnectedEventArgs e)
	{
		Debug.WriteLine("Disconnected");
		await Task.Delay(TimeSpan.FromSeconds(5));

		try
		{
			await mqttClient.ConnectAsync(mqttOptions);
		}
		catch (Exception ex)
		{
			Debug.WriteLine("Reconnect failed {0}", ex.Message);
		}
	}
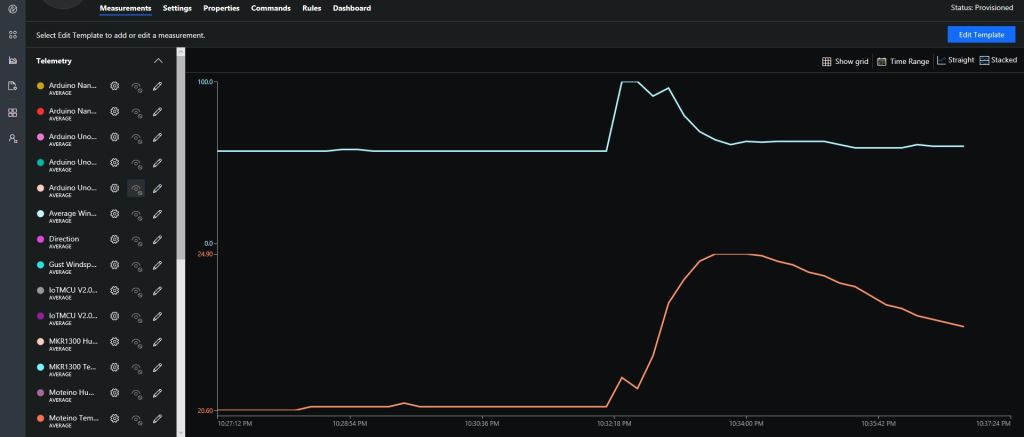
The Ask Sensors screen designer has 8 different types of Graph (line, bar, scatter, gauge, table, binary. digital, map)
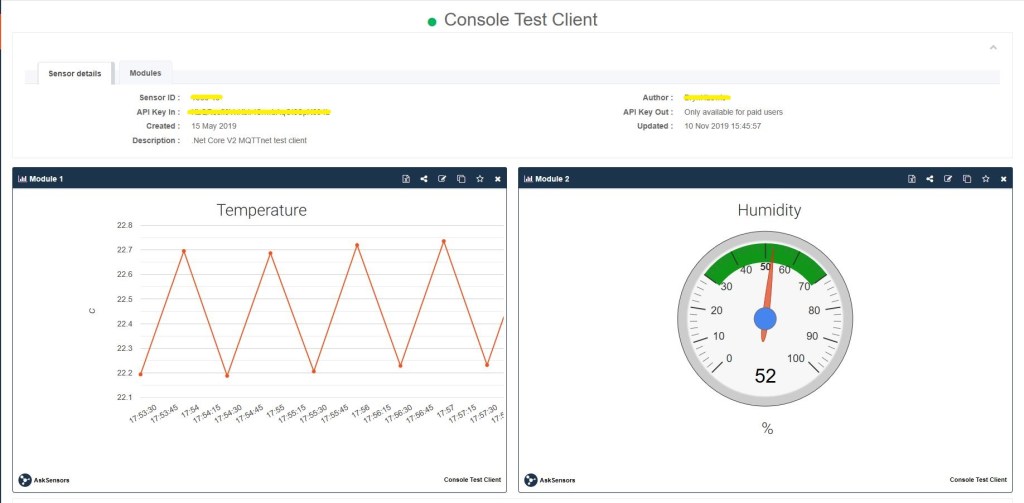
Ask sensors dashboard configuration was fairly simple, though sequential numbering of inputs (modules) might require some mapping code.
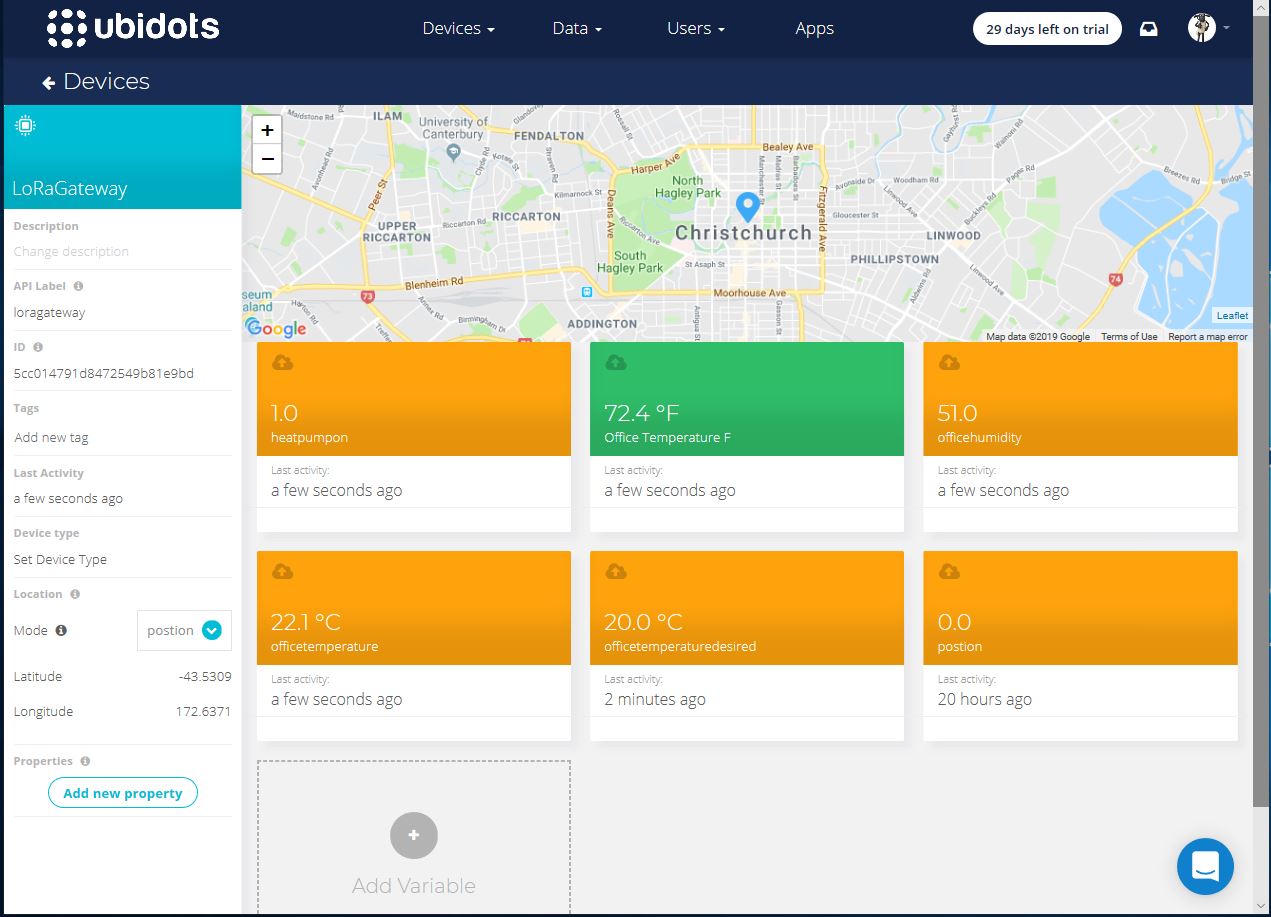
Overall the initial configuration went smoothly after I figured out the payload format (not JSON), though the functionality (of a free subscription) did appear to be quite limited.
Since I first started building my MQTT gateway there have been several breaking updates to the MQTTNet API which so I will have to refresh all the applications in my solution.