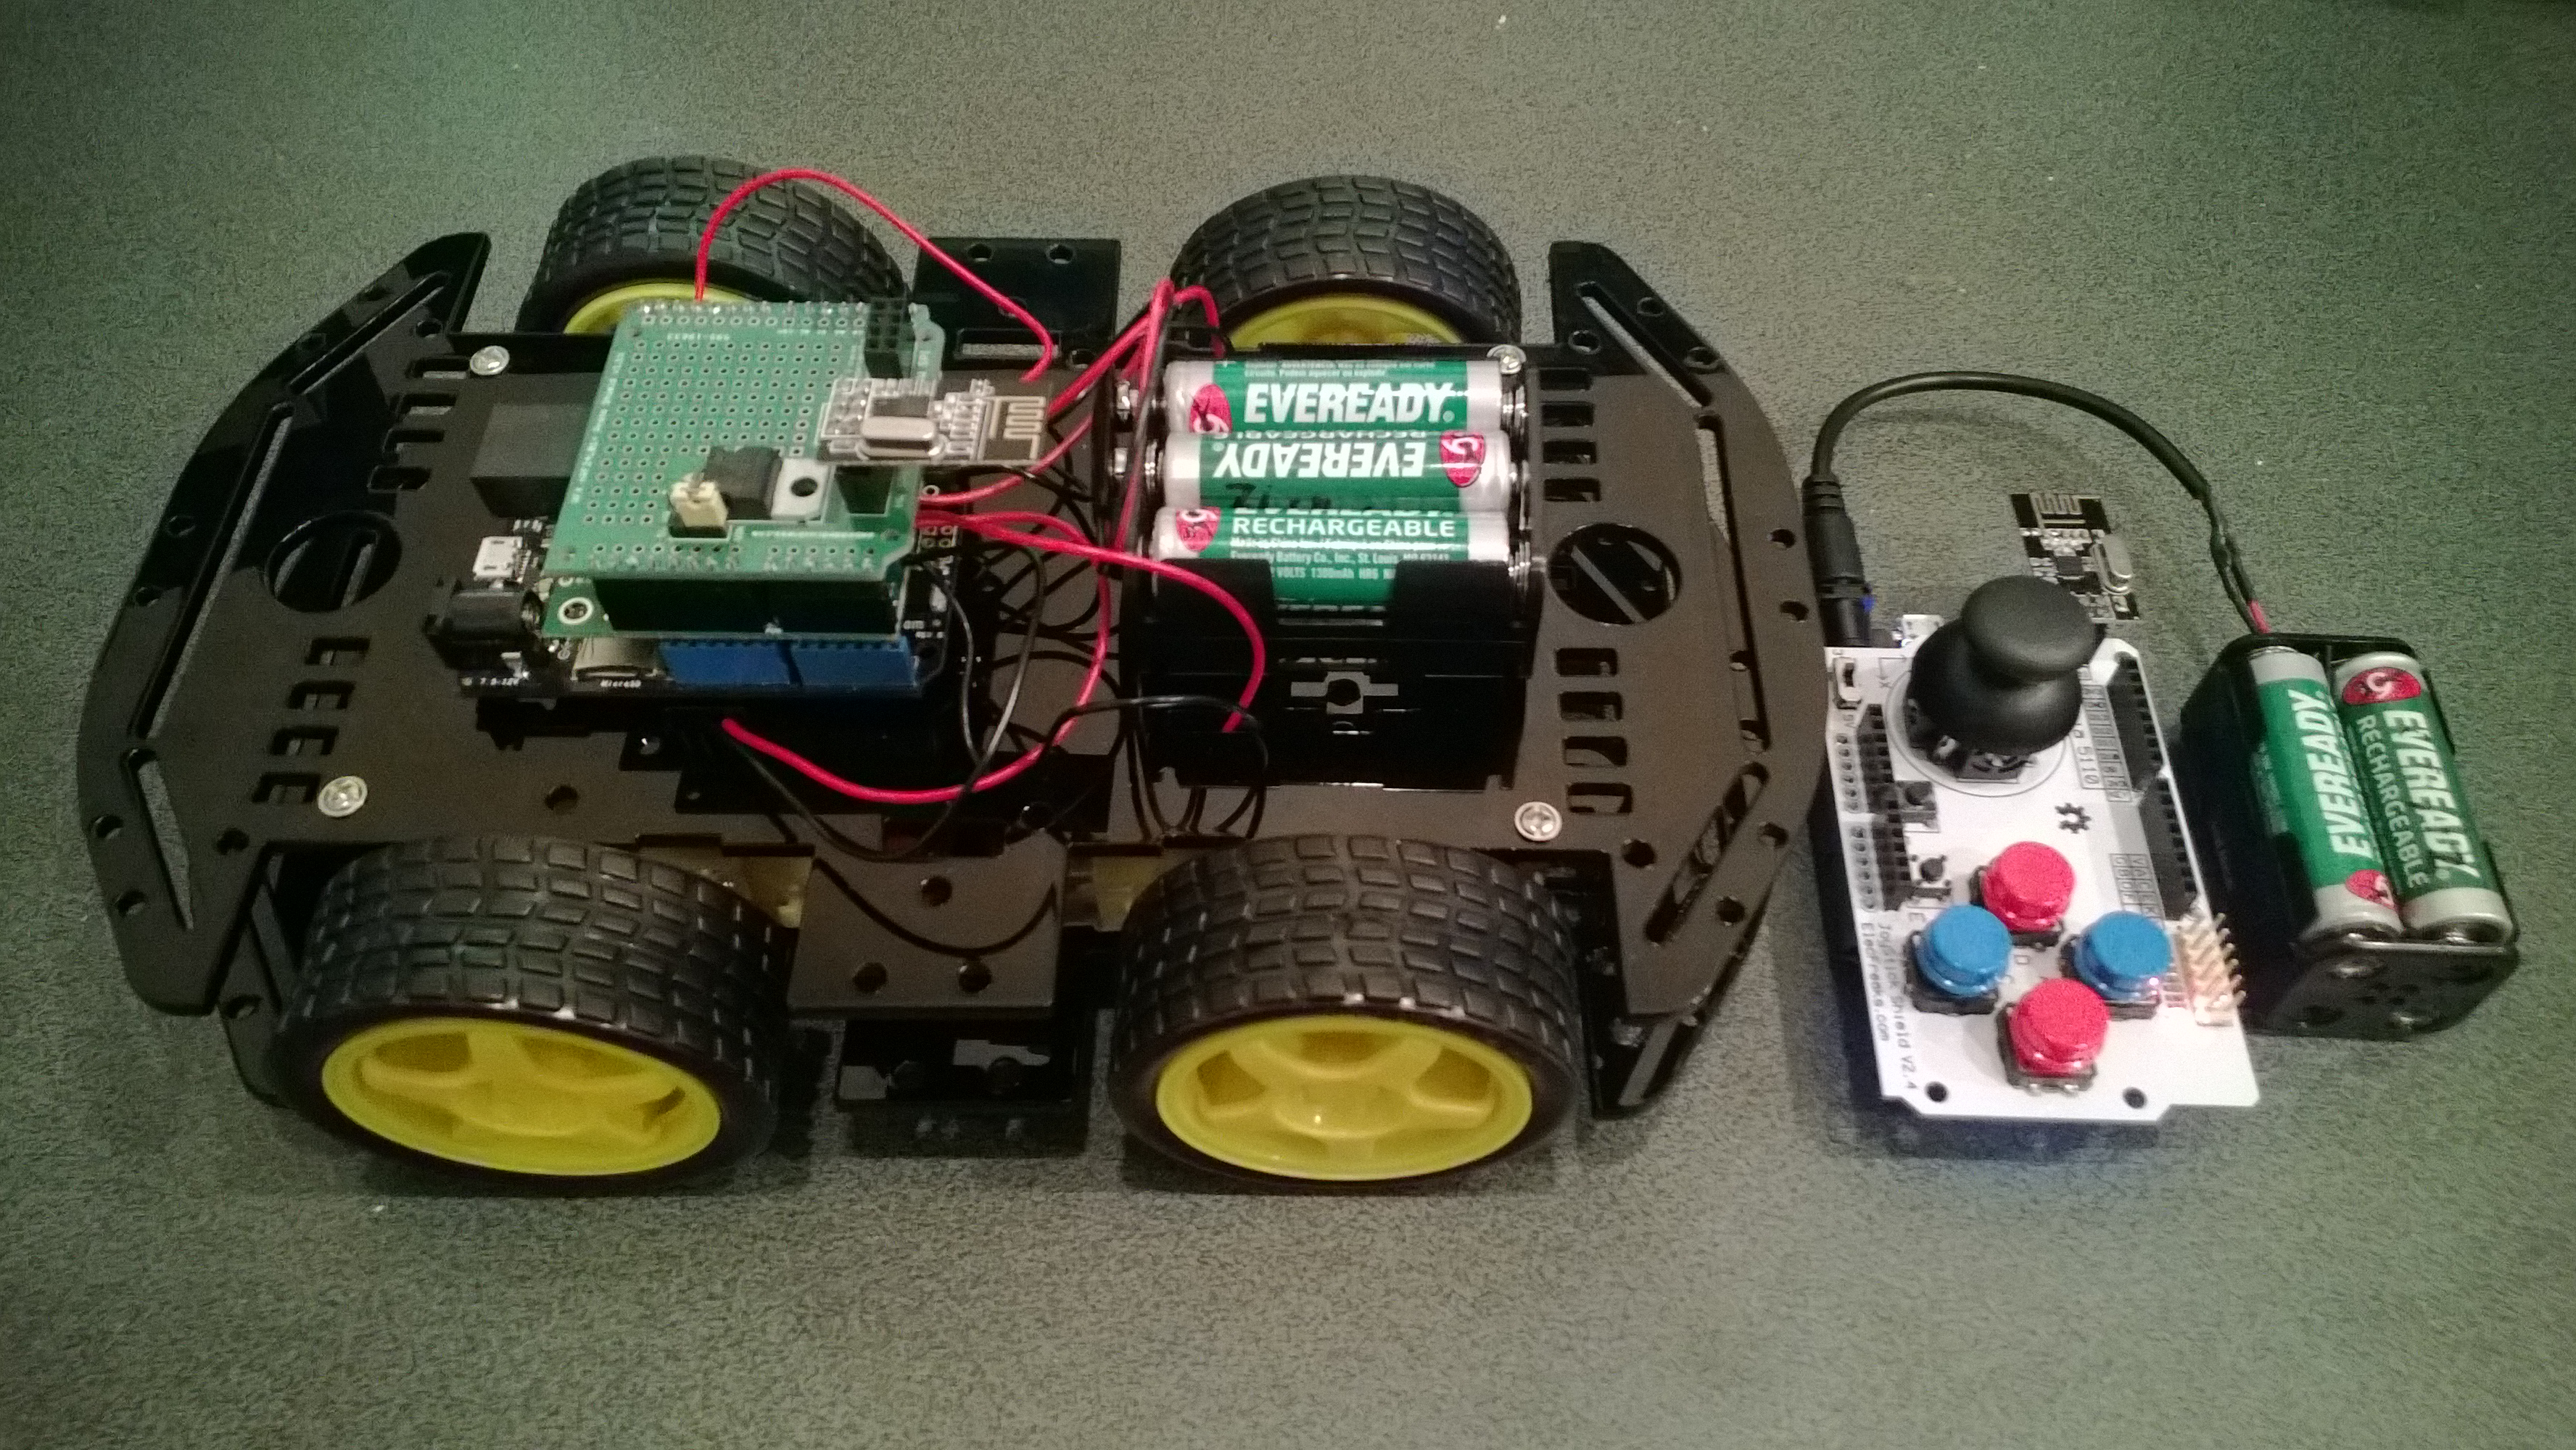
The nRF24L01 functionality looked like a good place to start so I had a look at the documentation. The interface for connecting the nRF24L01+ module was specified as
D11 – MOSI
D12 – MISO
D13 – SCK
D8 – RF_CE
D7 – RF_CSN
D2 – RF_IRQ
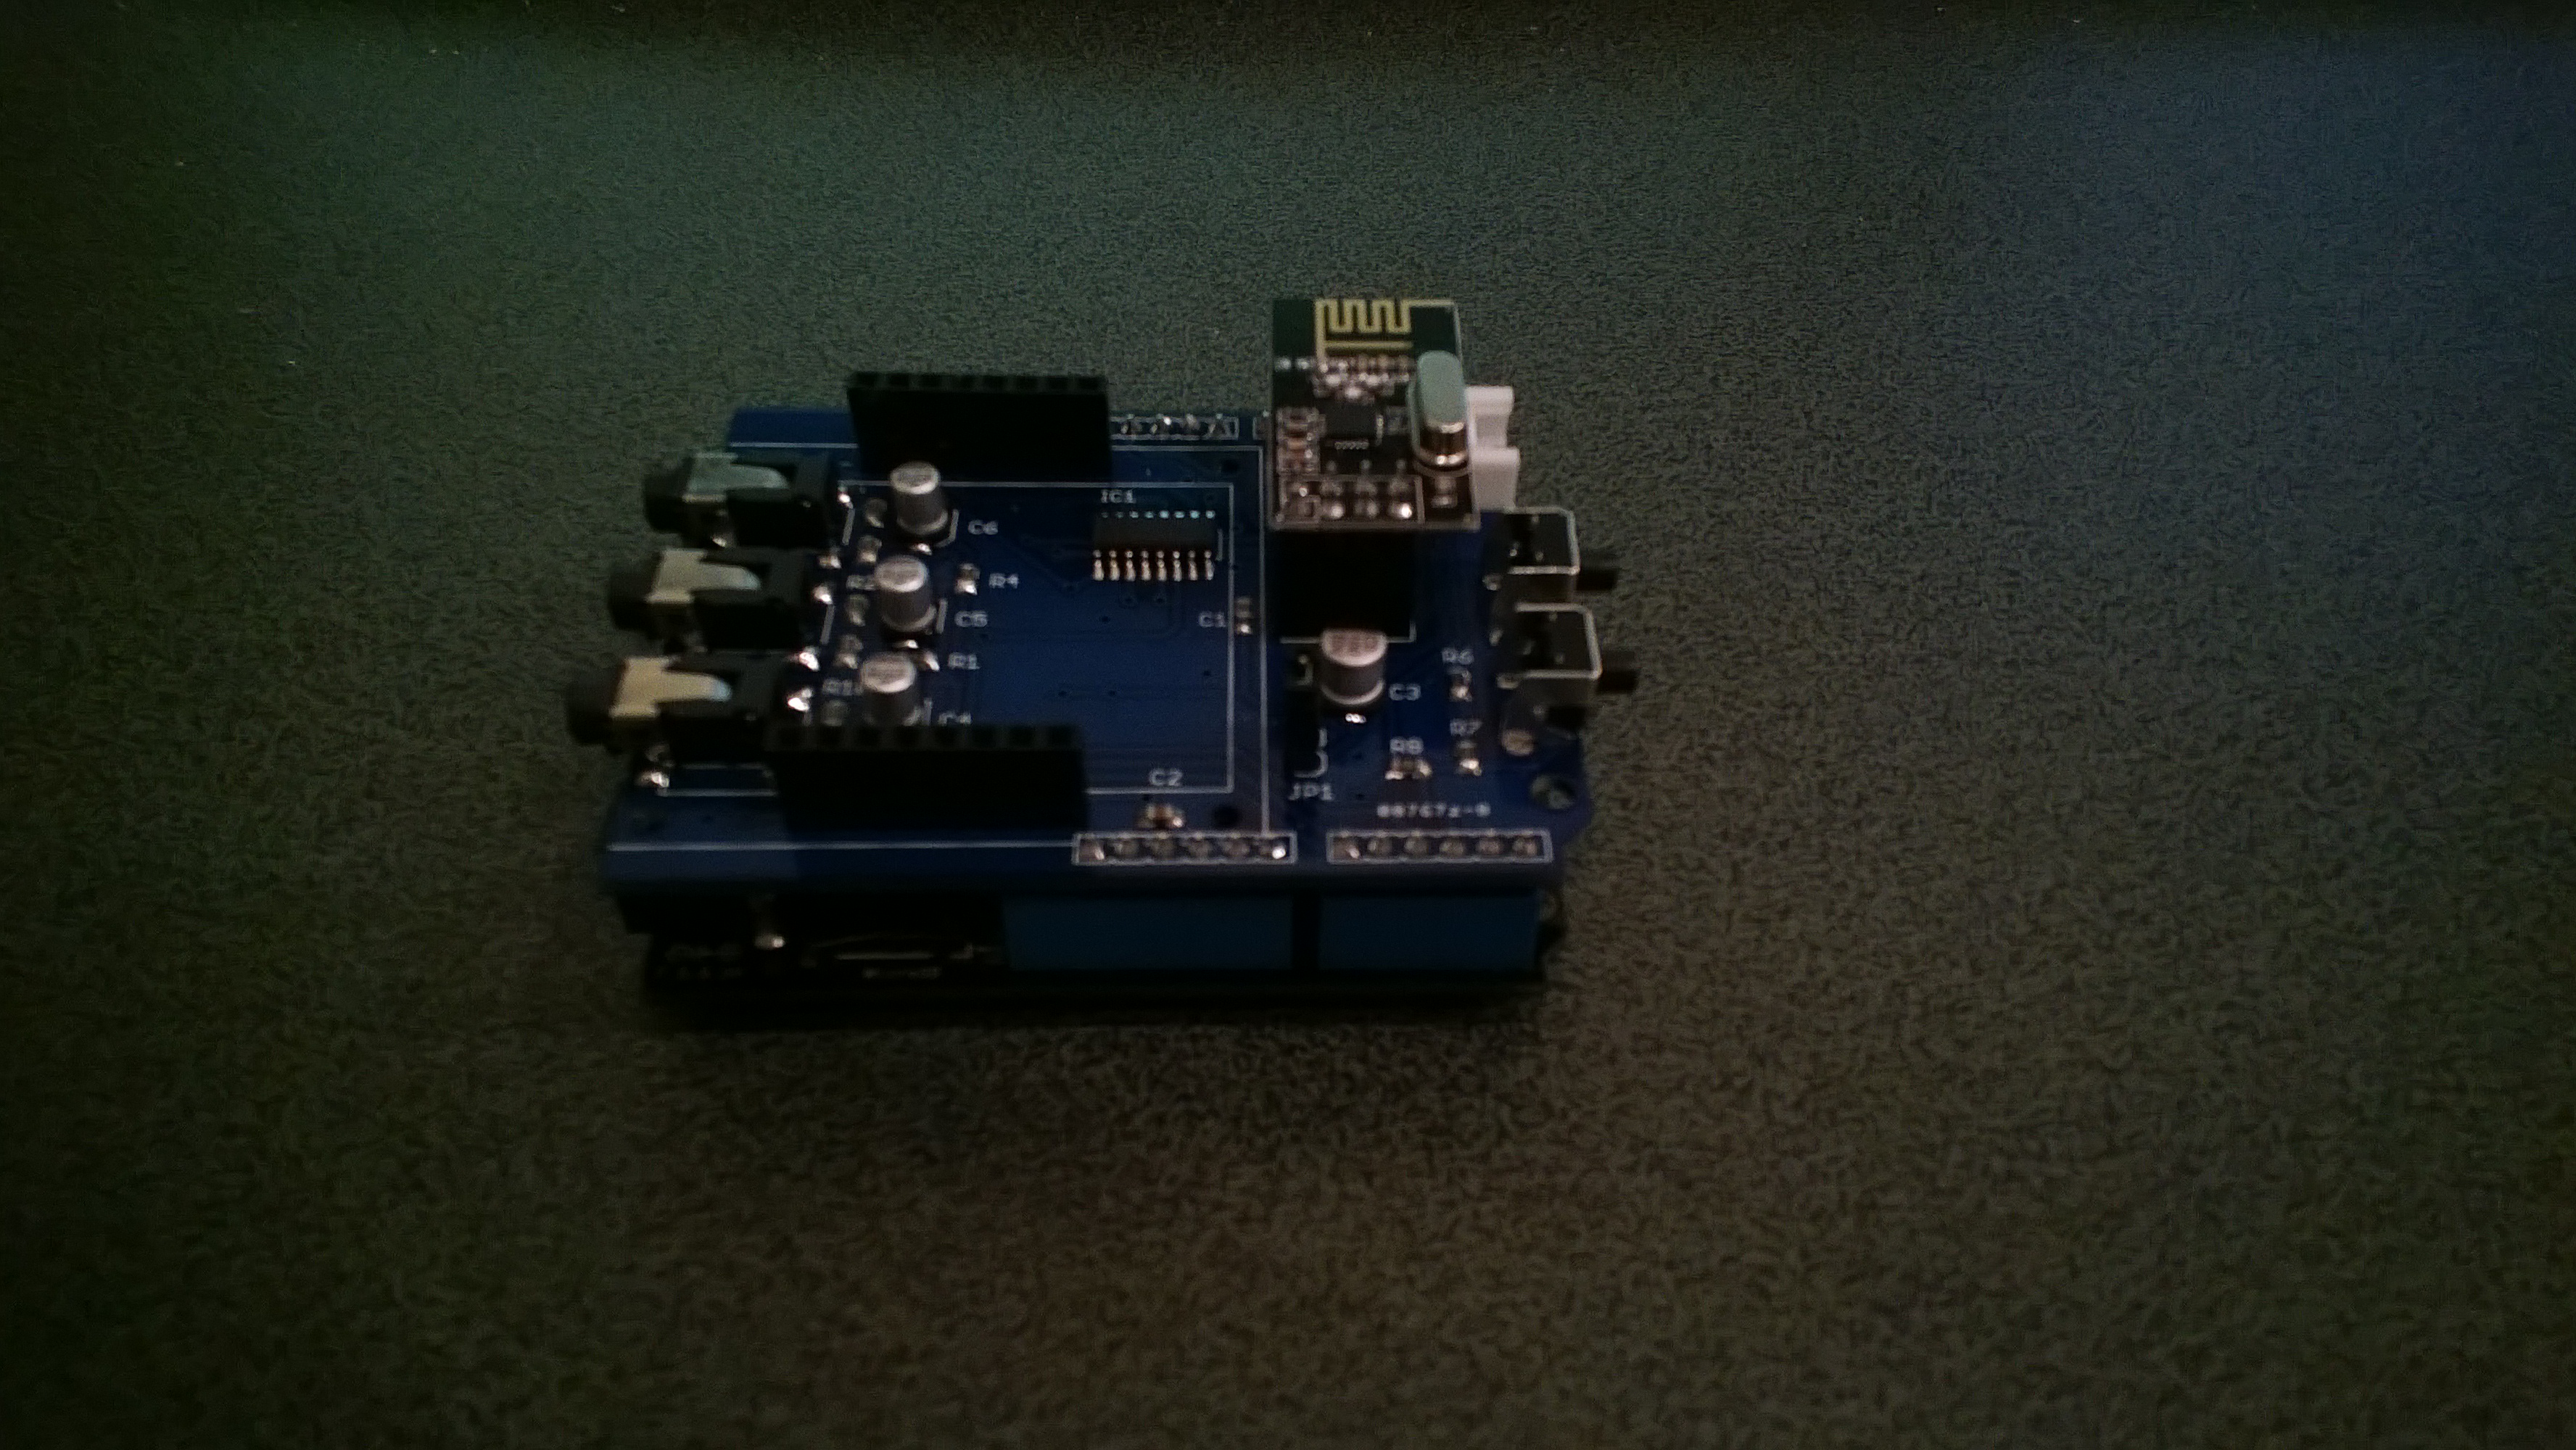
I have used the Nordic nRF240L1+ .Net Micro Framework Driver on a couple of other projects but initially struggled to get it working with this configuration. After looking at the pin outs of the nRF24L01+ and the Energy Monitor Shield schematic I think the CSN & CE are reversed.(as at March 2014).
This code works and was adapted from the sample application provided with the driver on codeplex
public class nRF240l1Module
{
private const byte channel = 10;
private readonly OutputPort _led = new OutputPort(Pins.ONBOARD_LED, false);
private readonly NRF24L01Plus _module;
private Timer _timer;
private byte _token;
private readonly byte[] _myAddress = Encoding.UTF8.GetBytes(“NetP1”);
//private readonly byte[] _myAddress = Encoding.UTF8.GetBytes(“NetP2”);
private readonly byte[] _otherBoard = Encoding.UTF8.GetBytes(“NetP2”);
//private readonly byte[] _otherBoard = Encoding.UTF8.GetBytes(“NetP1”);
public nRF240l1Module()
{
_module = new NRF24L01Plus();
}
public void Run()
{
_module.OnDataReceived += OnReceive;
_module.OnTransmitFailed += OnSendFailure;
_module.OnTransmitSuccess += OnSendSuccess;
_module.Initialize(SPI.SPI_module.SPI1, Pins.GPIO_PIN_D8, Pins.GPIO_PIN_D7, Pins.GPIO_PIN_D2);
_module.Configure(_myAddress, channel, NRFDataRate.DR250kbps);
_module.Enable();
_timer = new Timer(SendMessage, null, new TimeSpan(0, 0, 0, 1), new TimeSpan(0, 0, 0, 1));
}
private void OnSendSuccess()
{
_led.Write(false);
}
private void OnSendFailure()
{
Debug.Print(“Send failed!”);
}
private void OnReceive(byte[] data)
{
Debug.Print(“Token <- ” + data[0]);
}
private void SendMessage(object state)
{
_led.Write(true);
_module.SendTo(_otherBoard, new[] { _token });
Debug.Print(“Token -> ” + _token);
_token++;
}
}
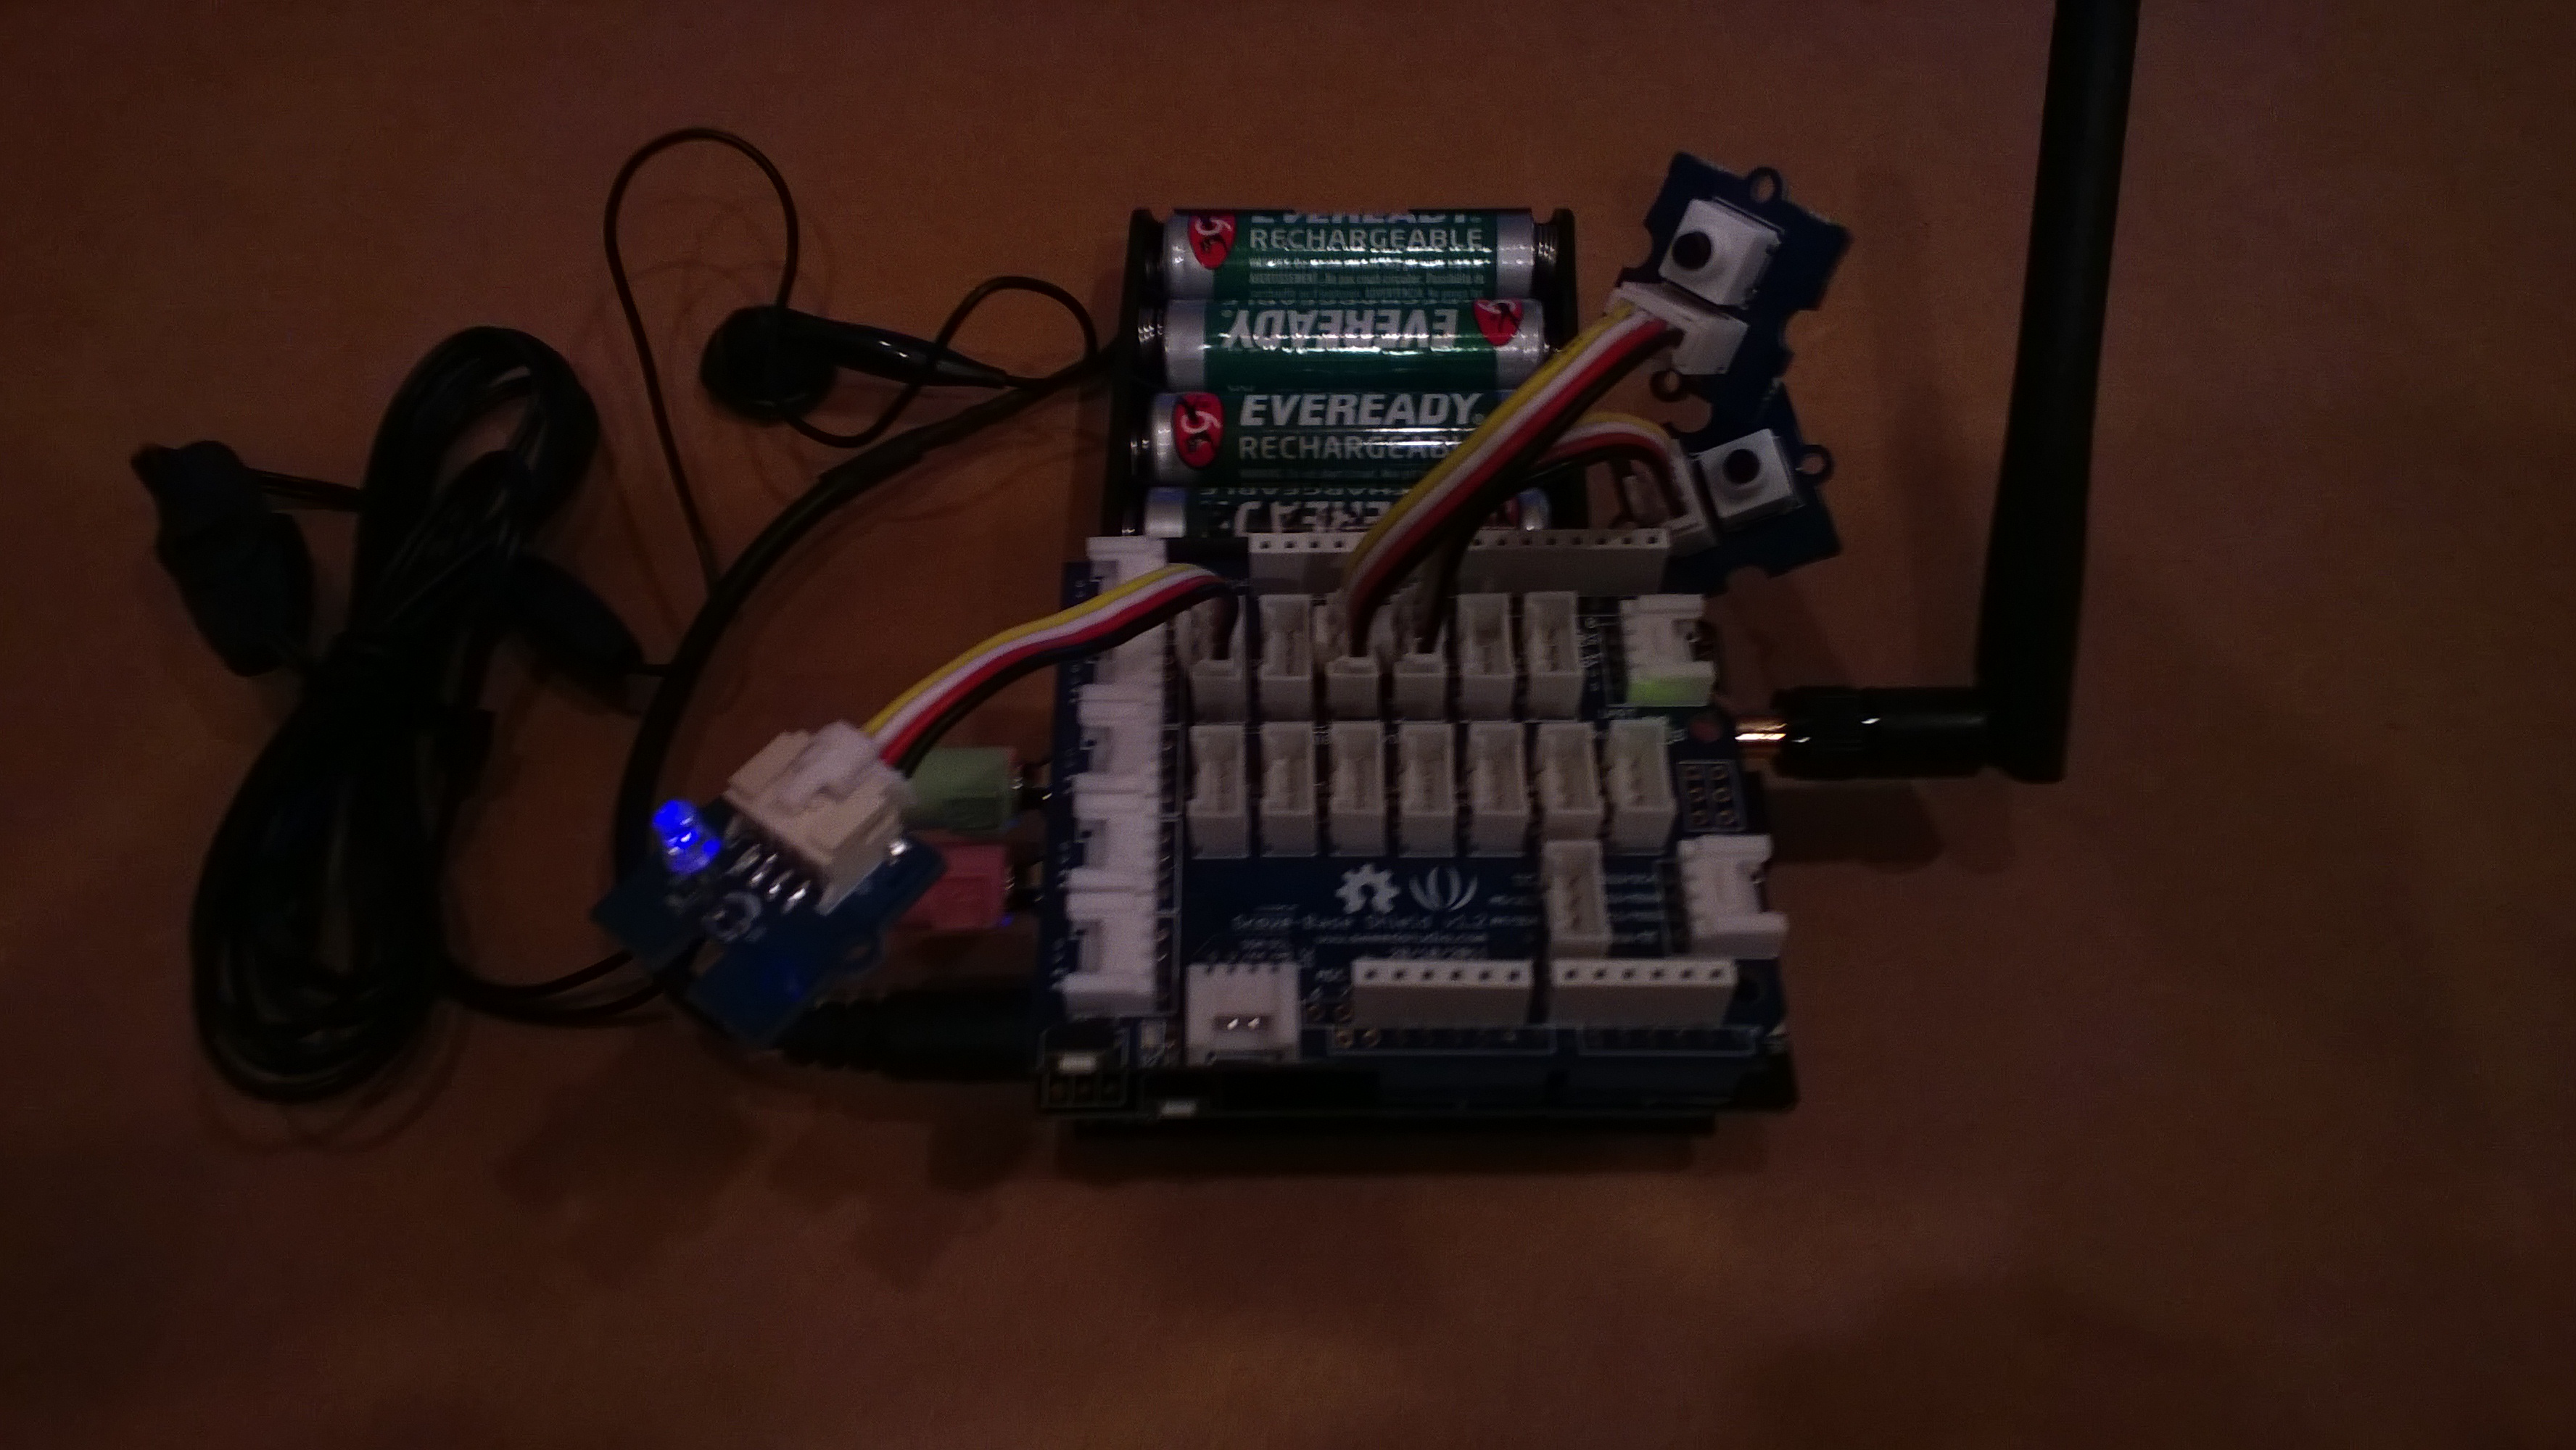
Energy Shield with nRF24L01Plus