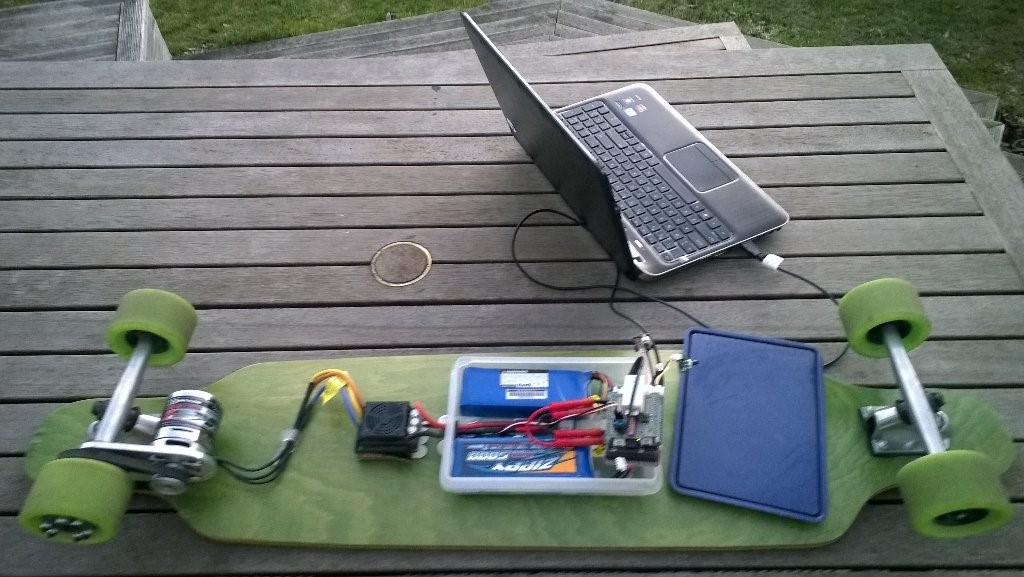
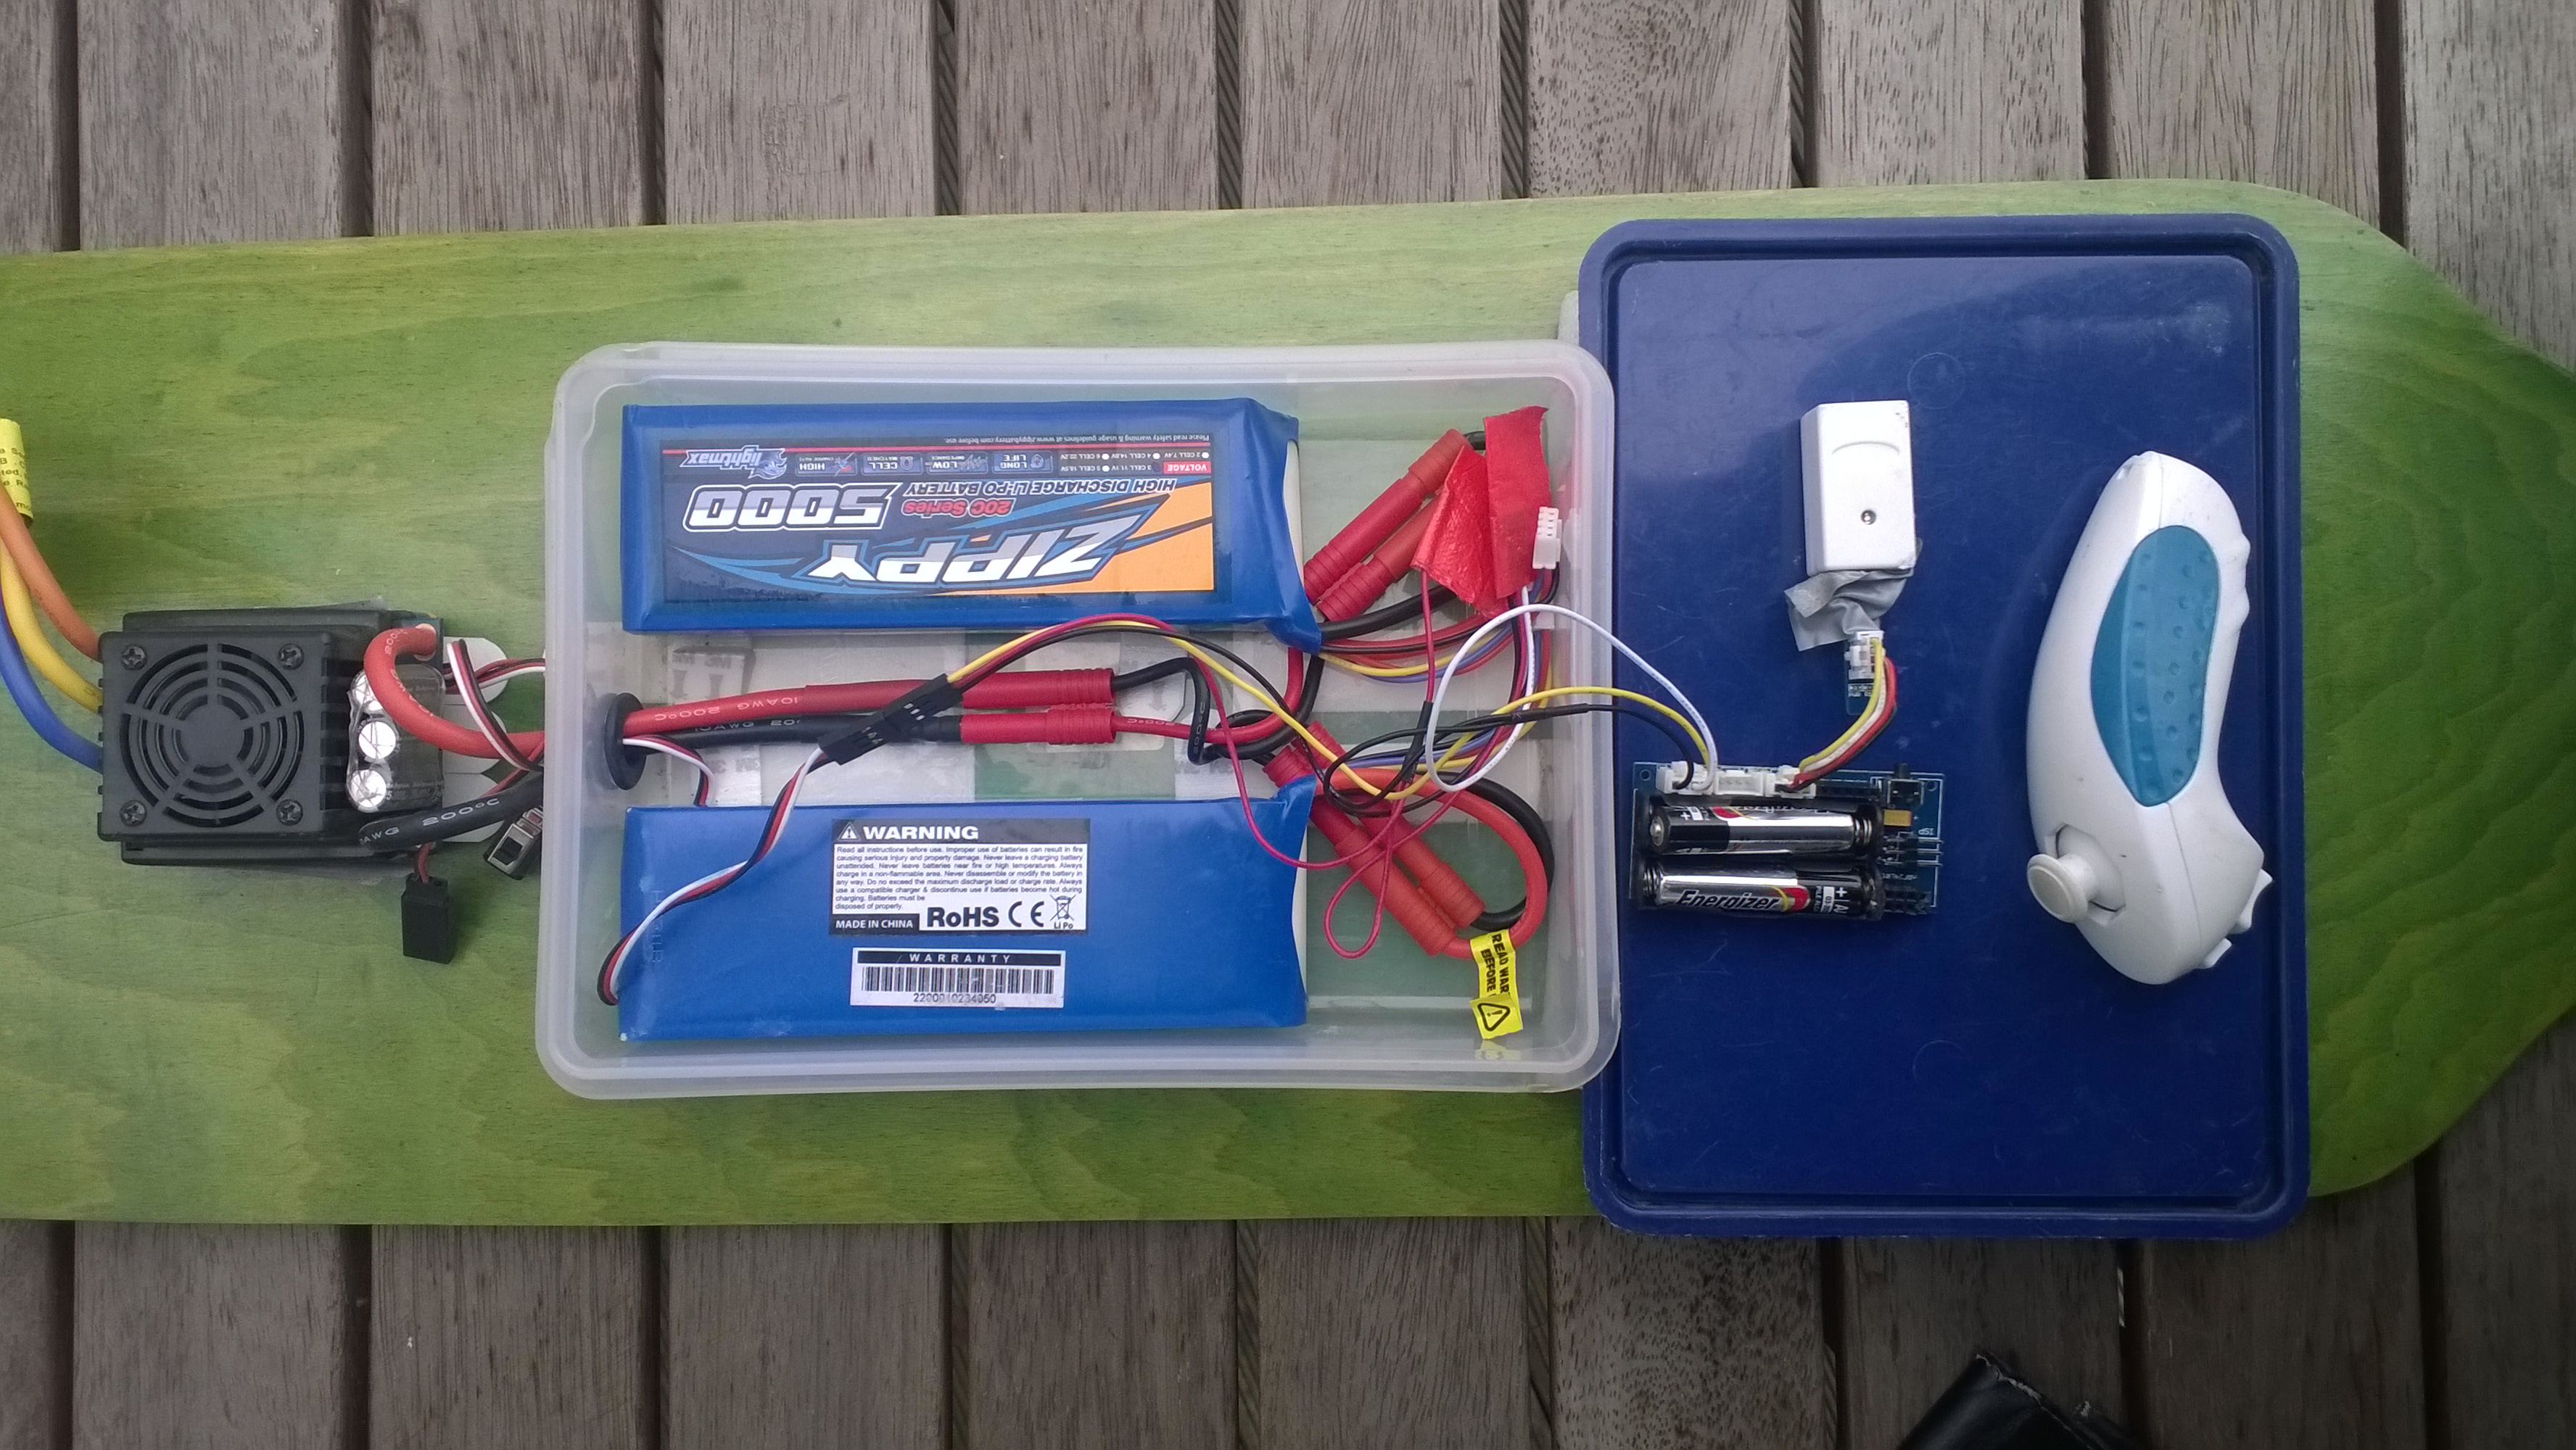
The Rideable Prototype
After some experimentation I gave up on the radio control(RC) servo library for controlling my Longboard’s Electronic Speed Control(ESC).

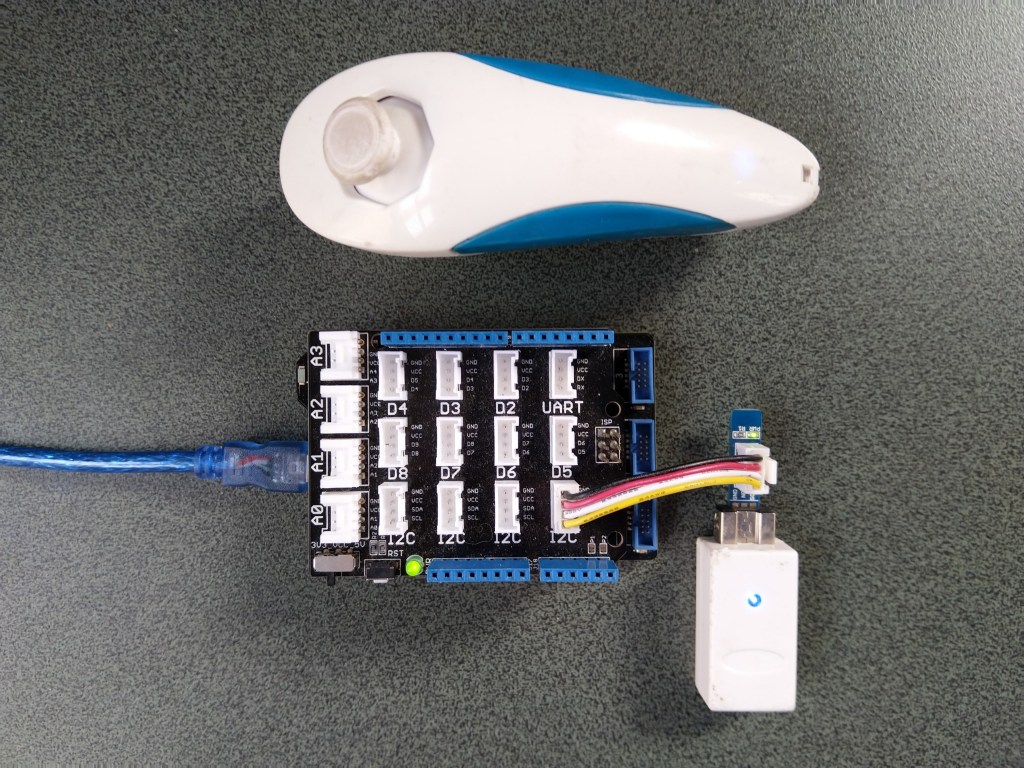
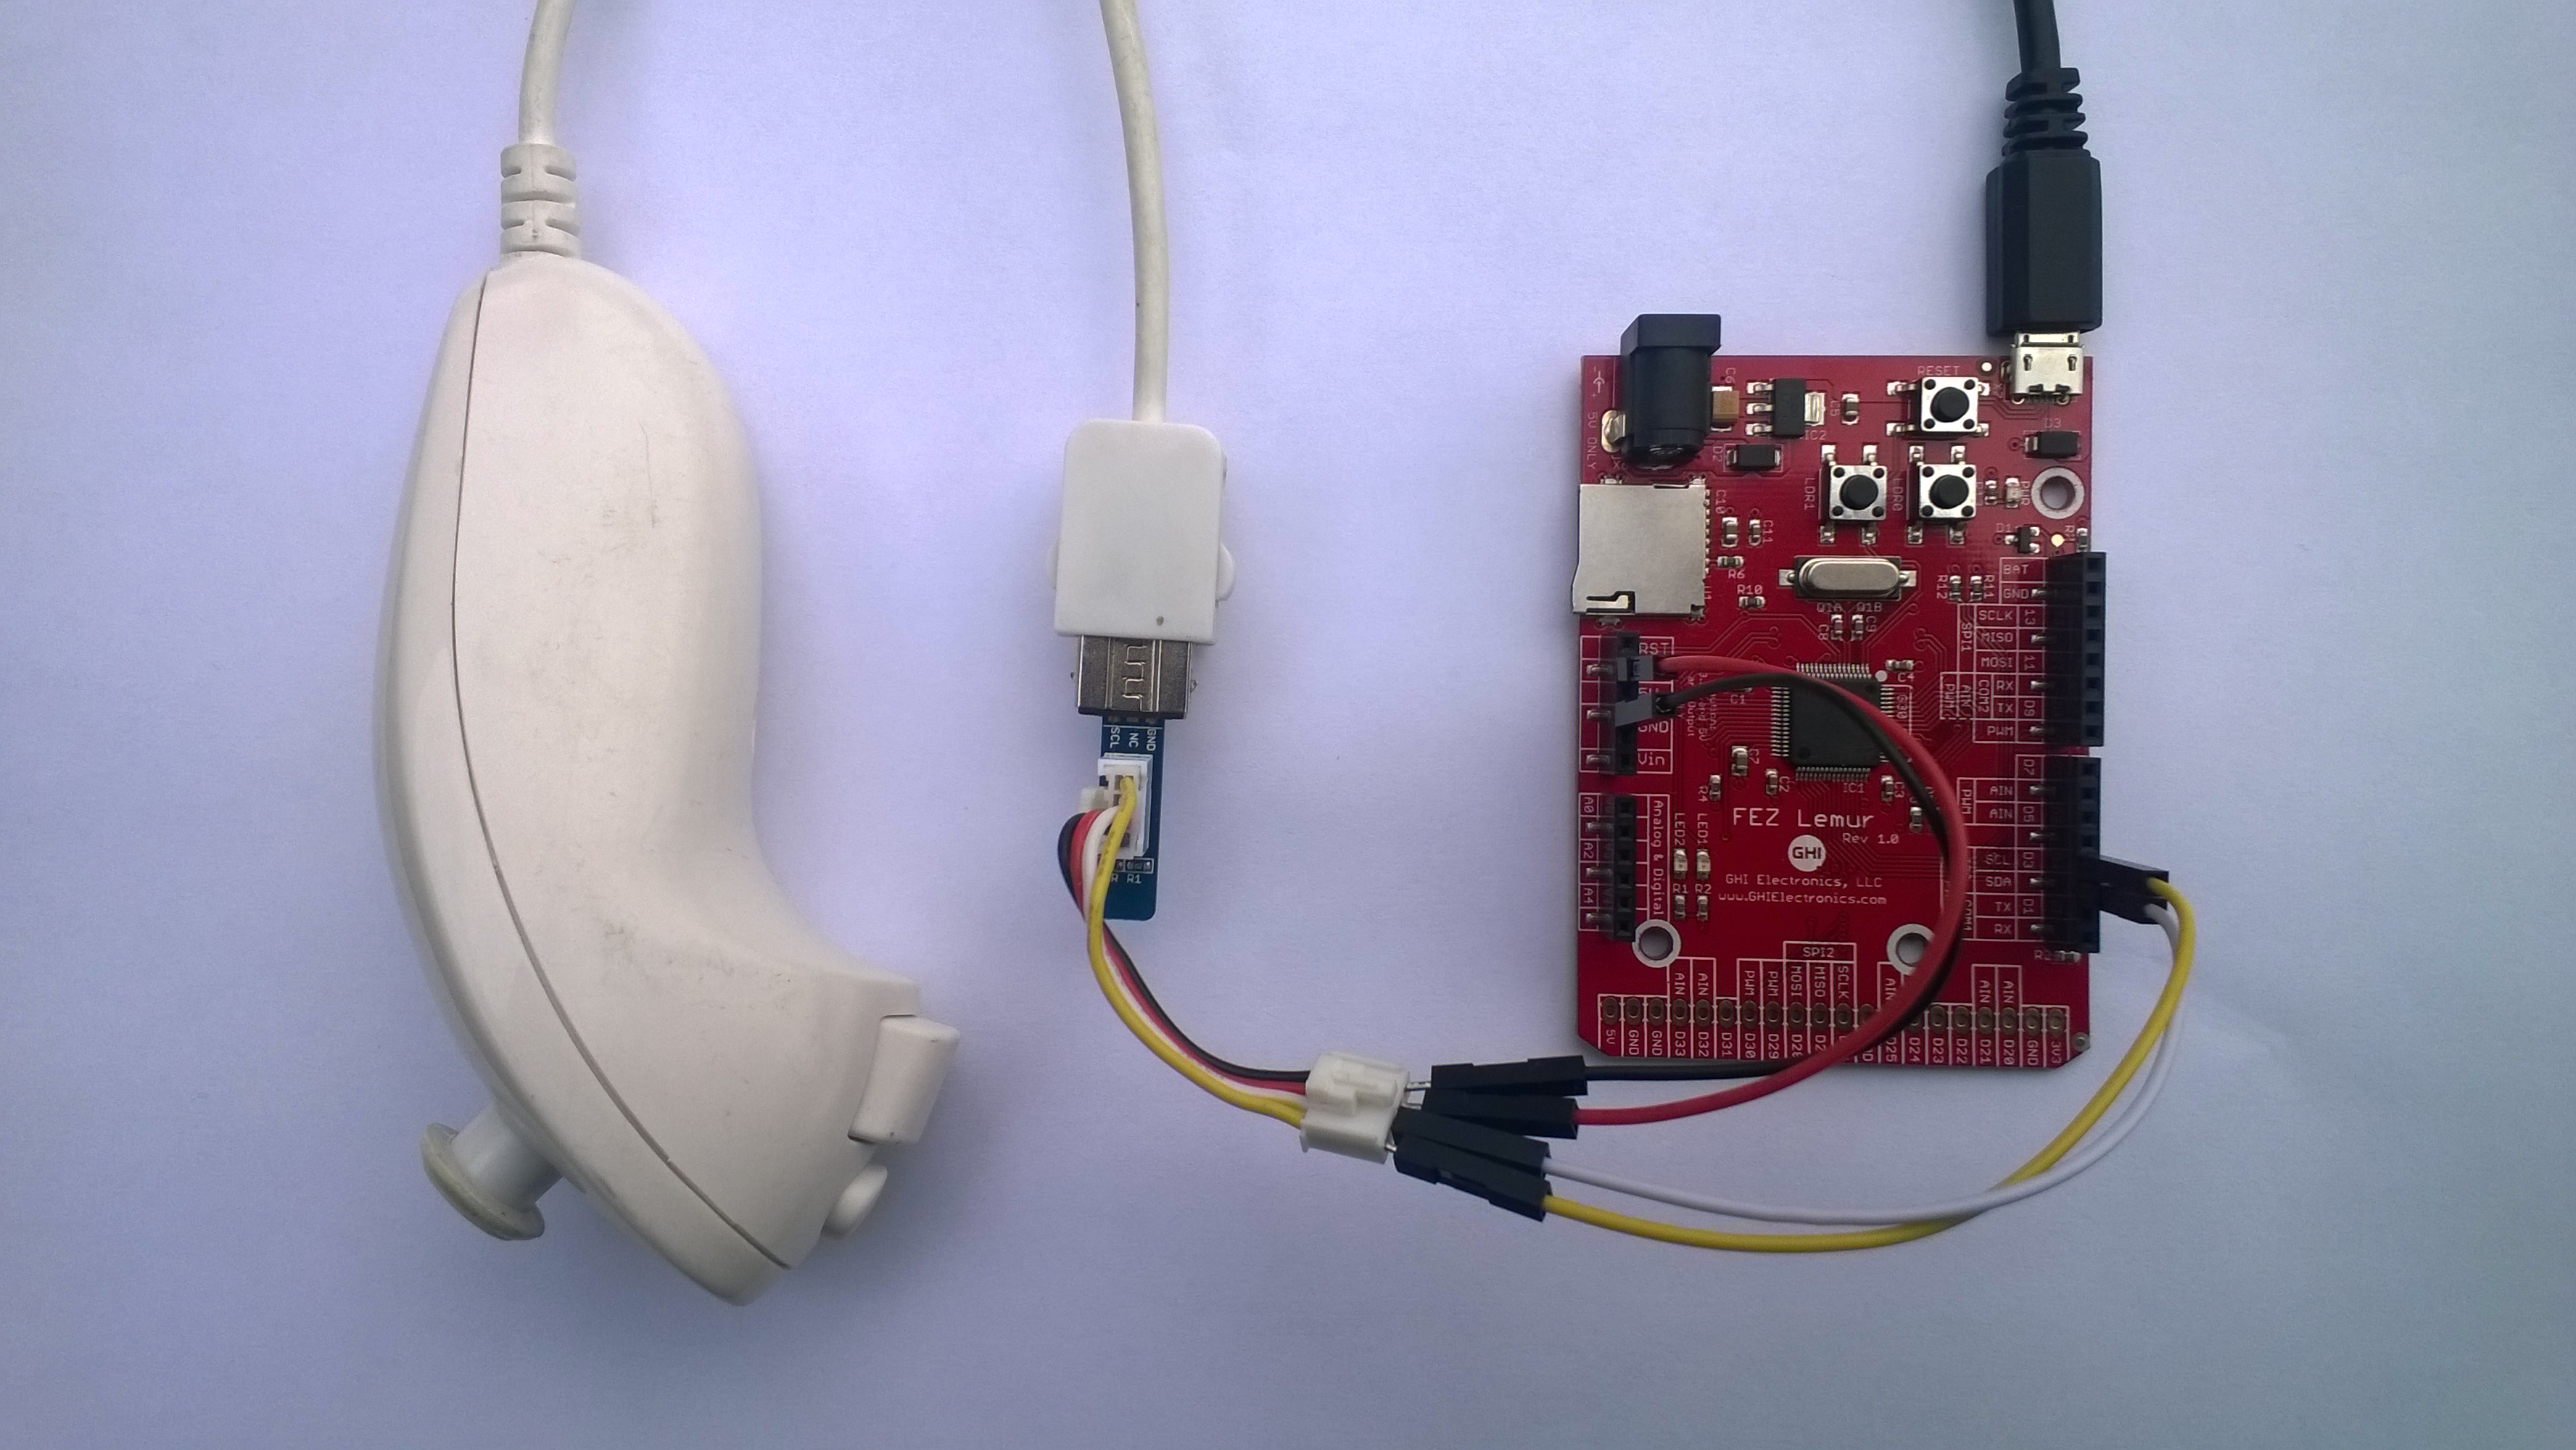
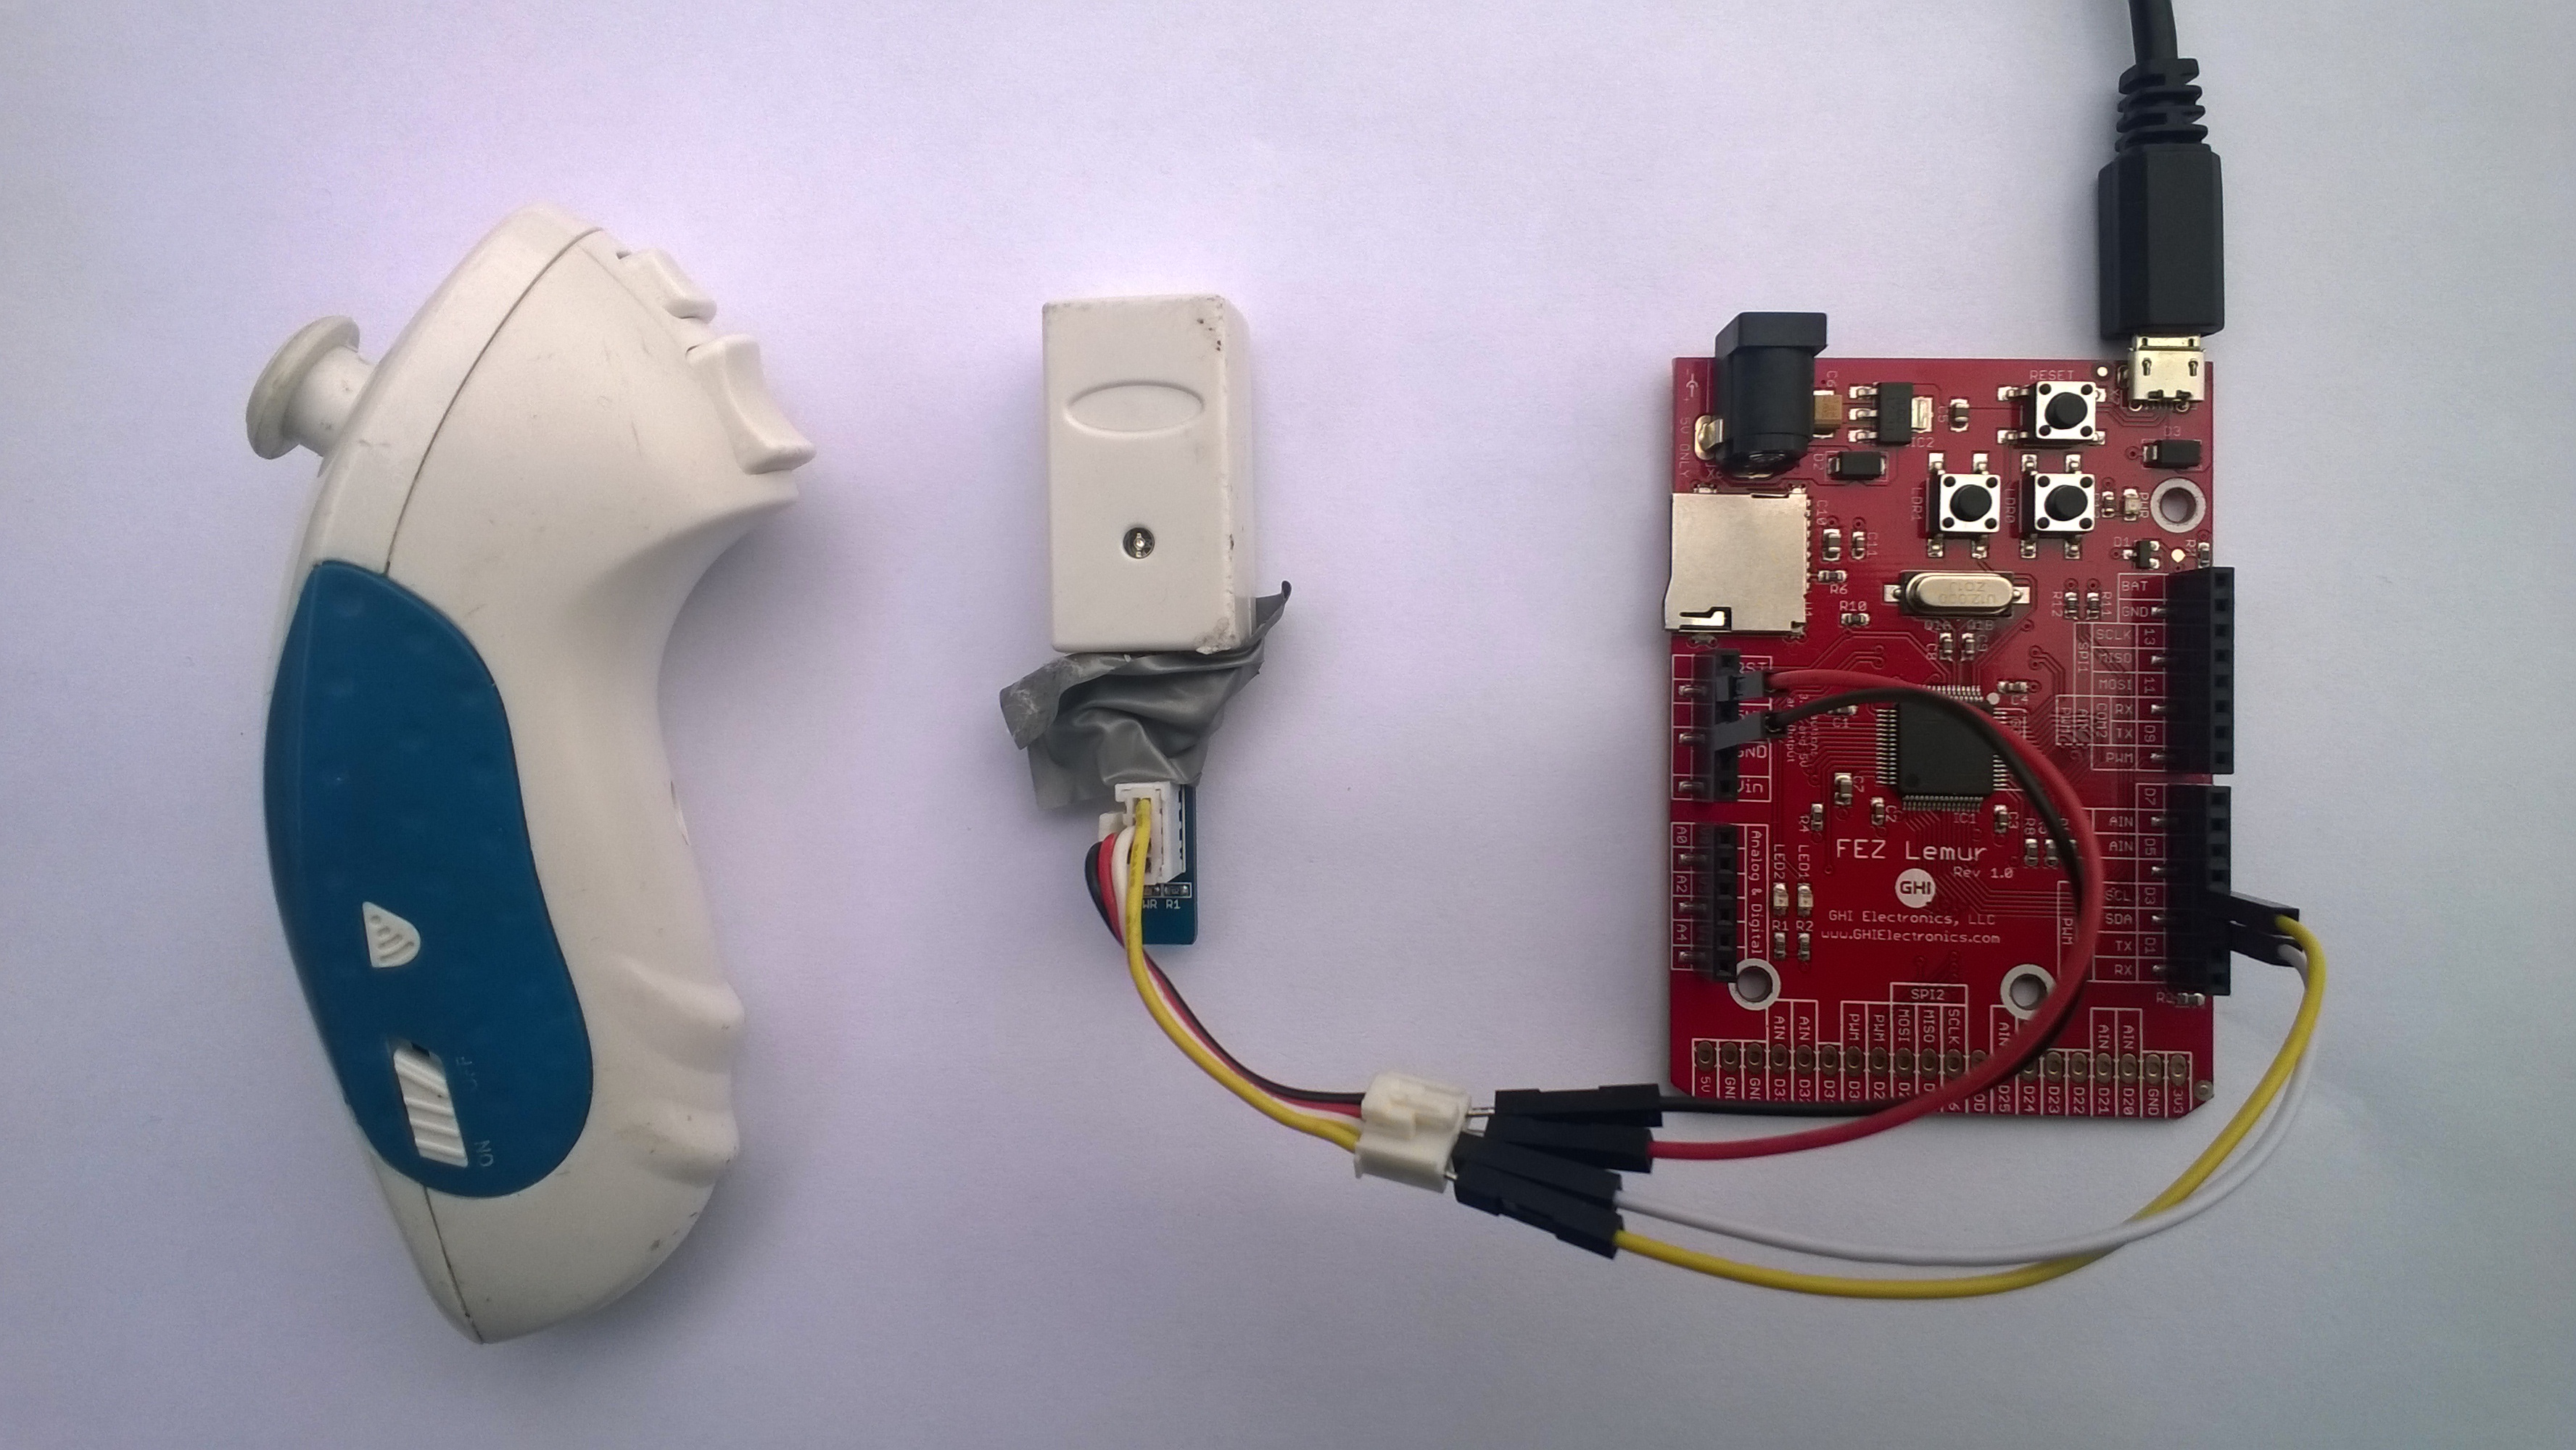
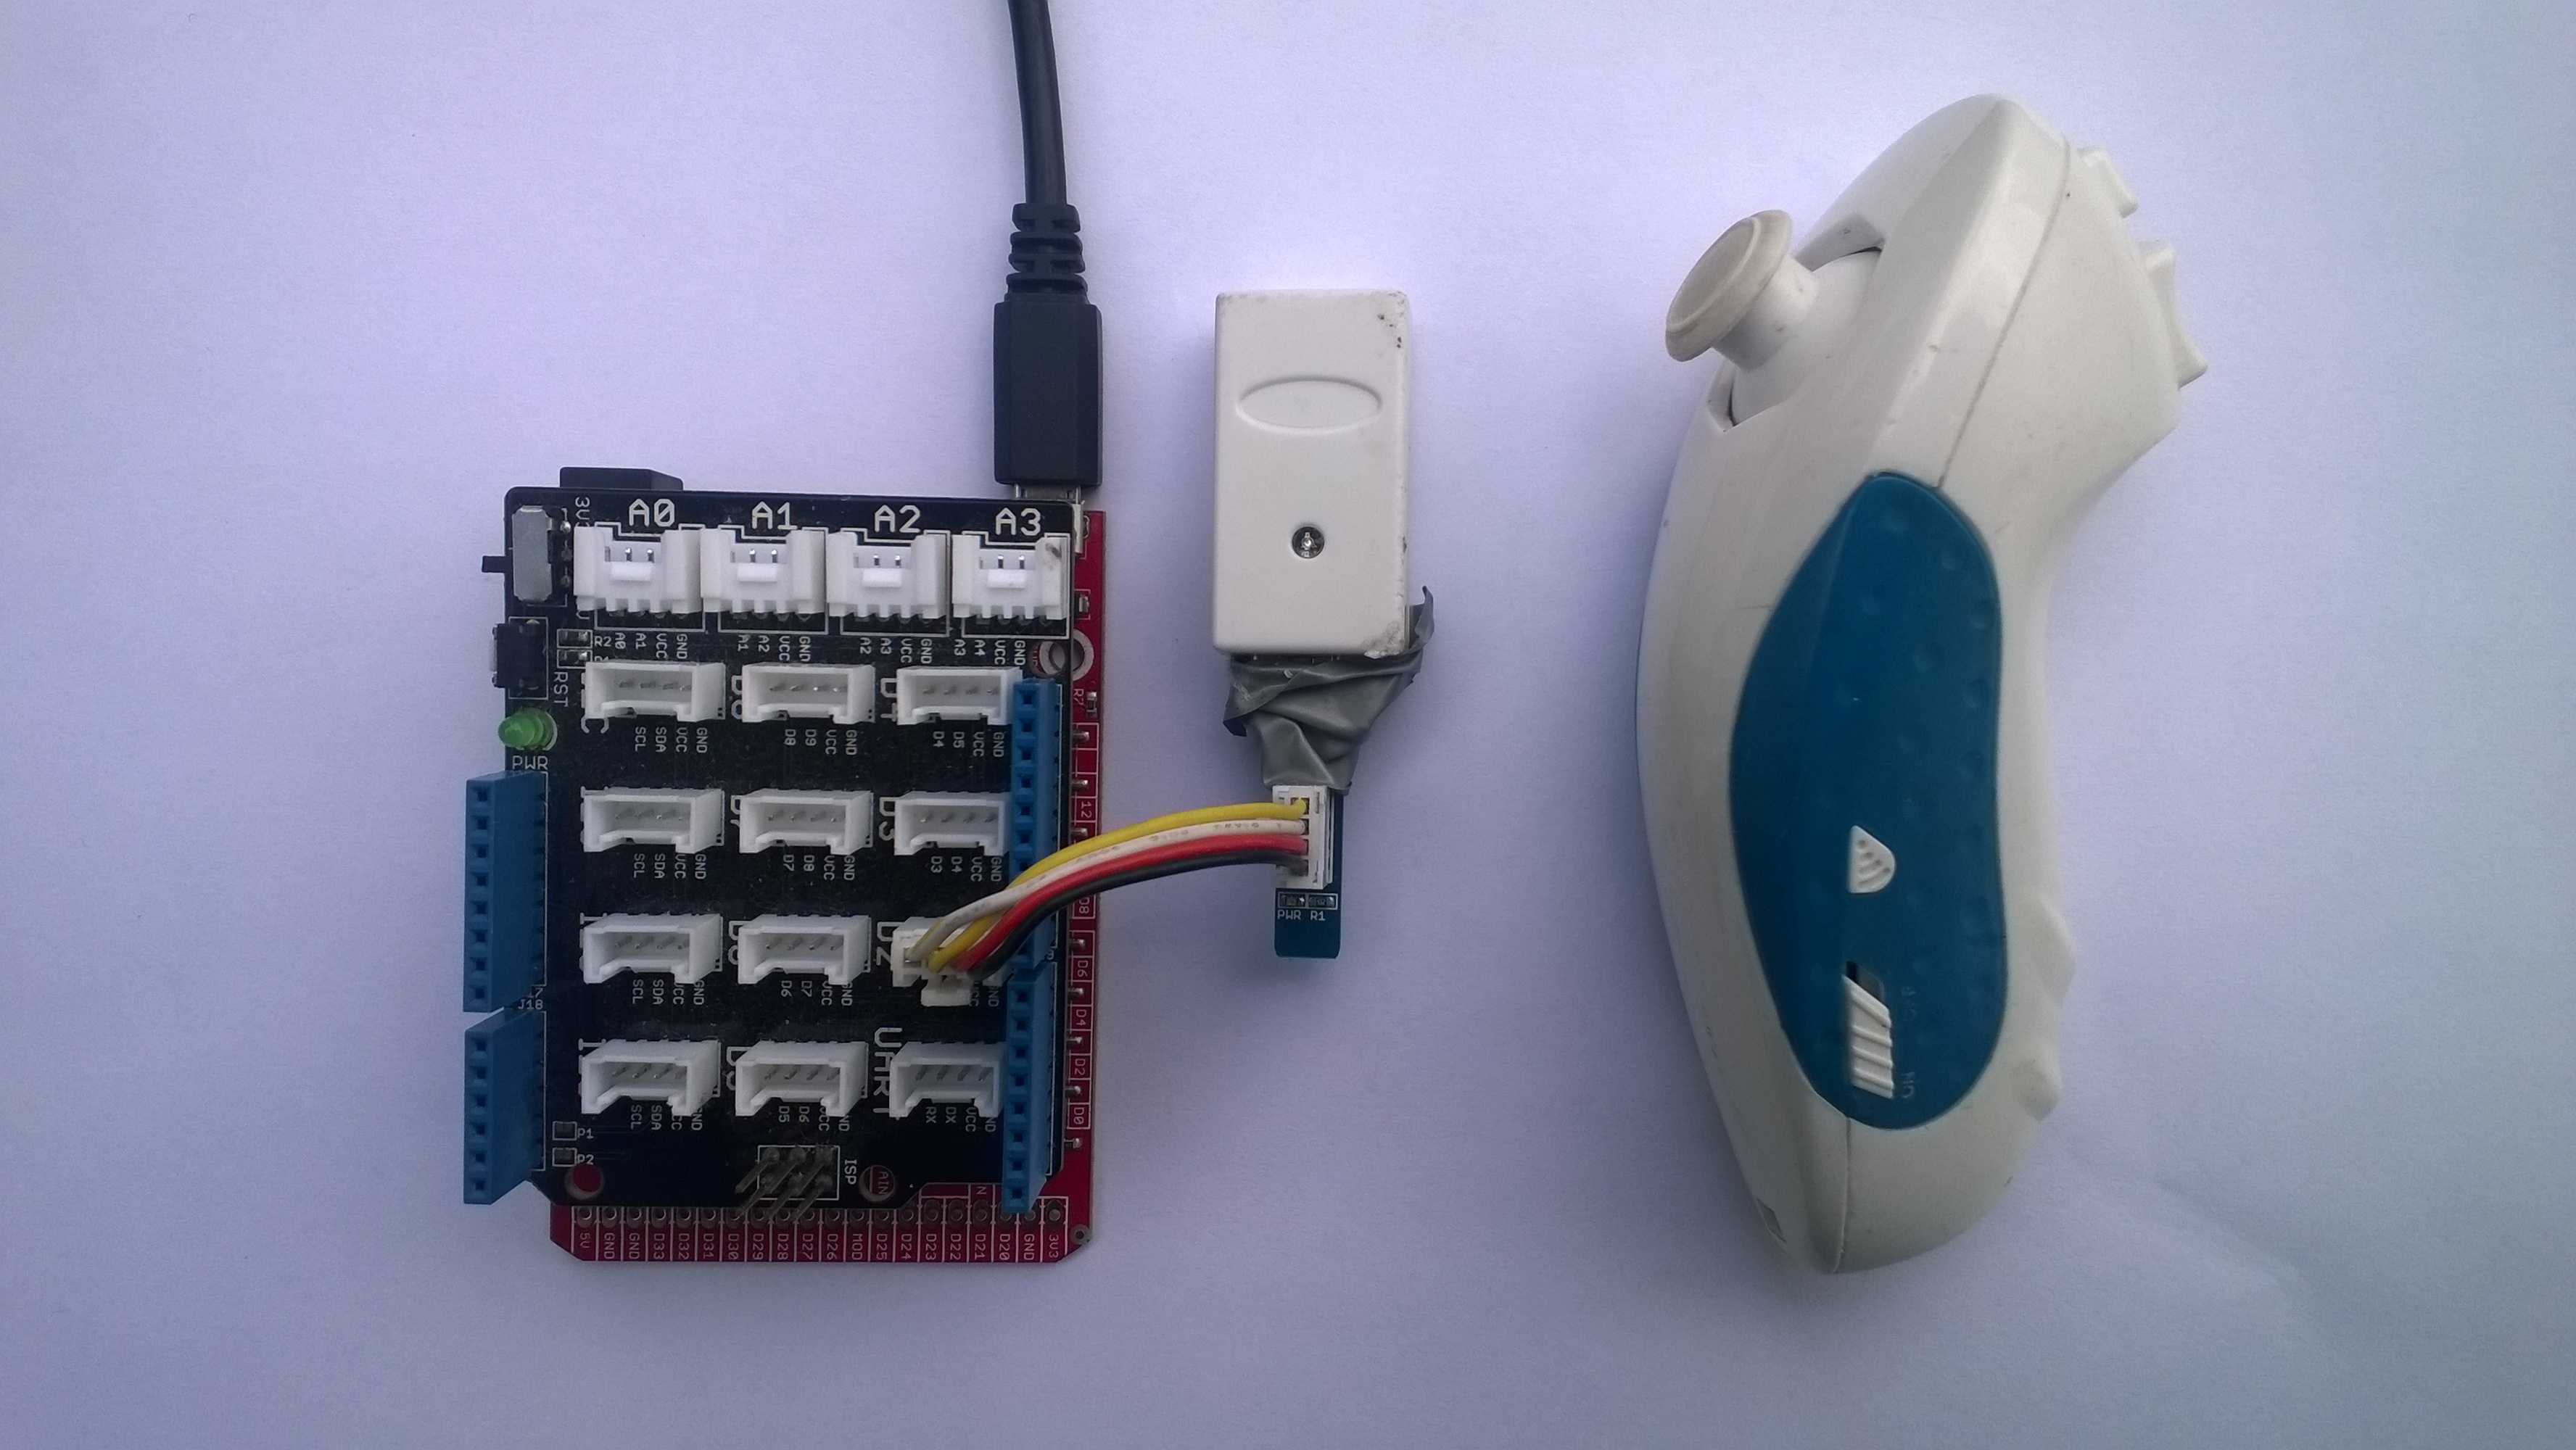
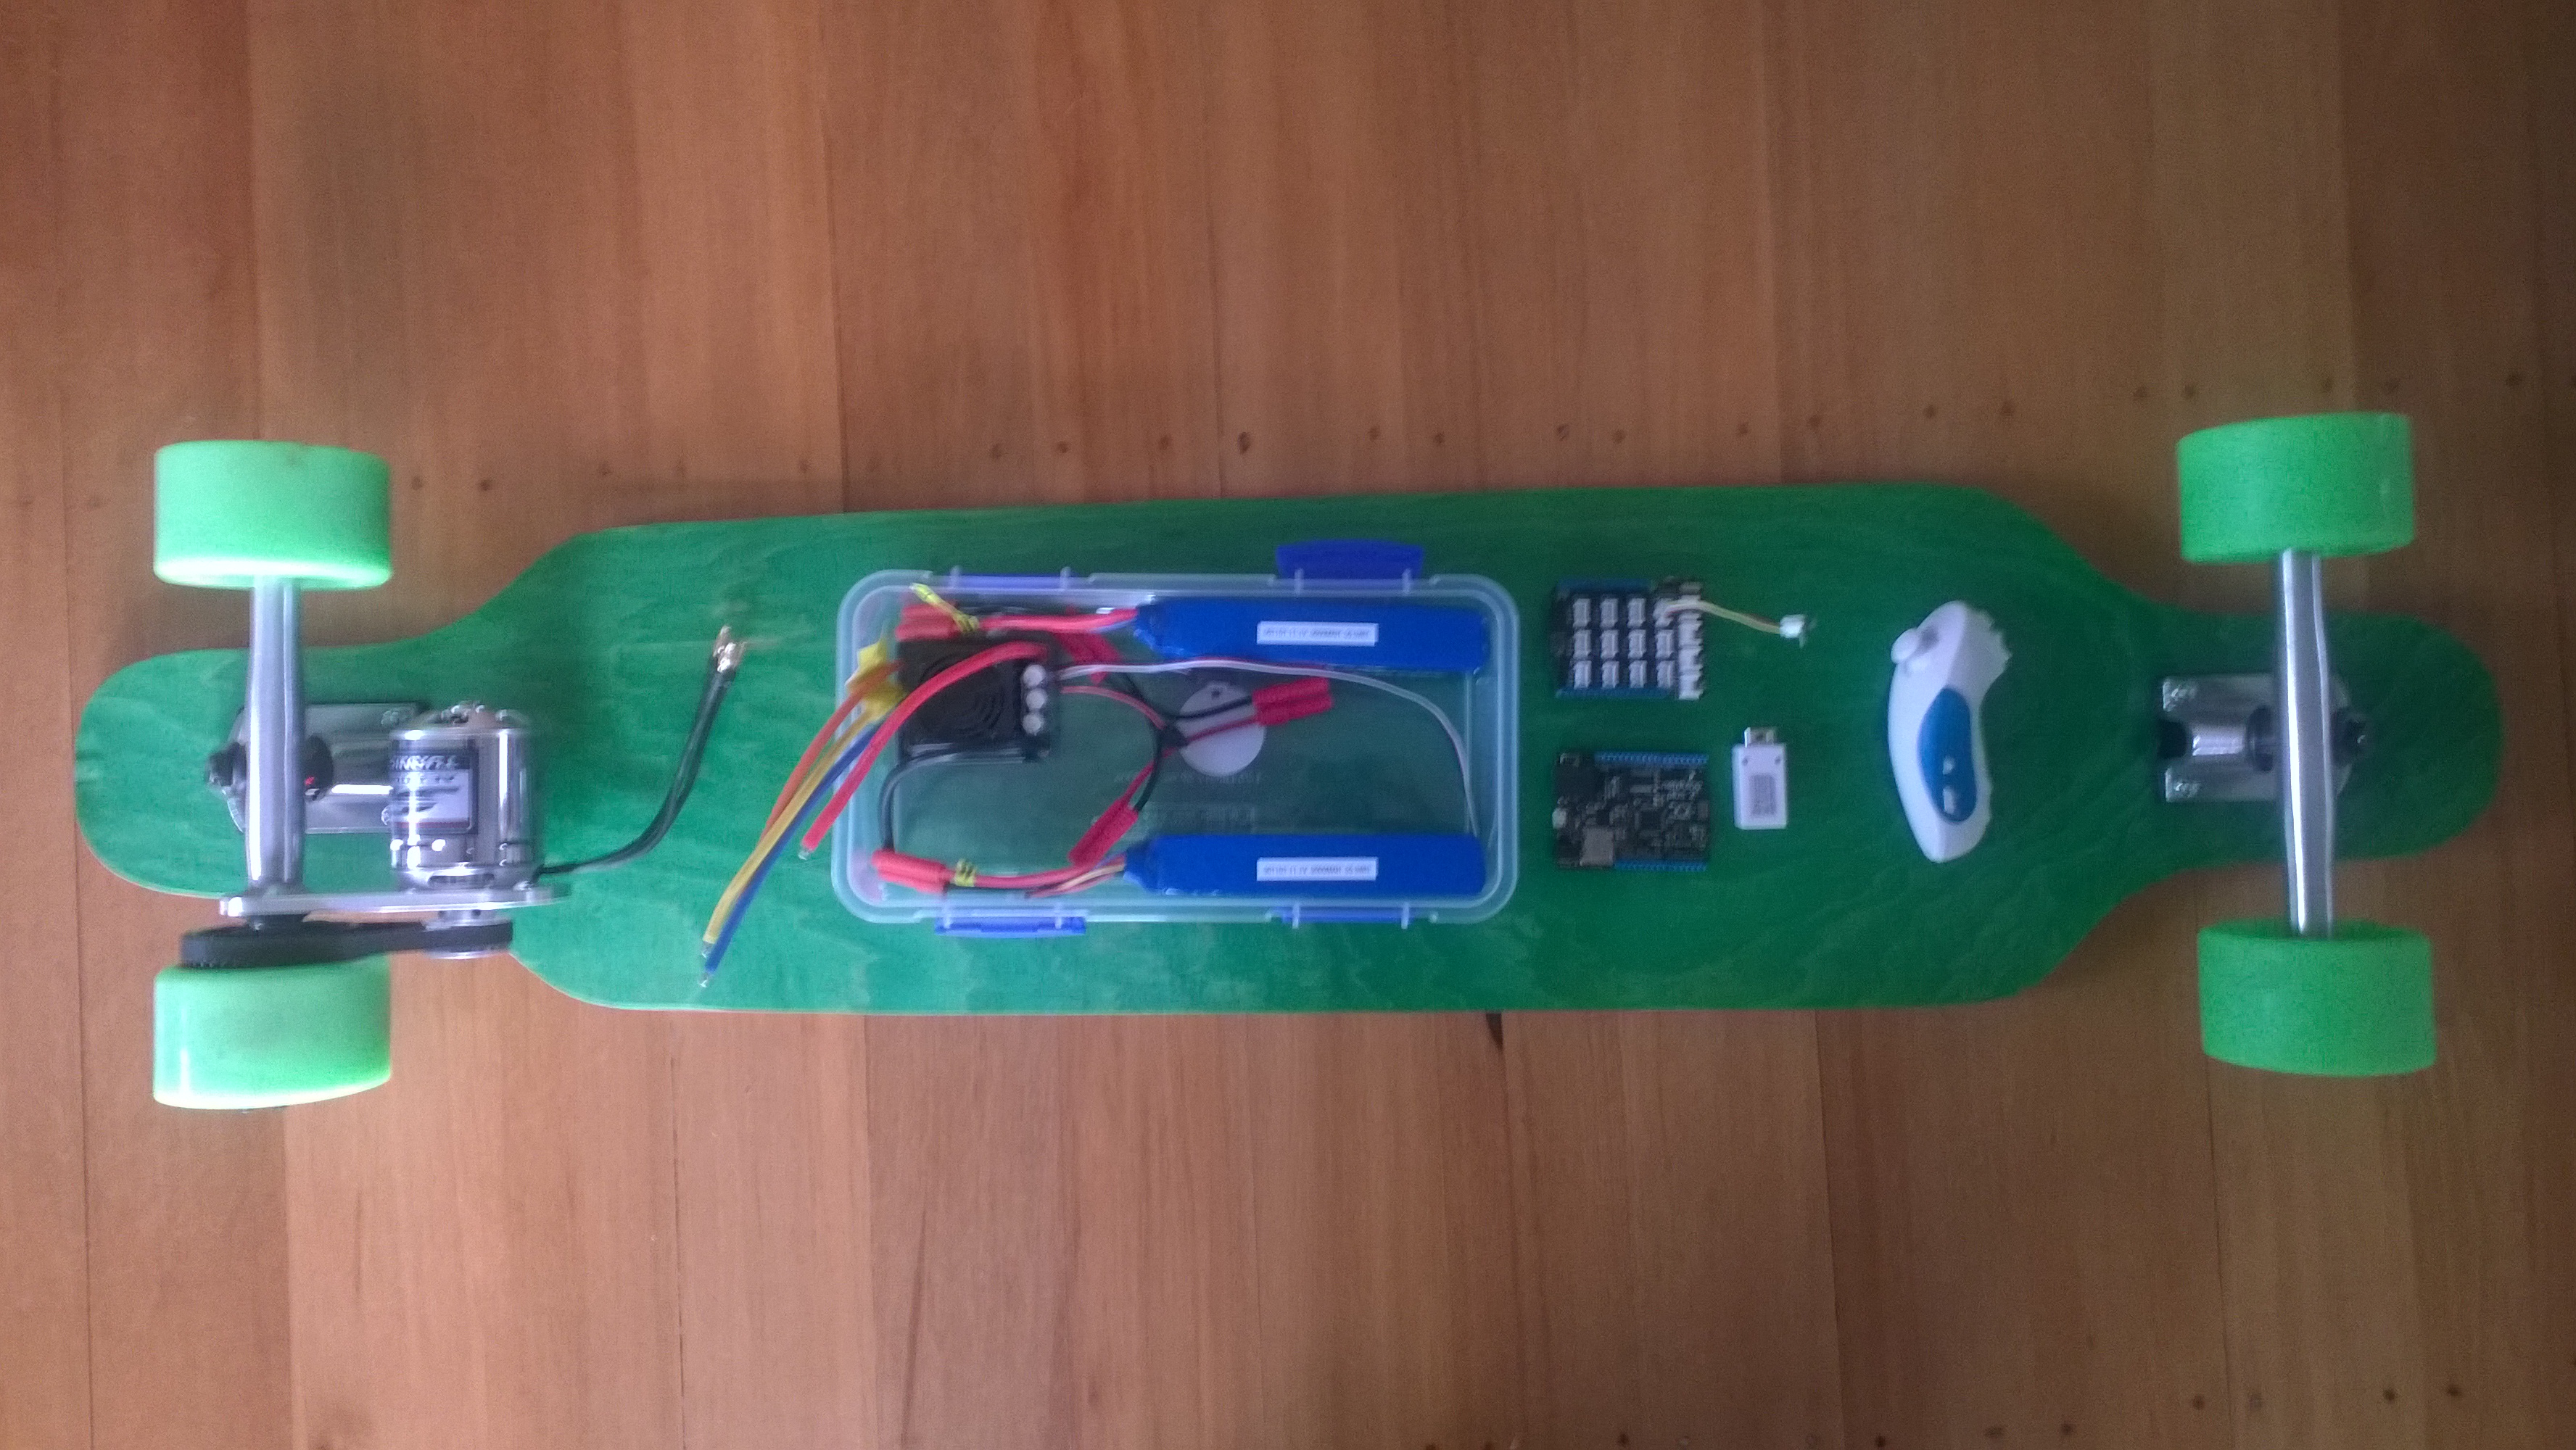
My new longboard controller uses the following parts
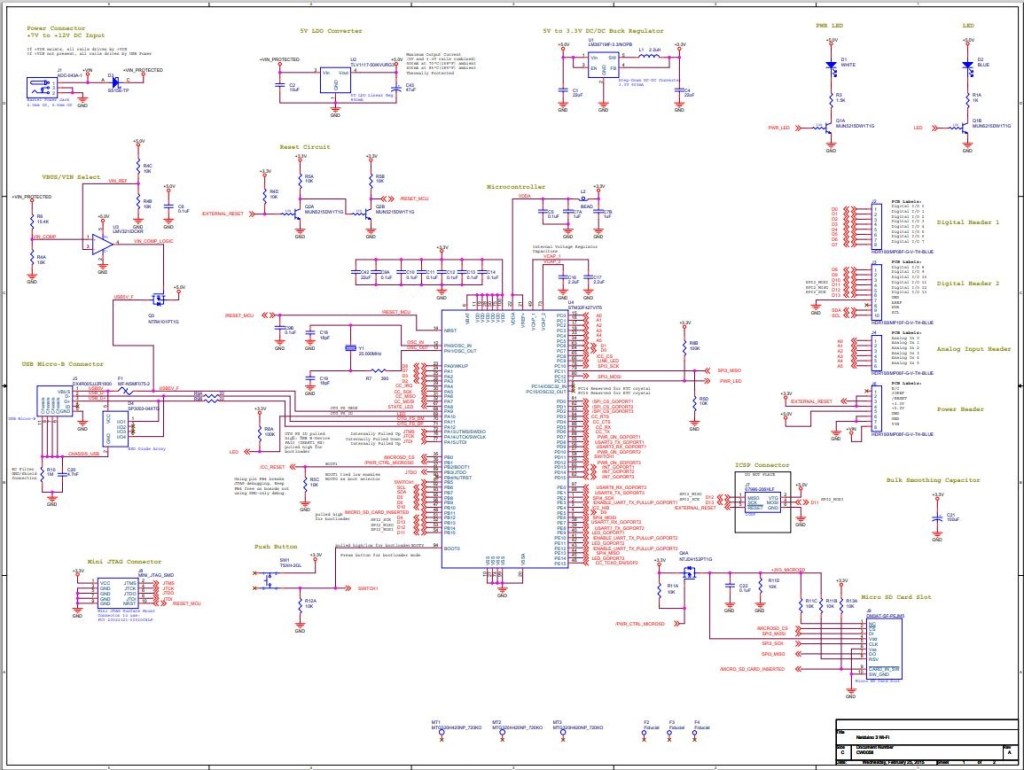
- Netduino 3 Wifi
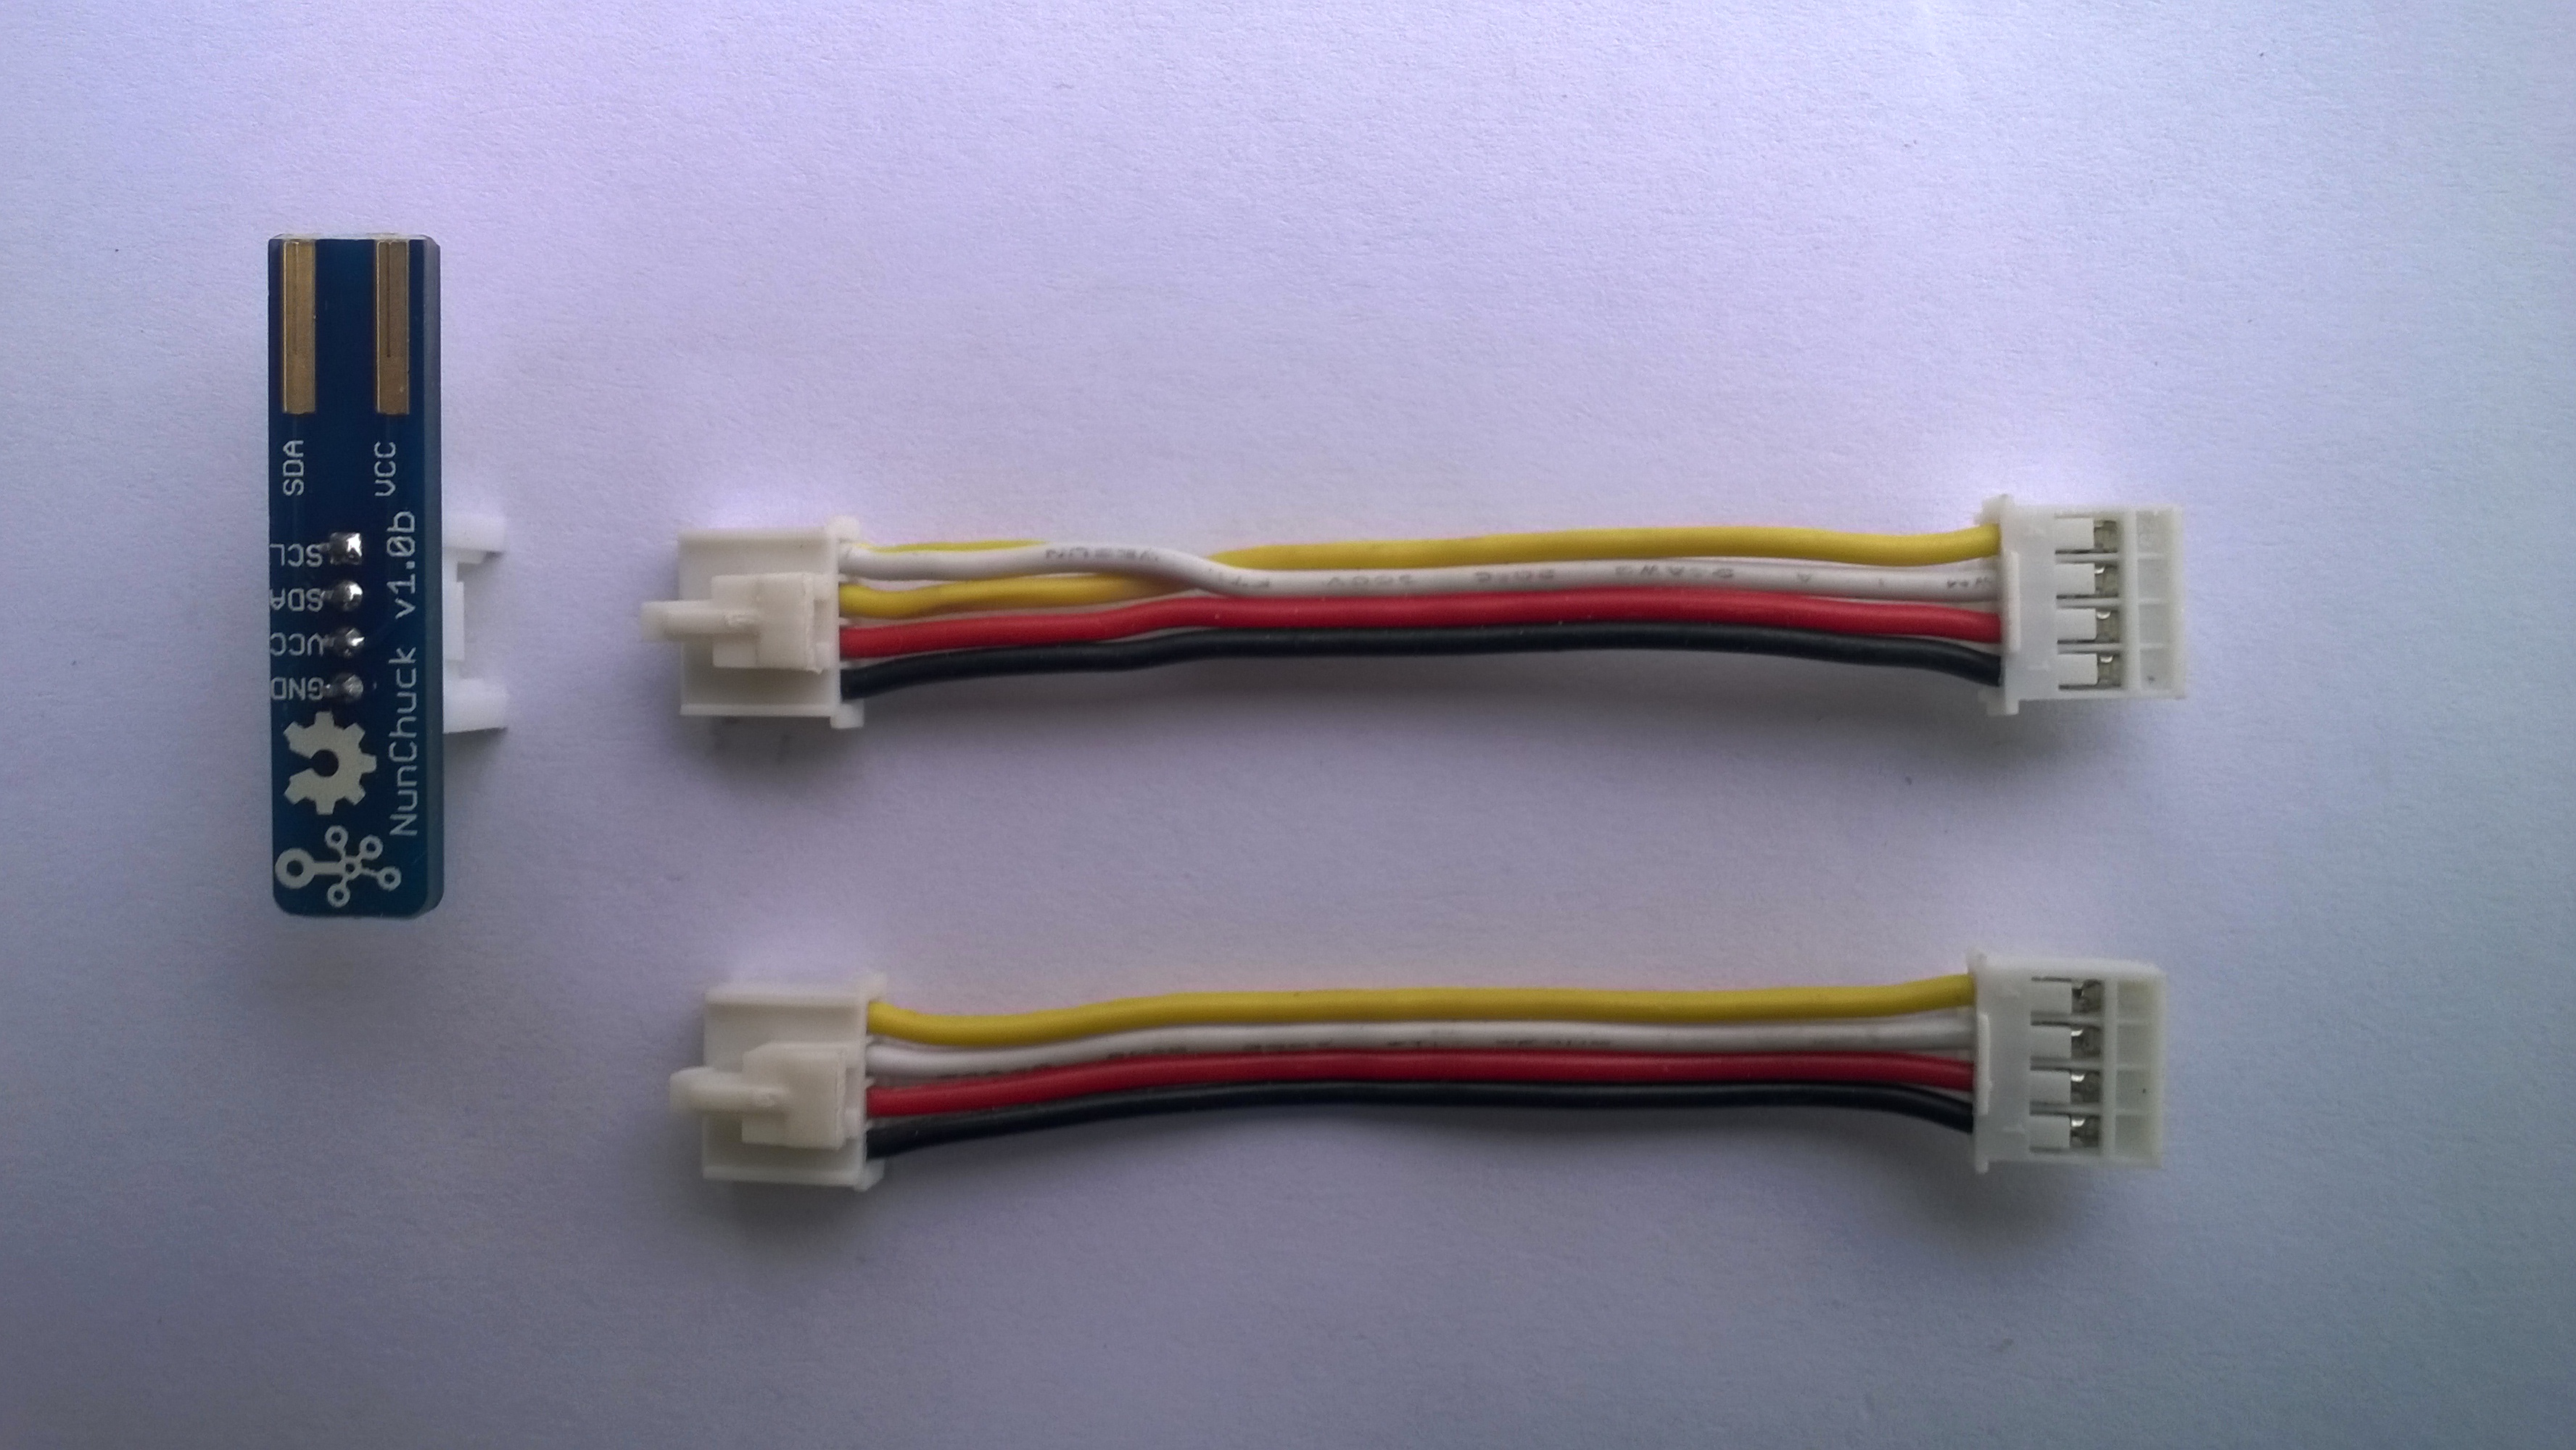
- Generic wireless wii nuchuk
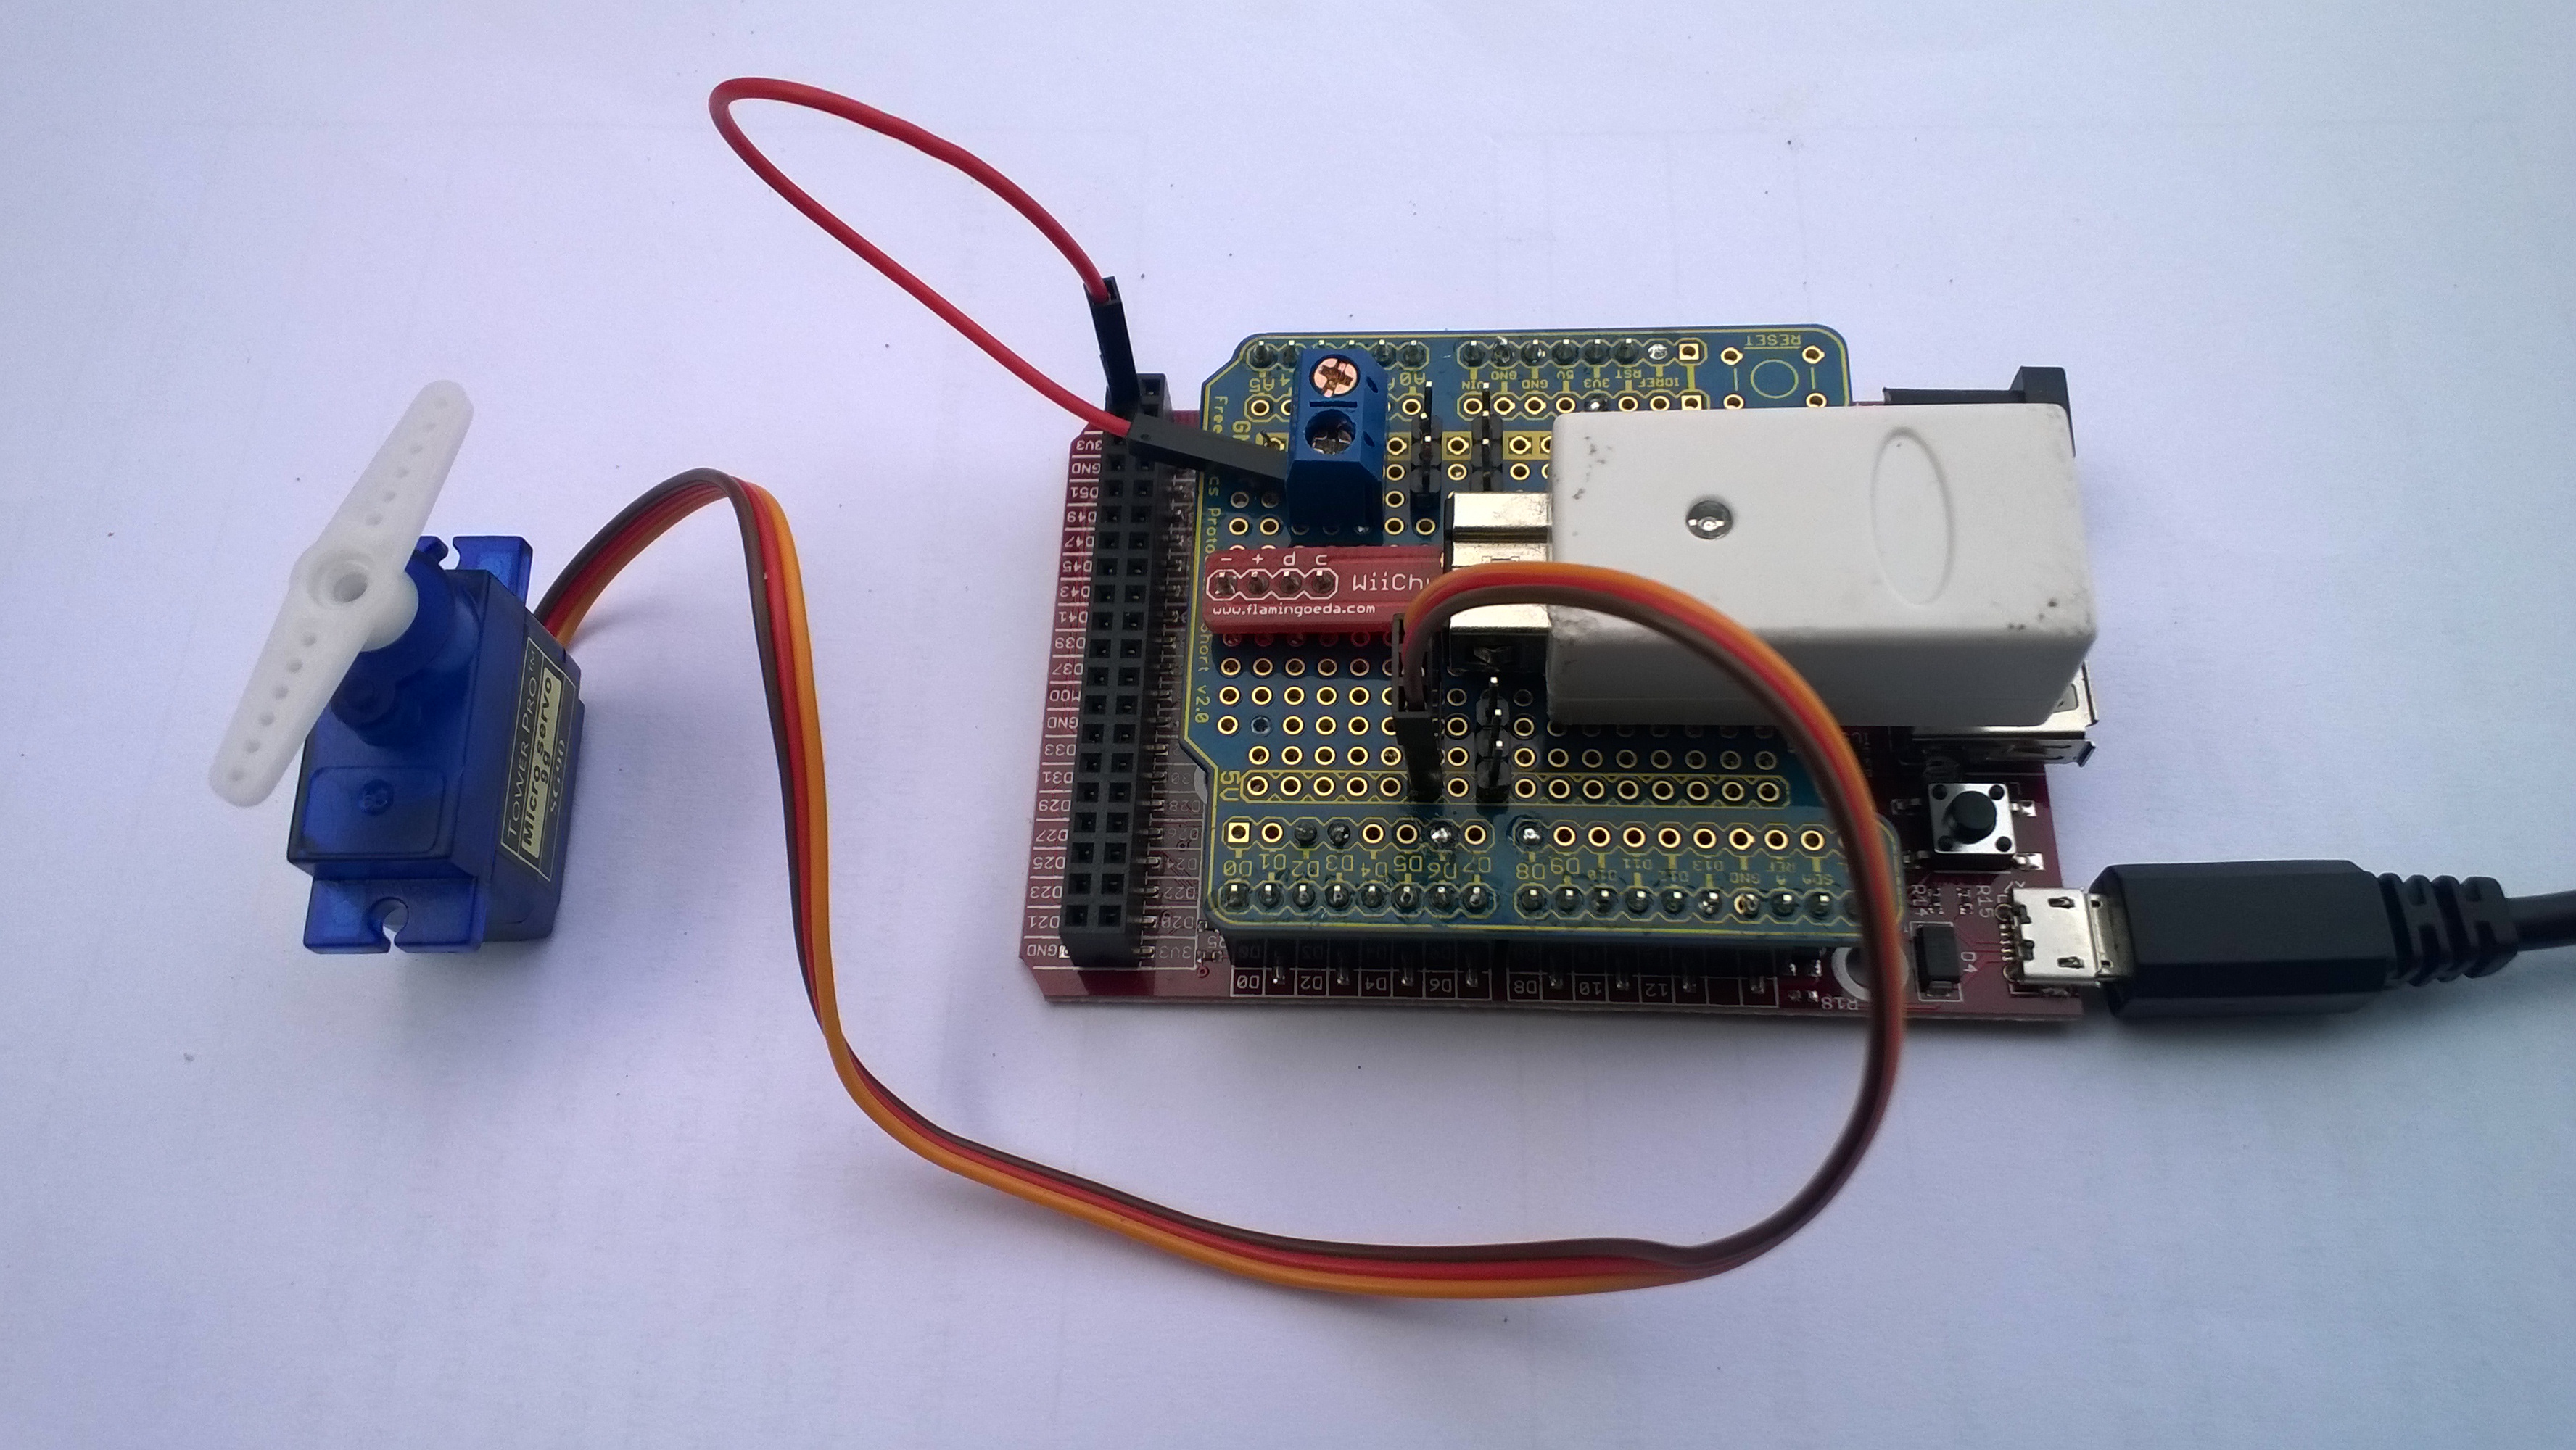
- generic Arduino protoshield
I reused the initial protoshield and only had to shift the PWM output to the ESC from pin 8 to pin 7.

public class Program
{
   private const double PulseFrequency = 50.0;
   private const double PulseDurationMinimum = 0.05; // 1000uSec
   private const double PulseDurationMaximum = 0.1; // 2000uSec
   private const double WiiNunchukYMinimum = 0.0;
   private const double WiiNunchukYMaximum = 255.0;
   private const int ThrottleUpdatePeriod = 100;

   public static void Main()
   {
      Debug.WriteLine("devMobile.Longboard starting");
      Debug.WriteLine($"I2C:{I2cDevice.GetDeviceSelector()}");
      Debug.WriteLine($"PWM:{PwmController.GetDeviceSelector()}");

      try
      {
         Debug.WriteLine("LED Starting");
         GpioPin led = GpioController.GetDefault().OpenPin(PinNumber('A', 10));
         led.SetDriveMode(GpioPinDriveMode.Output);
         led.Write(GpioPinValue.Low);

         Debug.WriteLine("LED Starting");
         WiiNunchuk nunchuk = new WiiNunchuk("I2C1");

         Debug.WriteLine("ESC Starting");
         PwmController pwm = PwmController.FromId("TIM5");
         PwmPin pwmPin = pwm.OpenPin(PinNumber('A', 1));
         pwmPin.Controller.SetDesiredFrequency(PulseFrequency);
         pwmPin.Start();

         Debug.WriteLine("Thread.Sleep Starting");
         Thread.Sleep(2000);

         Debug.WriteLine("Mainloop Starting");
         while (true)
         {
            nunchuk.Read();

            double duration = Map(nunchuk.AnalogStickY, WiiNunchukYMinimum, WiiNunchukYMaximum, PulseDurationMinimum, PulseDurationMaximum);
            Debug.WriteLine($"Value:{nunchuk.AnalogStickY} Duration:{duration:F3}");

            pwmPin.SetActiveDutyCyclePercentage(duration);
            led.Toggle();
            Thread.Sleep(ThrottleUpdatePeriod);
         }
      }
      catch (Exception ex)
      {
         Debug.WriteLine(ex.Message);
      }
   }

   private static int PinNumber(char port, byte pin)
   {
      if (port < 'A' || port > 'J')
         throw new ArgumentException();

      return ((port - 'A') * 16) + pin;
   }

   private static double Map(double x, double inputMinimum, double inputMaximum, double outputMinimum, double outputMaximum)
   {
      return (x - inputMinimum) * (outputMaximum - outputMinimum) / (inputMaximum - inputMinimum) + outputMinimum;
   }
}
The nanoFramework code polls the wii nunchuk for the joystick position every 100mSec and then updates the PWM duty cycle.
By convention the ESSC PWM frequency is 50Hz (a pulse ever 20mSec) and the duration of the pulse is 1000uSec(minimum throttle) to 2000uSec(maximum throttle), note the change of units.
After converting to the same units there is a pulse every 20mSec and its duration is 1mSec too 2mSec. Then converting the durations to the active duty cycle percentage (for the PWM SetActiveDutyCyclePercentage) the duration of the pulse is 5% to 10%.
I need to re-calibrate the ESC for these durations and ensure that reverse is disabled. Then tinker with the brake (braking percent & percent drag brake) and acceleration(initial acceleration low, medium, high, very high) configurations of my ESC to make the longboard easier to ride.
Next I will look at configurable throttle maps (to make it easier for new and different weight users), then using one of the wii-nunchuk buttons for cruise control (keeping the throttle steady when riding is difficult) and how the software reacts when the connection with nunchuk fails