The first version of this code acquired data from a number of *duino devices and uploaded it to xively for a week without any problems(bar my ADSL modem dropping out every so often which it recovered from without human intervention). The data streams are the temperature and humidity for the three bedrooms in my house (the most reliable stream is Bedroom 1). Next version will use the new Netduino.IP stack and run on a Netduino 2 Plus
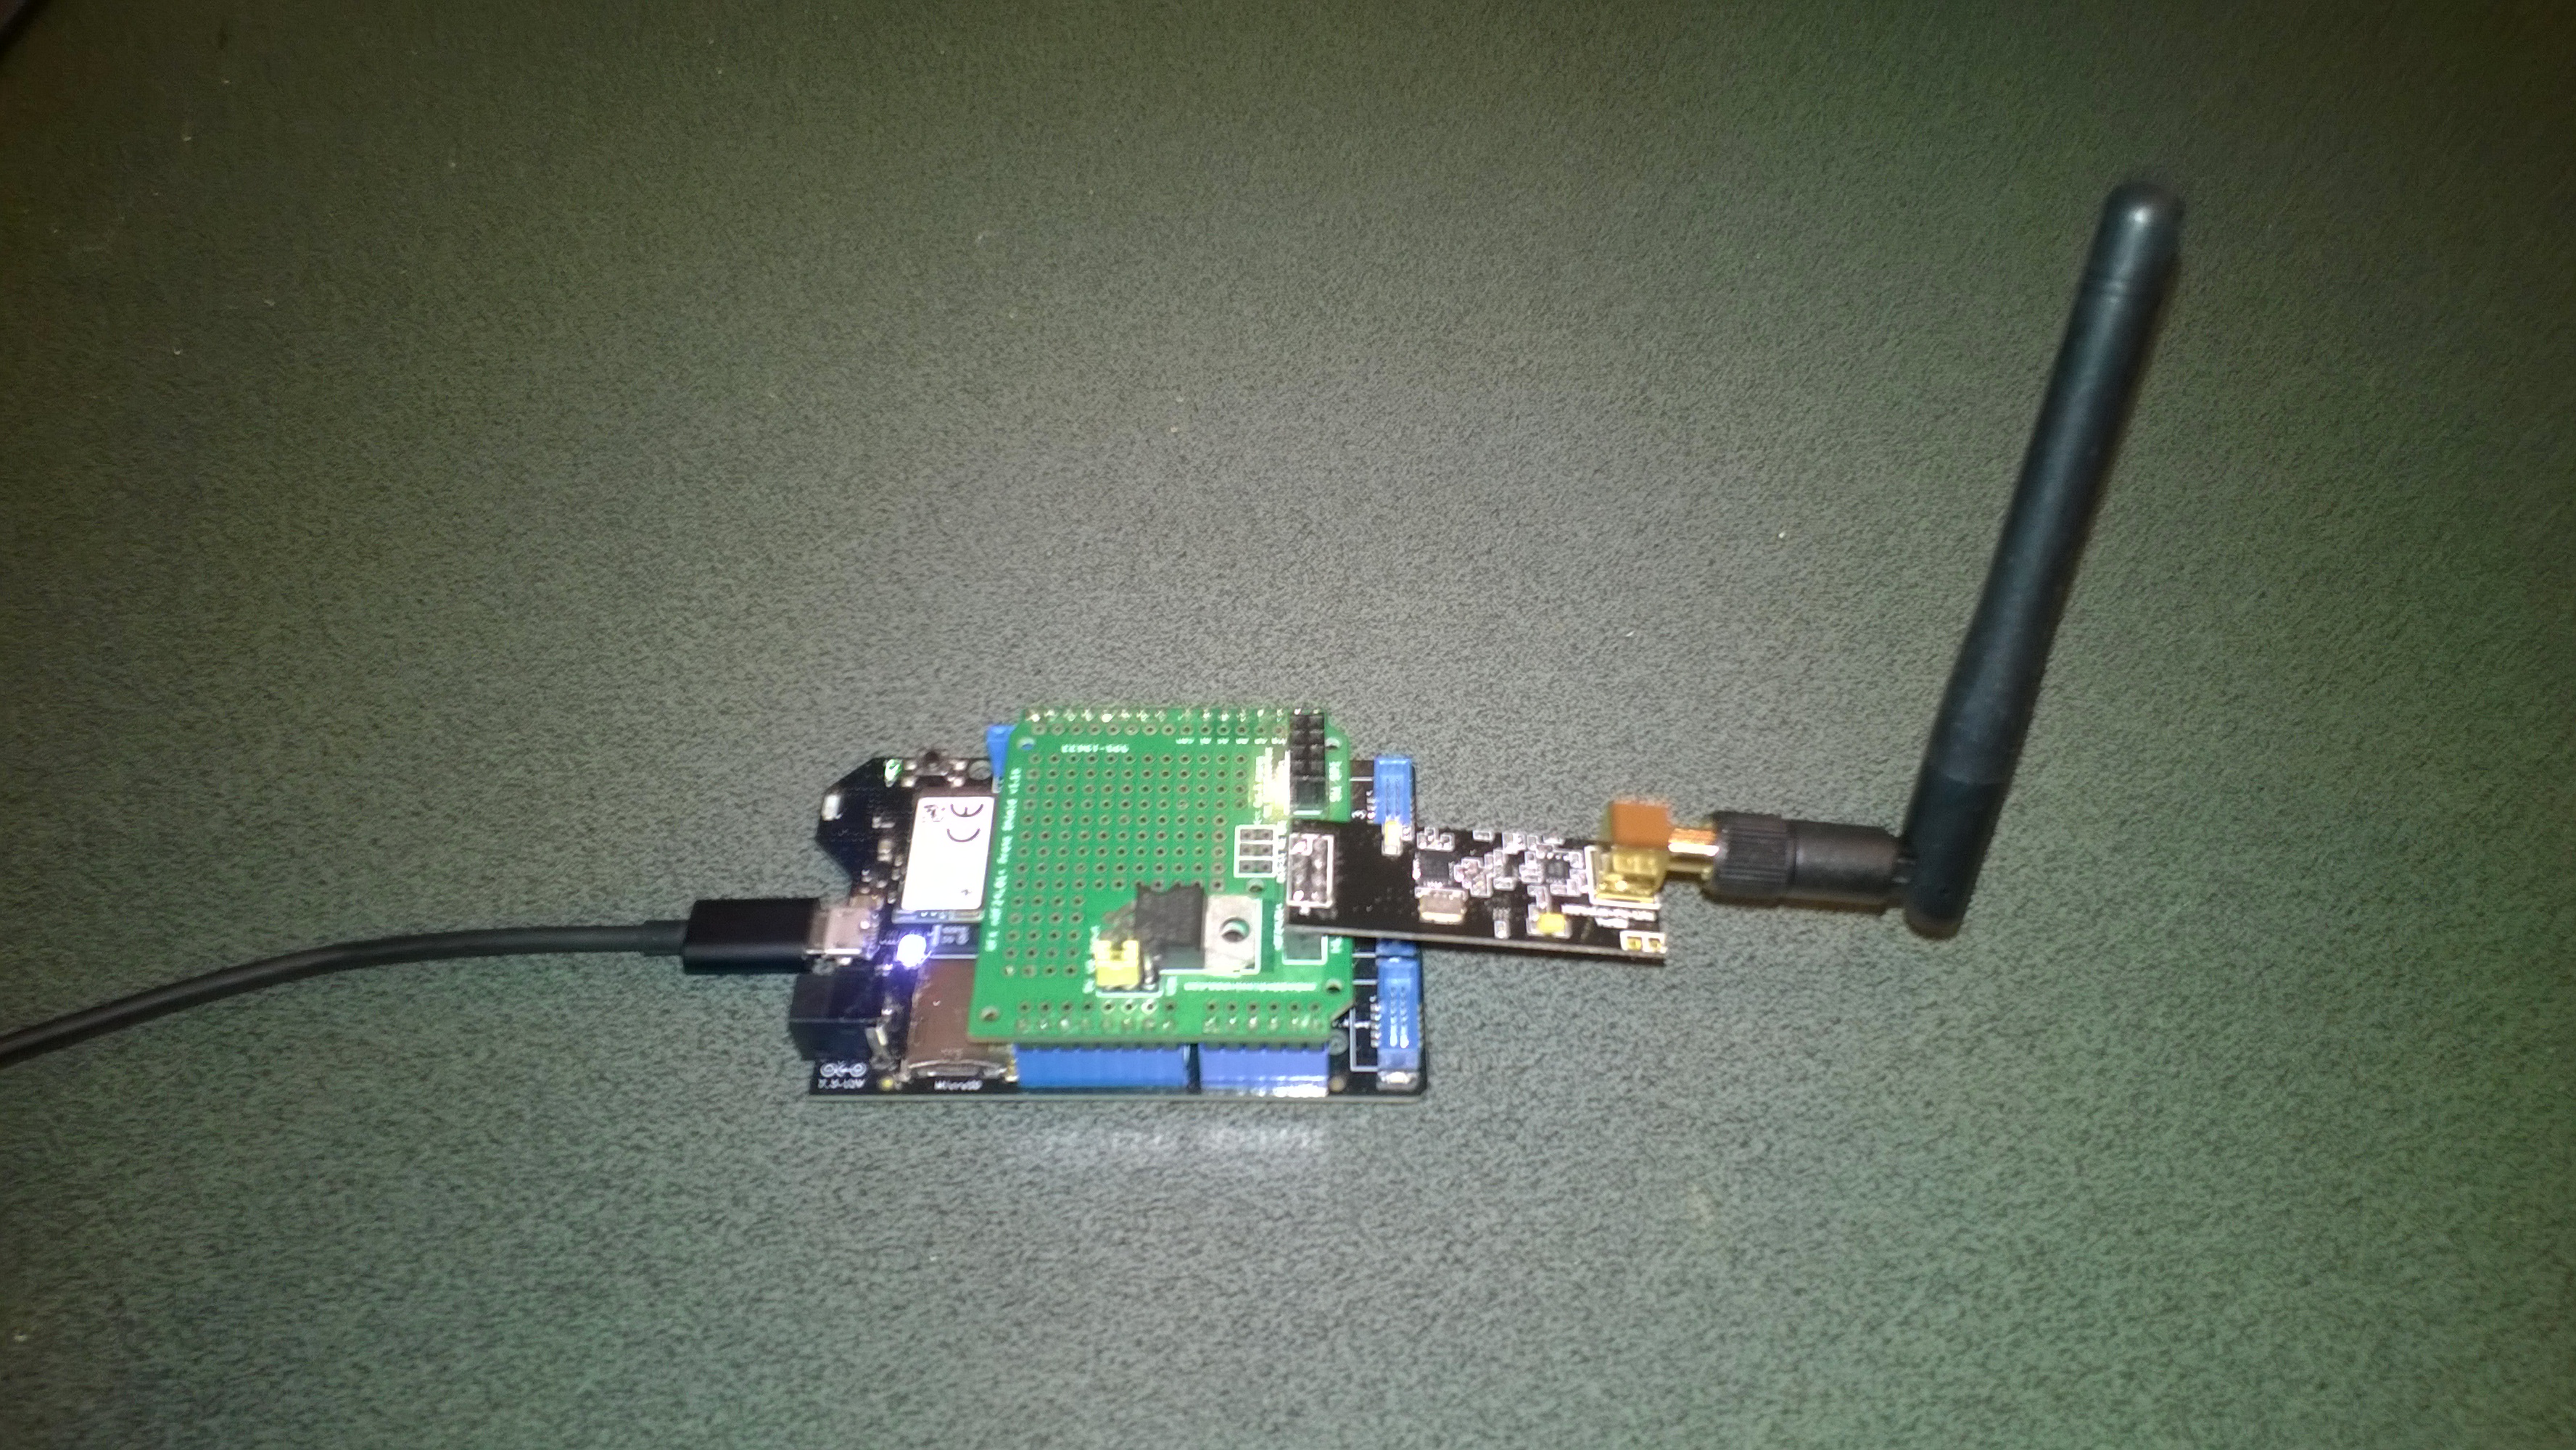
Netduino 3 Wifi + nRF24L01 shield
To make the software easy to setup all the gateway configuration is stored on a MicroSD and can be modified with a text editor. When the application starts it looks for a file in the root directory of the MicroSD card called app.config. If the file does not exist an empty template is created.
httprequestreadwritetimeoutmsec=2500

httprequesttimeoutmsec=2500

webproxyaddress=

webproxyport=

xivelyapibaseurl=http://api.xively.com/v2/feeds/

xivelyapikey=XivelyAPIKeyGoesHere

xivelyapifeedid=XivelyFeedIDGoesHere

xivelyapicontenttype=text/csv

xivelyapiendpoint=.csv

nrf2l01address=AddressGoesHere

nrf2l01channel=ChannelGoesHere

nrf2l01datarate=0

channel1=Sensor1

channel2=Sensor2

channel3=Sensor3

channel4=Sensor4

channel5=Sensor5

...

...
The first byte of each (upto 32 byte) nRF24L01 message is used to determine the Xively channel.
For testing I used a simple *duino program which uploads temperature and humidity readings every 5 seconds. It’s not terribly efficient or elegant and is just to illustrate how to package up the data.
#include <RF24_config>
#include <nRF24L01.h>
#include <SPI.h>
#include <RF24.h>
#include "Wire.h"
#include <TH02_dev.h>

//UNO R3 with embedded coolness board
//RF24 radio(3, 7);
//devDuino  with onboard
RF24 radio(8, 7);

char payload[32] = "";
const uint64_t pipe = 0x3165736142LL; // Base1 pay attention to byte ordering and address length

void setup()
{
  Serial.begin(9600);

  radio.begin();
  radio.setPALevel(RF24_PA_MAX);
  radio.setChannel(10);
  radio.enableDynamicPayloads();
  radio.openWritingPipe(pipe);

  radio.printDetails();

  /* Power up,delay 150ms,until voltage is stable */
  delay(150);

  TH02.begin();

  delay(1000);
}

void loop()
{
  float temperature = TH02.ReadTemperature();
  float humidity = TH02.ReadHumidity();

  radio.powerUp();

  payload[0] = 'A';
  dtostrf(temperature, 5, 1, &payload[1]);
  Serial.println(payload);
  boolean result = radio.write(payload, strlen(payload));
  if (result)
    Serial.println("T Ok...");
  else
    Serial.println("T failed.");

  payload[0] = 'B';
  dtostrf(humidity, 5, 1, &payload[1]);
  Serial.println(payload);
  result = radio.write(payload, strlen(payload));
  if (result)
    Serial.println("H Ok...");
  else
    Serial.println("H failed.");

  radio.powerDown();

  delay(5000);
}
The gateway code creates a thread for each call to the Xively REST API. (In future the code may need to limit the number of concurrent requests)
private void OnReceive(byte[] data)
{
   activityLed.Write(!activityLed.Read());

   // Ensure that we have a valid payload
   if ( data.Length == 0 )
   {
      Debug.Print( "ERROR - Message has no payload" ) ;
      return ;
   }

   // Extract the device id
   string deviceId = xivelyApiChannleIDPrefix + data[0].ToString();
   string message = new String(Encoding.UTF8.GetChars(data, 1, data.Length - 1));

   string xivelyApiChannel = appSettings.GetString( deviceId, string.Empty ) ;
   if ( xivelyApiChannel.Length == 0 )
   {
      Debug.Print("ERROR - Inbound message has unknown channel " + deviceId);
      return ;
   }
   Debug.Print(DateTime.Now.ToString("HH:mm:ss") + " " + xivelyApiChannel + " " + message); ;

   Thread thread = new Thread(() => xivelyFeedUpdate(xivelyApiChannel, message ));
   thread.Start();
   }

private void xivelyFeedUpdate( string channel, string value)
{
   #region Assertions
   Debug.Assert(channel != null);
   Debug.Assert(channel != string.Empty );
   Debug.Assert(value != null);
   #endregion

   try
   {
      WebProxy webProxy = null;

      if (webProxyAddress.Length > 1)
      {
         webProxy = new WebProxy(webProxyAddress, webProxyPort);
      }

      using (HttpWebRequest request = (HttpWebRequest)WebRequest.Create(xivelyApiBaseUrl + xivelyApiFeedID + xivelyApiEndpoint))
      {
         byte[] buffer = Encoding.UTF8.GetBytes(channel + "," + value);

         DateTime httpRequestedStartedAtUtc = DateTime.UtcNow;

         if (webProxy != null)
         {
            request.Proxy = webProxy;
         }
         request.Method = "PUT";
         request.ContentLength = buffer.Length;
         request.ContentType = xivelyApiContentType;
         request.Headers.Add("X-ApiKey", xivelyApiKey);
         request.KeepAlive = false;
         request.Timeout = httpRequestTimeoutmSec;
         request.ReadWriteTimeout = httpRequestReadWriteTimeoutmSec;

         // request body
         Debug.Print("HTTP request");
         using (Stream stream = request.GetRequestStream())
         {
            stream.Write(buffer, 0, buffer.Length);
         }

         using (var response = (HttpWebResponse)request.GetResponse())
         {
            Debug.Print(" Status: " + response.StatusCode + " : " + response.StatusDescription);
         }

         TimeSpan duration = DateTime.UtcNow - httpRequestedStartedAtUtc;
         Debug.Print(" Duration: " + duration.ToString());
      }
   }
   catch (Exception ex)
   {
      Debug.Print(ex.Message);
   }
}
To use this code download the Nordic nRF24L01 library from Codeplex then include that plus my Netduino NRF24L01 Xively Gateway in a new solution and it should just work.
Deploy the application to a Netduino 2 Plus or Netduino 3 Wifi device and run it to create the app.config file, then use a text editor to update the file with your Xively & device settings.
I’ll upload this and a couple of other projects to GitHub shortly.
Bill of materials (prices as at July 2015)
- Netduino 3 wifi USD69.95
- Embedded Coolness nRF24L01 shield with high power module USD17.95