The final two projects of this series both upload images to the Azure Storage account associated with an Azure IoT Hub. One project uses a Timer to upload pictures with a configurable delay. The other uploads an image every time a General Purpose Input Output(GPIO) pin on the Raspberry PI3 is strobed.
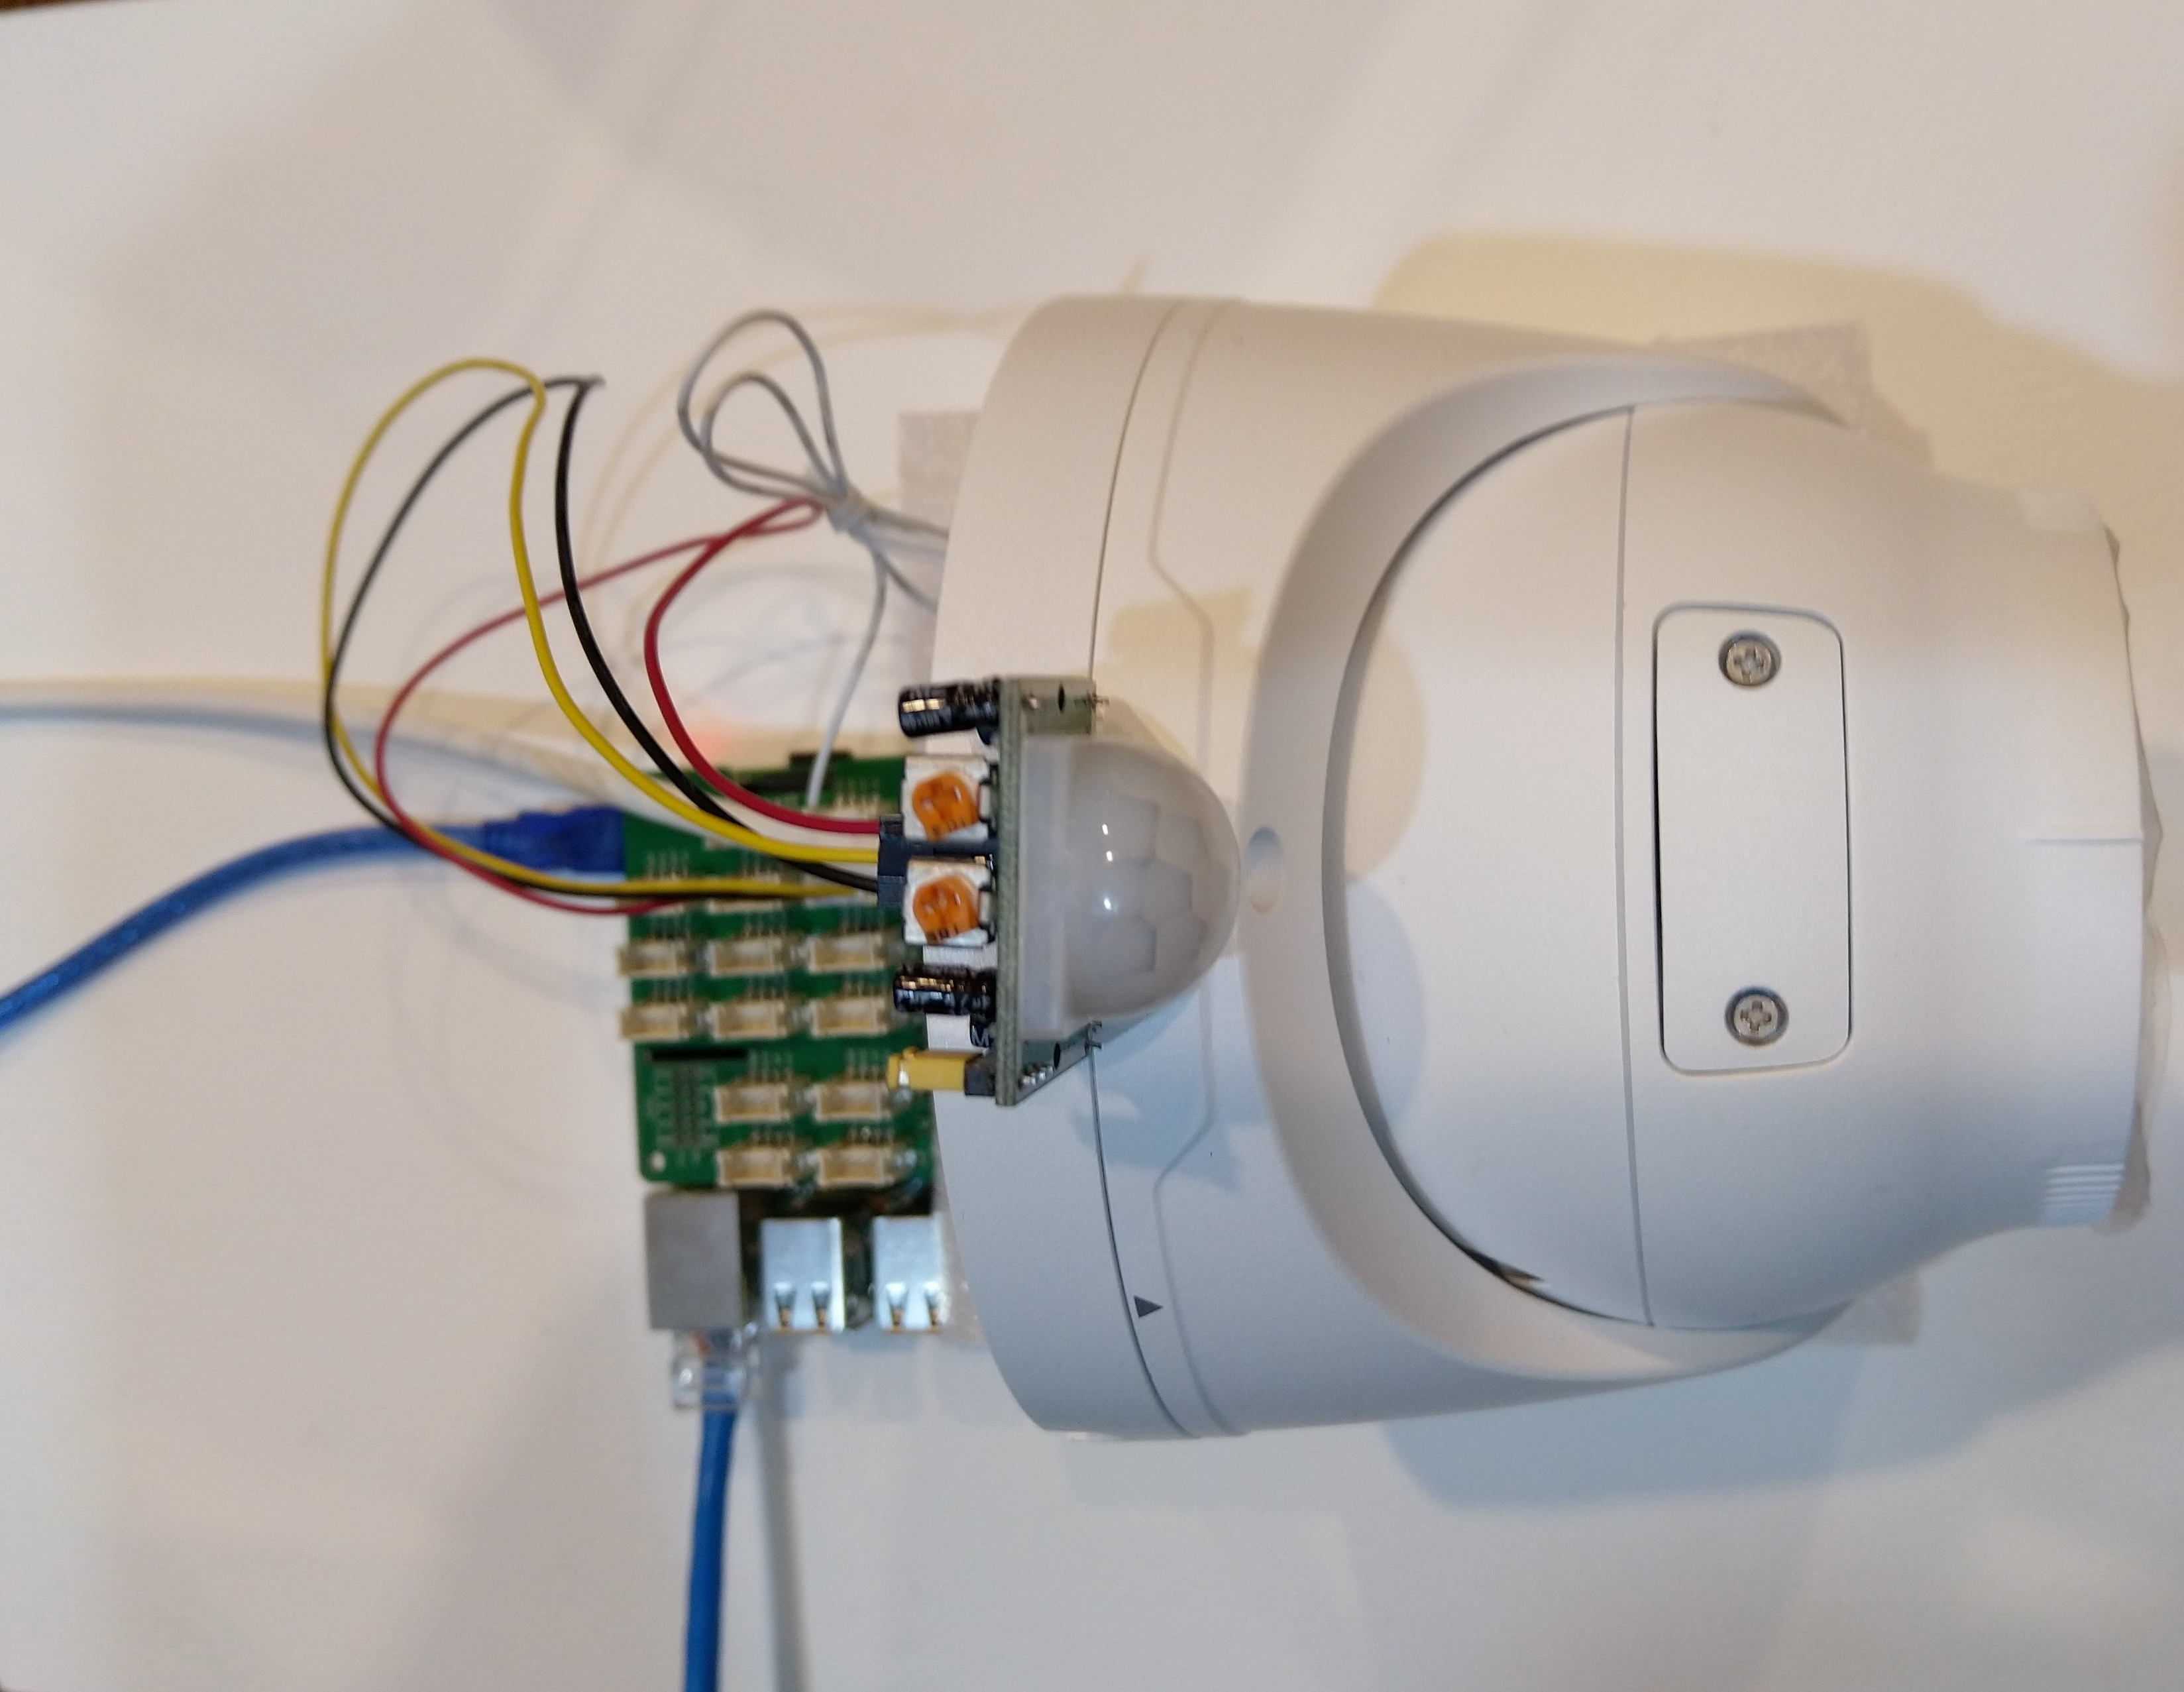
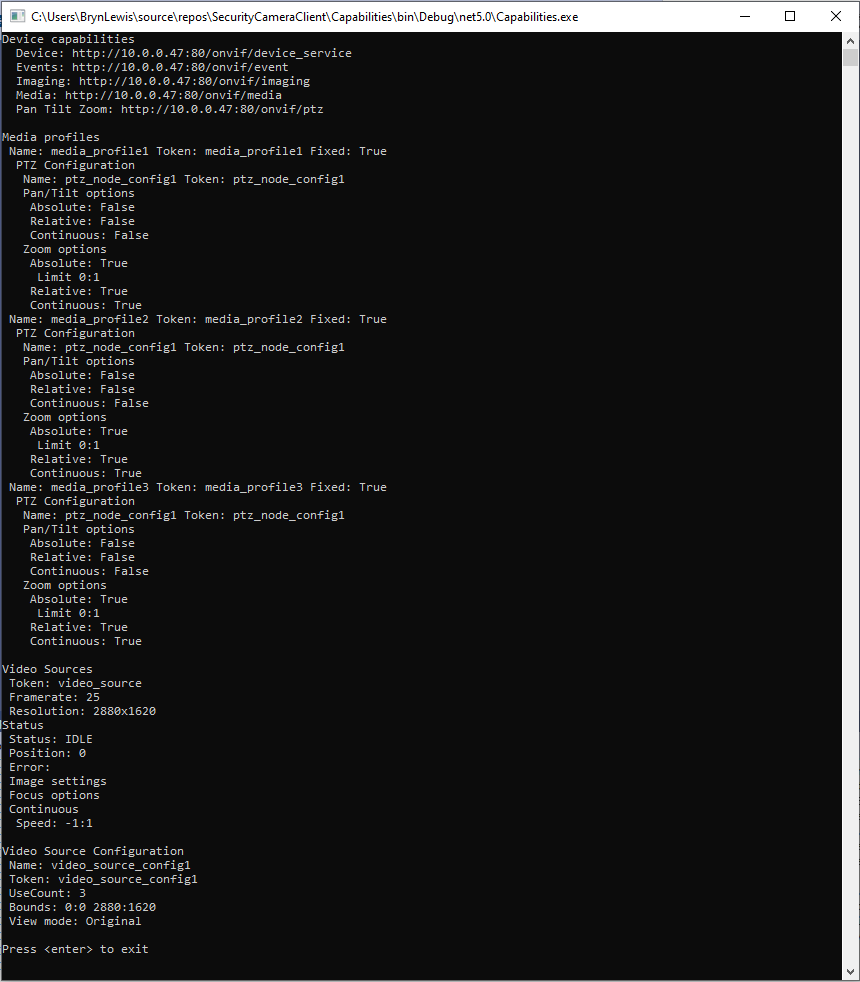
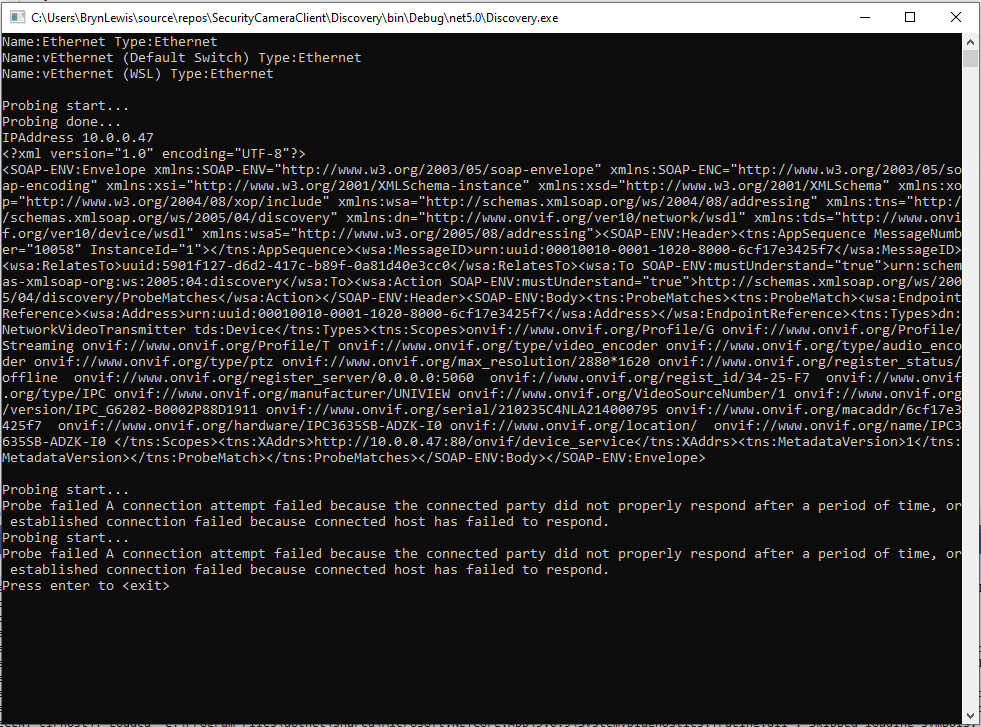
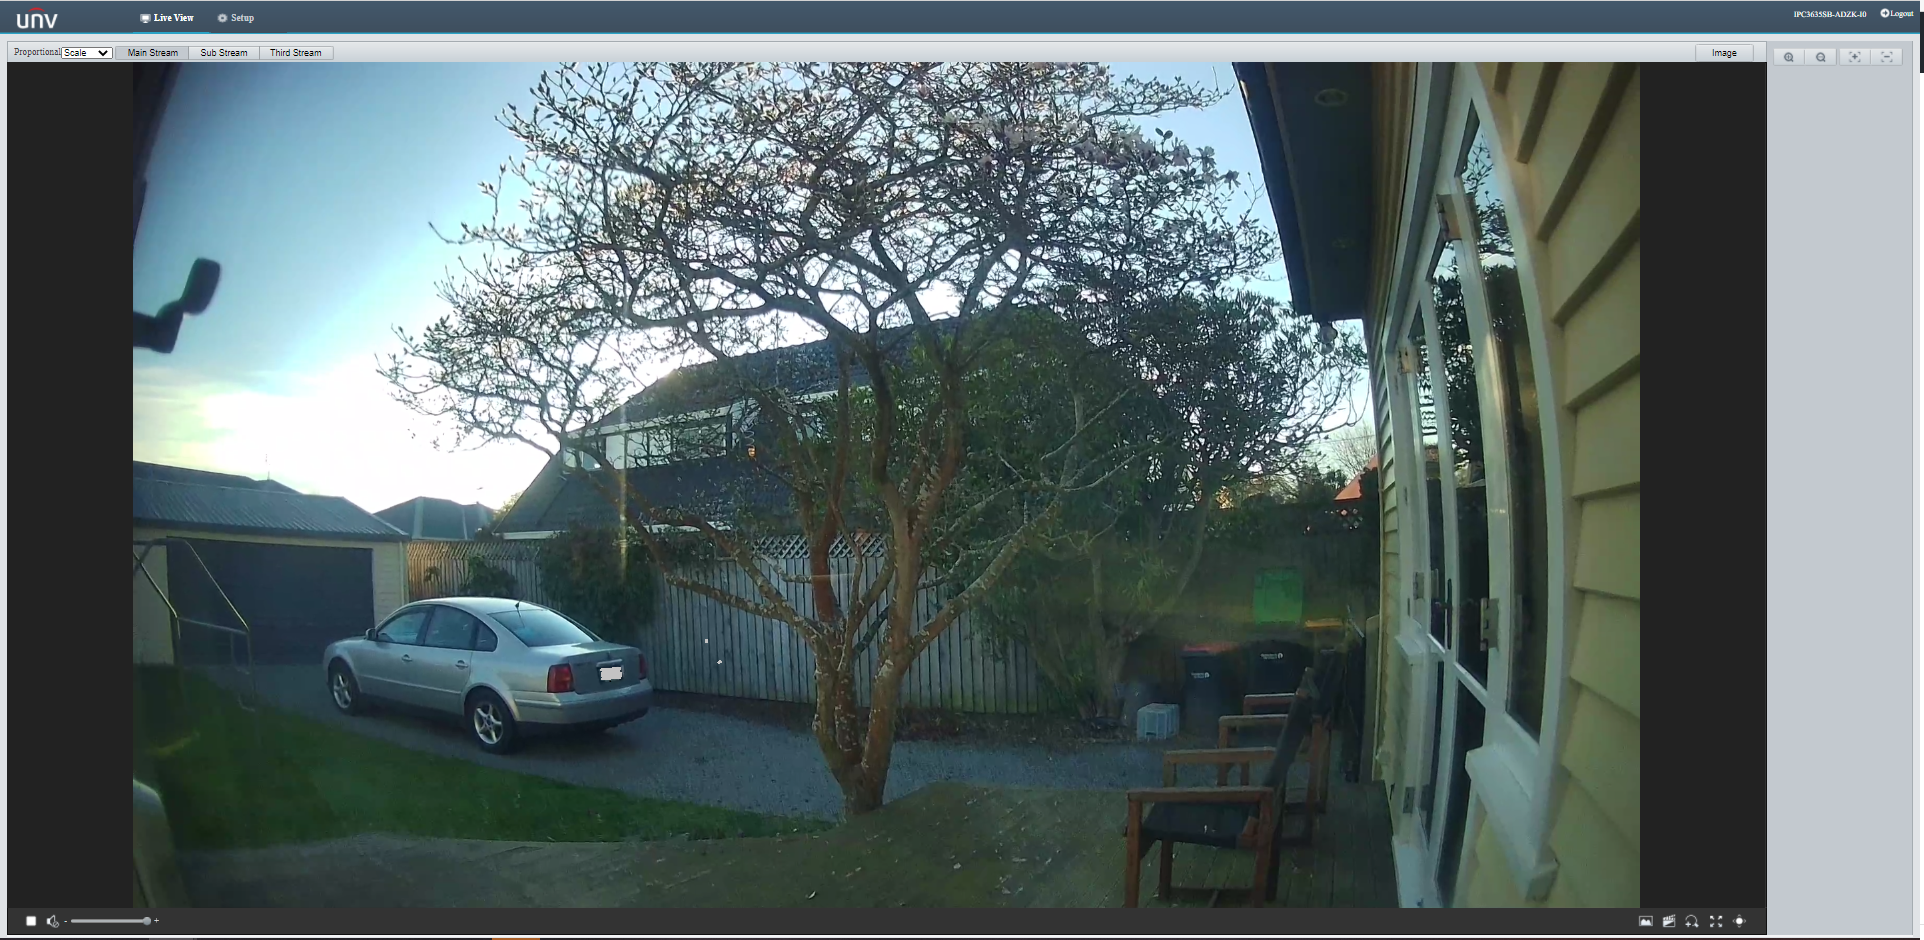
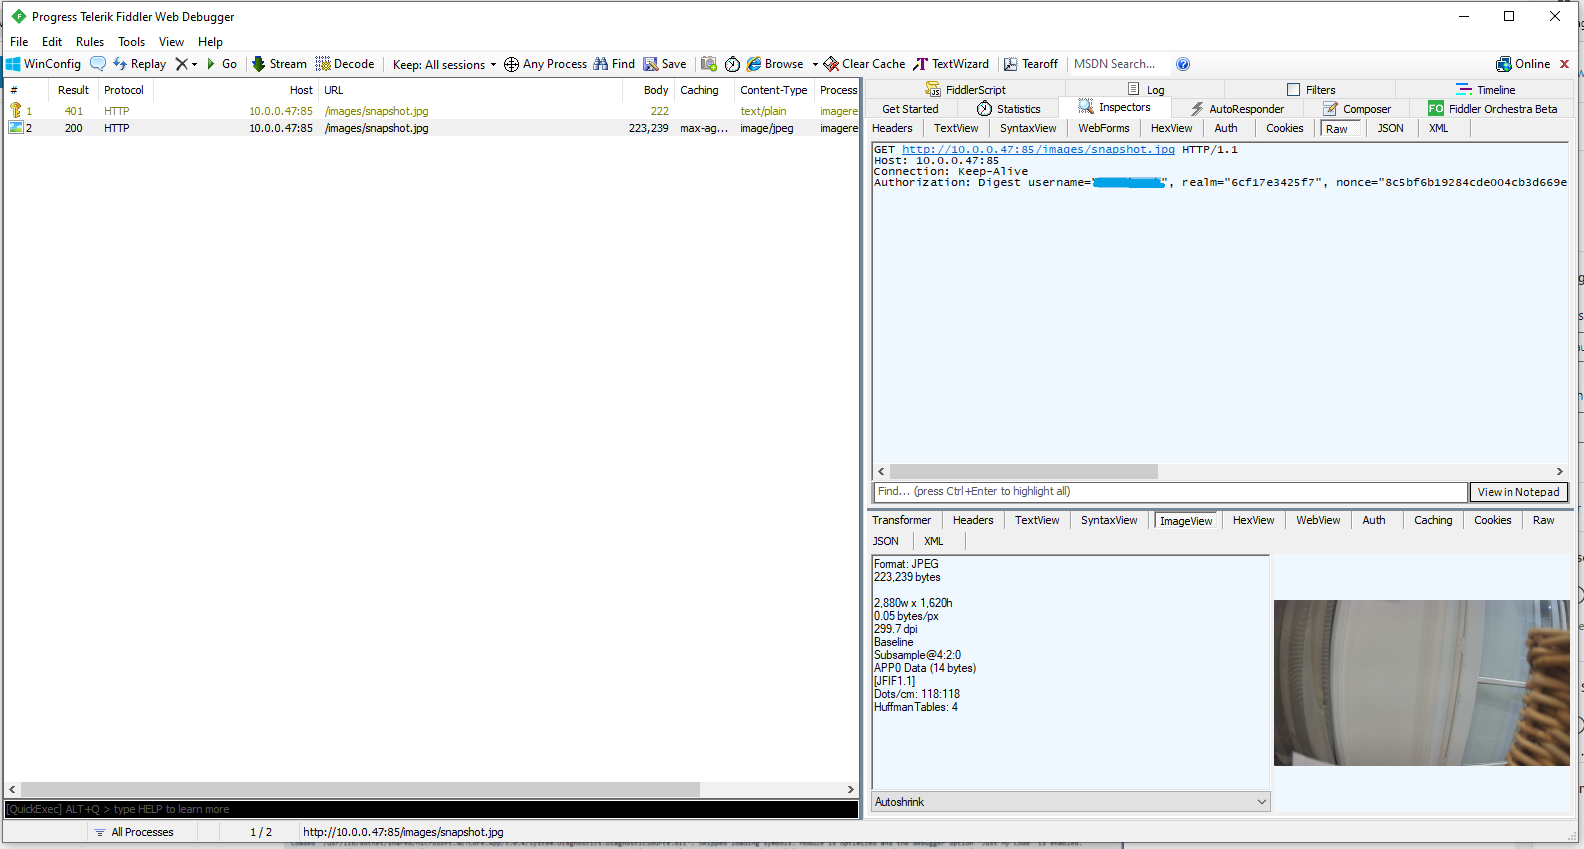
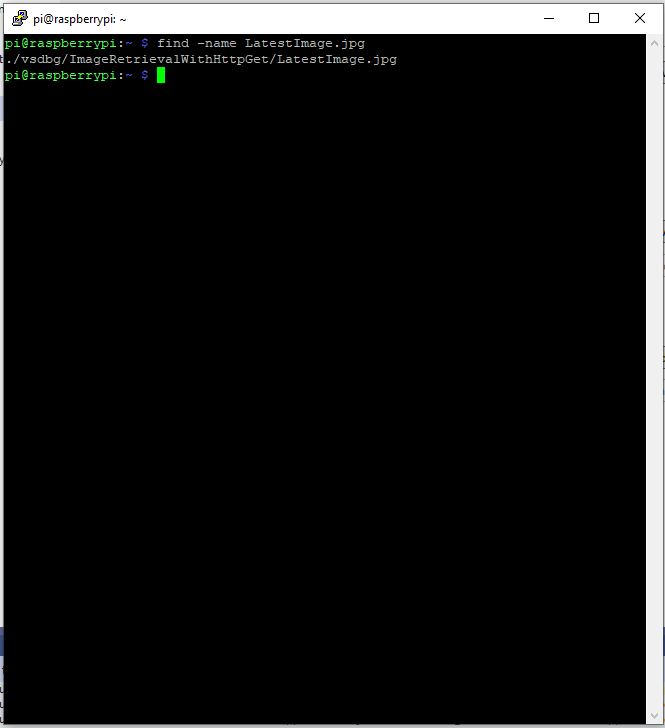
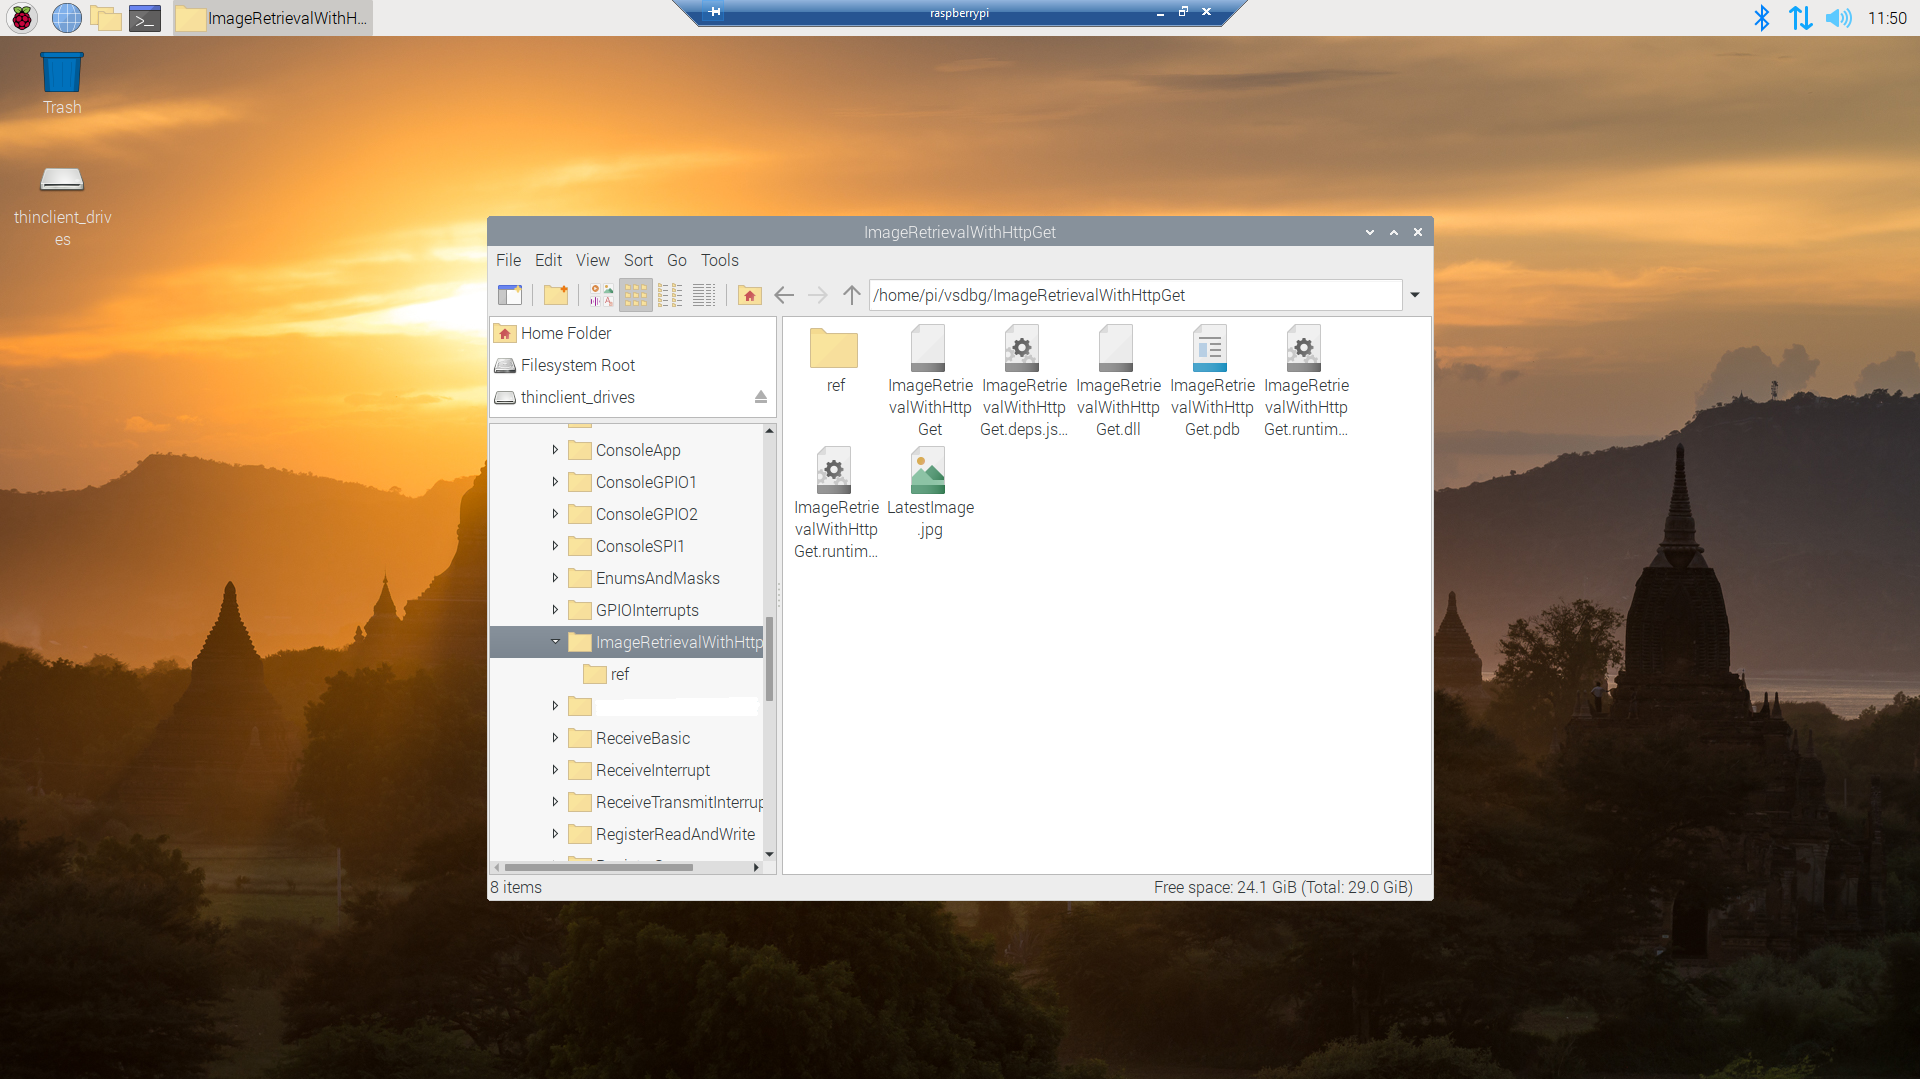
I tried to keep the .Net Core 5 console applications as simple as possible, they download an image from the camera “snapshot” endpoint (In this case http://10.0.0.47:85/images/snapshot.jpg), save it to the local filesystem and then upload it.
The core of the two applications is the “upload” image method, which is called by a timer or GPIO pin EventHandler
private static async void ImageUpdateTimerCallback(object state)
{
CommandLineOptions options = (CommandLineOptions)state;
DateTime requestAtUtc = DateTime.UtcNow;
// Just incase - stop code being called while retrival of the photo already in progress
if (cameraBusy)
{
return;
}
cameraBusy = true;
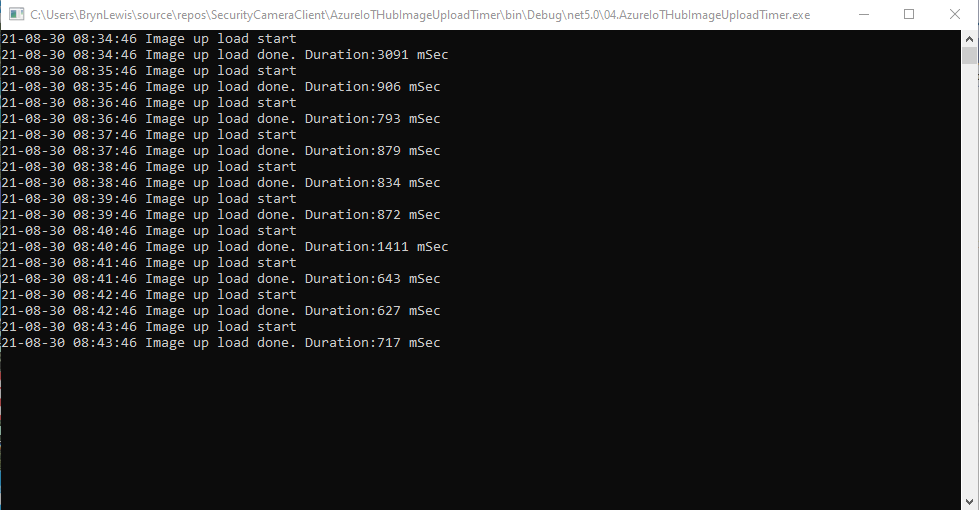
Console.WriteLine($"{requestAtUtc:yy-MM-dd HH:mm:ss} Image up load start");
try
{
// First go and get the image file from the camera onto local file system
using (var client = new WebClient())
{
NetworkCredential networkCredential = new NetworkCredential()
{
UserName = options.UserName,
Password = options.Password
};
client.Credentials = networkCredential;
await client.DownloadFileTaskAsync(new Uri(options.CameraUrl), options.LocalFilename);
}
// Then open the file ready to stream ito upto storage account associated with Azuure IoT Hub
using (FileStream fileStreamSource = new FileStream(options.LocalFilename, FileMode.Open))
{
var fileUploadSasUriRequest = new FileUploadSasUriRequest
{
BlobName = string.Format("{0:yyMMdd}/{0:yyMMddHHmmss}.jpg", requestAtUtc)
};
// Get the plumbing sorted for where the file is going in Azure Storage
FileUploadSasUriResponse sasUri = await azureIoTCentralClient.GetFileUploadSasUriAsync(fileUploadSasUriRequest);
Uri uploadUri = sasUri.GetBlobUri();
try
{
var blockBlobClient = new BlockBlobClient(uploadUri);
var response = await blockBlobClient.UploadAsync(fileStreamSource, new BlobUploadOptions());
var successfulFileUploadCompletionNotification = new FileUploadCompletionNotification()
{
// Mandatory. Must be the same value as the correlation id returned in the sas uri response
CorrelationId = sasUri.CorrelationId,
// Mandatory. Will be present when service client receives this file upload notification
IsSuccess = true,
// Optional, user defined status code. Will be present when service client receives this file upload notification
StatusCode = 200,
// Optional, user-defined status description. Will be present when service client receives this file upload notification
StatusDescription = "Success"
};
await azureIoTCentralClient.CompleteFileUploadAsync(successfulFileUploadCompletionNotification);
}
catch (Exception ex)
{
Console.WriteLine($"Failed to upload file to Azure Storage using the Azure Storage SDK due to {ex}");
var failedFileUploadCompletionNotification = new FileUploadCompletionNotification
{
// Mandatory. Must be the same value as the correlation id returned in the sas uri response
CorrelationId = sasUri.CorrelationId,
// Mandatory. Will be present when service client receives this file upload notification
IsSuccess = false,
// Optional, user-defined status code. Will be present when service client receives this file upload notification
StatusCode = 500,
// Optional, user defined status description. Will be present when service client receives this file upload notification
StatusDescription = ex.Message
};
await azureIoTCentralClient.CompleteFileUploadAsync(failedFileUploadCompletionNotification);
}
}
TimeSpan uploadDuration = DateTime.UtcNow - requestAtUtc;
Console.WriteLine($"{requestAtUtc:yy-MM-dd HH:mm:ss} Image up load done. Duration:{uploadDuration.TotalMilliseconds:0.} mSec");
}
catch (Exception ex)
{
Console.WriteLine($"Camera image upload process failed {ex.Message}");
}
finally
{
cameraBusy = false;
}
}
I have used Azure DeviceClient UploadToBlobAsync in other projects and it was a surprise to see it deprecated and replaced with GetFileUploadSasUriAsync and GetBlobUri with sample code from the development team.
string blobName = string.Format("{0:yyMMdd}/{0:yyMMddHHmmss}.jpg", requestAtUtc);

azureIoTCentralClient.UploadToBlobAsync(blobName, fileStreamSource);
It did seem to take a lot of code to implement what was previously a single line (I’m going try and find out why this method has been deprecated)
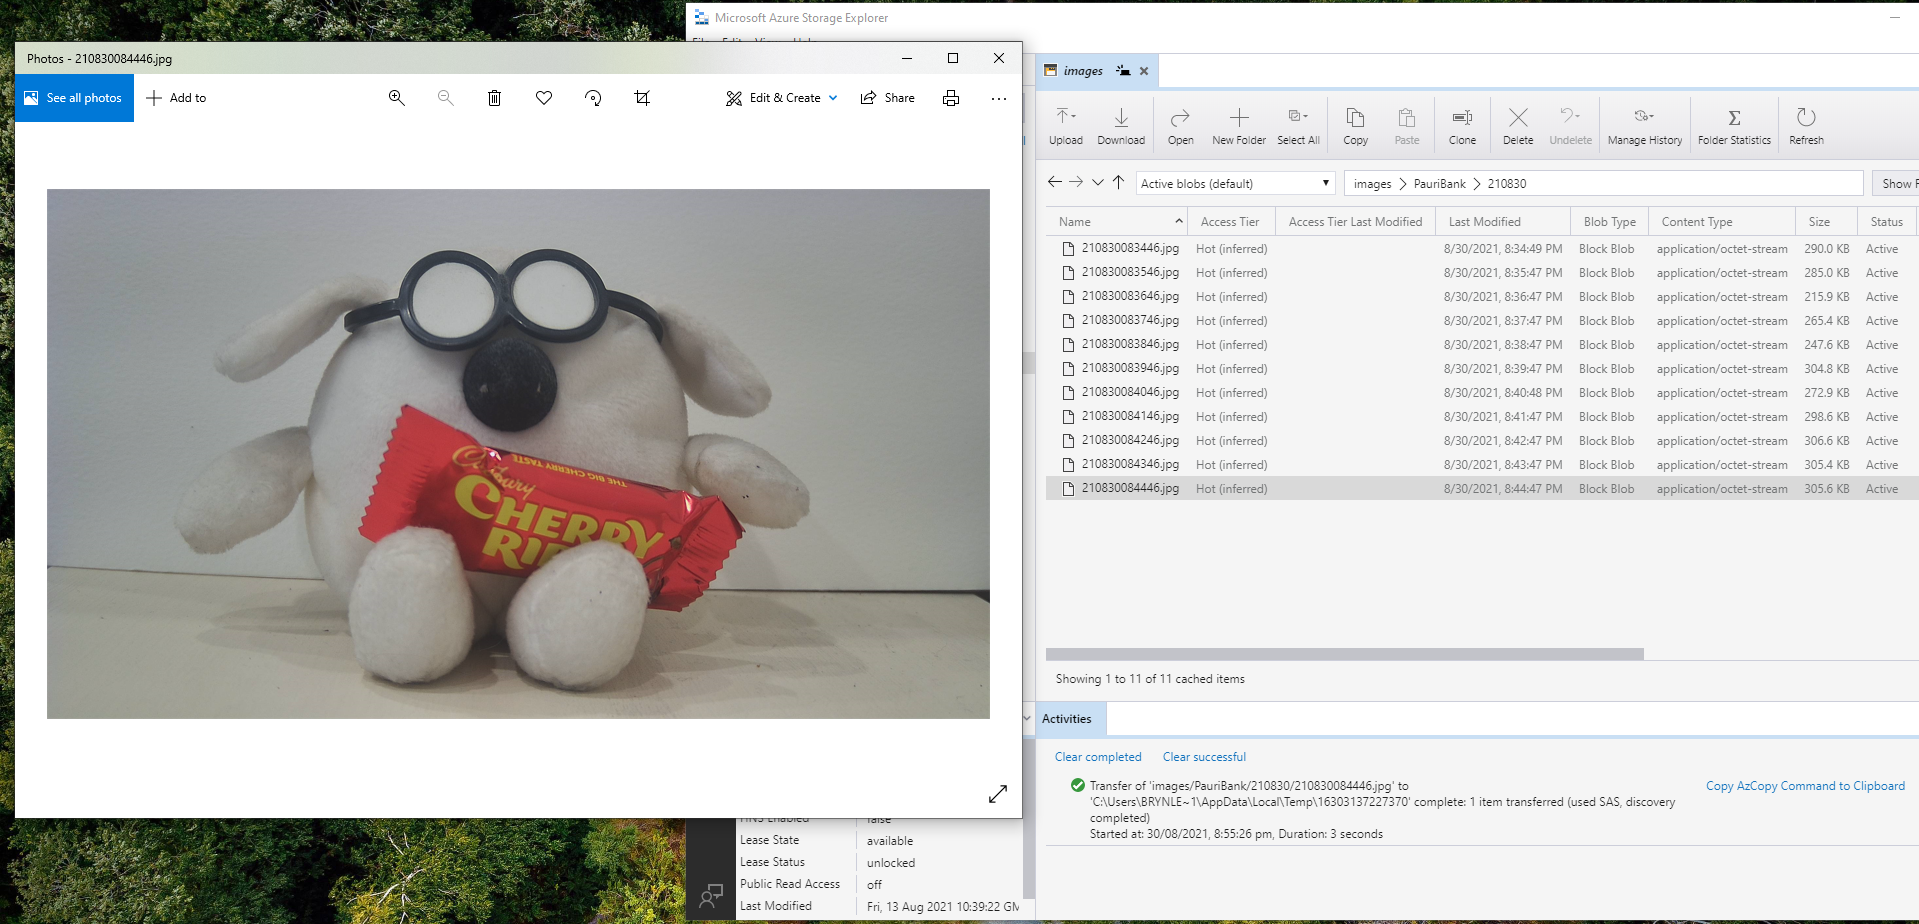
Using Azure Storage Explorer I could view and download the images uploaded by the application(s) running on my development machine and Raspberry PI
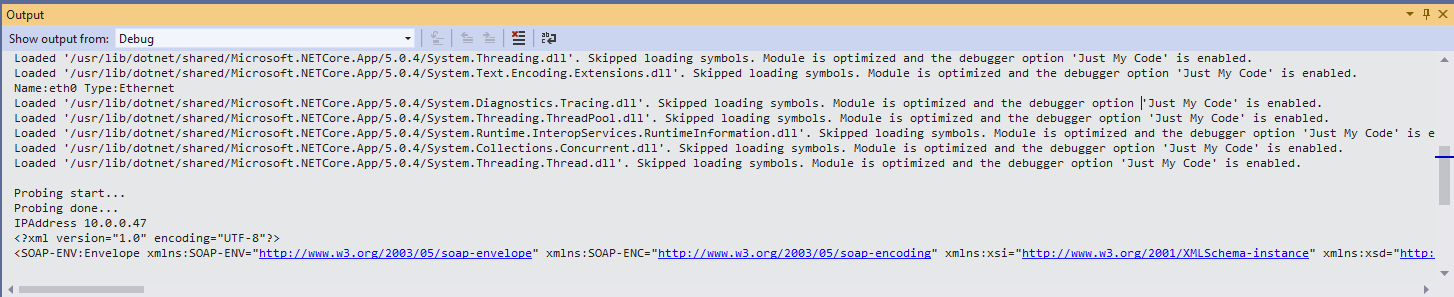
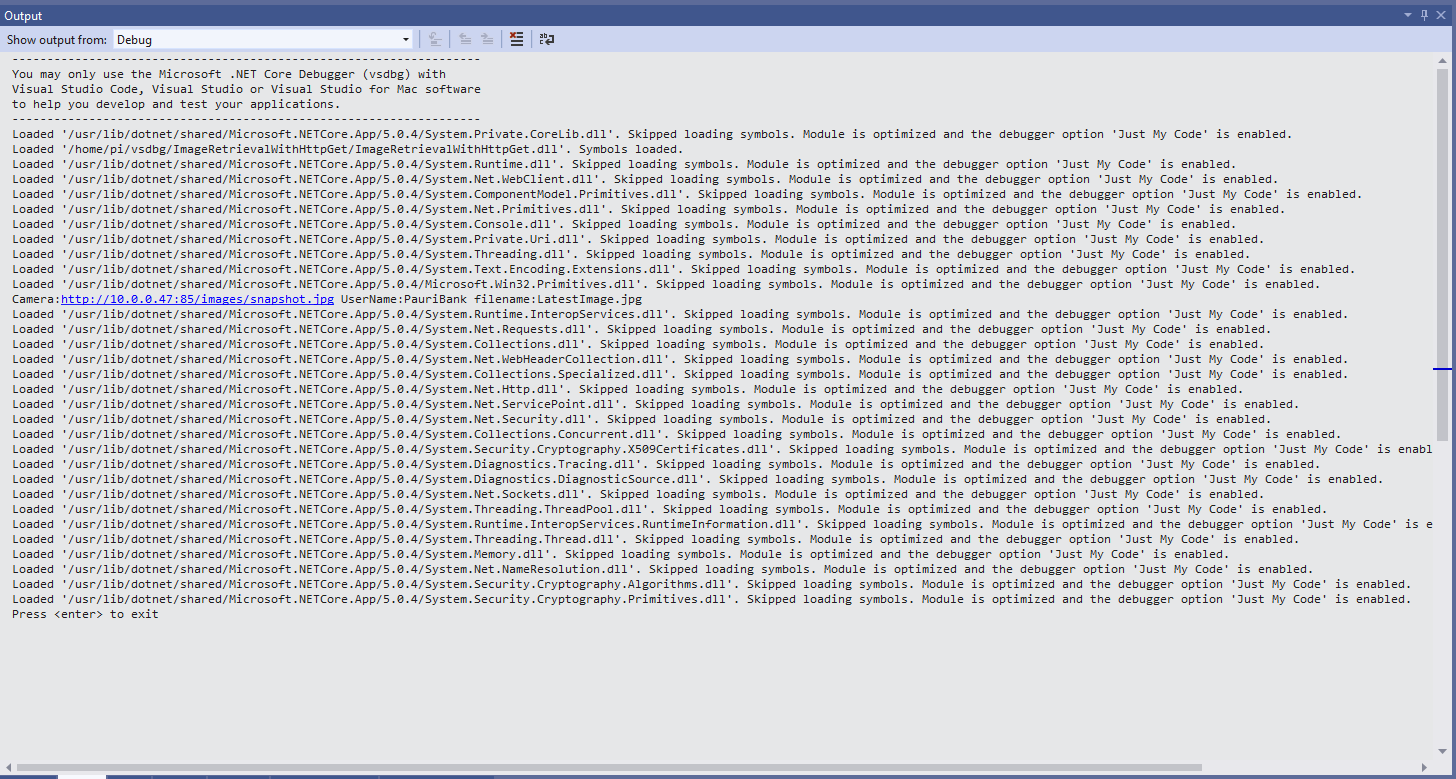
After confirming the program was working I used the excellent RaspberryDebugger to download the application and debug it on my Raspberry PI 3 running the Raspberry PI OS.
Now that the basics are working my plan is to figure out how to control the camera using Azure IoT Hub method calls, display live Real Time Streaming Protocol(RTSP) using Azure IoT Hub Device Streams, upload images to Azure Cognitive Services for processing and use ML.Net to process them locally.


