As I’m testing my Message Queue Telemetry Transport(MQTT) LoRa gateway I’m building a proof of concept(PoC) .Net core console application for each IoT platform I would like to support.
This PoC was to confirm that I could connect to the ubidots MQTT API then format the topics and payloads correctly. The ubidots screen designer has “variables” (both actual sensors & synthetic calculated ones) which present as topics so I built a client which could subscribe to these.
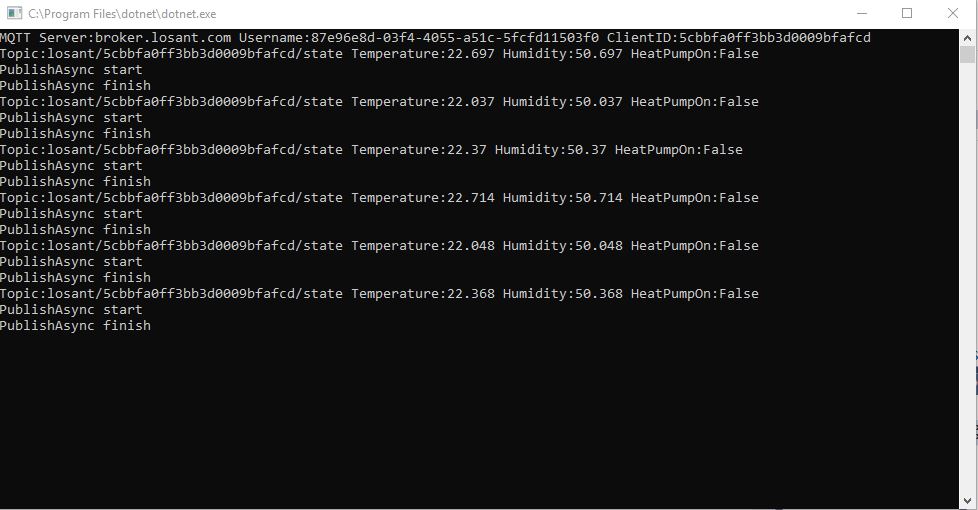
The MQTT broker, username, password, and client ID are command line options.
class Program
{
private static IMqttClient mqttClient = null;
private static IMqttClientOptions mqttOptions = null;
private static string server;
private static string username;
private static string deviceLabel;
static void Main(string[] args)
{
MqttFactory factory = new MqttFactory();
mqttClient = factory.CreateMqttClient();
bool heatPumpOn = false;
if (args.Length != 3)
{
Console.WriteLine("[MQTT Server] [UserName] [Password] [ClientID]");
Console.WriteLine("Press <enter> to exit");
Console.ReadLine();
return;
}
server = args[0];
username = args[1];
deviceLabel = args[2];
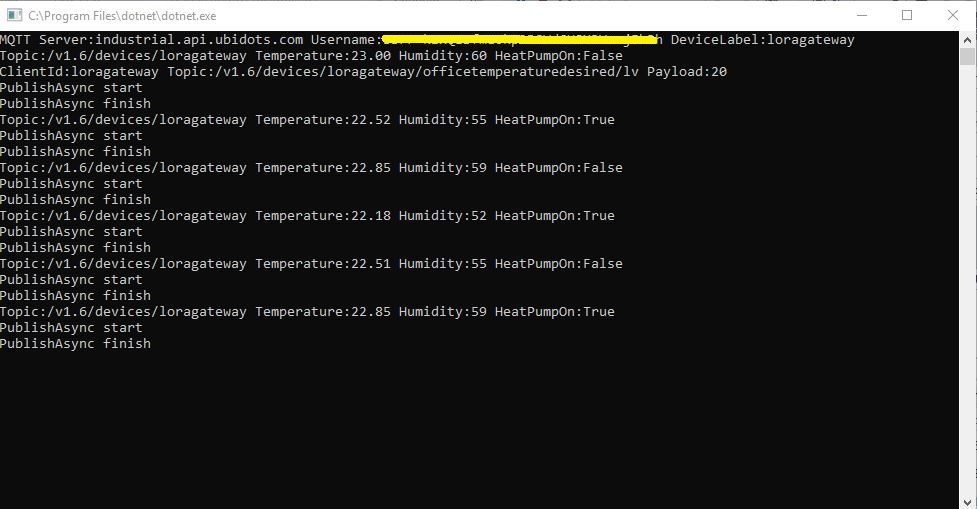
Console.WriteLine($"MQTT Server:{server} Username:{username} DeviceLabel:{deviceLabel}");
mqttOptions = new MqttClientOptionsBuilder()
.WithTcpServer(server)
.WithCredentials(username, "NotVerySecret")
.WithClientId(deviceLabel)
.WithTls()
.Build();
mqttClient.ApplicationMessageReceived += MqttClient_ApplicationMessageReceived;
mqttClient.Disconnected += MqttClient_Disconnected;
mqttClient.ConnectAsync(mqttOptions).Wait();
// Setup a subscription for commands sent to client
string commandTopic = $"/v1.6/devices/{deviceLabel}/officetemperaturedesired/lv";
mqttClient.SubscribeAsync(commandTopic).GetAwaiter().GetResult();
//// Ubidots formatted client state update topic
string stateTopic = $"/v1.6/devices/{deviceLabel}";
while (true)
{
string payloadText;
double temperature = 22.0 + (DateTime.UtcNow.Millisecond / 1000.0);
double humidity = 50 + (DateTime.UtcNow.Millisecond / 100.0);
double speed = 10 + (DateTime.UtcNow.Millisecond / 100.0);
Console.WriteLine($"Topic:{stateTopic} Temperature:{temperature:0.00} Humidity:{humidity:0} HeatPumpOn:{heatPumpOn}");
// First attempt which worked
//payloadText = @"{""OfficeTemperature"":22.5}";
// Second attempt to work out data format with "real" values injected
//payloadText = @"{ ""officetemperature"":"+ temperature.ToString("F2") + @",""officehumidity"":" + humidity.ToString("F0") + @"}";
// Third attempt with Jobject which sort of worked but number serialisation was sub optimal
JObject payloadJObject = new JObject();
payloadJObject.Add("OfficeTemperature", temperature.ToString("F2"));
payloadJObject.Add("OfficeHumidity", humidity.ToString("F0"));
if (heatPumpOn)
{
payloadJObject.Add("HeatPumpOn", 1);
}
else
{
payloadJObject.Add("HeatPumpOn", 0);
}
heatPumpOn = !heatPumpOn;
payloadText = JsonConvert.SerializeObject(payloadJObject);
/*
// Forth attempt with JOBject, timestamps and gps
JObject payloadJObject = new JObject();
JObject context = new JObject();
context.Add("lat", "-43.5309325");
context.Add("lng", "172.637119");// Christchurch Cathederal
//context.Add("timestamp", ((DateTimeOffset)(DateTime.UtcNow)).ToUnixTimeSeconds()); // This field is optional and can be commented out
JObject position = new JObject();
position.Add("context", context);
position.Add("value", "0");
payloadJObject.Add("postion", position);
payloadText = JsonConvert.SerializeObject(payloadJObject);
*/
var message = new MqttApplicationMessageBuilder()
.WithTopic(stateTopic)
.WithPayload(payloadText)
.WithQualityOfServiceLevel(global::MQTTnet.Protocol.MqttQualityOfServiceLevel.AtLeastOnce)
//.WithExactlyOnceQoS()// With ubidots this caused the publish to hang
.WithAtLeastOnceQoS()
.WithRetainFlag()
.Build();
Console.WriteLine("PublishAsync start");
mqttClient.PublishAsync(message).Wait();
Console.WriteLine("PublishAsync finish");
Thread.Sleep(30100);
}
}
private static void MqttClient_ApplicationMessageReceived(object sender, MqttApplicationMessageReceivedEventArgs e)
{
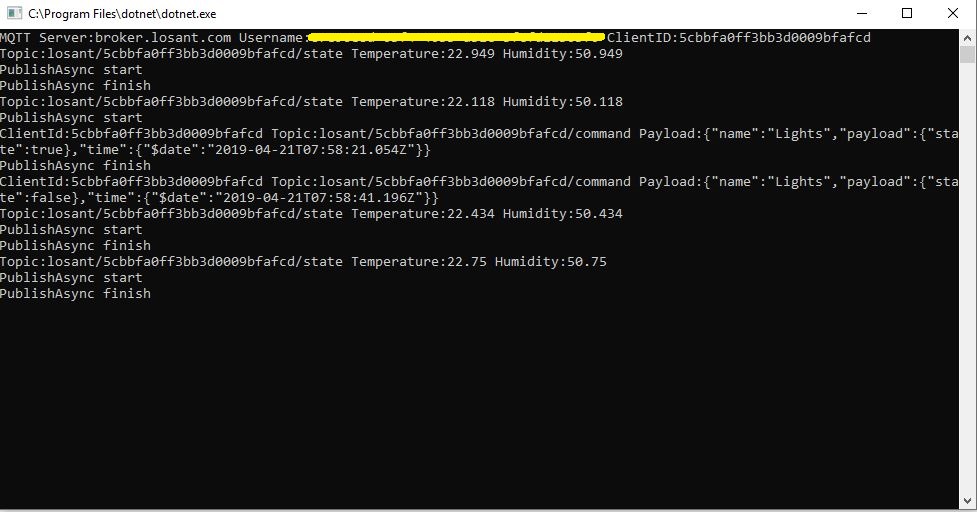
Console.WriteLine($"ClientId:{e.ClientId} Topic:{e.ApplicationMessage.Topic} Payload:{e.ApplicationMessage.ConvertPayloadToString()}");
}
private static async void MqttClient_Disconnected(object sender, MqttClientDisconnectedEventArgs e)
{
Debug.WriteLine("Disconnected");
await Task.Delay(TimeSpan.FromSeconds(5));
try
{
await mqttClient.ConnectAsync(mqttOptions);
}
catch (Exception ex)
{
Debug.WriteLine("Reconnect failed {0}", ex.Message);
}
}
}
For this PoC I used the MQTTnet package which is available via NuGet. It appeared to be reasonably well supported and has had recent updates.
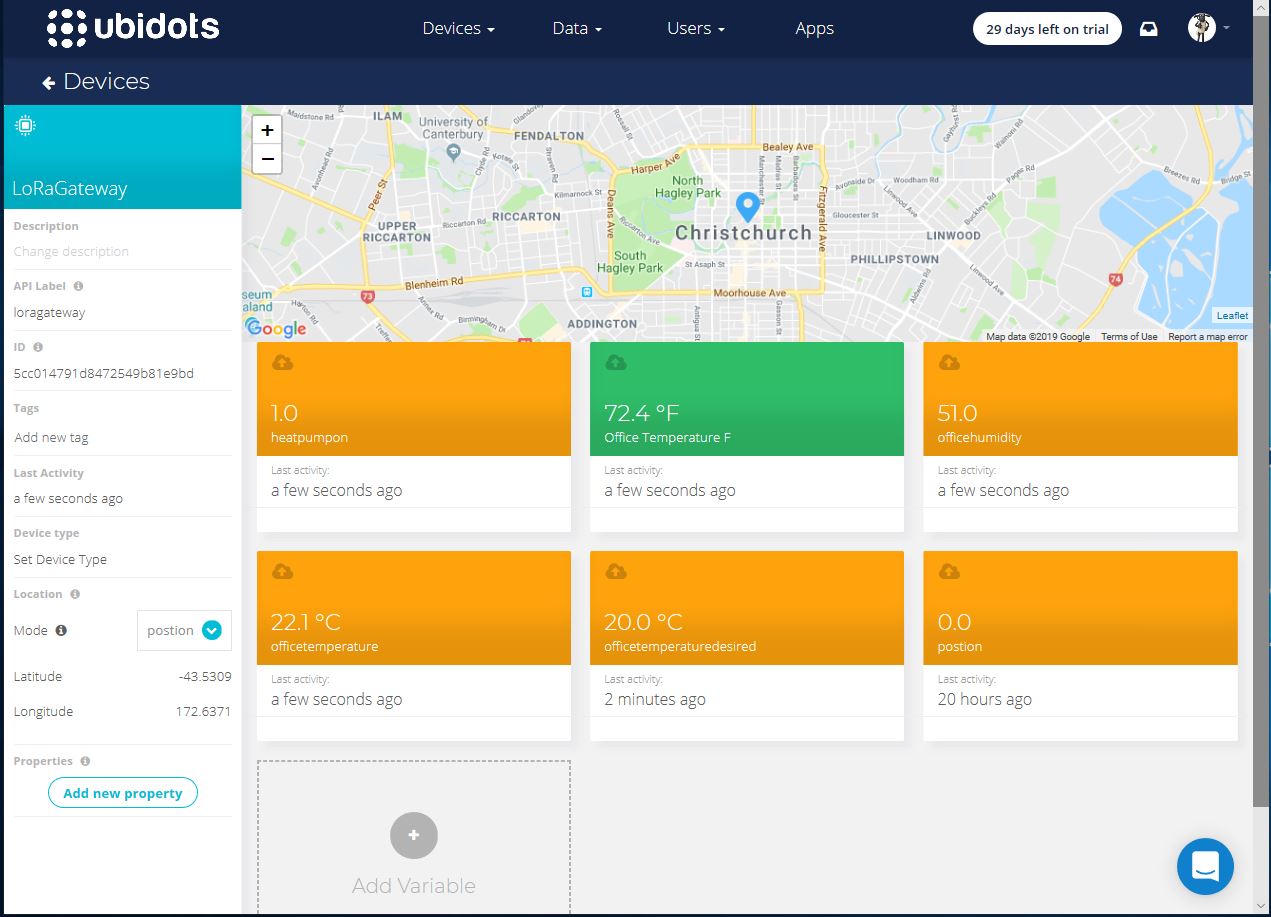
Overall the initial configuration went smoothly, I found the dragging of blocks onto the dashboard and configuring them worked as expected.
The configuration of a “synthetic” variable (converting a temperature to Fahrenheit for readers from the Unites States of America, Myanmar & Liberia ) took a couple of goes to get right.
I may have missed something (April 2019) but the lack of boolean datatype variables was a bit odd.

I put a slider control on my test dashboard, associated it with a variable and my client reliably received messages when the slider was moved.


Overall the Ubidots experience was pretty good and I’m going to spend some more time working with the device, data, users configurations to see how well it works for a “real-world” project.
I found (April 2019) that to get MQTTS going I had to install a Ubidots provided certificate

When my .Net Core application didn’t work I tried one my MQTT debugging tools and they didn’t work either with the Ubitdots MQTT brokers. The Ubidots forum people were quite helpful, but making it not necessary to install a certificate or making it really obvious in the documentation that this was required would be a good thing.