Code club @ Orion Health kit on its way

Spent several hours last night ordering all the bits for the next month’s code club sessions. Can take a couple of weeks for parts to arrive from China and the USA so I have to plan well in advance.

We now have 16 Netduino’s plus enough kit for

The groups of students will get to build each project over a couple of nights.

Code club 20th Feb @ Orion Health

We are trying a new approach this term and are running the Code Club at Orion Health in Hazeldean Road.

I have managed to borrow 8 or 9 Netduinos so with 3 people per device we can run a class for up to 27 people. If there is enough interest we may look at splitting the class and running some more at local high schools or hosted by IT companies.

This term we’ll be learning C#, building robots, heartbeat monitors, connecting devices to the internet and eating pizza.

Big thanks to Orion Health for hosting us.

CODE_CLUB_POSTARD_FRONT_2014

We might be a bit short of computers to run the development tools. If you can bring one with the setup detailed here that would help a lot. The Visual Studio 2010 and associated Netduino SDKs would be easiest.

Elecfreaks Joystick and nRF24L01 shield

A couple of weeks ago I ordered a Joystick Shield V2.4 from elecfreaks and it arrived yesterday. This shield with baked in nRF24L01 support looked quite promising as the basis for a handheld remote control for a robot or quadcopter. The shield also has a Nokia 5100 display connector but I’m not planning on using that.

Image

The other end of the remote control link will be based on an embedded coolness nRF24L01 shield which I have looked at in a previous post. The robot radio link would use a pair of short range nRF24L01 modules and the quadcopter would use long range nRF24L01 modules.

When I checked the wiring diagram for the shield, the interrupt pin of the nRF24L01 socket was not connected to anything. The Nordic nRF24L01 .Net Micro Framework Driver on Codeplex (used for the both ends of the link) is interrupt driven so a small modification to the shield was required. I connected the interrupt pin (pin 8) of the nRF24L01 socket to DIO Pin1Image

The sample application from the previous post requires a small change to the initialisation code to work with the Joystick shield.

public void Run()
{
_module.OnDataReceived += OnReceive;
_module.OnTransmitFailed += OnSendFailure;
_module.OnTransmitSuccess += OnSendSuccess;


_module.Initialize(SPI.SPI_module.SPI1, Pins.GPIO_PIN_D10, Pins.GPIO_PIN_D9, Pins.GPIO_PIN_D1);

All of the buttons (A to F & Joystick push) are connected to digital inputs and the input voltage (3.3V or 5V) for the joystick x & y is selected using a switch which is perfect for my Netduino based project

Bill of materials (prices as at Jan 2014)

Xively GPS Location data upload V2

In the previous post I assembled the xively request XML using a StringBuilder rather than using the XML support available in the NetMF. To use the NetMF XML library I needed to add a reference to the DPWS extensions (MFDpwsExtensions) and change the using statement at the top of the module from System.Text to System.Ext.Xml

static void xivelyFeedUpdate(string ApiKey, string feedId, string channel, double latitude, double longitude, double altitude)
{
byte[] buffer;

using (XmlMemoryWriter xmlwriter = XmlMemoryWriter.Create())
{
xmlwriter.WriteProcessingInstruction("xml", "version=\"1.0\" encoding=\"utf-8\"");
xmlwriter.WriteStartElement("eeml");
xmlwriter.WriteStartElement("environment");
xmlwriter.WriteStartElement("location");

xmlwriter.WriteStartAttribute("domain");
xmlwriter.WriteString("physical");
xmlwriter.WriteEndAttribute();

xmlwriter.WriteStartAttribute("exposure");
xmlwriter.WriteString("outdoor");
xmlwriter.WriteEndAttribute();

xmlwriter.WriteStartAttribute("disposition");
xmlwriter.WriteString("mobile");
xmlwriter.WriteEndAttribute();

xmlwriter.WriteStartElement("name");
xmlwriter.WriteString("Location");
xmlwriter.WriteEndElement();

xmlwriter.WriteStartElement("lat");
xmlwriter.WriteString(latitude.ToString("F5"));
xmlwriter.WriteEndElement();

xmlwriter.WriteStartElement("lon");
xmlwriter.WriteString(longitude.ToString("F5"));
xmlwriter.WriteEndElement();

xmlwriter.WriteStartElement("ele");
xmlwriter.WriteString(altitude.ToString("F1"));
xmlwriter.WriteEndElement();

xmlwriter.WriteEndElement();

buffer = xmlwriter.ToArray();
}

try
{
using (HttpWebRequest request = (HttpWebRequest)WebRequest.Create(xivelyApiBaseUrl + feedId + ".xml"))
{
request.Method = "PUT";
request.ContentLength = buffer.Length;
request.ContentType = "text/xml";
request.Headers.Add("X-ApiKey", xivelyApiKey);
request.KeepAlive = false;
request.Timeout = 5000;
request.ReadWriteTimeout = 5000;

// request body
using (Stream stream = request.GetRequestStream())
{
stream.Write(buffer, 0, buffer.Length);                }
using (var response = (HttpWebResponse)request.GetResponse())
{
Debug.Print("HTTP Status:" + response.StatusCode + " : " + response.StatusDescription);
}
}
}
catch (Exception ex)
{
Debug.Print(ex.Message);
}
}

I was expecting the XML libraries to be quite chunky, but on my Netduino Plus 2 there wasn’t a huge size difference, the StringBuilder download was 49K8 bytes and the XMLWiter download was 56K1 bytes.

When I ran the StringBuilder and XMLWriter versions they both had roughly 92K6 bytes of free memory.

Realistically there was little to separate the two implementations

Xively GPS Location data upload V1

For one of the code club projects we looked at the National Marine Electronics Association (NMEA) 0183 output of my iteadStudio GPS Shield + Active Antenna. We used the NetMF Toolbox NMEA GPS processing code with a couple of modifications detailed here.

IteadStudio GPS

IteadStudio GPS shield and Antenna

For another project we had used Xively a “Public Cloud for the Internet of Things”. The Xively API has support for storing the position of a “thing” and it didn’t look like it would take much effort to extend the original GPS demo to trial this. The xively Location & waypoints API is RESTful and supports JSON & XML

void xivelyFeedUpdate(string ApiKey, string feedId, string channel, double latitude, double longitude, double altitude)
{
try
{
using (HttpWebRequest request = (HttpWebRequest)WebRequest.Create(xivelyApiBaseUrl + feedId + ".xml"))
{
StringBuilder payload = new StringBuilder();
payload.Append(@"<?xml version=""1.0"" encoding=""UTF-8""?><eeml><environment><location domain=""physical"" exposure=""outdoor"" disposition=""mobile""><name>Location</name><lat>");
payload.Append(latitude.ToString("F5"));
payload.Append("</lat><lon>");
payload.Append(longitude.ToString("F5"));
payload.Append("</lon><ele>");
payload.Append(altitude.ToString("F1"));
payload.Append("</ele></location></environment></eeml>");

byte[] buffer = Encoding.UTF8.GetBytes(payload.ToString());

request.Method = "PUT";
request.ContentLength = buffer.Length;
request.ContentType = "text/xml";
request.Headers.Add("X-ApiKey", xivelyApiKey);
request.KeepAlive = false;
request.Timeout = 5000;
request.ReadWriteTimeout = 5000;

// request body
using (Stream stream = request.GetRequestStream())
{
stream.Write(buffer, 0, buffer.Length);
}
using (var response = (HttpWebResponse)request.GetResponse())
{
Debug.Print("HTTP Status:" + response.StatusCode + " : " + response.StatusDescription);
}
}
}
catch (Exception ex)
{
Debug.Print(ex.Message);
}
}

The position of the “thing” is displayed like this

Xively poisition

The position of my car

The XML was constructed using a stringbuilder (NetMF 4.2) as this appeared easier/smaller than using the baked in XML functionality.

Netduino Plus and nRF24L01 module shield

A fortnight ago I purchased two shields from Embedded Coolness for a couple of nRF24L01 based projects (quadcopter & robot control system) I’m working on.The shields were very reasonably priced and took roughly 10-15 minutes each to assemble.

Embedded Coolness nRF24L01+ Shield

nRF24L01 Shield with short range module

Though intended for Arduino based projects the hardware SPI port works with the Nordic nRF24L01 .Net Micro Framework Driver on Codeplex.

I adapted the sample application included with the Nordic nRF24L01 .Net Micro Framework Driver source from codeplex to give a minimal working Netduino example.

...
public class EmbeddCoolnessTestHarness
{
private const byte channel = 10;
private readonly OutputPort _led = new OutputPort(Pins.ONBOARD_LED, false);
private readonly NRF24L01Plus _module;
private Timer _timer;
private byte _token;
private readonly byte[] _myAddress = Encoding.UTF8.GetBytes("NetP1");
private readonly byte[] _otherBoard = Encoding.UTF8.GetBytes("NetP2");

public EmbeddCoolnessTestHarness()
{
_module = new NRF24L01Plus();
}

public void Run()
{
_module.OnDataReceived += OnReceive;
_module.OnTransmitFailed += OnSendFailure;
_module.OnTransmitSuccess += OnSendSuccess;

// we need to call Initialize() and Configure() before we start using the module
_module.Initialize(SPI.SPI_module.SPI1, Pins.GPIO_PIN_D7, Pins.GPIO_PIN_D3, Pins.GPIO_PIN_D2);
_module.Configure(_myAddress, channel);
_module.Enable();

_timer = new Timer(SendMessage, null, new TimeSpan(0, 0, 0, 1), new TimeSpan(0, 0, 0, 1));
}

private void OnSendSuccess()
{
_led.Write(false);
}

private void OnSendFailure()
{
Debug.Print("Send failed!");
}

private void OnReceive(byte[] data)
{
Debug.Print("Token = " + data[0]);
}

private void SendMessage(object state)
{
_led.Write(true);
_module.SendTo(_otherBoard, new[] { _token });
_token++;
}
}

Netduino Plus PulseRate Monitor V2

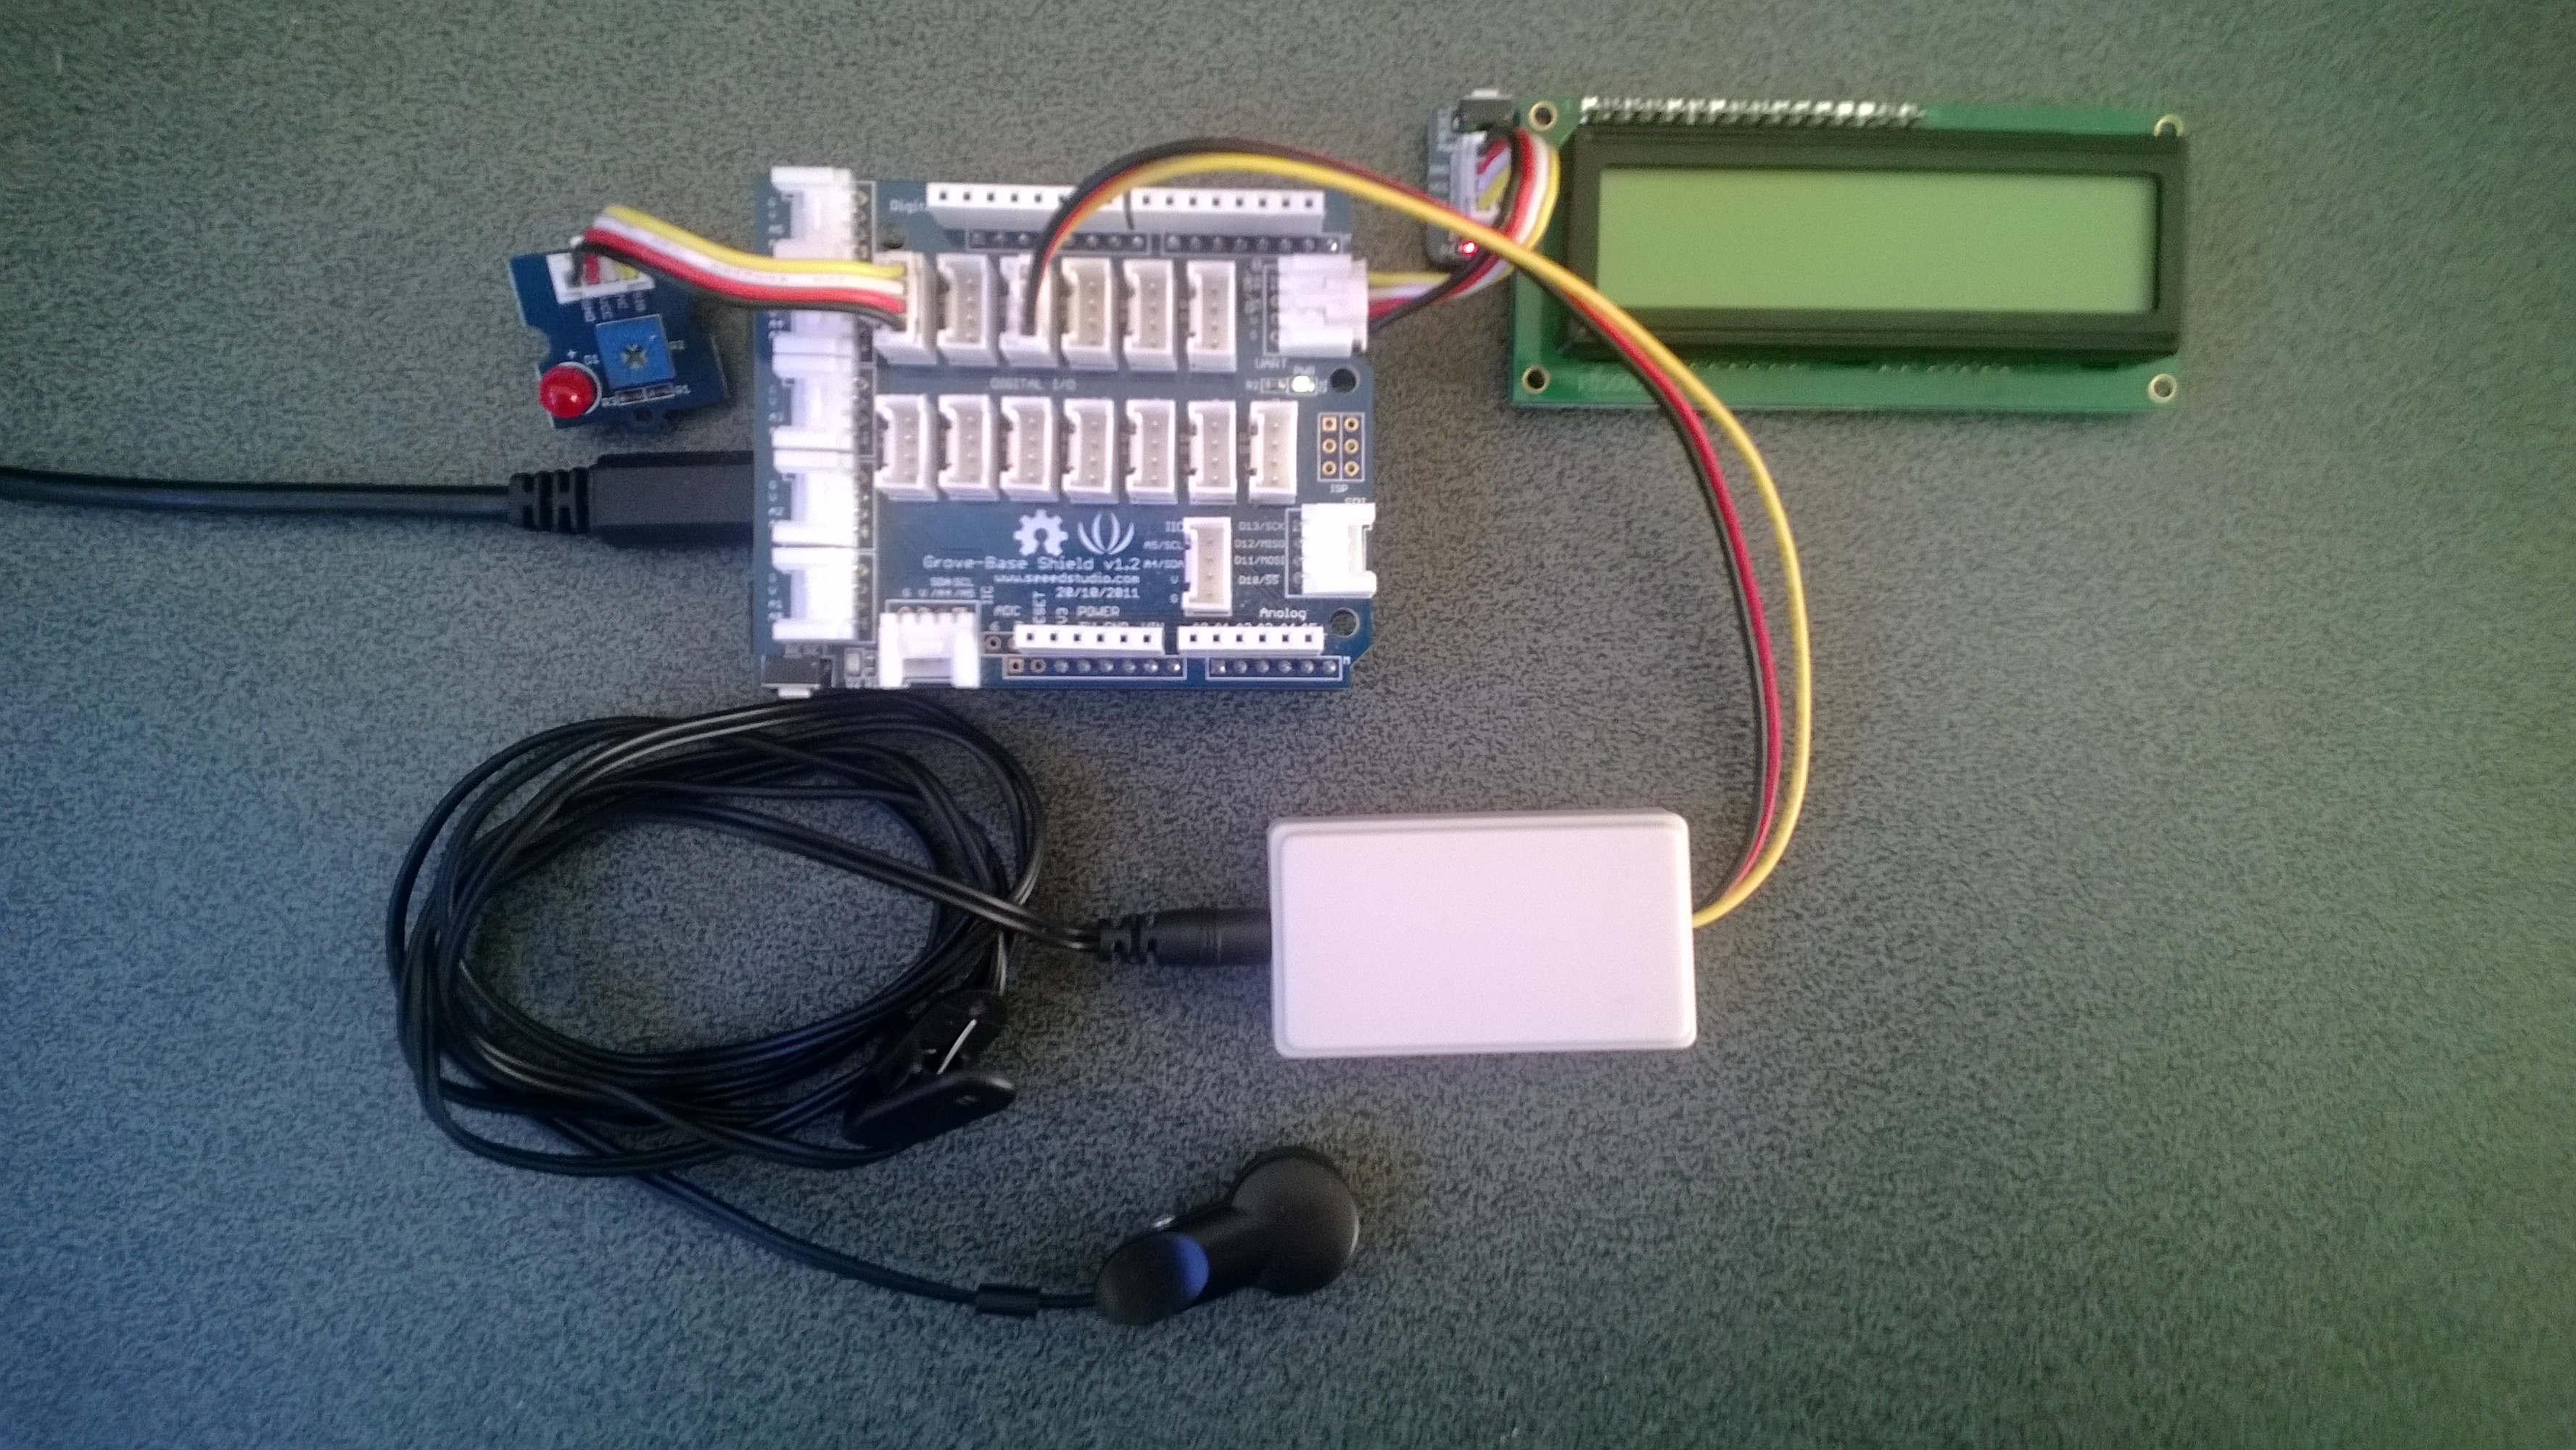
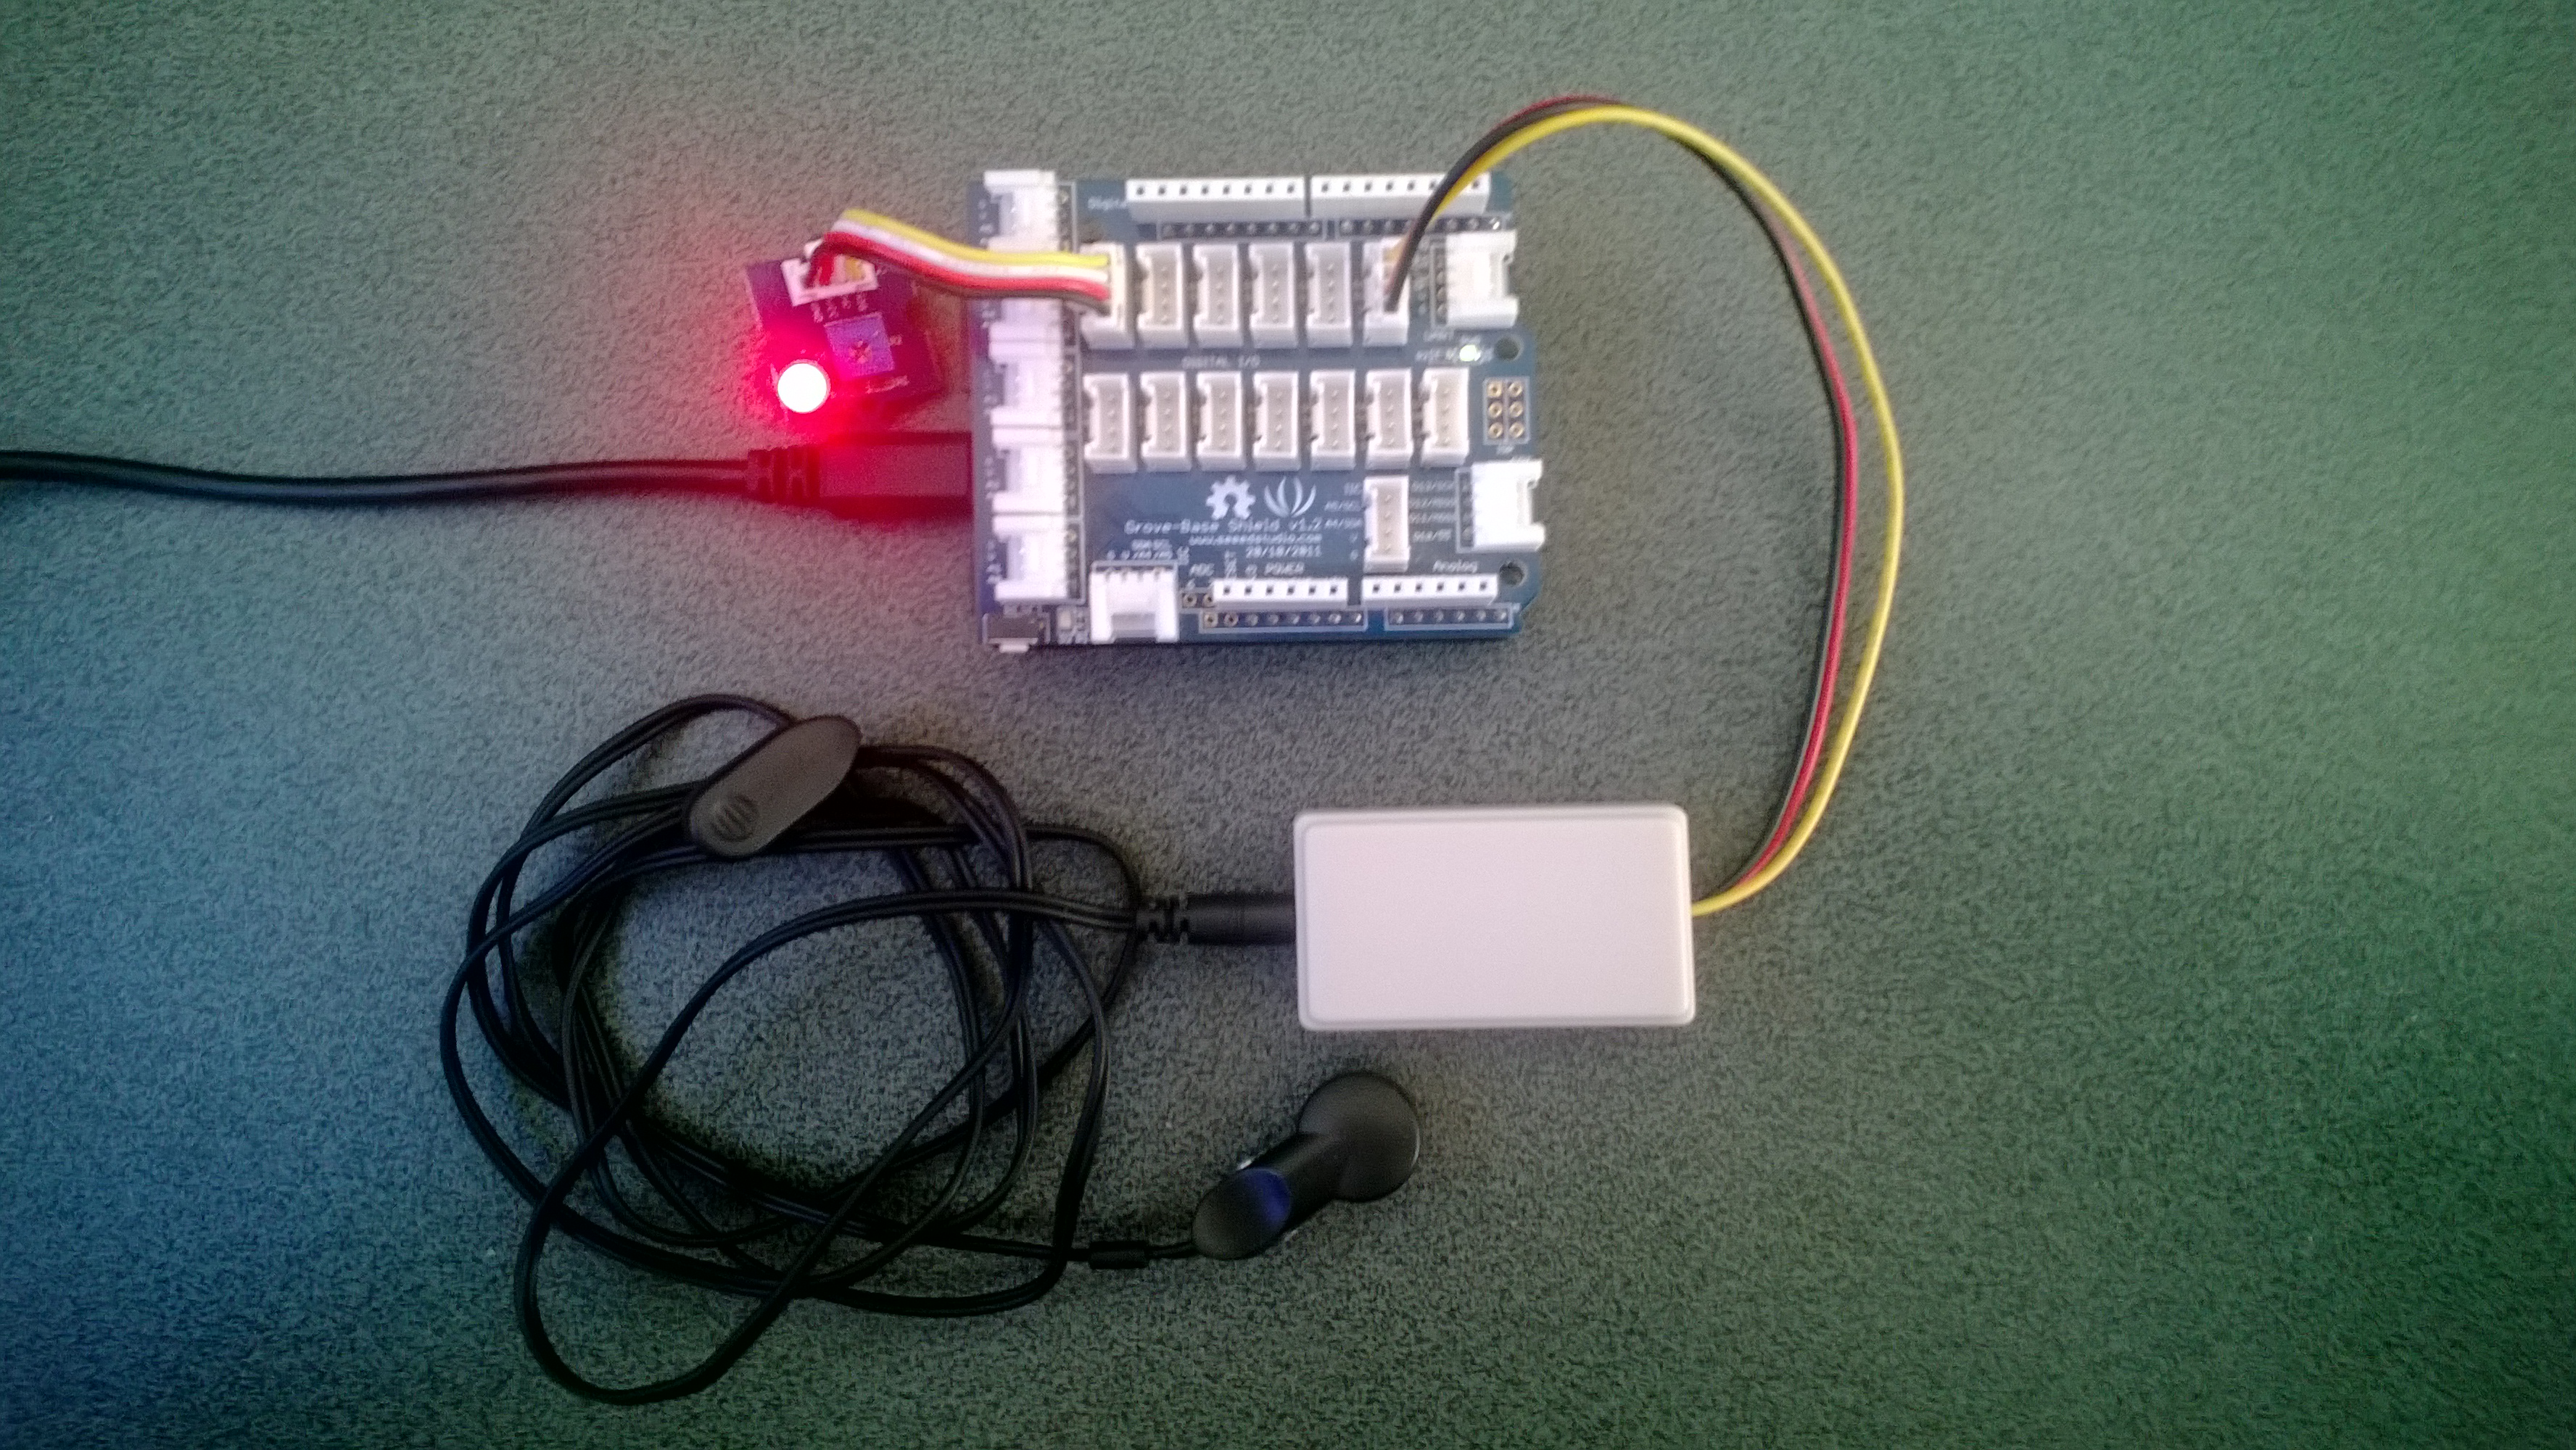
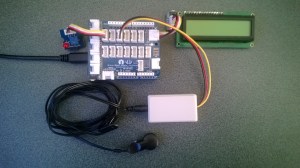
In the final couple of code club sessions we built a pulse rate monitor to show a practical application for the NetMF InterruptPort, and communication between threads using the Interlocked class (Increment & exchange). This was then enhanced to display the data locally and upload it to the cloud to illustrate a basic HTTP interaction and serial communications.

The application displays the approximate pulse rate in Beats Per Minute (BPM) on a 16×2 character LCD display and also uploads the information to a free developer account at Xively a “Public Cloud for the Internet of Things”.

Netduino Plus 2 rate monitor

The xively trial account has a limit of 25 calls a minute, rolling 3 minute average (Dec 2013) which was more than adequate for our application and many other educational projects.

The xively API supports managing products, managing devices,  reading & writing data, reading & wiring metadata, querying historical data and searching for data feeds, using a RESTful approach.

The NetduinoPlus2 has full support for the NetMF system.http and sufficient memory so that there is plenty of room left for an application. If you are using a Netduino Plus (or other NetMF device with limited memory) an approach which reduces memory consumption is detailed here.

The xively data API supports JSON, XML and CSV formats for upload of data and for the pulse rate monitor we used CSV. The following code was called roughly every 20 seconds.

static void xivelyFeedUpdate( string ApiKey, string feedId, string channel, string value )
{
try
{
using (HttpWebRequest request = (HttpWebRequest)WebRequest.Create(xivelyApiBaseUrl+ feedId + ".csv"))
{
byte[] buffer = Encoding.UTF8.GetBytes(channel + "," + value);


request.Method = "PUT";
request.ContentLength = buffer.Length;
request.ContentType = "text/csv";
request.Headers.Add("X-ApiKey", ApiKey);
request.KeepAlive = false;
request.Timeout = 5000;
request.ReadWriteTimeout = 5000;


// request body
using (Stream stream = request.GetRequestStream())
{
stream.Write(buffer, 0, buffer.Length);
}


using (var response = (HttpWebResponse)request.GetResponse())
{
Debug.Print("HTTP Status:" + response.StatusCode + " : " + response.StatusDescription);
}
}
}
catch (Exception ex)
{
Debug.Print(ex.Message);
}
}

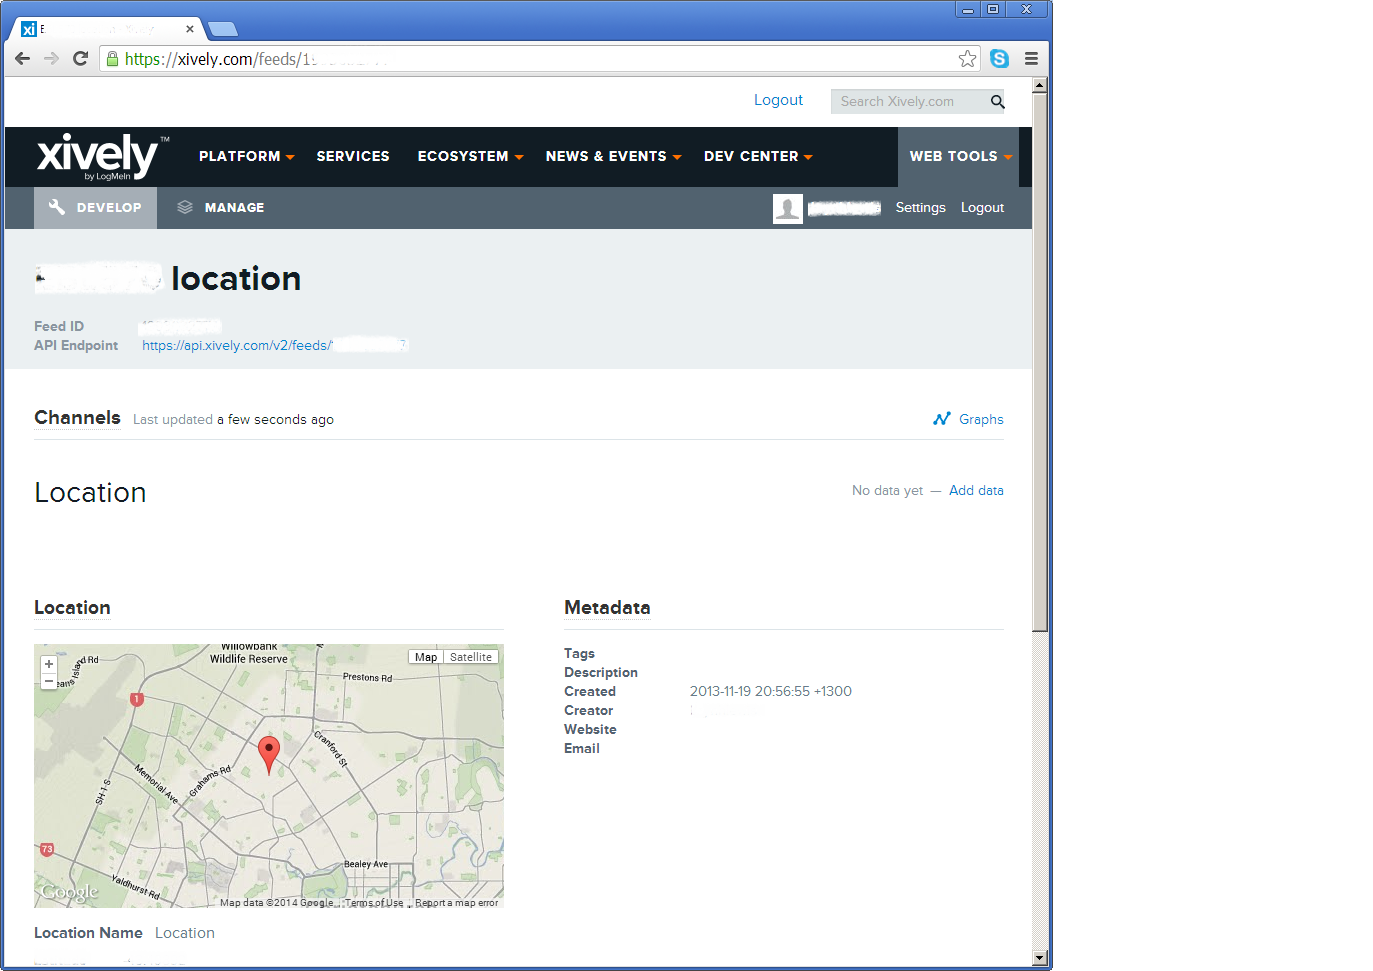
The pulse rate information can then displayed by xively in tables and graphs.

Pulse Rate data gaph at xively

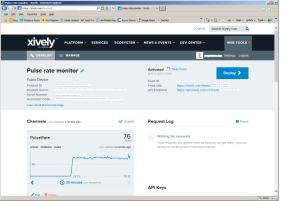
Pulse Rate data display

At the end of term presentation several parents and family members were doing press-ups and other exercises to see how high their pulse rate went and how quickly it recovered.

Bill of materials (Prices as at Dec 2013)

Netduino Plus PulseRate Monitor V1

In the final couple of code club sessions we built a pulse rate monitor to illustrate a practical application for the NetMF InterruptPort, and communication between threads using Interlocked (Increment & exchange). The V1 application displays the approximate pulse rate in Beats Per Minute (BPM) using Debug.Print.

The SeeedStudio Grove Ear clip heart rate sensor strobes a digital input for each heart beat it detects and this is used to trigger an interrupt handler. In the interrupt handler we incremented a counter using Interlocked.Increment.

A timer fires every 15 seconds which takes a copy of the current count, resets it to zero using Interlocked.Exchange. This code then multiplies the count by the number of times the timer fires per minute to convert it to BPM for display.

We discussed different approaches for determining the pulse rate and for V1 a 15 second timer seemed to be a reasonable trade off between accuracy and reading update latency.

Netduino Plus rate monitor

Pulserate monitor

public class Program
{
   const int mSecPerMinute = 60000;
   const int displayUpdateRatemSec = 15000;
   private static InterruptPort heartBeatSensor = new InterruptPort(Pins.GPIO_PIN_D1, false, Port.ResistorMode.Disabled, Port.InterruptMode.InterruptEdgeHigh);
   private static OutputPort heartBeatDisplayLed = new OutputPort(Pins.GPIO_PIN_D6, false);
   private static int heartBeatCount = 0;&lt;/code&gt;

   public static void Main()
   {
      heartBeatSensor.OnInterrupt += pulse_OnInterrupt;
      Timer pulseRateDisplayTimer = new Timer(PulseRateDisplayTimerCallback, null, displayUpdateRatemSec, displayUpdateRatemSec);
      Thread.Sleep(Timeout.Infinite);
   }

   static void pulse_OnInterrupt(uint data1, uint data2, DateTime time)
   {
      heartBeatDisplayLed.Write(!heartBeatDisplayLed.Read());
      Interlocked.Increment(ref heartBeatCount);
   }

   static void PulseRateDisplayTimerCallback(object state)
   {
      int displayPulseCount ;&lt;/code&gt;

      displayPulseCount = Interlocked.Exchange(ref heartBeatCount, 0 );
      displayPulseCount = displayPulseCount * (mSecPerMinute / displayUpdateRatemSec);
      Debug.Print("Pulse rate " + displayPulseCount + " bpm");
   }
}

Bill of materials (Prices as at Dec 2013)

netduino Plus + nerf supersoaker

A few weeks ago my 6 year old son took his Nerf SuperSoaker to the beach and the salt water damaged the battery pack. Yesterday he pulled it apart to see how it worked and after a couple of quick tests with the multimeter we worked out the switch on the battery pack was the problem.

While it was dismantled we decided to “enhance” it with a Netduino+ and an ultrasonic range finder so it squirted water automatically when a target got with 2.5m. The code for the Ultrasonic range finder was adapted from Dave’s code on Netduino.com

Netduino SuperSoaker++

Bill of Materials

MyFirst mobile phone for Code club

One of my co-workers is involved with a group that run “code clubs” at local schools teaching high school students how to code.

We got talking about projects which would appeal to the students and I suggested making a mobile phone. This is my prototype

Image

It’s more Nokia 5110 than Nokia Lumia 820

If you want to build your own (the parts list will grow as I add GPS, accelerometer, compass, screen etc..)

For V0.1 of code one button sends and SMS to my mobile, the other button initiates a voice call to my mobile. The initial version of the code was based on the SeeedStudio GSM Shield Netduino driver on codeplex.

The later versions are based on the CodeFreakout Seeedstudio GPRS Shield drivers which are available via NuGet. I have added some functionality for dialling and hanging up voice calls which I will post for others to use once I have tested it some more.