Netduino Plus and nRF24L01 module shield

A fortnight ago I purchased two shields from Embedded Coolness for a couple of nRF24L01 based projects (quadcopter & robot control system) I’m working on.The shields were very reasonably priced and took roughly 10-15 minutes each to assemble.

Embedded Coolness nRF24L01+ Shield

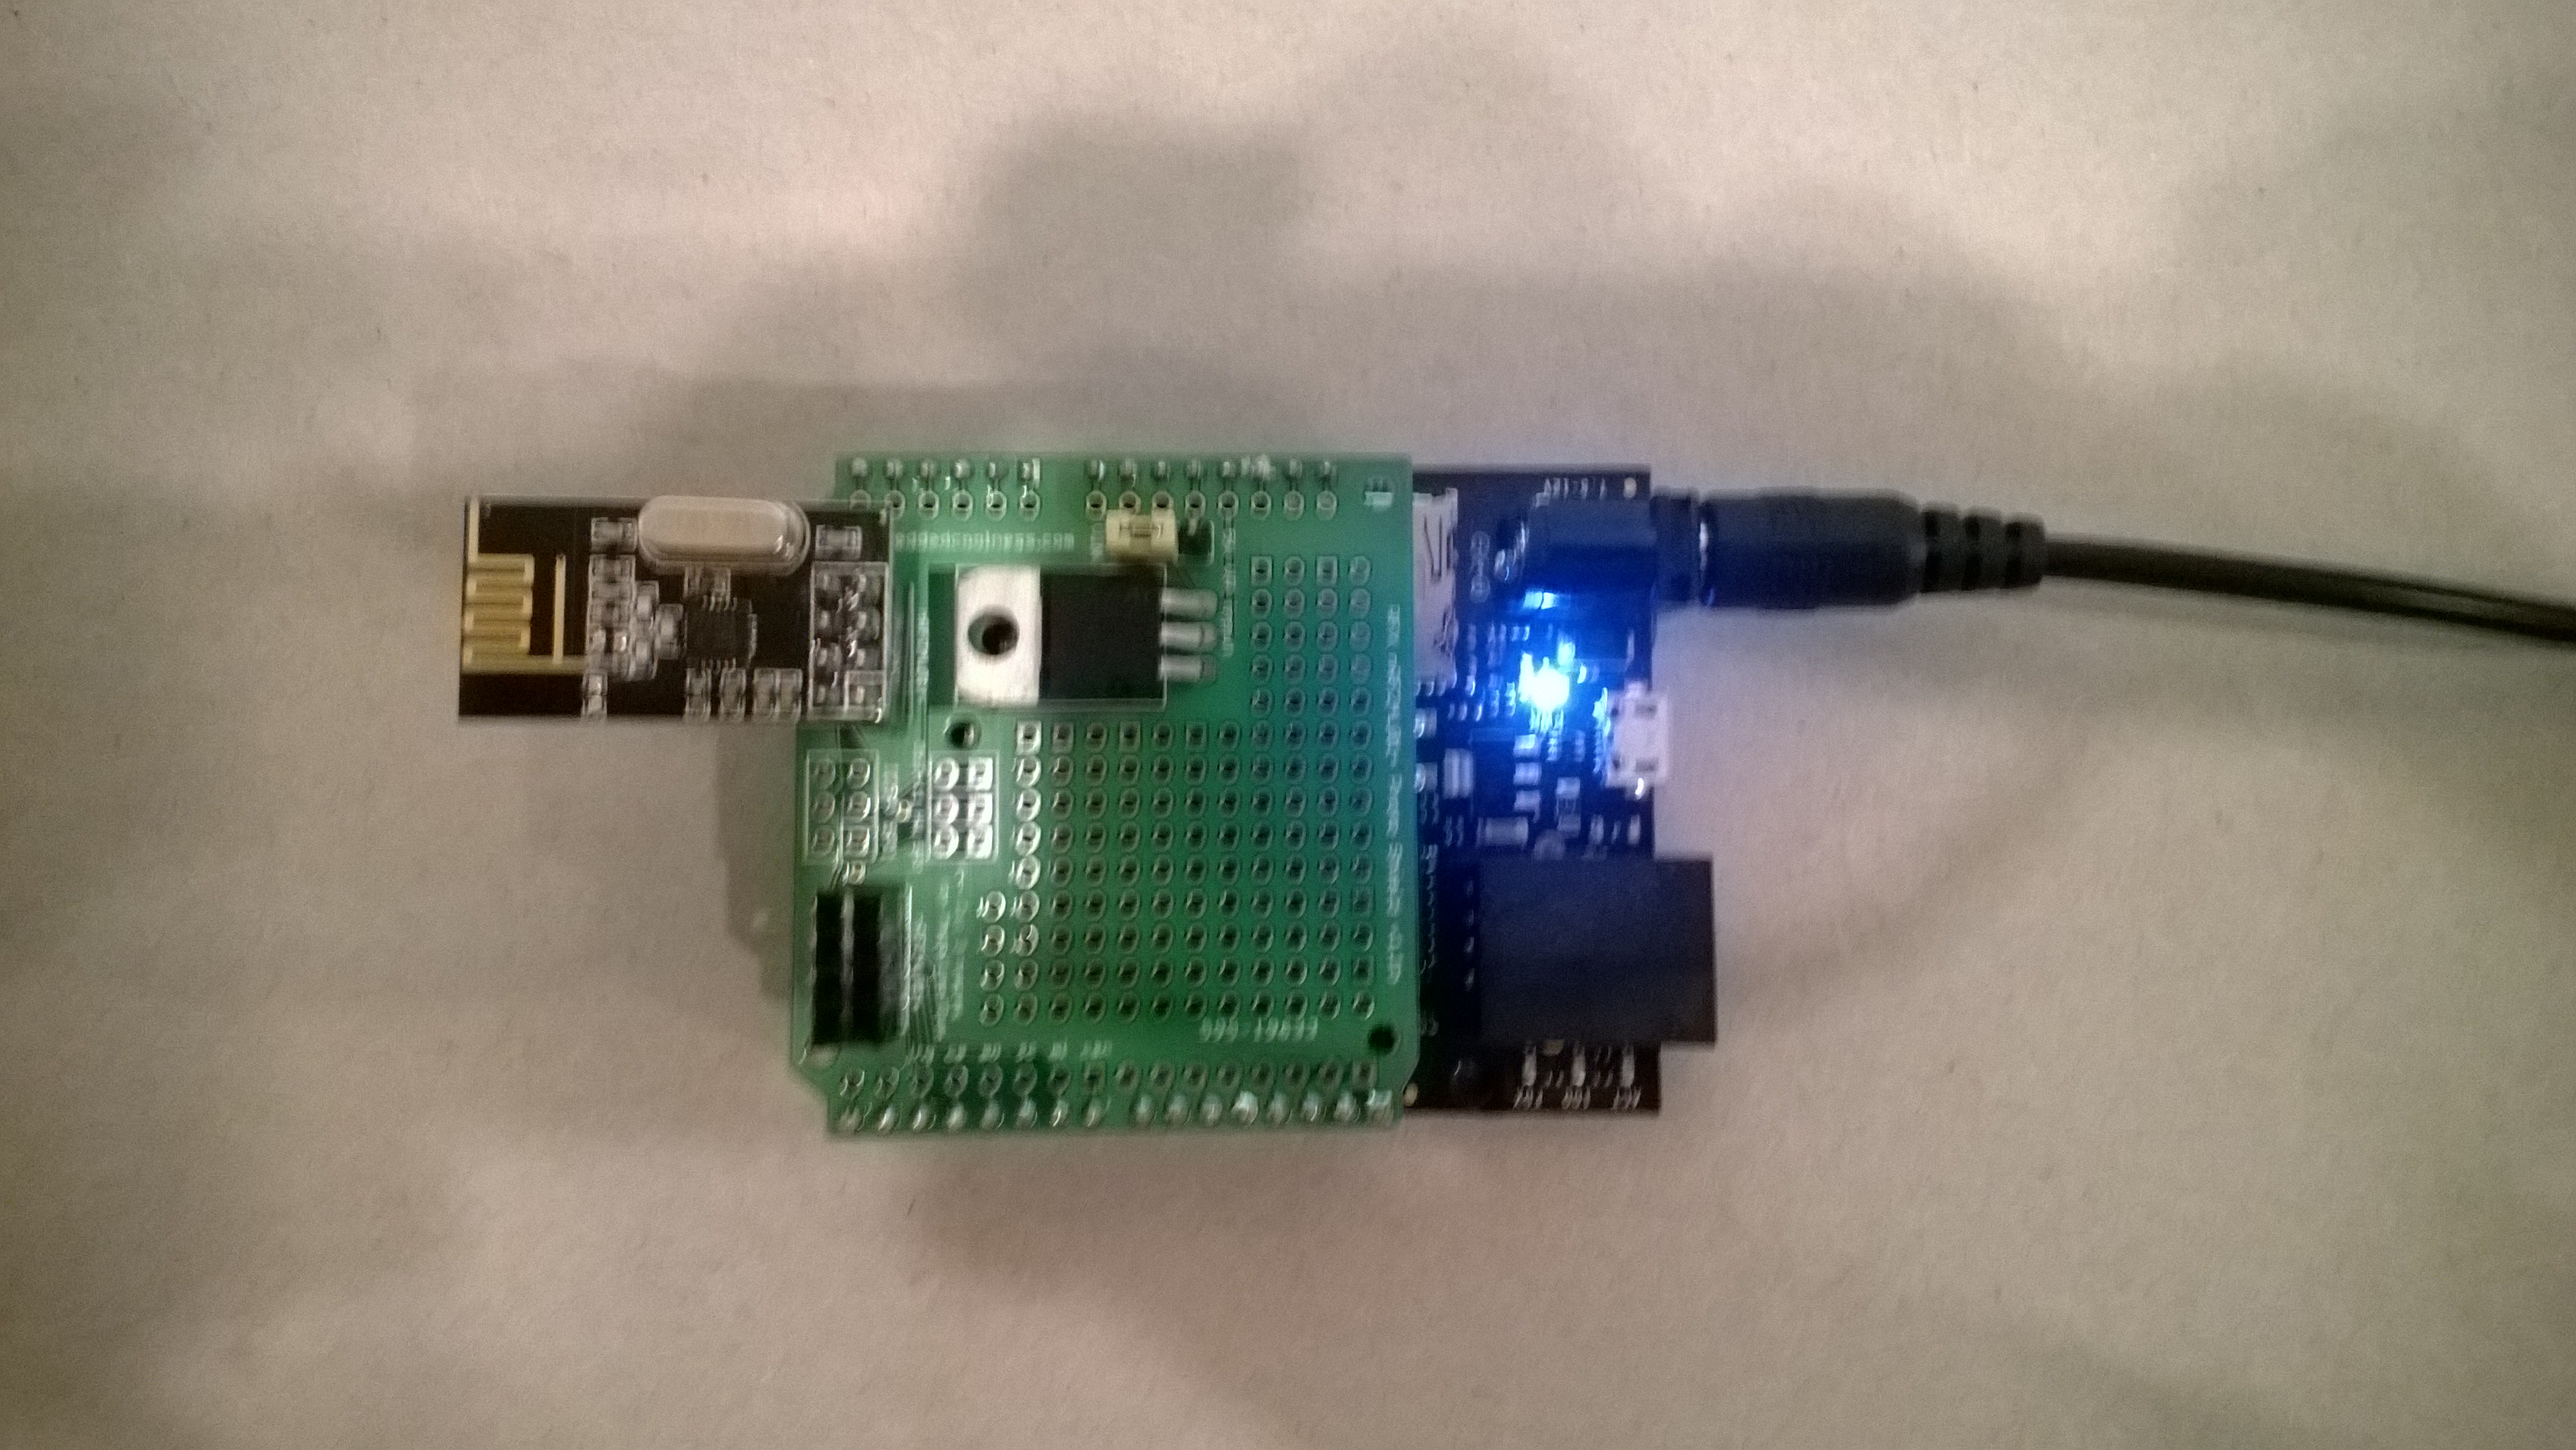
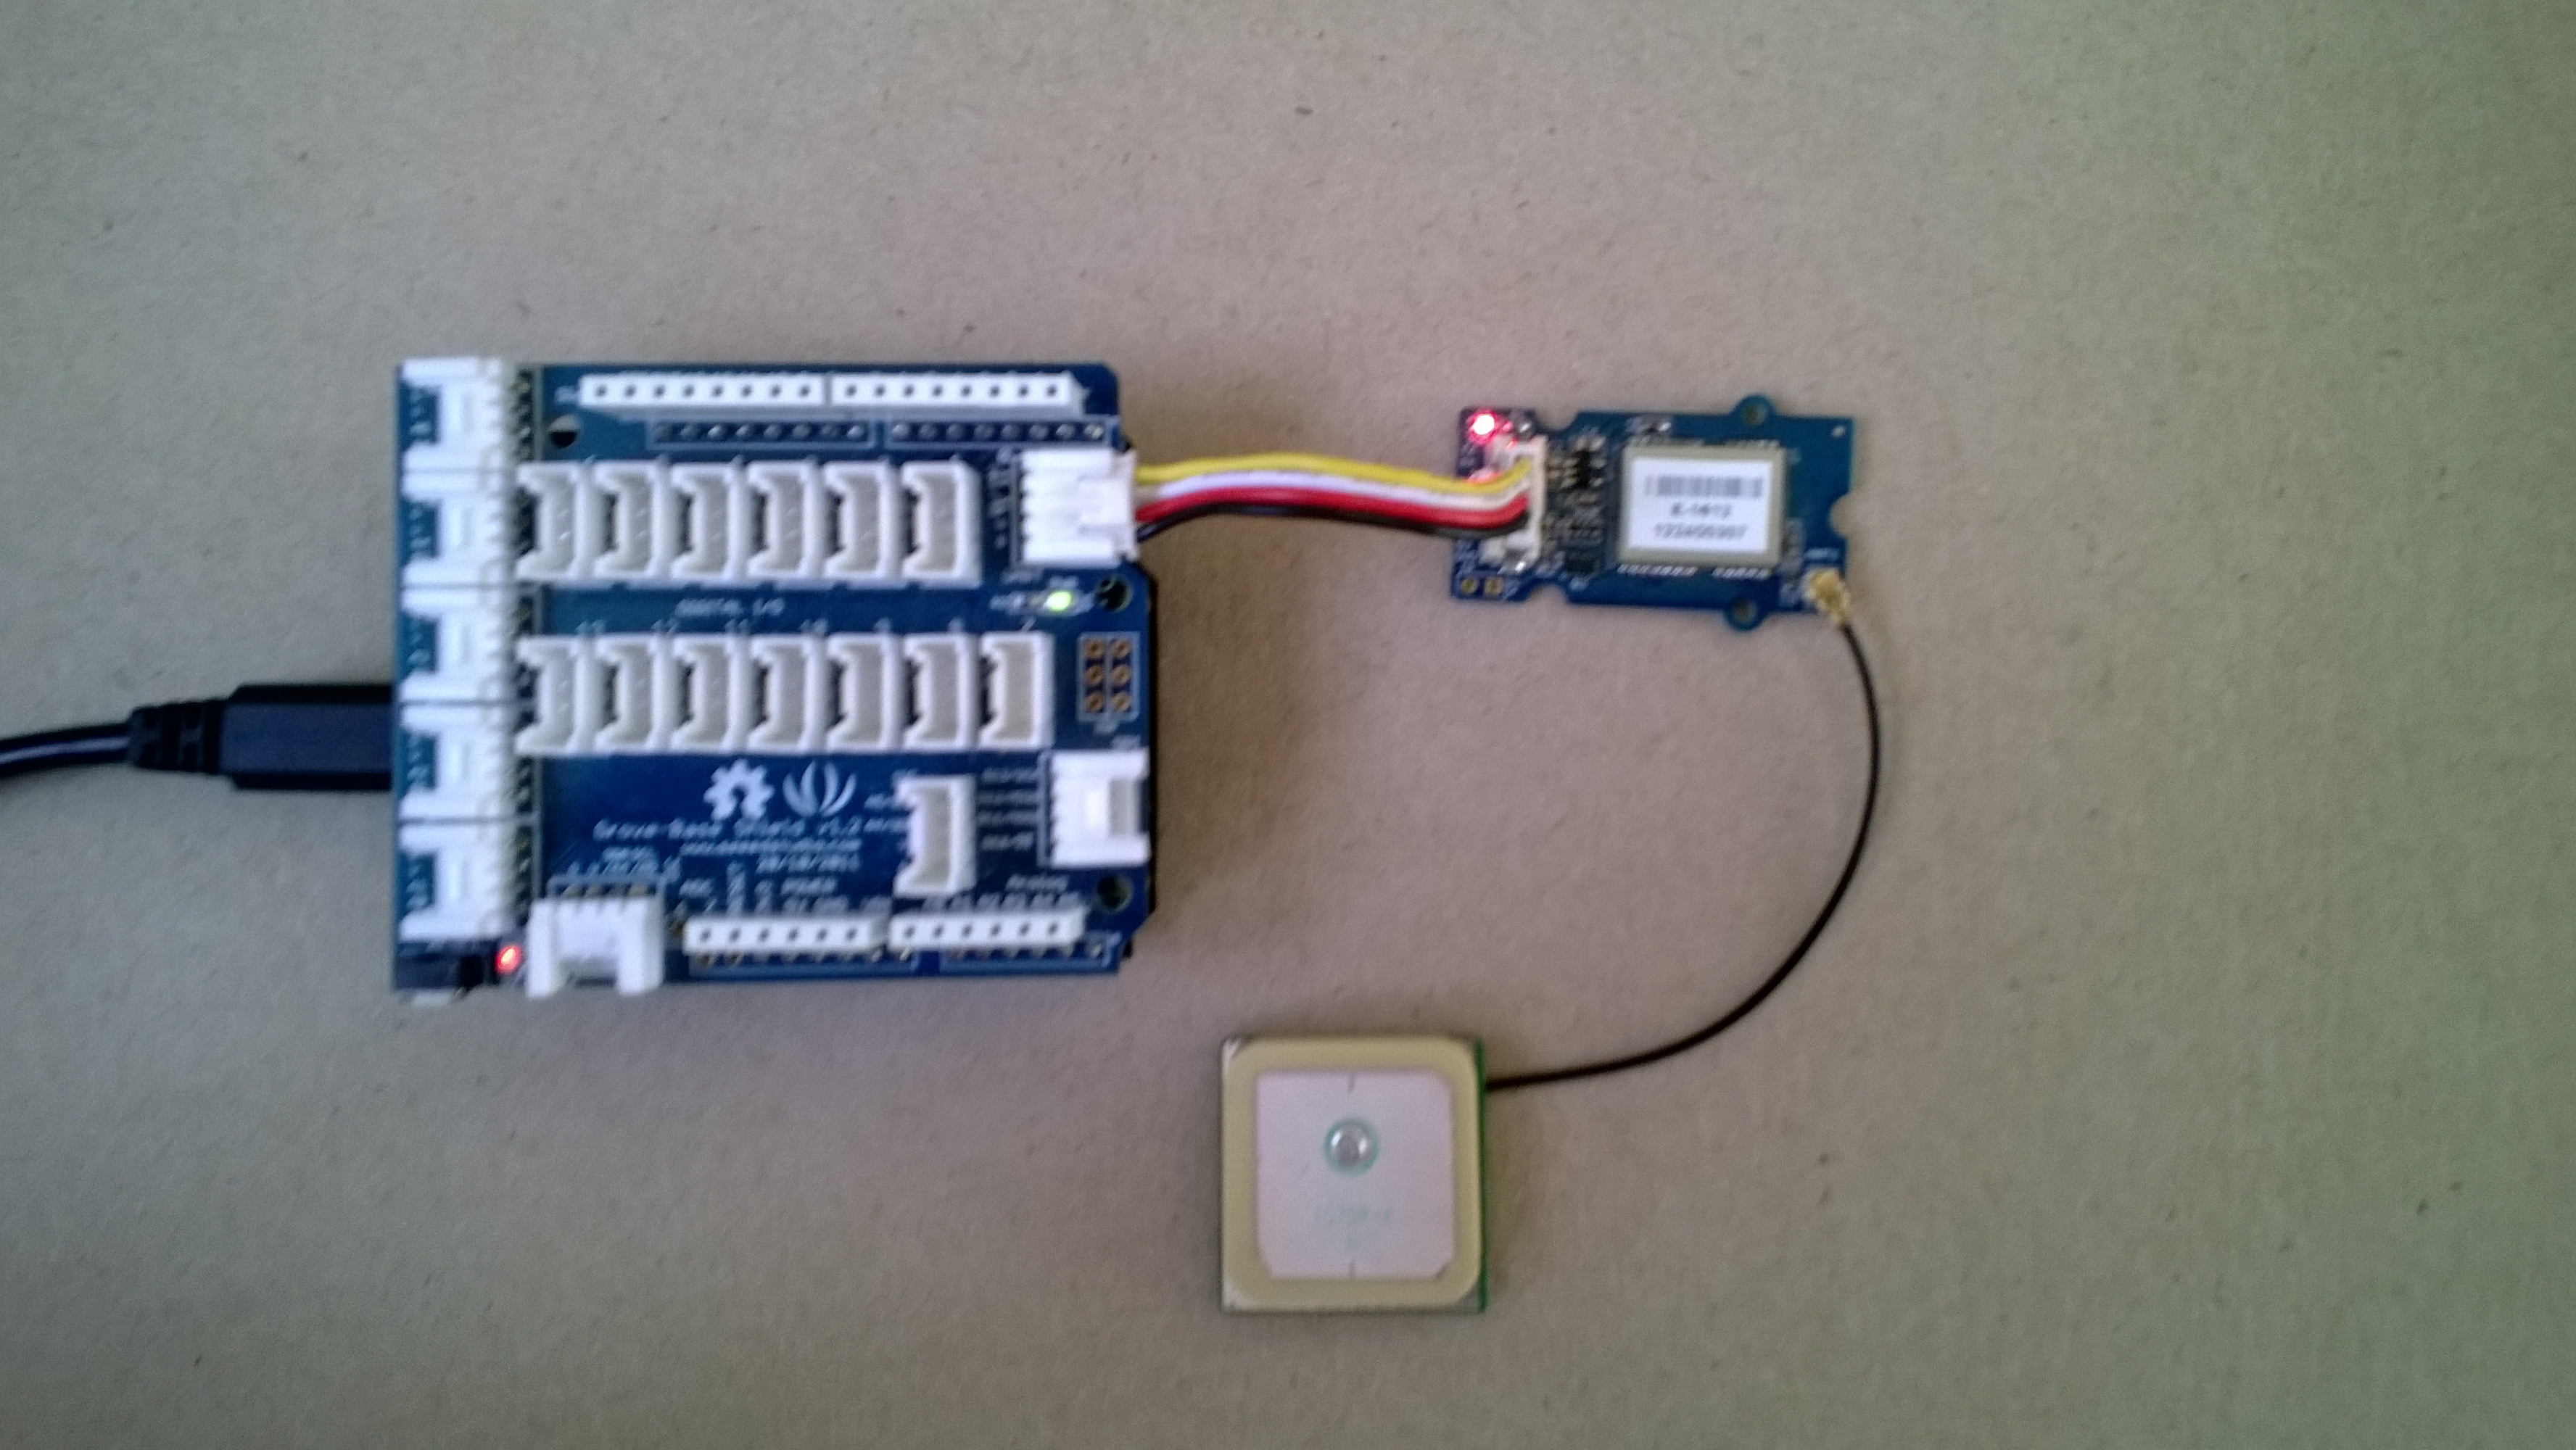
nRF24L01 Shield with short range module

Though intended for Arduino based projects the hardware SPI port works with the Nordic nRF24L01 .Net Micro Framework Driver on Codeplex.

I adapted the sample application included with the Nordic nRF24L01 .Net Micro Framework Driver source from codeplex to give a minimal working Netduino example.

...
public class EmbeddCoolnessTestHarness
{
private const byte channel = 10;
private readonly OutputPort _led = new OutputPort(Pins.ONBOARD_LED, false);
private readonly NRF24L01Plus _module;
private Timer _timer;
private byte _token;
private readonly byte[] _myAddress = Encoding.UTF8.GetBytes("NetP1");
private readonly byte[] _otherBoard = Encoding.UTF8.GetBytes("NetP2");

public EmbeddCoolnessTestHarness()
{
_module = new NRF24L01Plus();
}

public void Run()
{
_module.OnDataReceived += OnReceive;
_module.OnTransmitFailed += OnSendFailure;
_module.OnTransmitSuccess += OnSendSuccess;

// we need to call Initialize() and Configure() before we start using the module
_module.Initialize(SPI.SPI_module.SPI1, Pins.GPIO_PIN_D7, Pins.GPIO_PIN_D3, Pins.GPIO_PIN_D2);
_module.Configure(_myAddress, channel);
_module.Enable();

_timer = new Timer(SendMessage, null, new TimeSpan(0, 0, 0, 1), new TimeSpan(0, 0, 0, 1));
}

private void OnSendSuccess()
{
_led.Write(false);
}

private void OnSendFailure()
{
Debug.Print("Send failed!");
}

private void OnReceive(byte[] data)
{
Debug.Print("Token = " + data[0]);
}

private void SendMessage(object state)
{
_led.Write(true);
_module.SendTo(_otherBoard, new[] { _token });
_token++;
}
}

Netduino Plus PulseRate Monitor V2

In the final couple of code club sessions we built a pulse rate monitor to show a practical application for the NetMF InterruptPort, and communication between threads using the Interlocked class (Increment & exchange). This was then enhanced to display the data locally and upload it to the cloud to illustrate a basic HTTP interaction and serial communications.

The application displays the approximate pulse rate in Beats Per Minute (BPM) on a 16×2 character LCD display and also uploads the information to a free developer account at Xively a “Public Cloud for the Internet of Things”.

Netduino Plus 2 rate monitor

The xively trial account has a limit of 25 calls a minute, rolling 3 minute average (Dec 2013) which was more than adequate for our application and many other educational projects.

The xively API supports managing products, managing devices,  reading & writing data, reading & wiring metadata, querying historical data and searching for data feeds, using a RESTful approach.

The NetduinoPlus2 has full support for the NetMF system.http and sufficient memory so that there is plenty of room left for an application. If you are using a Netduino Plus (or other NetMF device with limited memory) an approach which reduces memory consumption is detailed here.

The xively data API supports JSON, XML and CSV formats for upload of data and for the pulse rate monitor we used CSV. The following code was called roughly every 20 seconds.

static void xivelyFeedUpdate( string ApiKey, string feedId, string channel, string value )
{
try
{
using (HttpWebRequest request = (HttpWebRequest)WebRequest.Create(xivelyApiBaseUrl+ feedId + ".csv"))
{
byte[] buffer = Encoding.UTF8.GetBytes(channel + "," + value);


request.Method = "PUT";
request.ContentLength = buffer.Length;
request.ContentType = "text/csv";
request.Headers.Add("X-ApiKey", ApiKey);
request.KeepAlive = false;
request.Timeout = 5000;
request.ReadWriteTimeout = 5000;


// request body
using (Stream stream = request.GetRequestStream())
{
stream.Write(buffer, 0, buffer.Length);
}


using (var response = (HttpWebResponse)request.GetResponse())
{
Debug.Print("HTTP Status:" + response.StatusCode + " : " + response.StatusDescription);
}
}
}
catch (Exception ex)
{
Debug.Print(ex.Message);
}
}

The pulse rate information can then displayed by xively in tables and graphs.

Pulse Rate data gaph at xively

Pulse Rate data display

At the end of term presentation several parents and family members were doing press-ups and other exercises to see how high their pulse rate went and how quickly it recovered.

Bill of materials (Prices as at Dec 2013)

SeeedStudio Grove GPS IteadStudio Shield Comparison

I use the SeeedStudio Grove system for prototyping and teaching. One of the modules is a Global Positioning System (GPS) unit based on the u-blox 5 engine. To get this unit to work you just plug it into the UART socket on the base shield and load the necessary software onto an Arduino (or compatible) board. My day job is working on Microsoft .Net applications so I use a Netduino Plus or a Netduino plus 2.

SeeedStudio GPS unit

SeeedStudio base shield and GPS unit

The Seeedstudio 4 wire connector system has some advantages but for a couple of projects I was looking at I needed to be able to run on a different serial port and access the one pulse per second output. I had a look at several other vendors and the iteadstudio GPS Shield + Active Antenna which is based on the u-blox 6 engine looked like a reasonable alternative.

IteadStudio GPS

IteadStudio GPS shield and Antenna

After some testing I found that the Iteadstudio GPS shield appears to have a shorter time to first fix after a power cycle, I averaged 10 sets of readings for each device and found that in my backyard it took on average 46sec for the Iteadstudio shield and 55sec for the SeeedStudio device.

Both devices output National Marine Electronics Association (NMEA) 0183 sentences and I use the NetMF Toolbox NMEA code to process the data streams. I have modified the NetMF toolbox code with an additional event handler which empties the serial input buffer if there is an error and one of the validation checks needed to be tweaked as it was possible to get an exception due to an empty string.

Around line 45

this._Uart = newSerialPort(SerialPort, BaudRate);
this._Uart.ErrorReceived += newSerialErrorReceivedEventHandler(_Uart_ErrorReceived);
this._Uart.DataReceived += newSerialDataReceivedEventHandler(_Uart_DataReceived);


void _Uart_ErrorReceived(object sender, SerialErrorReceivedEventArgs e)
{
if (_Uart.IsOpen)
{
_Uart.Flush();
}
}

Around line 323

// Have we received a full line of data?
int Pos = this._Buffer.IndexOf("\r\n");
if (Pos >= 1)
{

With these modifications my Netduino Plus 2 can runs for days at a time without buffer overflows or other issues, you just need to be careful to make your event handlers block for as little time as possible.

I have been looking at building an NetMF NMEA driver which runs on a background thread and doesn’t use any string manipulation methods e.g. string.splt so the garbage collector has less to do, but this will be a topic for a future post.

Netduino Plus PulseRate Monitor V1

In the final couple of code club sessions we built a pulse rate monitor to illustrate a practical application for the NetMF InterruptPort, and communication between threads using Interlocked (Increment & exchange). The V1 application displays the approximate pulse rate in Beats Per Minute (BPM) using Debug.Print.

The SeeedStudio Grove Ear clip heart rate sensor strobes a digital input for each heart beat it detects and this is used to trigger an interrupt handler. In the interrupt handler we incremented a counter using Interlocked.Increment.

A timer fires every 15 seconds which takes a copy of the current count, resets it to zero using Interlocked.Exchange. This code then multiplies the count by the number of times the timer fires per minute to convert it to BPM for display.

We discussed different approaches for determining the pulse rate and for V1 a 15 second timer seemed to be a reasonable trade off between accuracy and reading update latency.

Netduino Plus rate monitor

Pulserate monitor

public class Program
{
   const int mSecPerMinute = 60000;
   const int displayUpdateRatemSec = 15000;
   private static InterruptPort heartBeatSensor = new InterruptPort(Pins.GPIO_PIN_D1, false, Port.ResistorMode.Disabled, Port.InterruptMode.InterruptEdgeHigh);
   private static OutputPort heartBeatDisplayLed = new OutputPort(Pins.GPIO_PIN_D6, false);
   private static int heartBeatCount = 0;</code>

   public static void Main()
   {
      heartBeatSensor.OnInterrupt += pulse_OnInterrupt;
      Timer pulseRateDisplayTimer = new Timer(PulseRateDisplayTimerCallback, null, displayUpdateRatemSec, displayUpdateRatemSec);
      Thread.Sleep(Timeout.Infinite);
   }

   static void pulse_OnInterrupt(uint data1, uint data2, DateTime time)
   {
      heartBeatDisplayLed.Write(!heartBeatDisplayLed.Read());
      Interlocked.Increment(ref heartBeatCount);
   }

   static void PulseRateDisplayTimerCallback(object state)
   {
      int displayPulseCount ;</code>

      displayPulseCount = Interlocked.Exchange(ref heartBeatCount, 0 );
      displayPulseCount = displayPulseCount * (mSecPerMinute / displayUpdateRatemSec);
      Debug.Print("Pulse rate " + displayPulseCount + " bpm");
   }
}

Bill of materials (Prices as at Dec 2013)

netduino Plus + nerf supersoaker

A few weeks ago my 6 year old son took his Nerf SuperSoaker to the beach and the salt water damaged the battery pack. Yesterday he pulled it apart to see how it worked and after a couple of quick tests with the multimeter we worked out the switch on the battery pack was the problem.

While it was dismantled we decided to “enhance” it with a Netduino+ and an ultrasonic range finder so it squirted water automatically when a target got with 2.5m. The code for the Ultrasonic range finder was adapted from Dave’s code on Netduino.com

Netduino SuperSoaker++

Bill of Materials

Some fun with a Netduino Plus and the icndb

A chat with some co-workers about displaying the status of the team’s Jenkins build process led to bit of research into calling RESTful services and JSON support on NetMF devices. Previously this had required a bit of hand crafted code but now it looks like the library support has matured a bit. I don’t run Jenkins at home so I decided to build a NetduinoPlus client for the internet Chuck Norris database which has a RESTful API.

This API returns Chuck Norris “facts”…

“Chuck Norris doesn’t read books. He stares them down until he gets the information he wants.”
“There is no theory of evolution, just a list of creatures Chuck Norris allows to live.”
“Some people wear Superman pajamas. Superman wears Chuck Norris pajamas.”
“Chuck Norris can slam a revolving door.”

The icndb API returns JSON

{ "type": "success", "value": { "id": 109, "joke": "It takes Chuck Norris 20 minutes to watch 60 Minutes.", "categories": [] } }

I used the NetMF system.HTTP libraries to initiate the request and Json.NetMF to unpack the response. This snippet illustrates how I processed the request/response

using (HttpWebRequest request = (HttpWebRequest)WebRequest.Create(@"http://api.icndb.com/jokes/random"))
{
   //request.Proxy = proxy;
   request.Method = "GET";
   request.KeepAlive = false;
   request.Timeout = 5000;
   request.ReadWriteTimeout = 5000;

   using (var response = (HttpWebResponse)request.GetResponse())
   {
      if (response.StatusCode == HttpStatusCode.OK)
      {
         byte[] buffer = new byte[response.ContentLength];

         using (Stream stream = response.GetResponseStream())
         {
            stream.Read(buffer, 0, (int)response.ContentLength);

            string json = new string(Encoding.UTF8.GetChars(buffer));

            Hashtable jsonPayload = JsonSerializer.DeserializeString(json) as Hashtable;

            Hashtable value = jsonPayload["value"] as Hashtable ;
            Debug.Print(value["joke"].ToString());
         }
      }
   }
}

icndb Netduino client

Bill of materials

HTTPS with NetMF calling an Azure Service Bus endpoint

Back in Q1 of 2013 I posted a sample application which called an Azure Service Bus end point just to confirm that the certificate configuration etc. was good.

Since I published that sample the Azure Root certificate has been migrated so I have created a new project which uses the Baltimore Cyber Trust Root certificate.

The sample Azure ServiceBus client uses a wired LAN connection (original one used wifi module) and to run it locally you will have to update the Date information around line 24.

MyFirst mobile phone for Code club

One of my co-workers is involved with a group that run “code clubs” at local schools teaching high school students how to code.

We got talking about projects which would appeal to the students and I suggested making a mobile phone. This is my prototype

Image

It’s more Nokia 5110 than Nokia Lumia 820

If you want to build your own (the parts list will grow as I add GPS, accelerometer, compass, screen etc..)

For V0.1 of code one button sends and SMS to my mobile, the other button initiates a voice call to my mobile. The initial version of the code was based on the SeeedStudio GSM Shield Netduino driver on codeplex.

The later versions are based on the CodeFreakout Seeedstudio GPRS Shield drivers which are available via NuGet. I have added some functionality for dialling and hanging up voice calls which I will post for others to use once I have tested it some more.

Someone else has a working NetMF Quadcopter

So according to cuno and co NetMF is a viable processing platform for a quadcopter. I was worried about the GC and it looks like as long as I’m really careful about allocating memory (strings, buffers etc.) I should be okay. It will be like writing code for embedded micro controllers (V25 & HC11) in C not long after I left university,

Have also been reading up about proportional-integral-derivative controllers (PID controller) here and building a basic C# implementation.

Next step some PWM code for interfacing to my Turnigy Multistar 10 Amp ESCs. I wonder if my larger scale quadcopter will cause any issues?