This is a “note to self” post about using libcamera(replacement for raspistill) on my Raspberry PI 4 Model B to capture an image from my Raspberry Pi Camera Module 2 with an application built with .NET Core.
I wanted one of my ML.Net demos to use the Raspberry PI Camera rather than a security camera (so it was more portable) but it took a bit more work than I expected.
Version 1 used Process.Start to launch the libcamera-jpeg application with a command line to store an image to the local file system.
libcamera-jpeg -o latest.jpg

There was a lot of diagnostic information which I didn’t want displayed so after reading many stackoverflow posts (lots of different approaches none of which worked in my scenario), then some trial and error I found that I only had to enable RedirectStandardError.

At this point there was a lot less noise but the image was upside down.
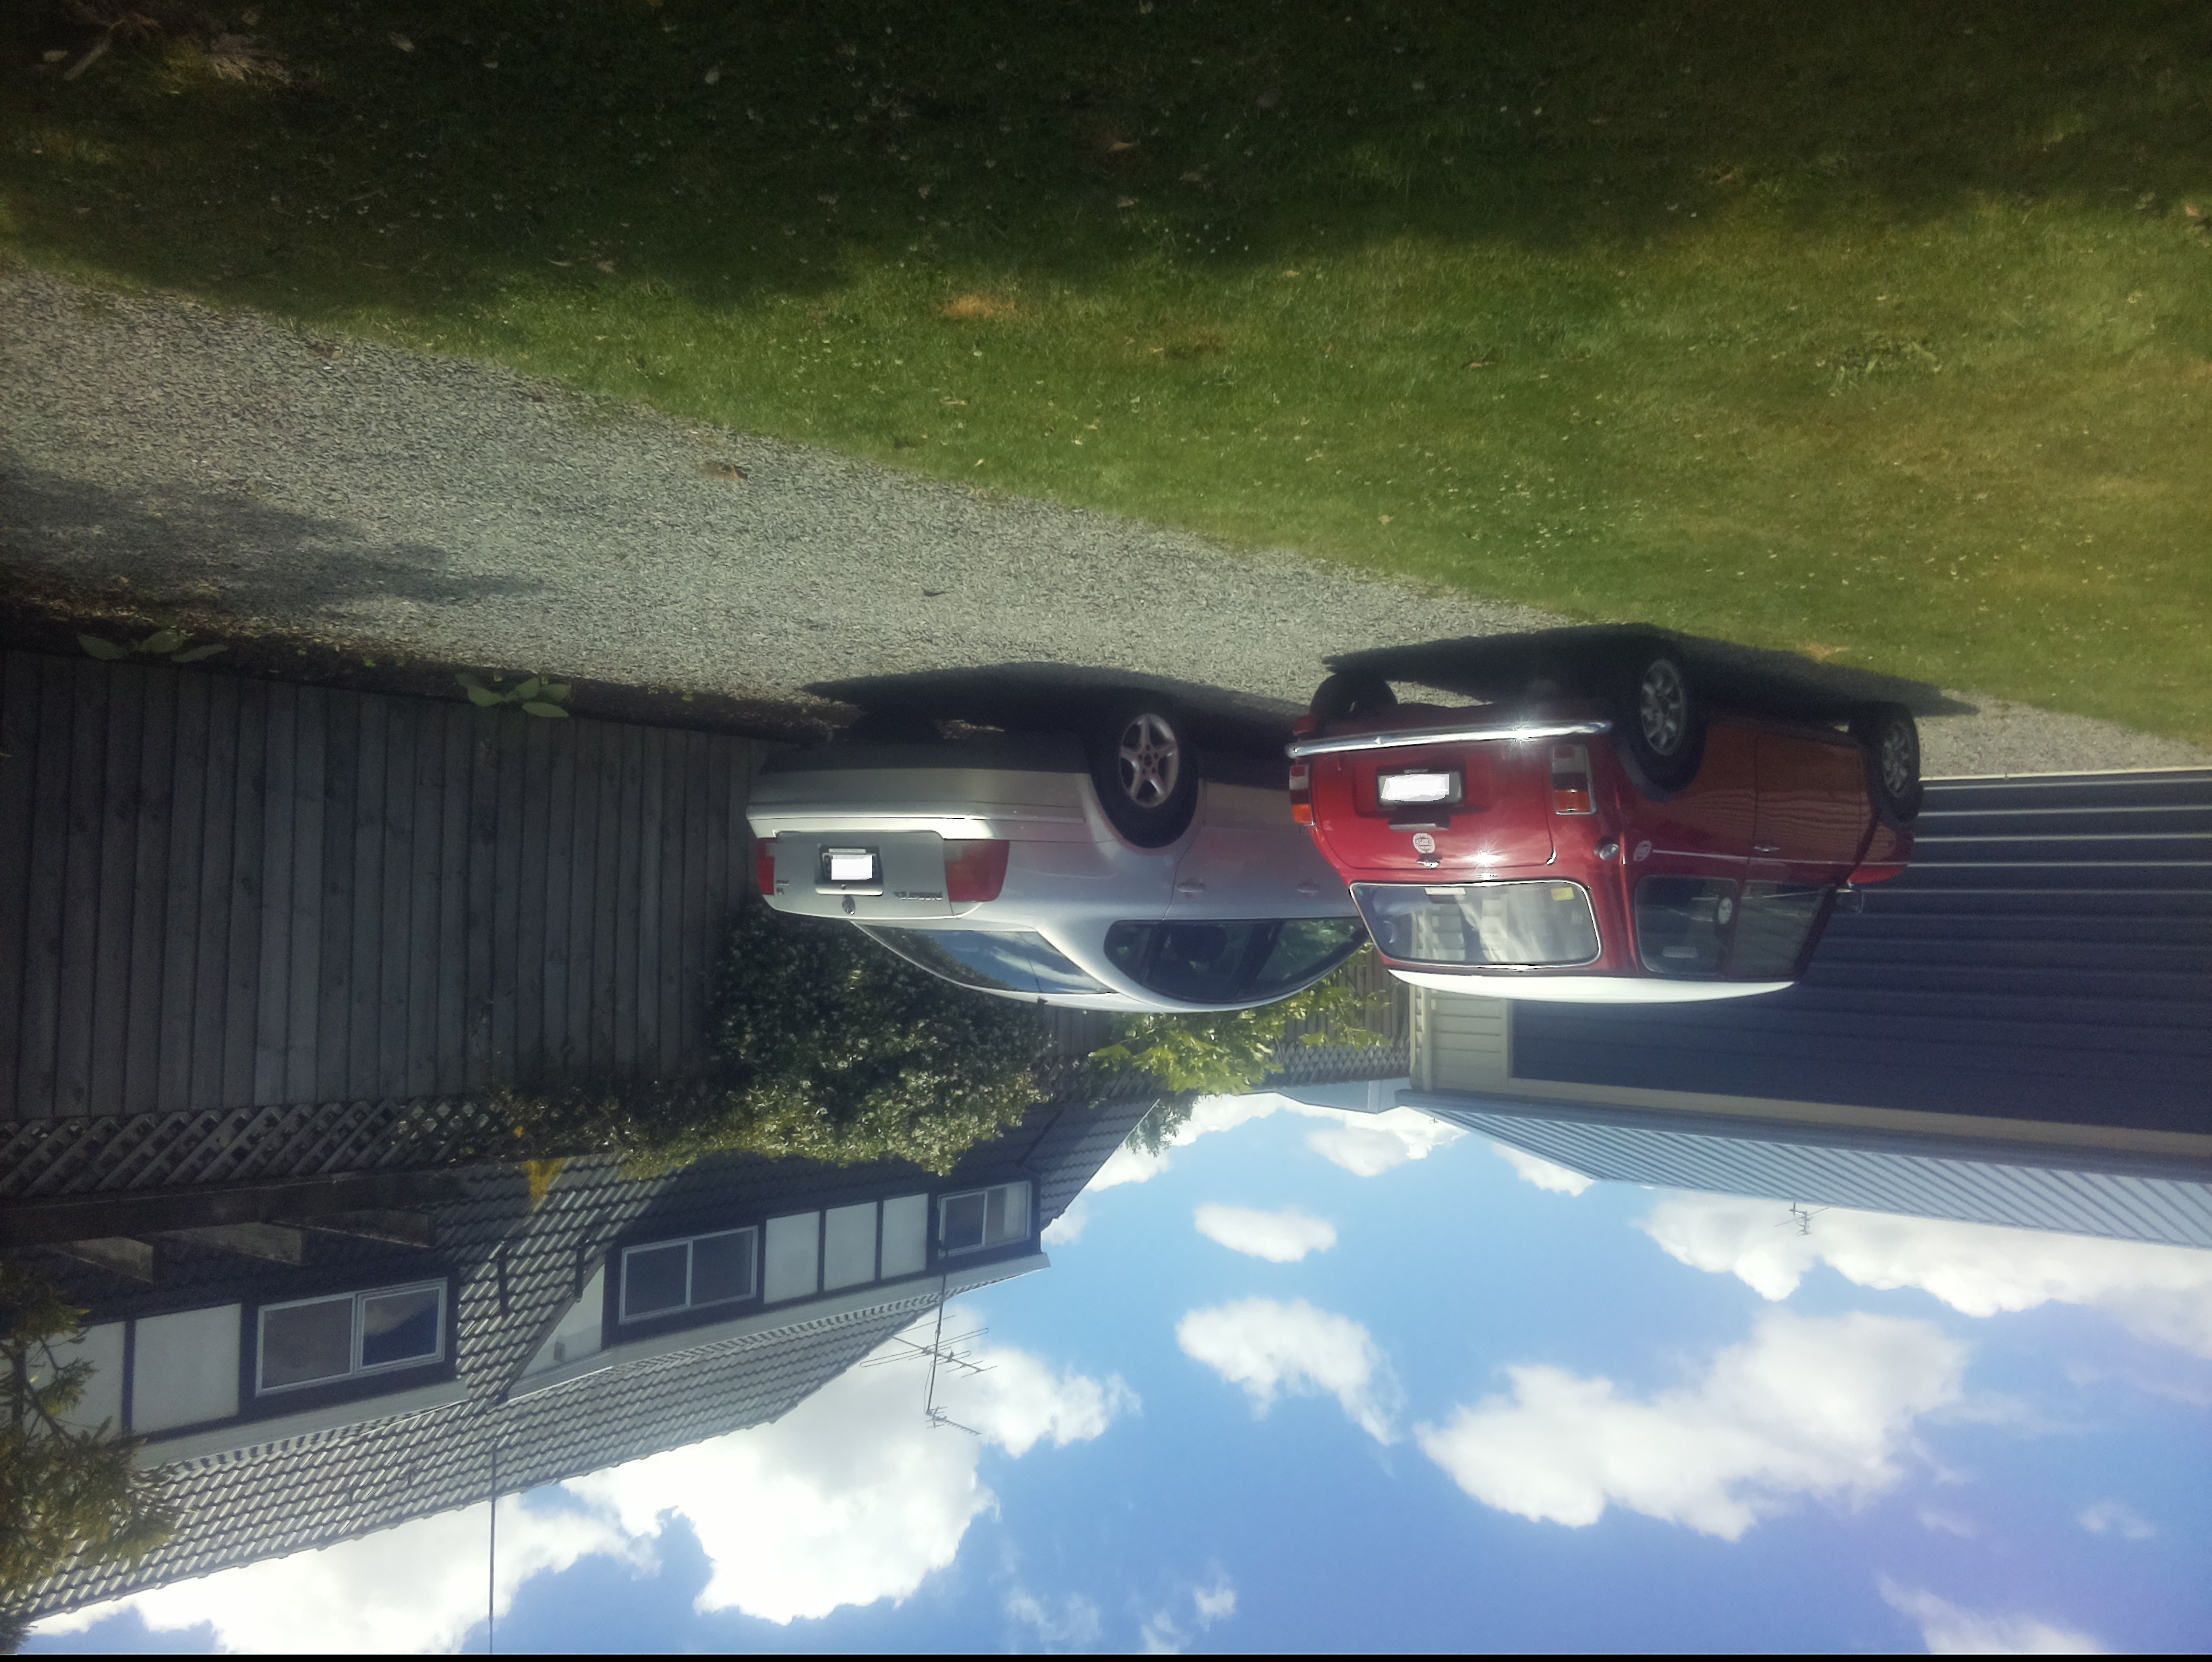
I then added a vertical flip to the command line parameters
libcamera-jpeg -o latest.jpg --vflip
The image was backwards so I added a horizontal flip to the commandline parameters
libcamera-jpeg -o latest.jpg --vflip --hflipor
libcamera-jpeg -o latest.jpg --rotation 180
The libcamera code is in a Timer callback so I added the _cameraBusy boolean flag to stop reentrancy problems.
private static void ImageUpdateTimerCallback(object state)
{
	try
	{
		Console.WriteLine($"{DateTime.UtcNow:yy-MM-dd HH:mm:ss} Image update start");

		// Just incase - stop code being called while photo already in progress
		if (_cameraBusy)
		{
			return;
		}

		Console.WriteLine($" {DateTime.UtcNow:yy-MM-dd HH:mm:ss} Image capture start");

		using (Process process = new Process())
		{
			process.StartInfo.FileName = @"libcamera-jpeg";
			// V1 it works
			//process.StartInfo.Arguments = $"-o {_applicationSettings.ImageFilenameLocal}";
			// V3 Image right way up
			//process.StartInfo.Arguments = $"-o {_applicationSettings.ImageFilenameLocal} --vflip";
			// V3 Image right way round
			process.StartInfo.Arguments = $"-o {_applicationSettings.ImageFilenameLocal} --vflip --hflip";
			//process.StartInfo.RedirectStandardOutput = true;
			// V2 No diagnostics
			process.StartInfo.RedirectStandardError = true;
			//process.StartInfo.UseShellExecute = false;
			//process.StartInfo.CreateNoWindow = true;

			process.Start();

			if (!process.WaitForExit(10000) || (process.ExitCode != 0))
			{
				Console.WriteLine($"{DateTime.UtcNow:yy-MM-dd HH:mm:ss} Image update failure {process.ExitCode}");
			}
		}

		Console.WriteLine($" {DateTime.UtcNow:yy-MM-dd HH:mm:ss} Image capture done");
	}
	catch (Exception ex)
	{
		Console.WriteLine($"{DateTime.UtcNow:yy-MM-dd HH:mm:ss} Image update error {ex.Message}");
	}
	finally
	{
		_cameraBusy = false;
	}
}
This was the simplest way I could get an image onto the local file system without lots of dependencies on third party libraries. The image capture process takes about 5 seconds which a bit longer than I was expecting.

Pingback: libcamera-jpeg on Raspberry Pi OS Bullseye Duration | devMobile's blog