Extending on the theme for my previous post I decided to take a look at Azure ServiceBus Lite by Paolo Patierno. Same objective as last time, a minimalist application running on my Netduino 3 Wifi which connects to my home wifi, waits for an IP address then uploads an event to an Azure EventHub.
public class Program
{
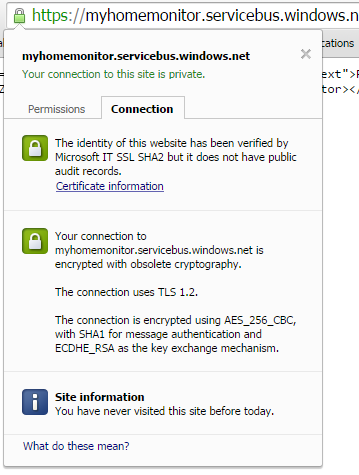
private const string connectionString = "Endpoint=sb://[YourNamespace].servicebus.windows.net/;SharedAccessKeyName=[YourKeyName];SharedAccessKey=[YourSaSKey]";
private const string eventHub = "[YourEventHub]";
...
// Wait for Network address if DHCP
NetworkInterface networkInterface = NetworkInterface.GetAllNetworkInterfaces()[0];
if (networkInterface.IsDhcpEnabled)
{
Debug.Print(" Waiting for IP address ");
while (NetworkInterface.GetAllNetworkInterfaces()[0].IPAddress == IPAddress.Any.ToString())
{
Debug.Print(".");
}
}
// Display network config for debugging
Debug.Print("Network configuration");
Debug.Print(" Network interface type: " + networkInterface.NetworkInterfaceType.ToString());
Debug.Print(" MAC Address: " + BytesToHexString(networkInterface.PhysicalAddress));
Debug.Print(" DHCP enabled: " + networkInterface.IsDhcpEnabled.ToString());
Debug.Print(" Dynamic DNS enabled: " + networkInterface.IsDynamicDnsEnabled.ToString());
Debug.Print(" IP Address: " + networkInterface.IPAddress.ToString());
Debug.Print(" Subnet Mask: " + networkInterface.SubnetMask.ToString());
Debug.Print(" Gateway: " + networkInterface.GatewayAddress.ToString());
foreach (string dnsAddress in networkInterface.DnsAddresses)
{
Debug.Print(" DNS Server: " + dnsAddress.ToString());
}
string deviceId = BytesToHexString(networkInterface.PhysicalAddress);
Debug.Print("DeviceId " + deviceId.ToString());
A bit less code is required to send an event using AzureSBLite
try
{
MessagingFactory factory = MessagingFactory.CreateFromConnectionString(connectionString);
EventHubClient client = factory.CreateEventHubClient(eventHub);
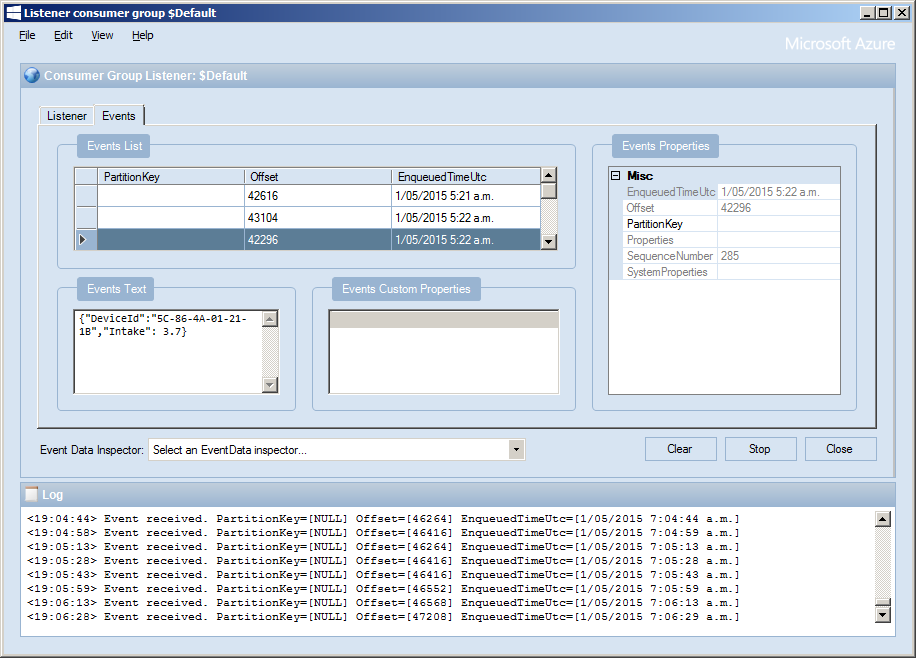
string messageBody = @"{""DeviceId"":""" + deviceId + @""",""Time"":""" + DateTime.Now.ToString("yy-MM-dd hh:mm:ss") + @"""}";
EventData data = new EventData(Encoding.UTF8.GetBytes(messageBody));
//EventData data = new EventData();
//data.Properties.Add("Time", DateTime.Now);
//data.Properties.Add("DeviceId", deviceId);
client.Send(data);
client.Close();
factory.Close();
}
catch (Exception ex)
{
Debug.Print("ERROR: Send failed with error: " + ex.Message);
}
Over all, a very similar experience to “MyFirst AMQPNetLite” program, after a couple of typos, and fixing a copy ‘n’ paste issue with the connection string my application worked, with the bonus of less code. Both AMQPNetLite and AzureSBLite look suitable for my application so I’ll need to evaluate them in more detail.